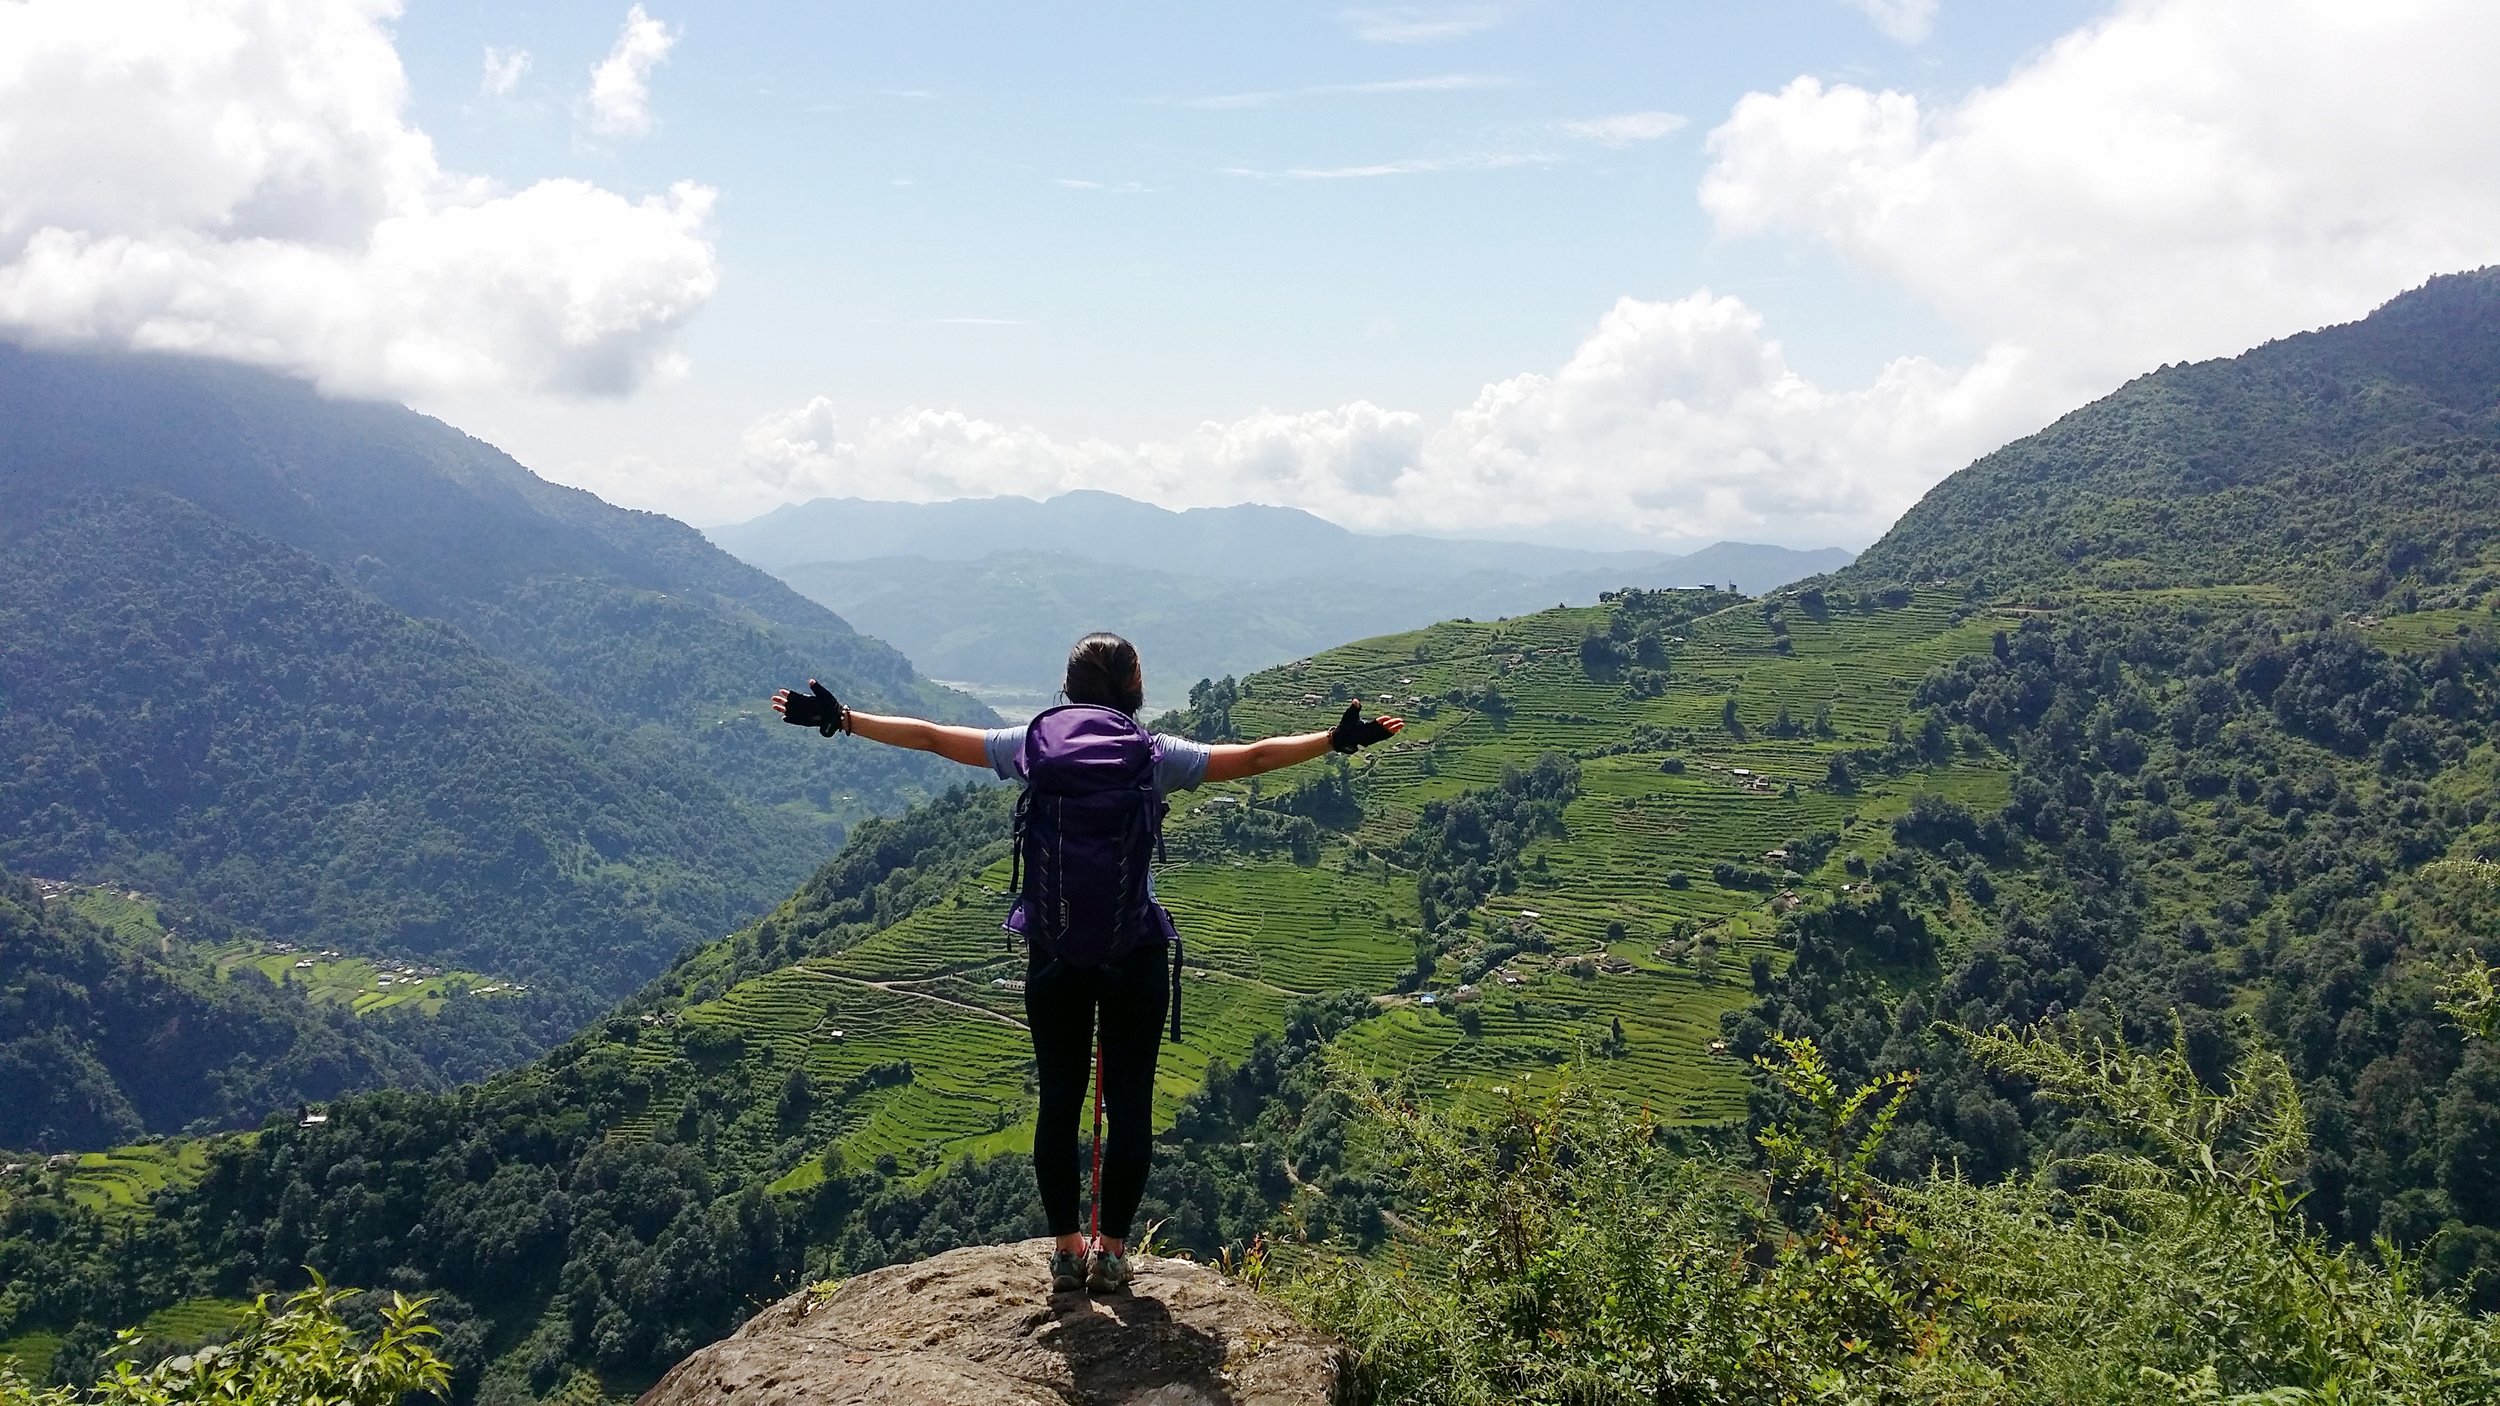

Climbing Mount Kinabalu was exhausting but exhilarating at the same time. I had many ups and downs moment while doing this climb. It is by far the hardest intense activity I have ever done in my life, which is also the best too. This blog focuses on 2D1N Mount Kinabalu climb.

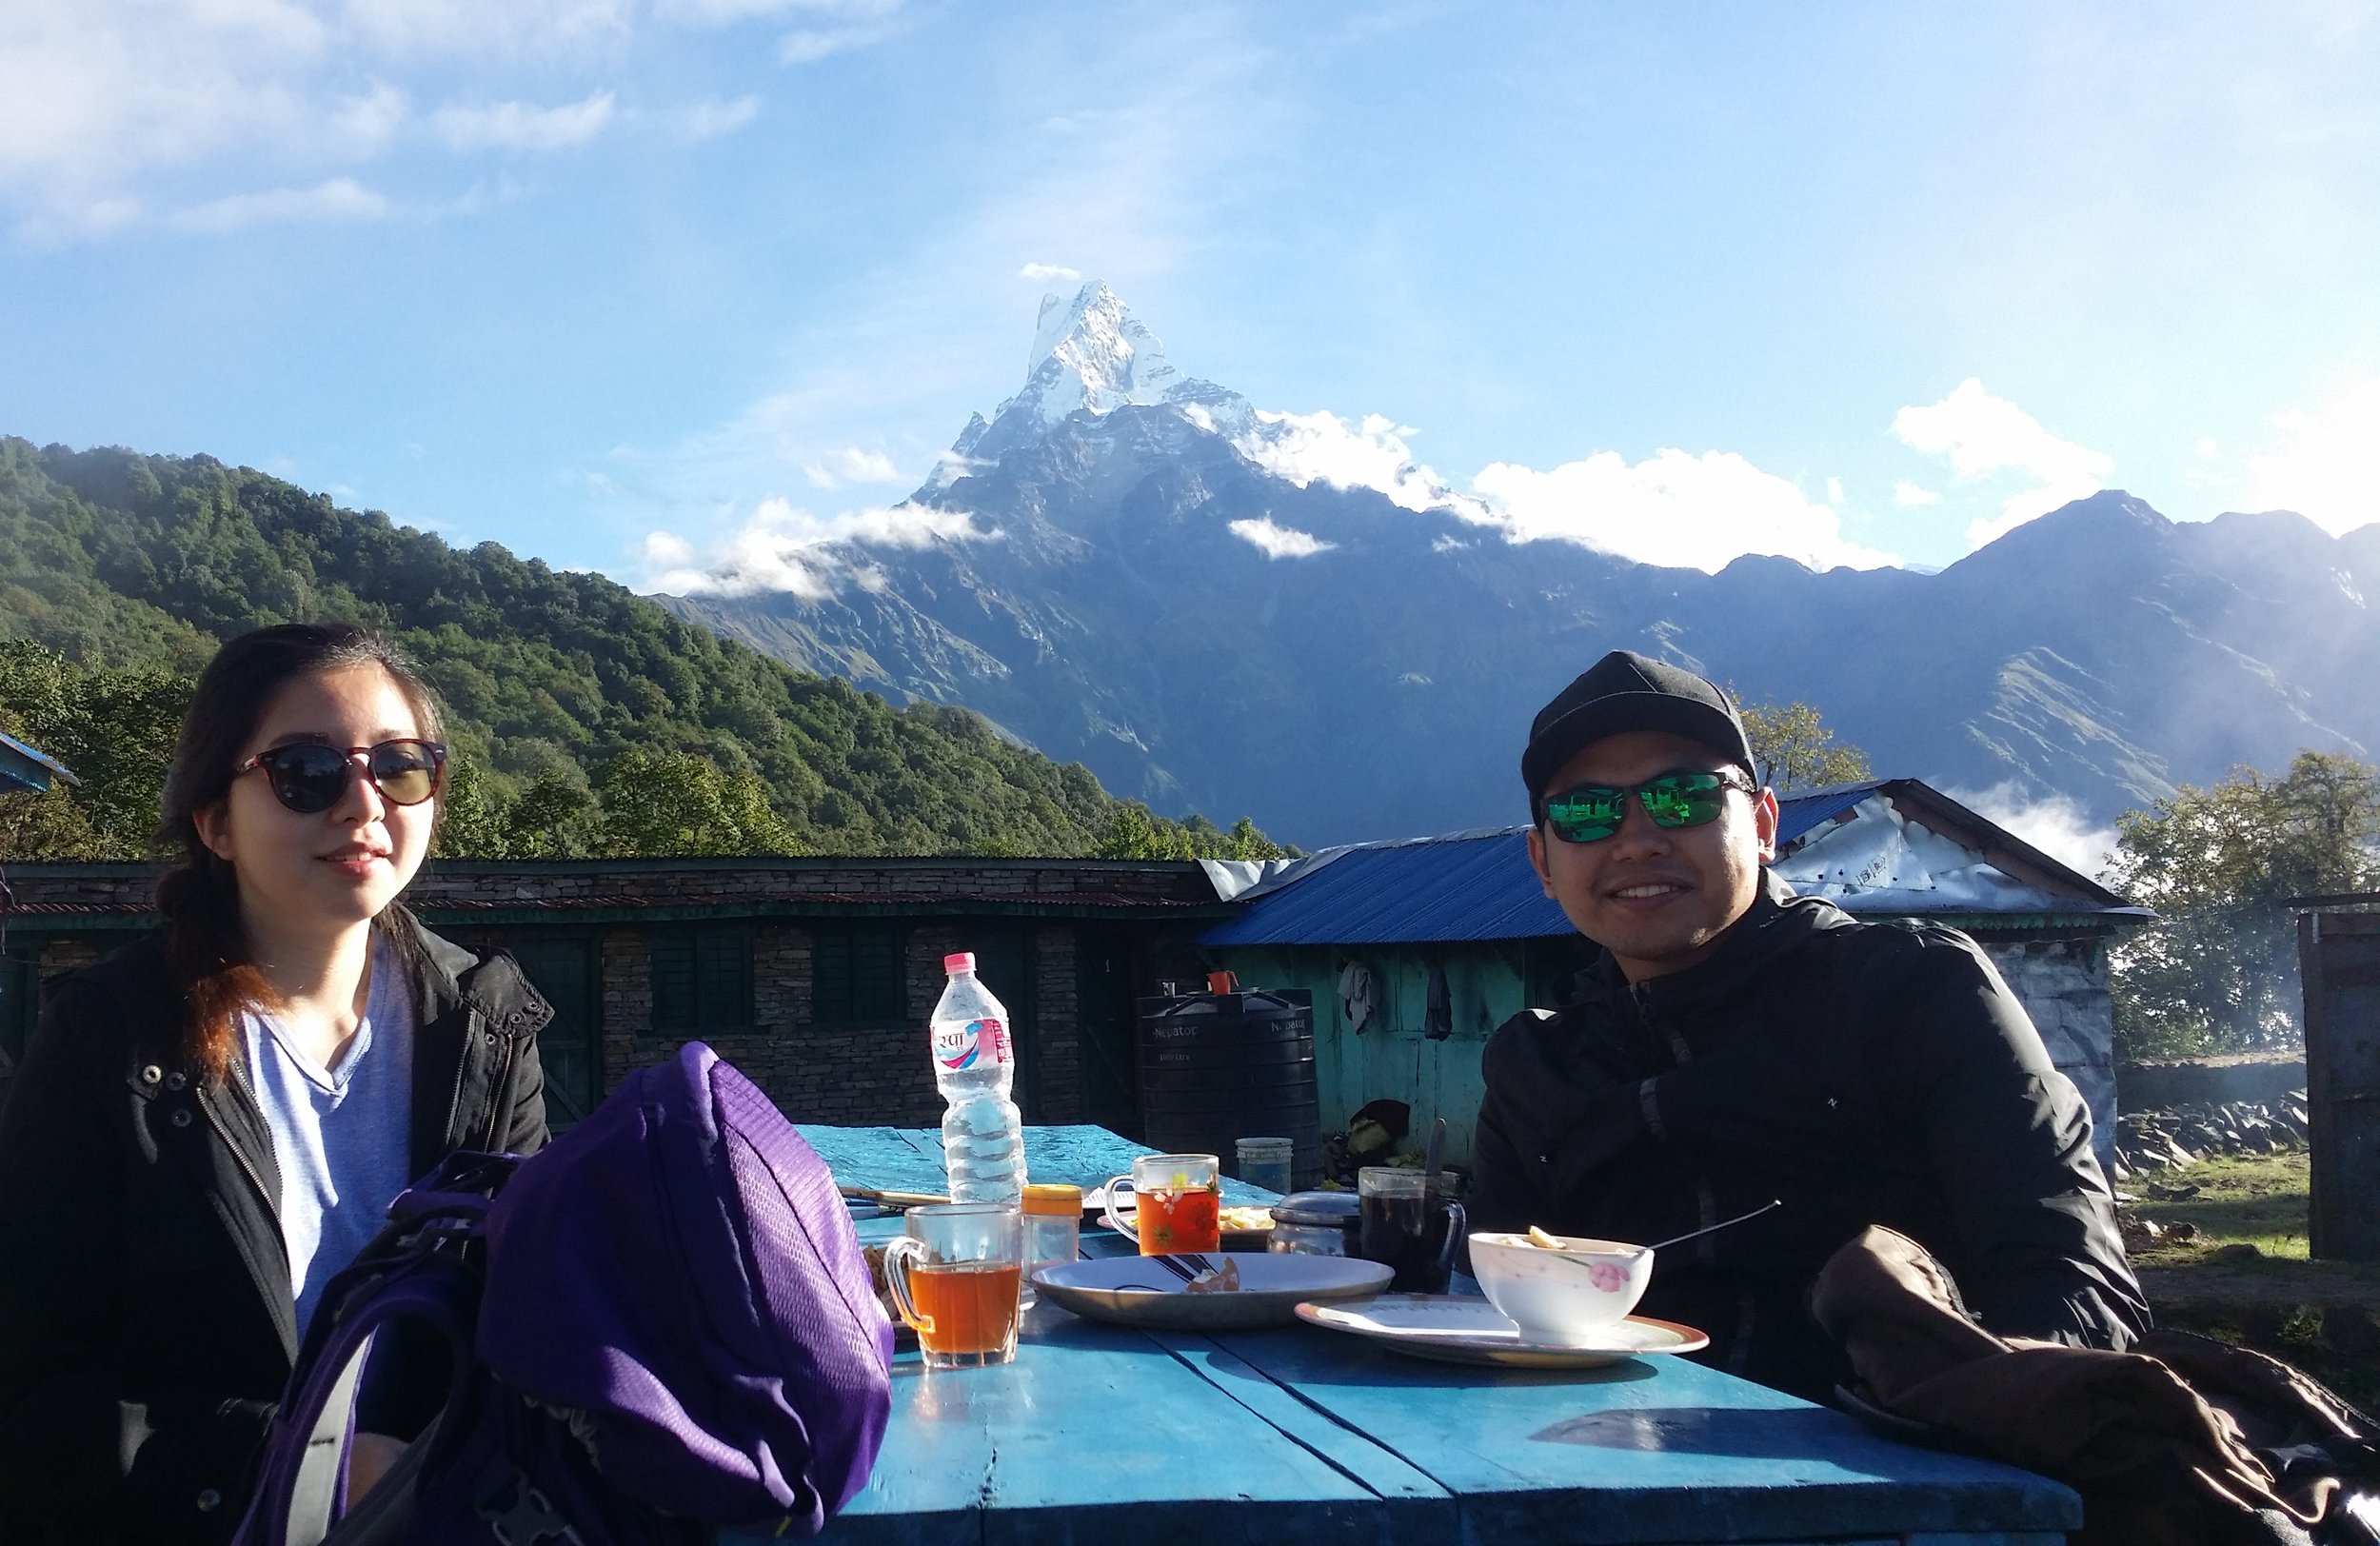
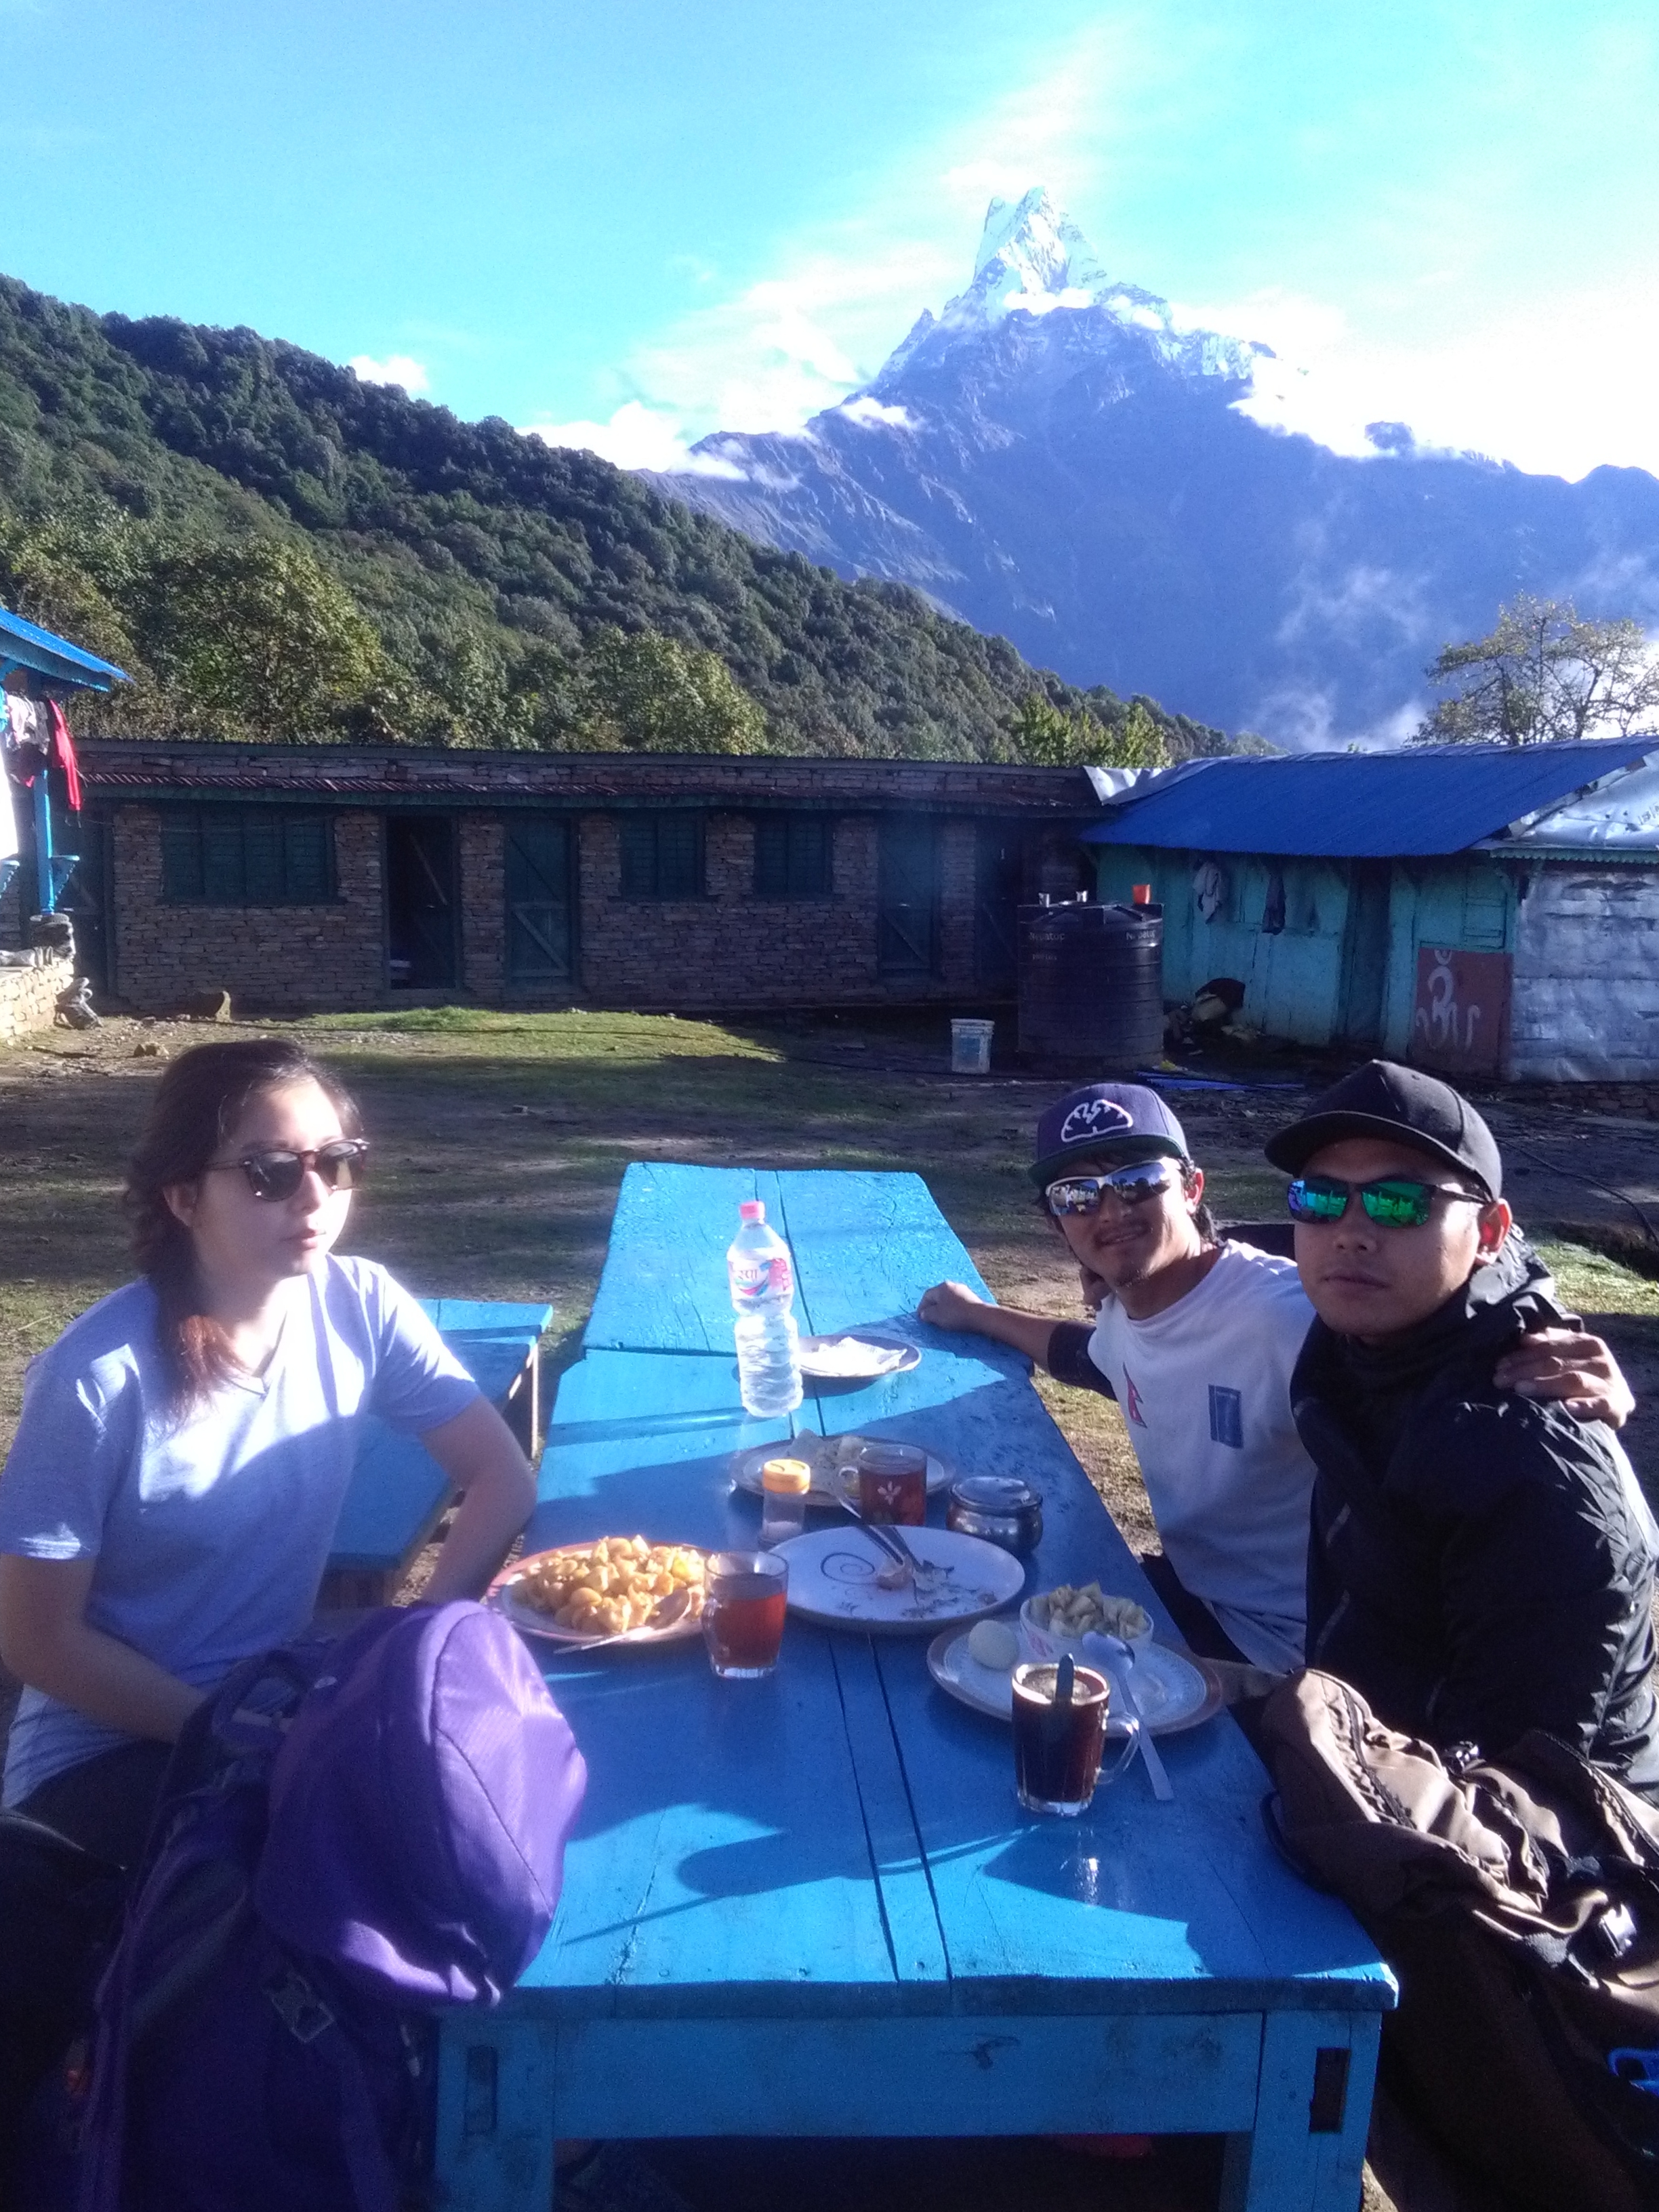
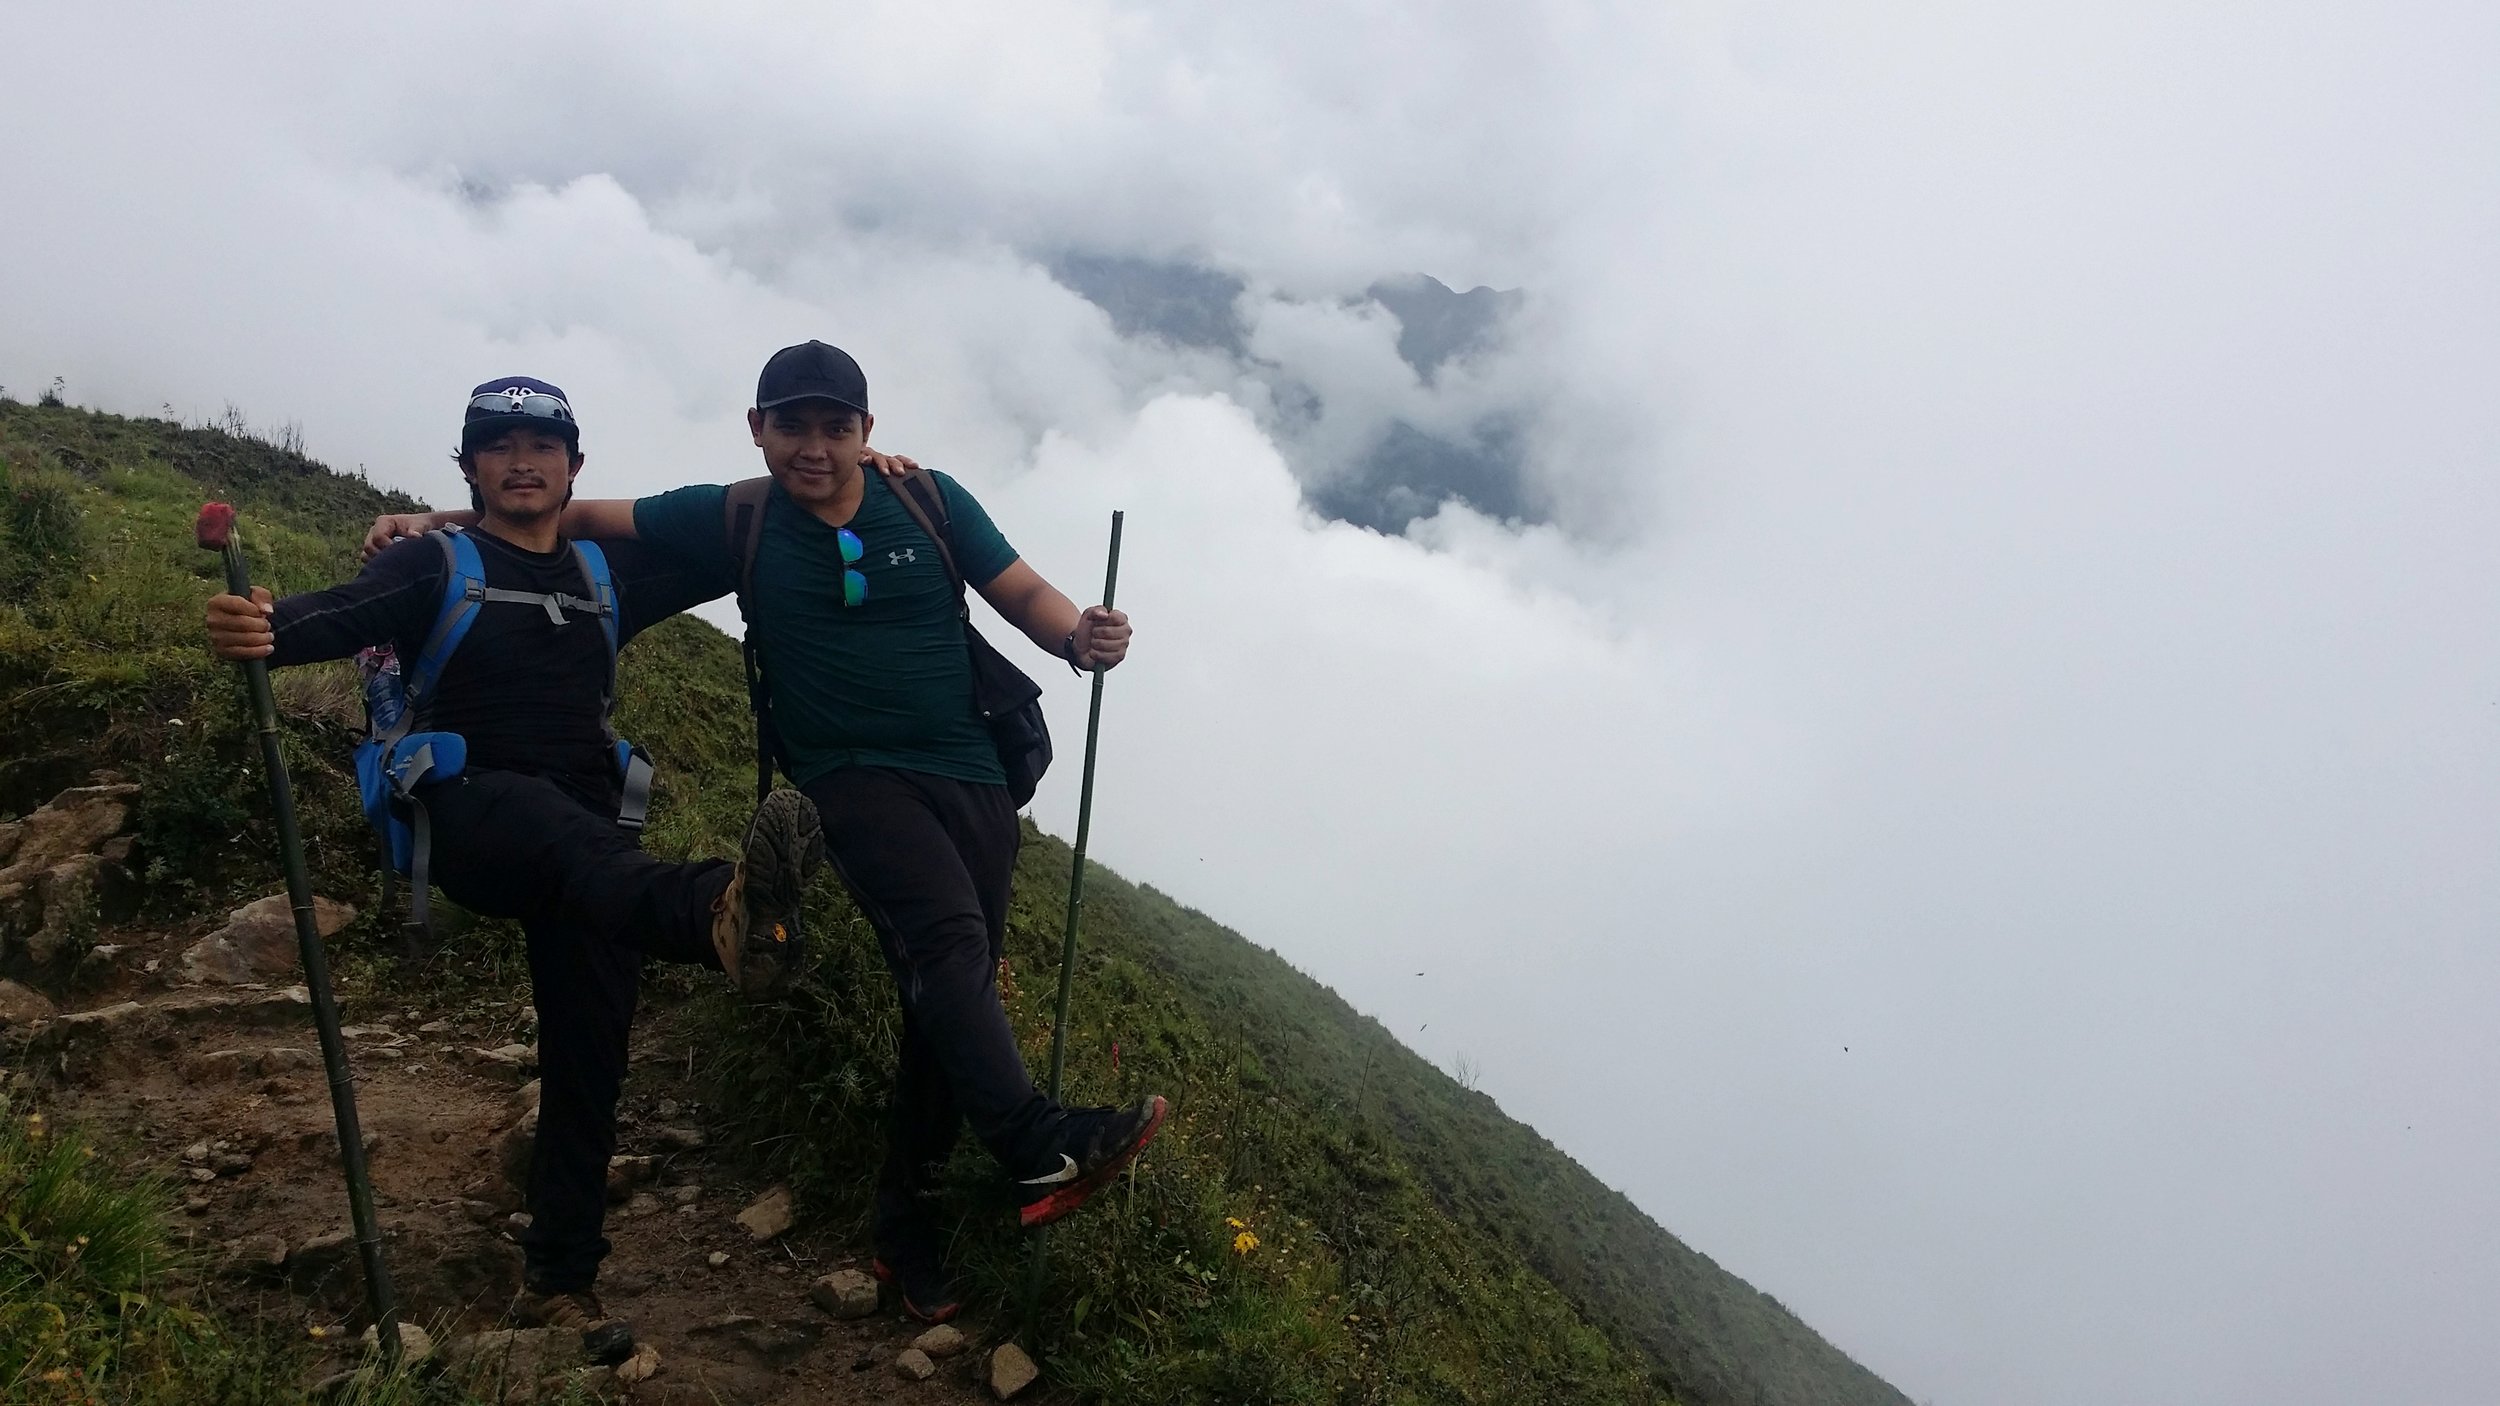
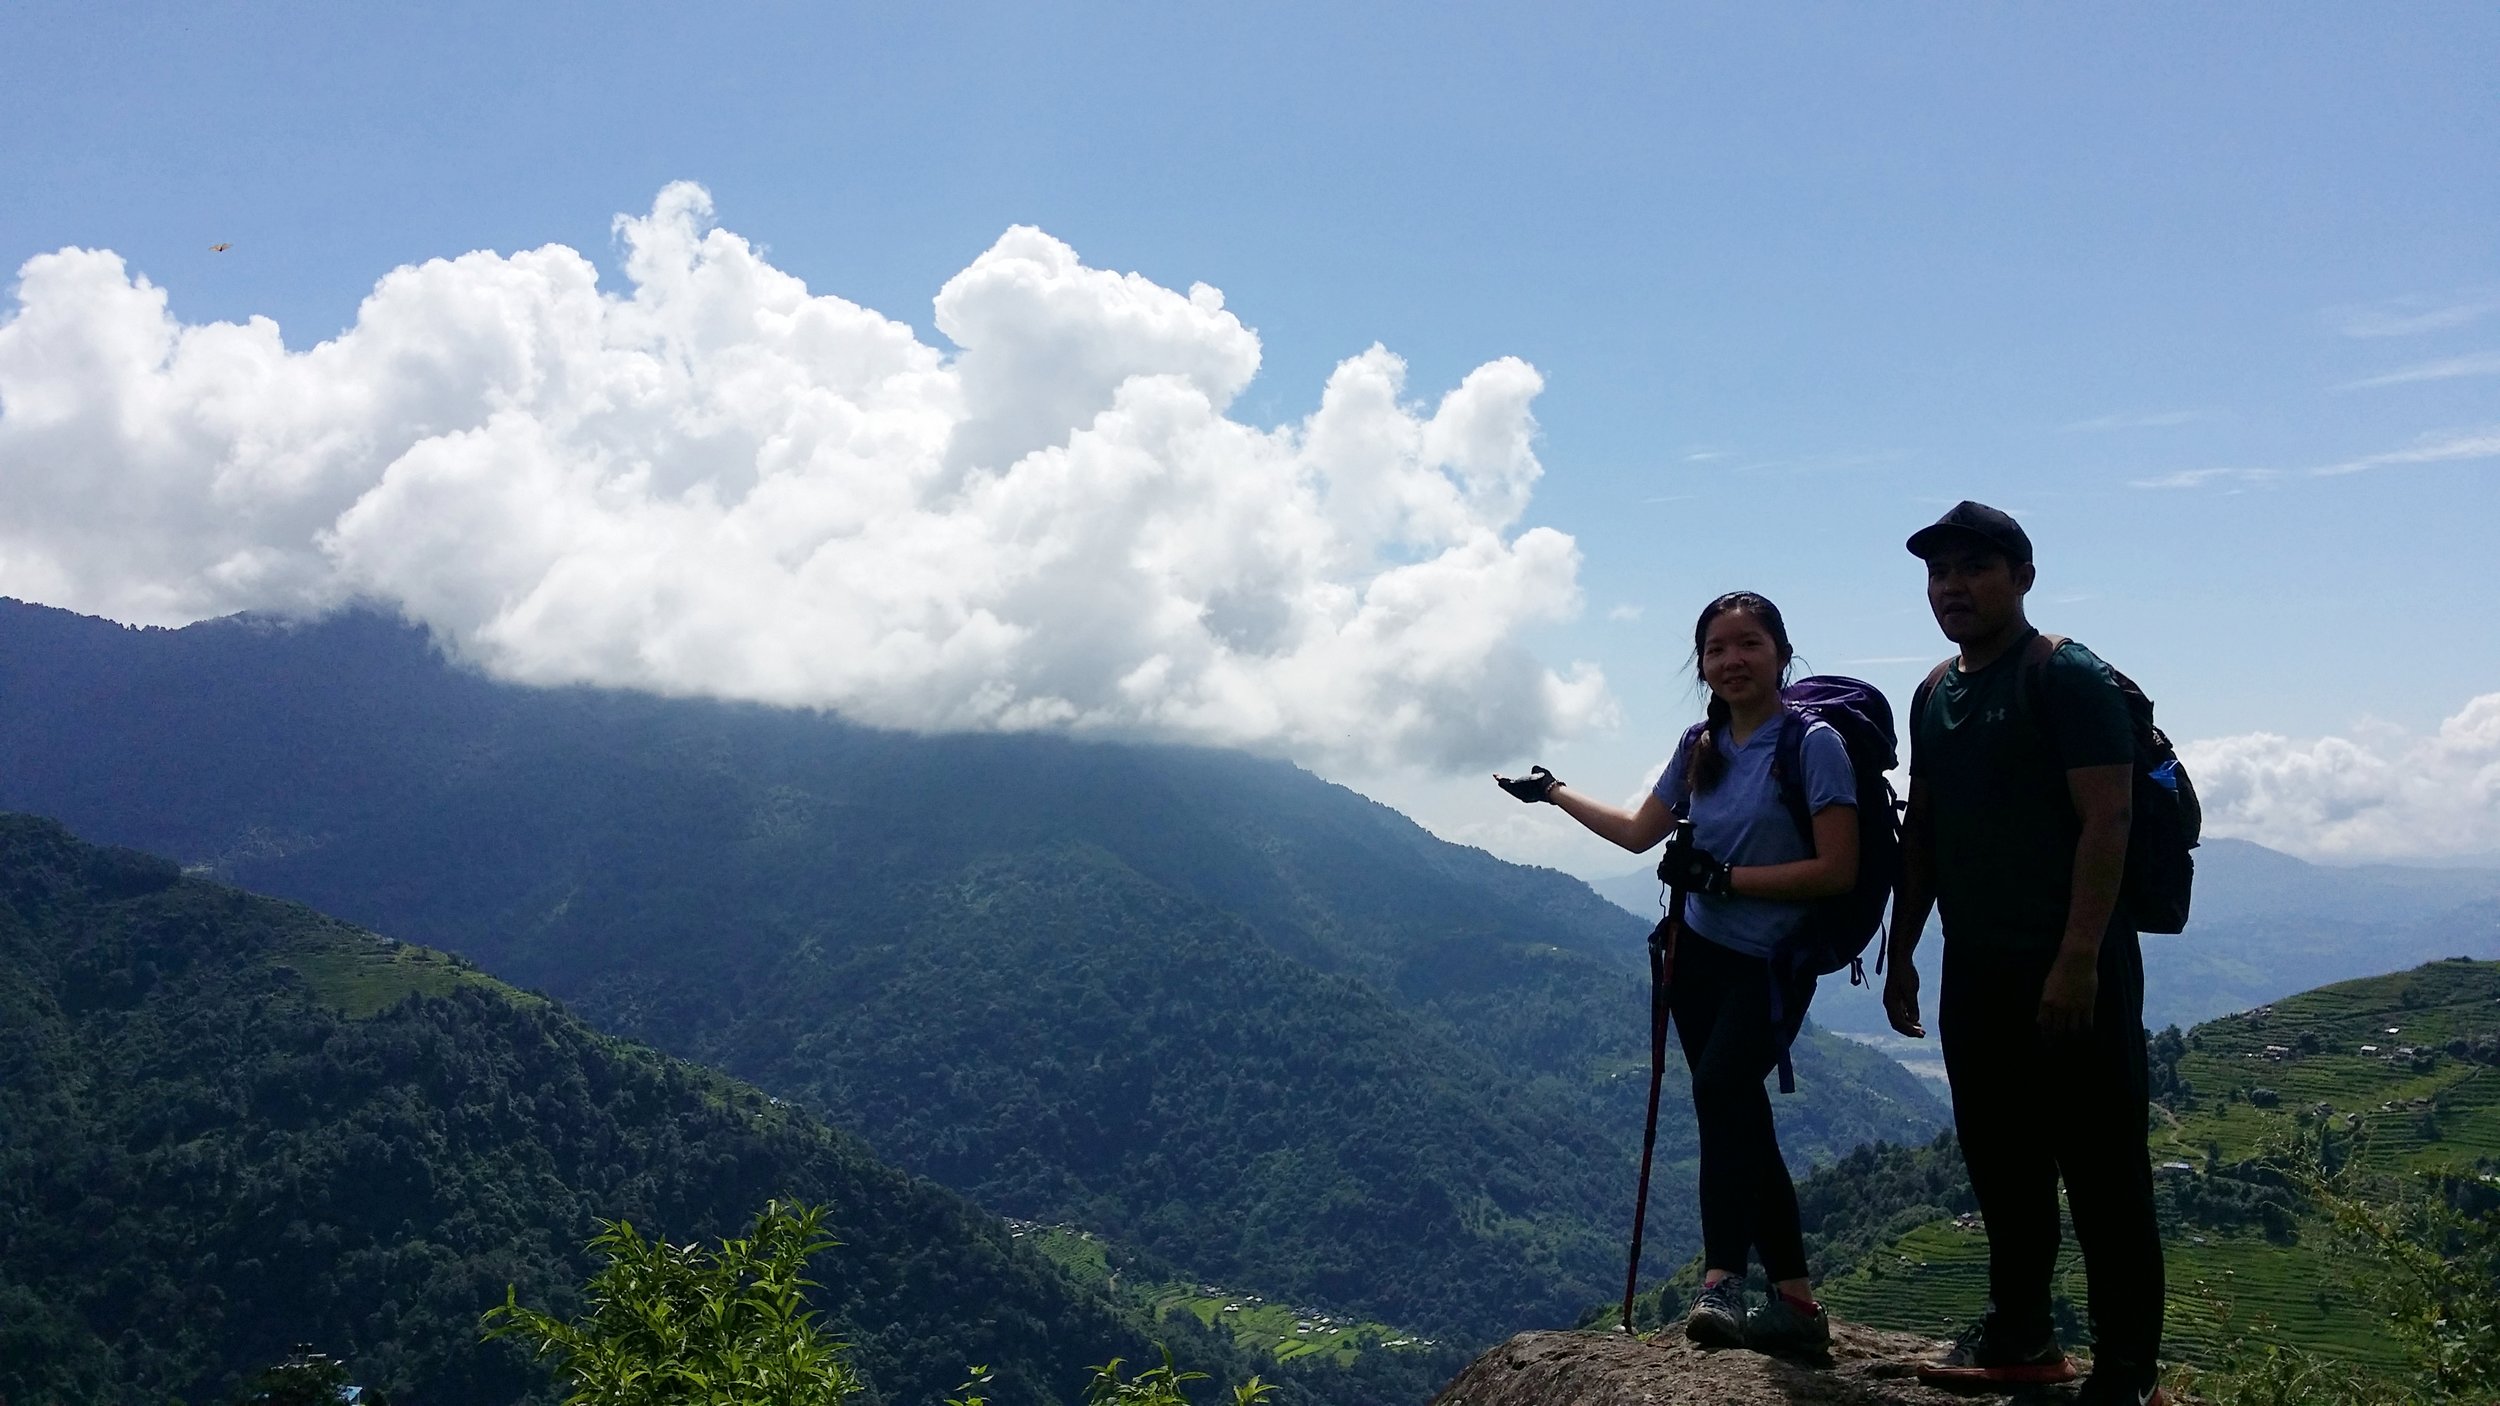
My boyfriend, Ryan and I decided to climb Mount Kinabalu as part of our annual and 7th-year-anniversary trip. We choose this mountain because of its vibrant scenery and the itinerary of the climb. We were looking for a rather short trek, and so Mount Kinabalu was indeed the perfect one for us. This trip is also basically our gifts for each other, except we were suffering and punishing ourselves along the way, but it was all worth it. Do you want to know why it’s worth it? Go on and read this blog!
ABOUT MOUNT KINABALU
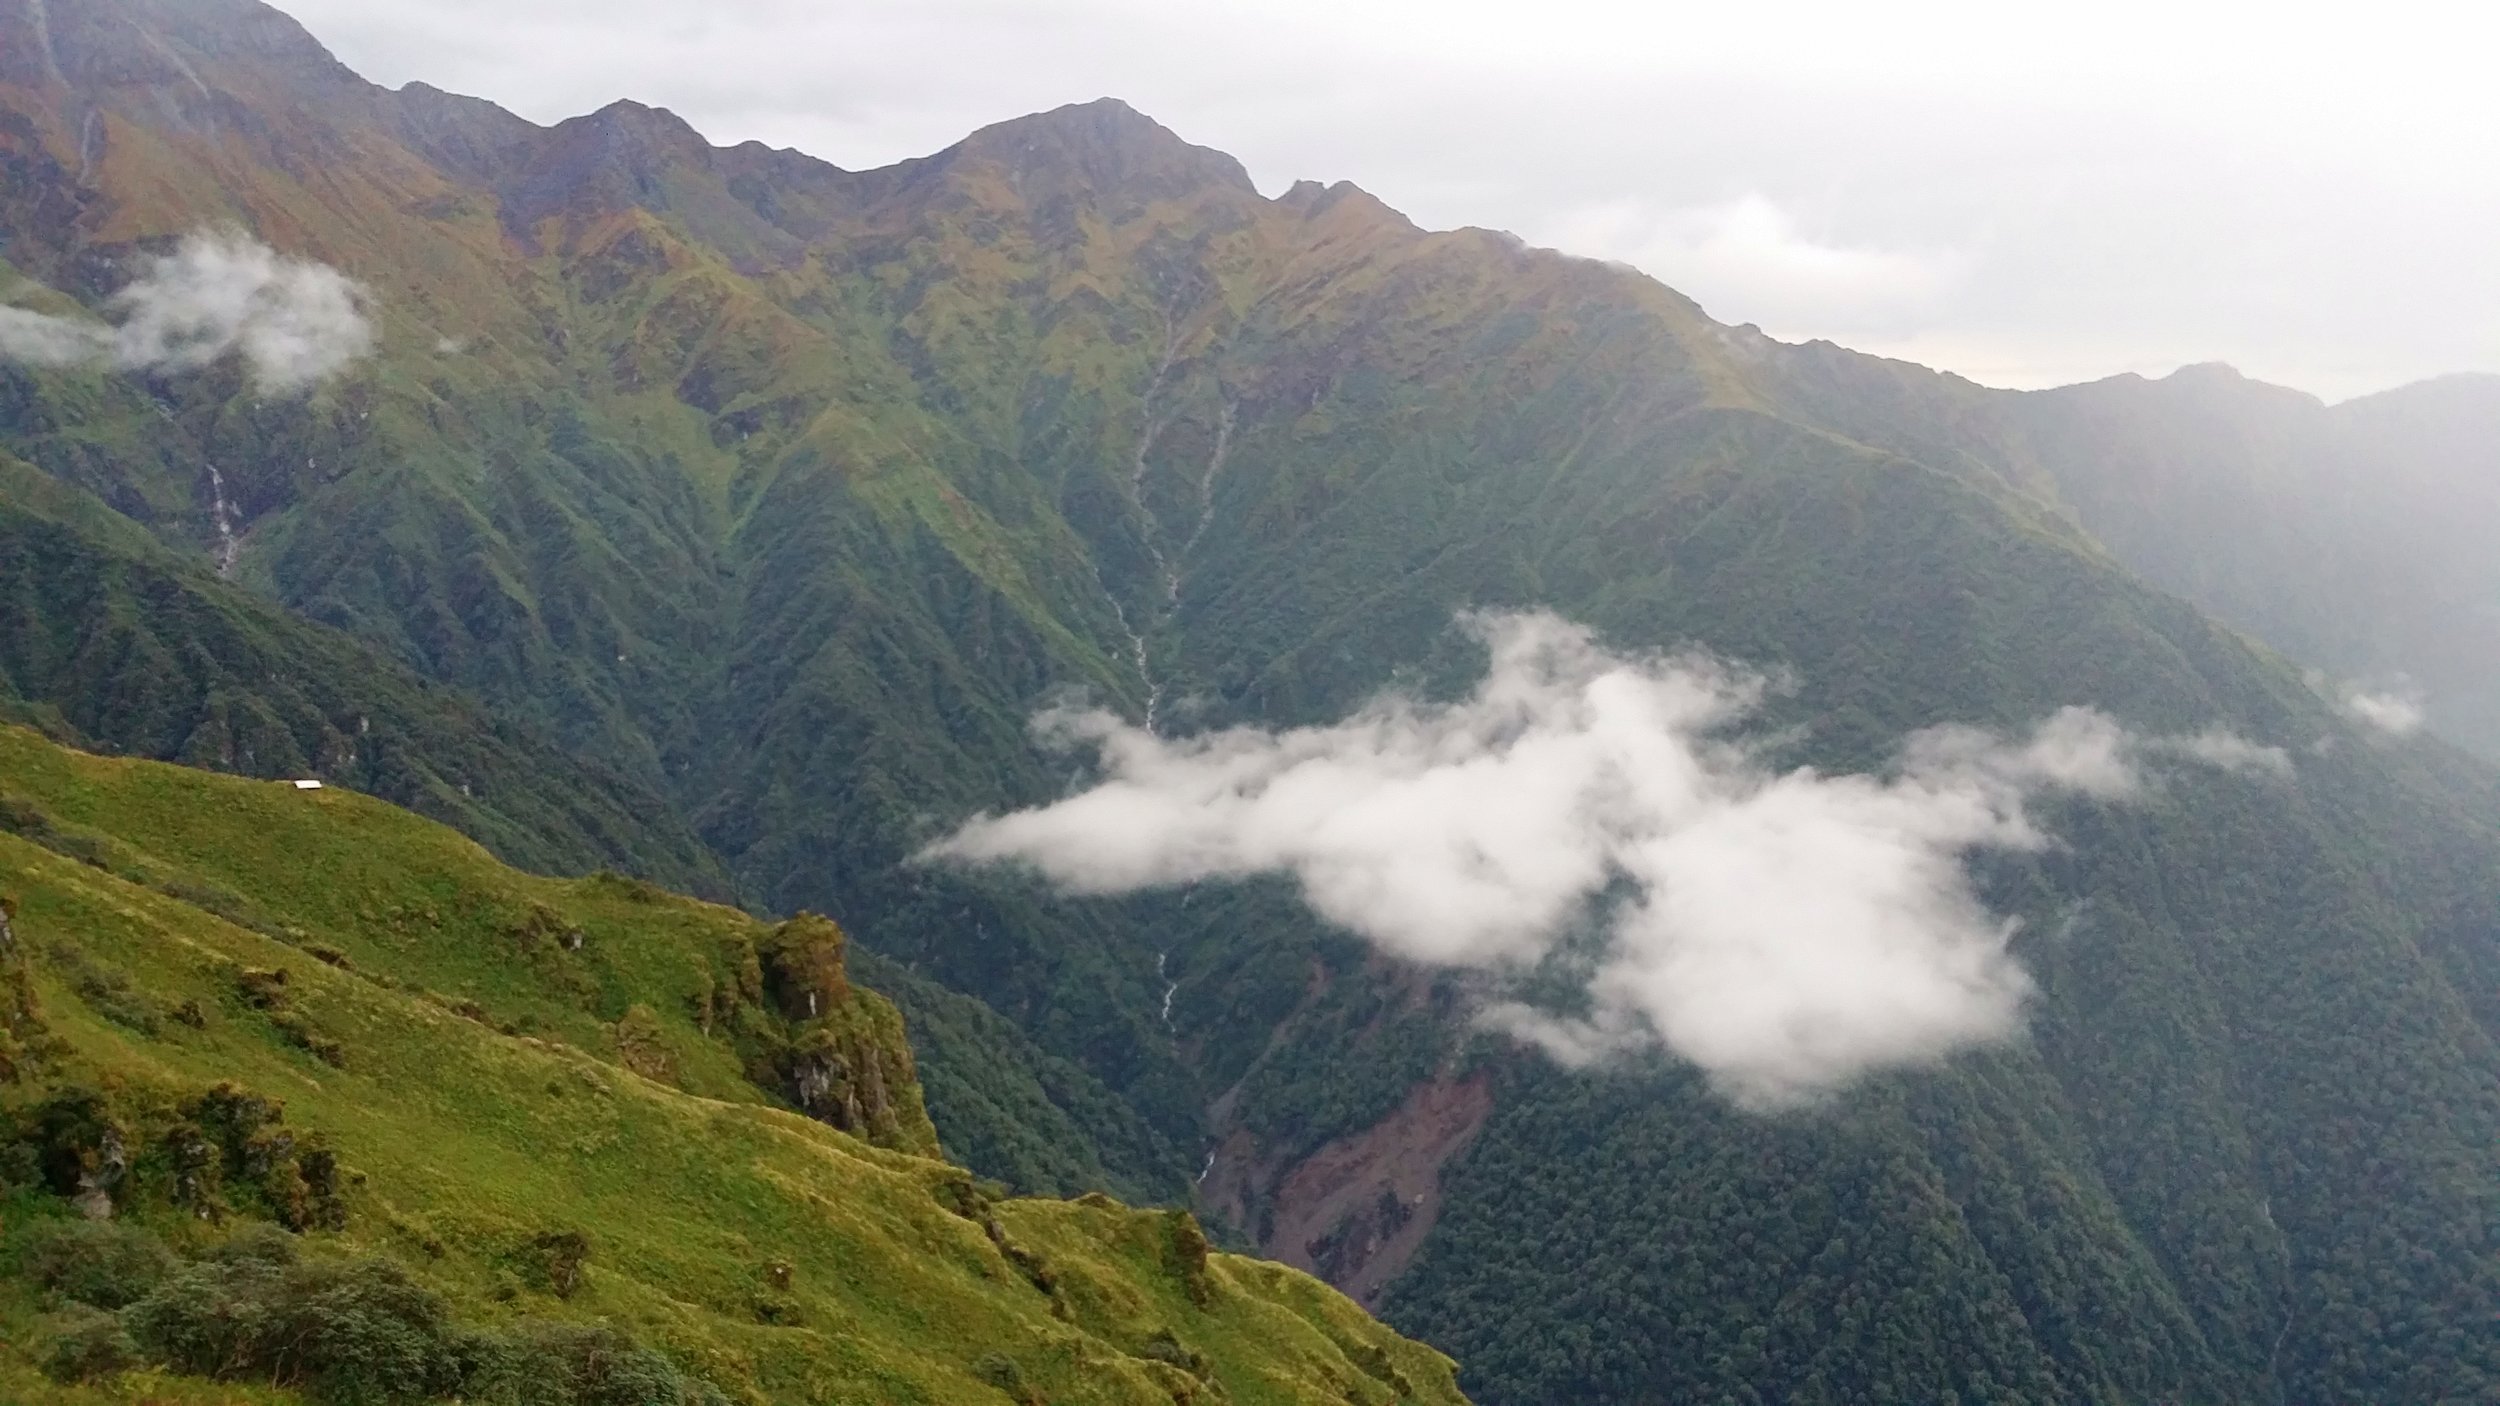
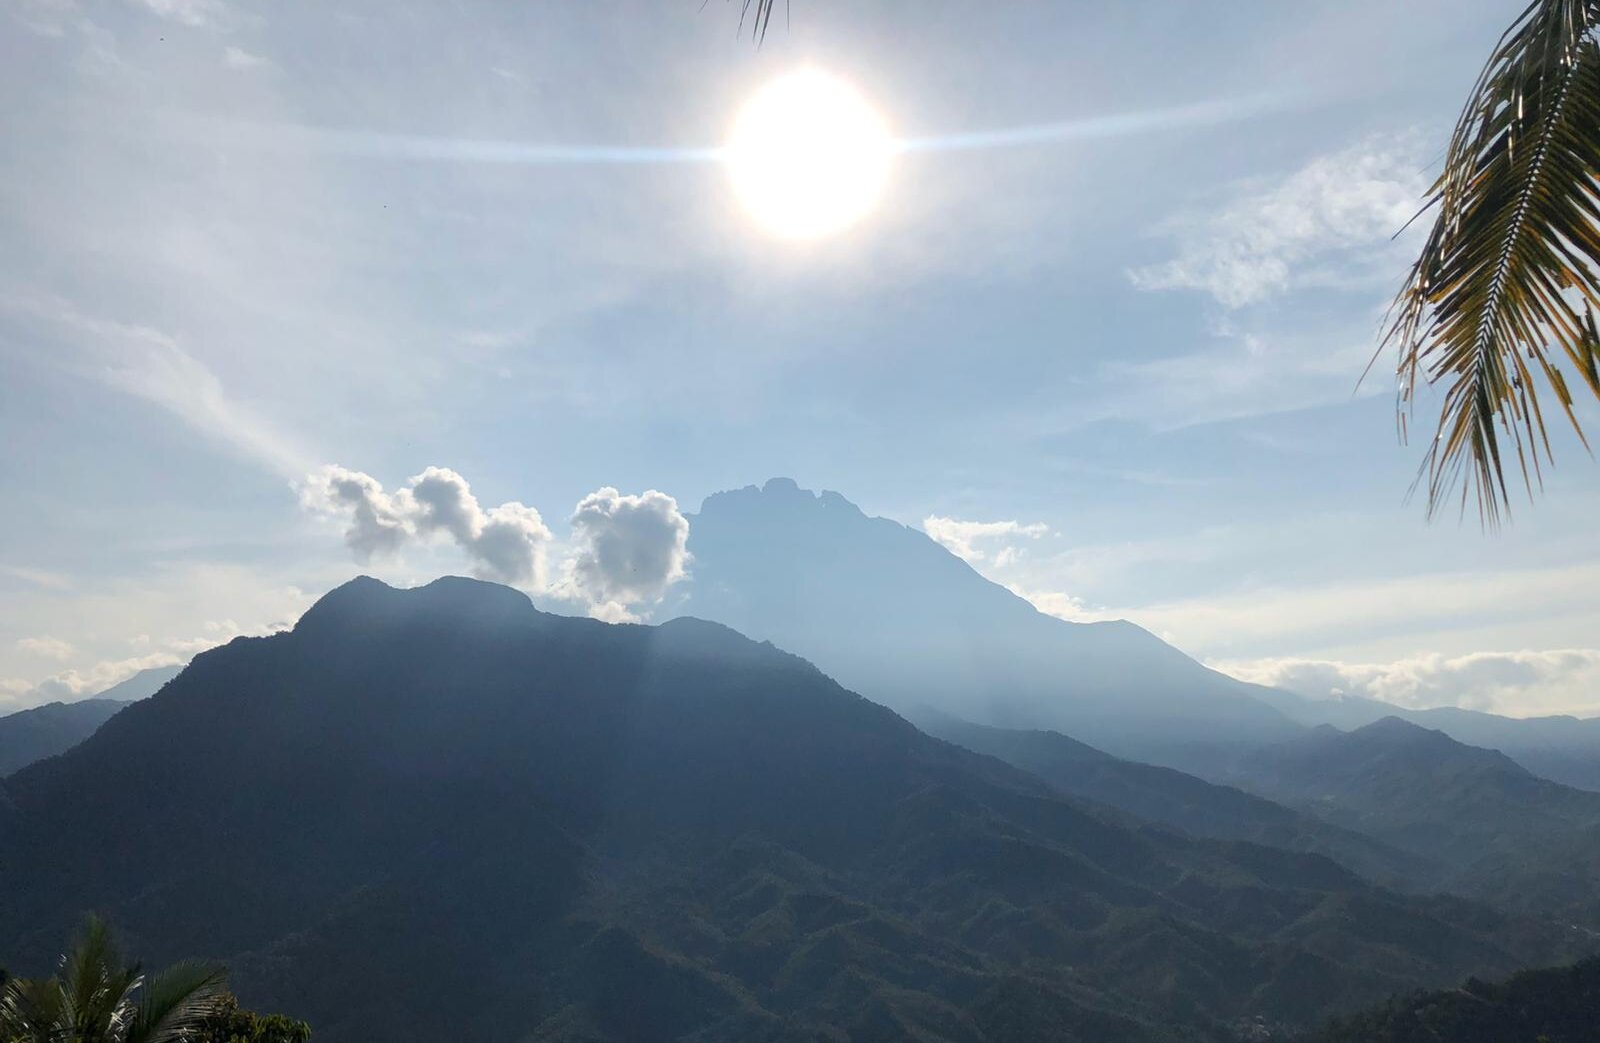
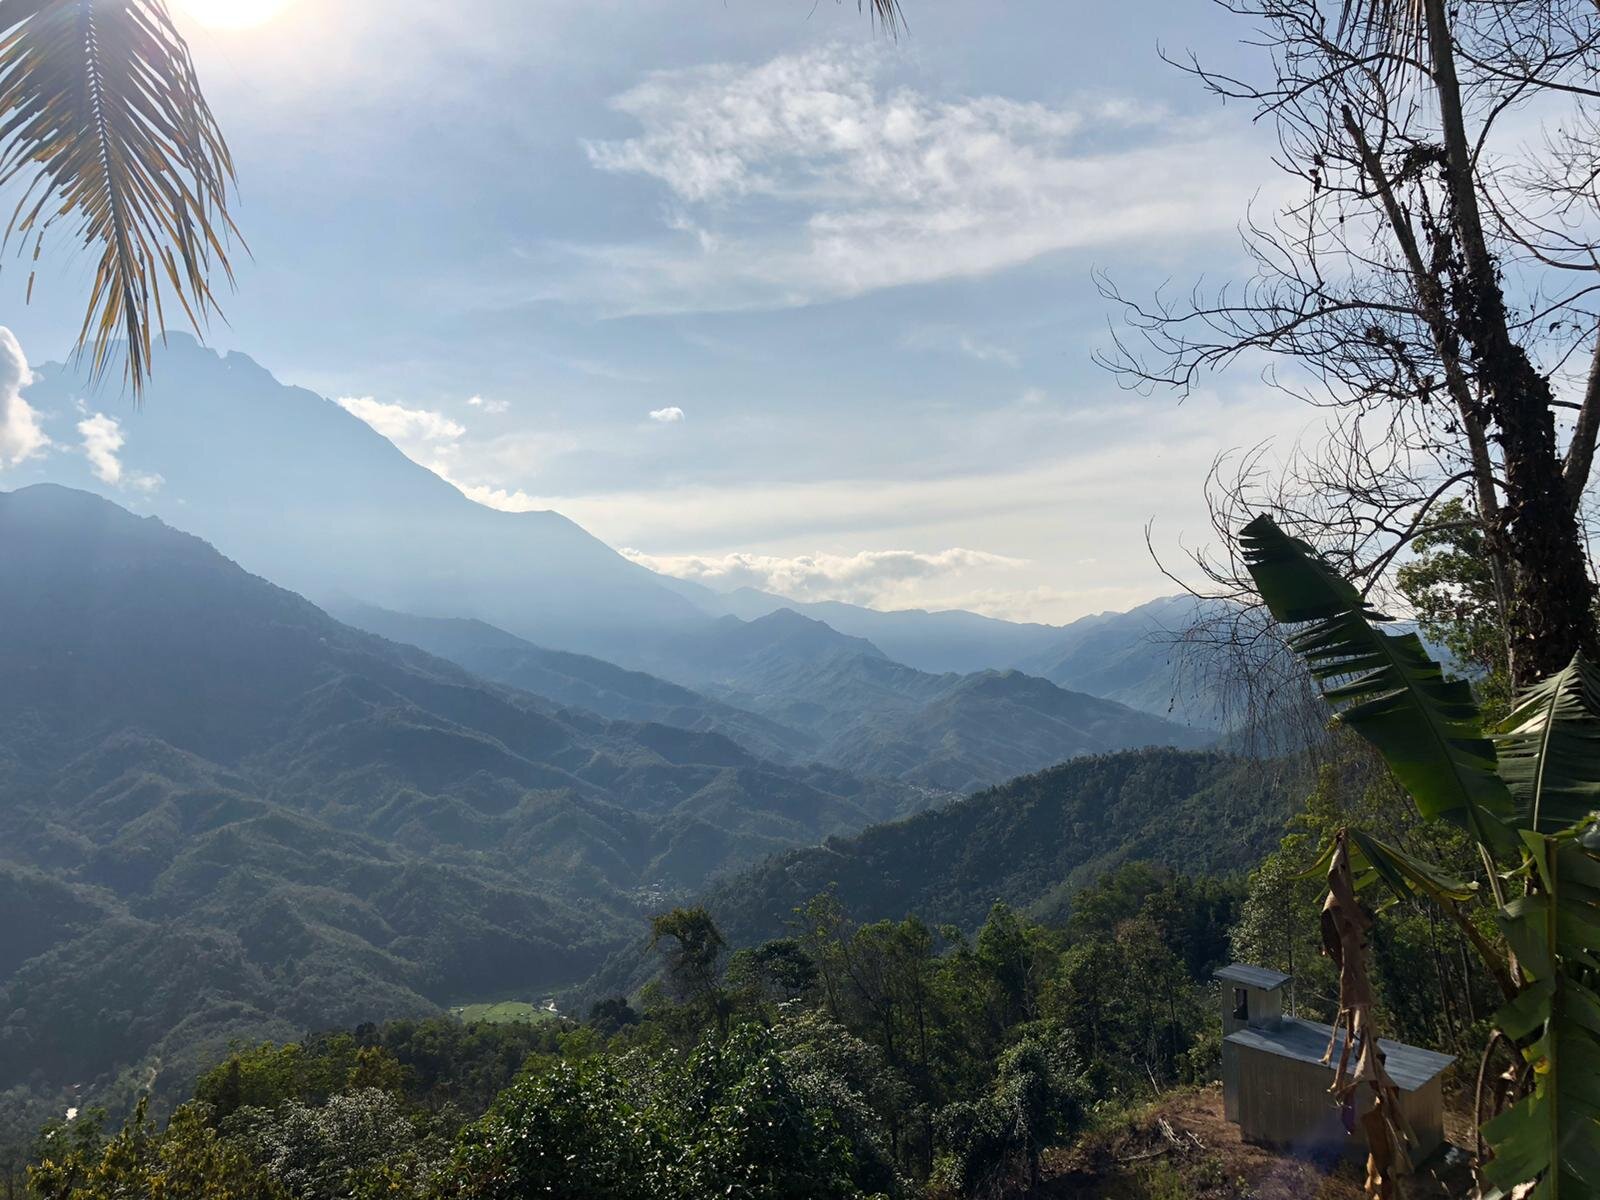
Mount Kinabalu is located on the island of Borneo in Southeast Asia. It is the highest mountain in Borneo, the third highest mountain in Southeast Asia and the 20th highest mountain in the world. It is known to be a UNESCO World Heritage Site. This mountain is a popular spot not only for tourists but by local Bornean.
Mount Kinabalu measures at 4,095 metres above sea level. It can get as low as 0 degrees at Low’s peak (the summit). Despite the cold weather, it doesn’t snow up there. However, it can be very windy and chilly on top.
Climbing the mountain only need a minimum of 2 days to complete. Yes, it is a fast trek. However, it can be challenging and difficult for some or many people with little experience in mountain climbing. On the first day, climbers must face a straight 6km trek and 3.8km for the summit climb on the second day, so 8.8km in total for ascending. If you include the descending part, then it’s 17.6km all in all!
There is no age limit climbing Mount Kinabalu, but one must be in good health and fitness level. The youngest climber range from 7 years old and 80 years old being the oldest climber ever to climb the mighty mountain.
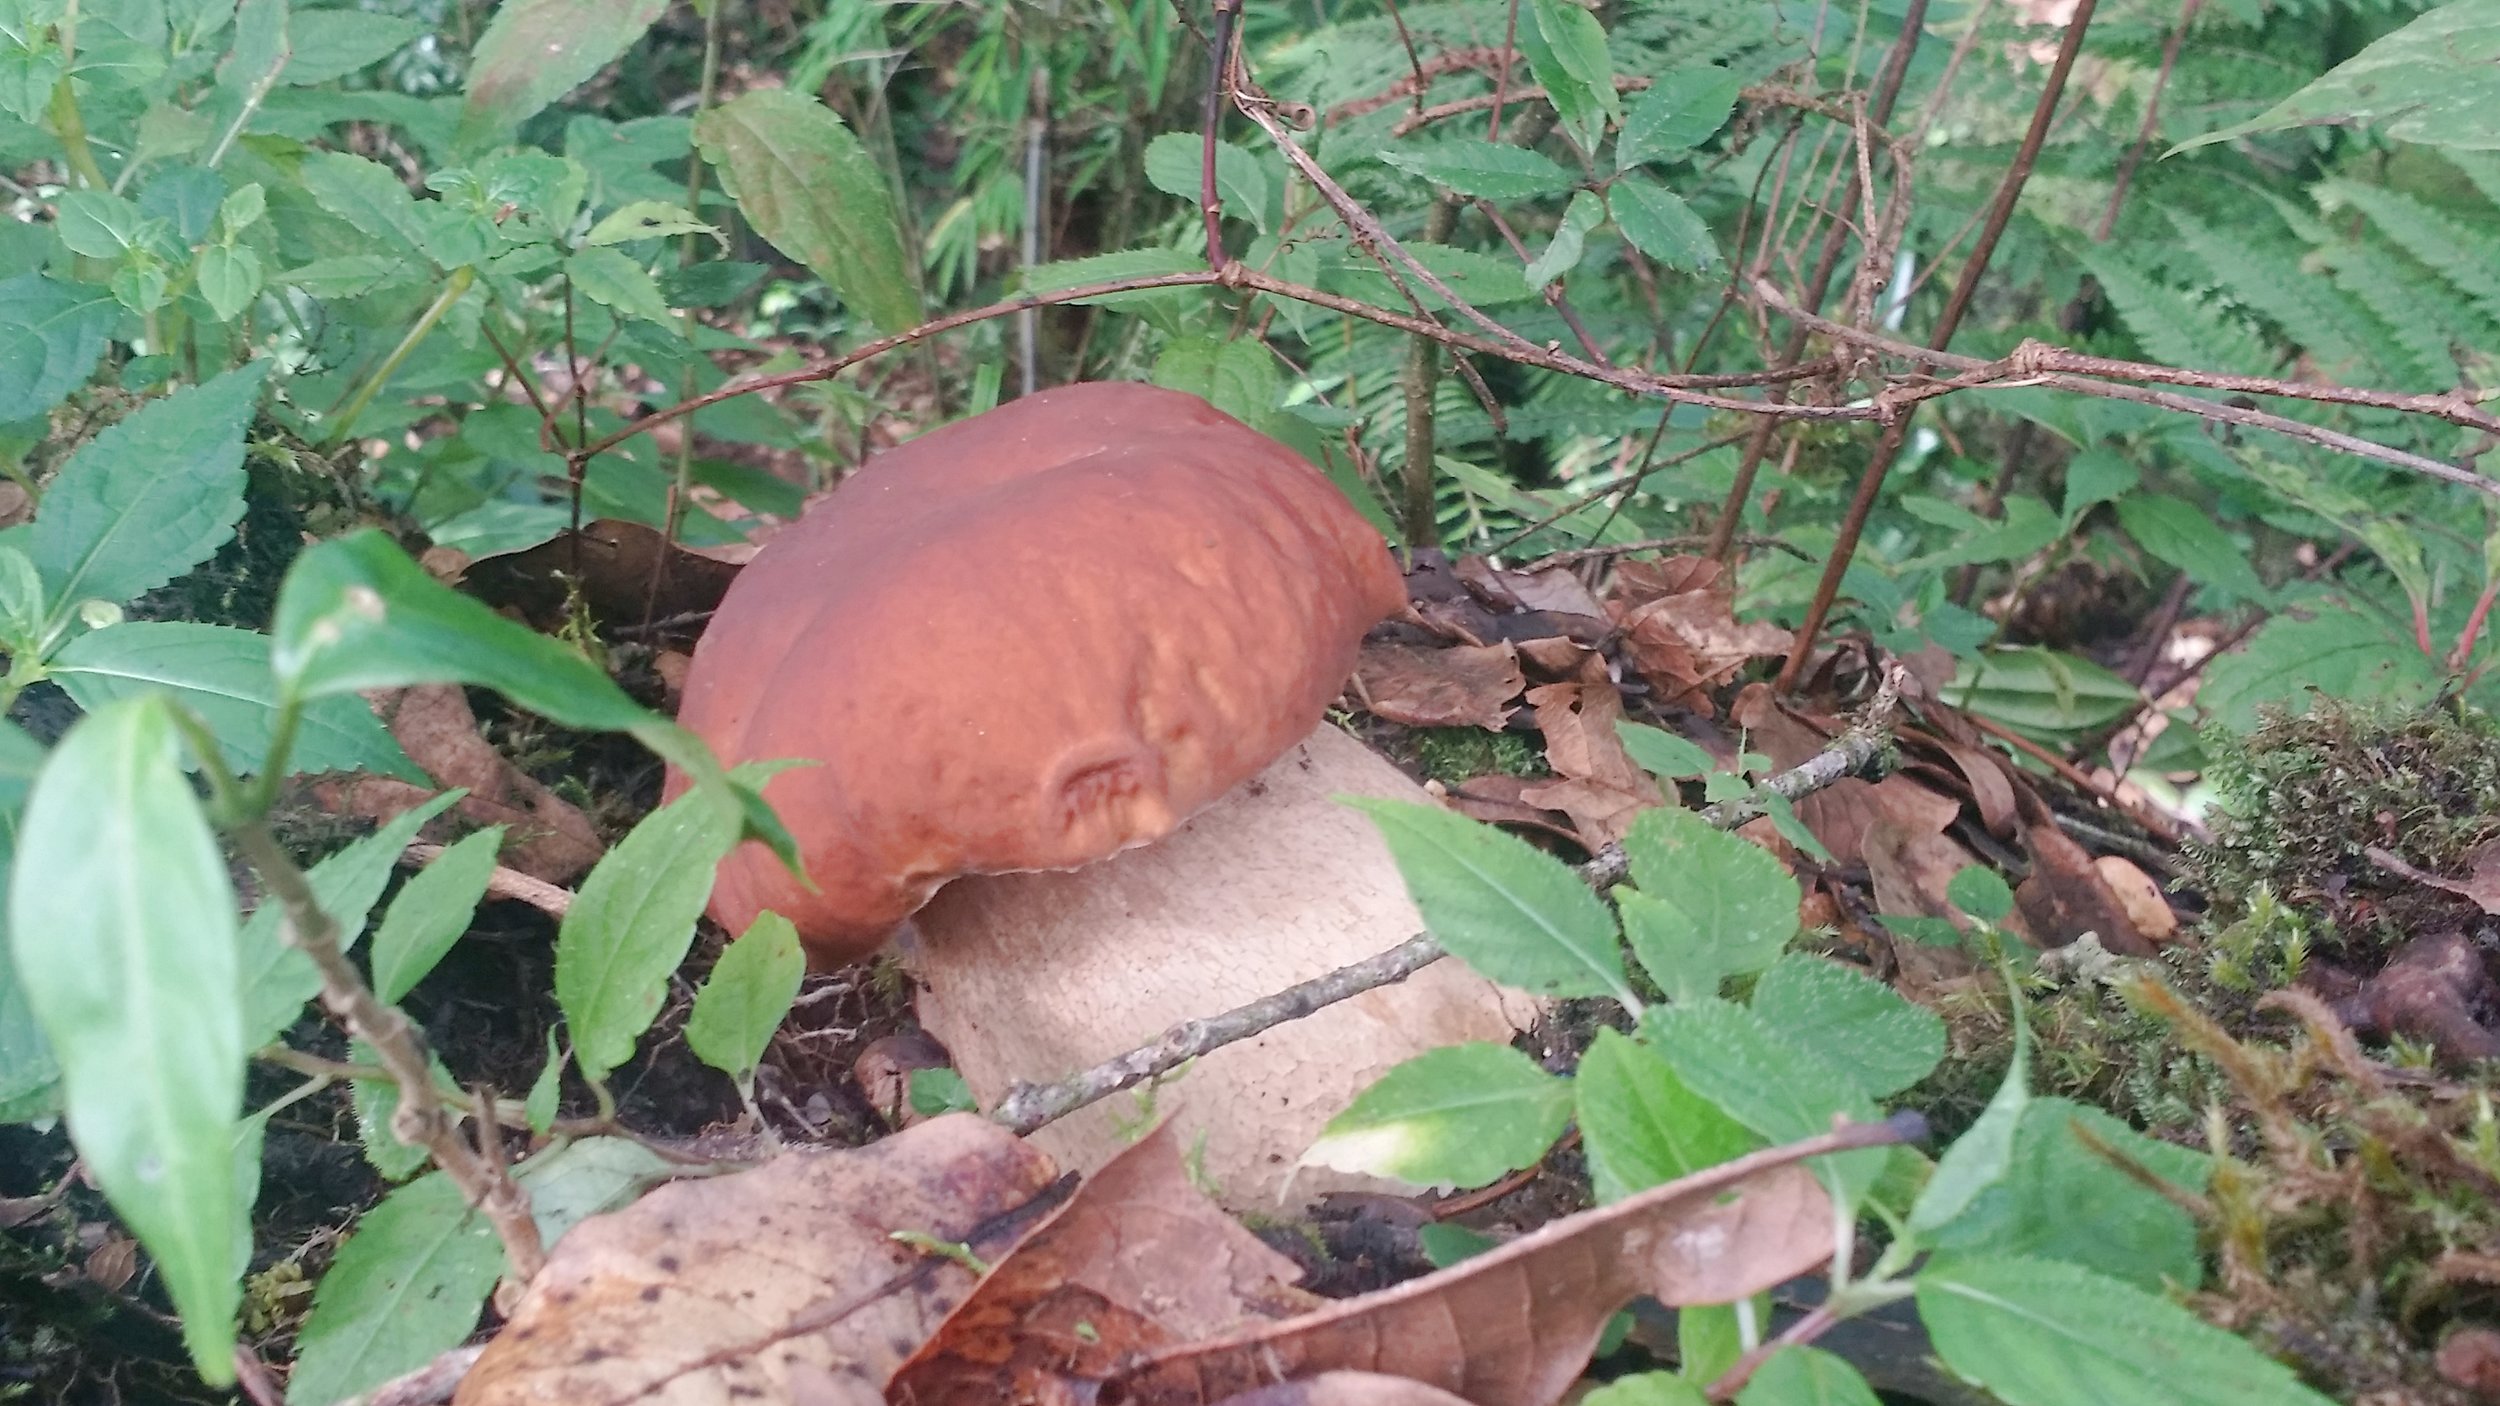
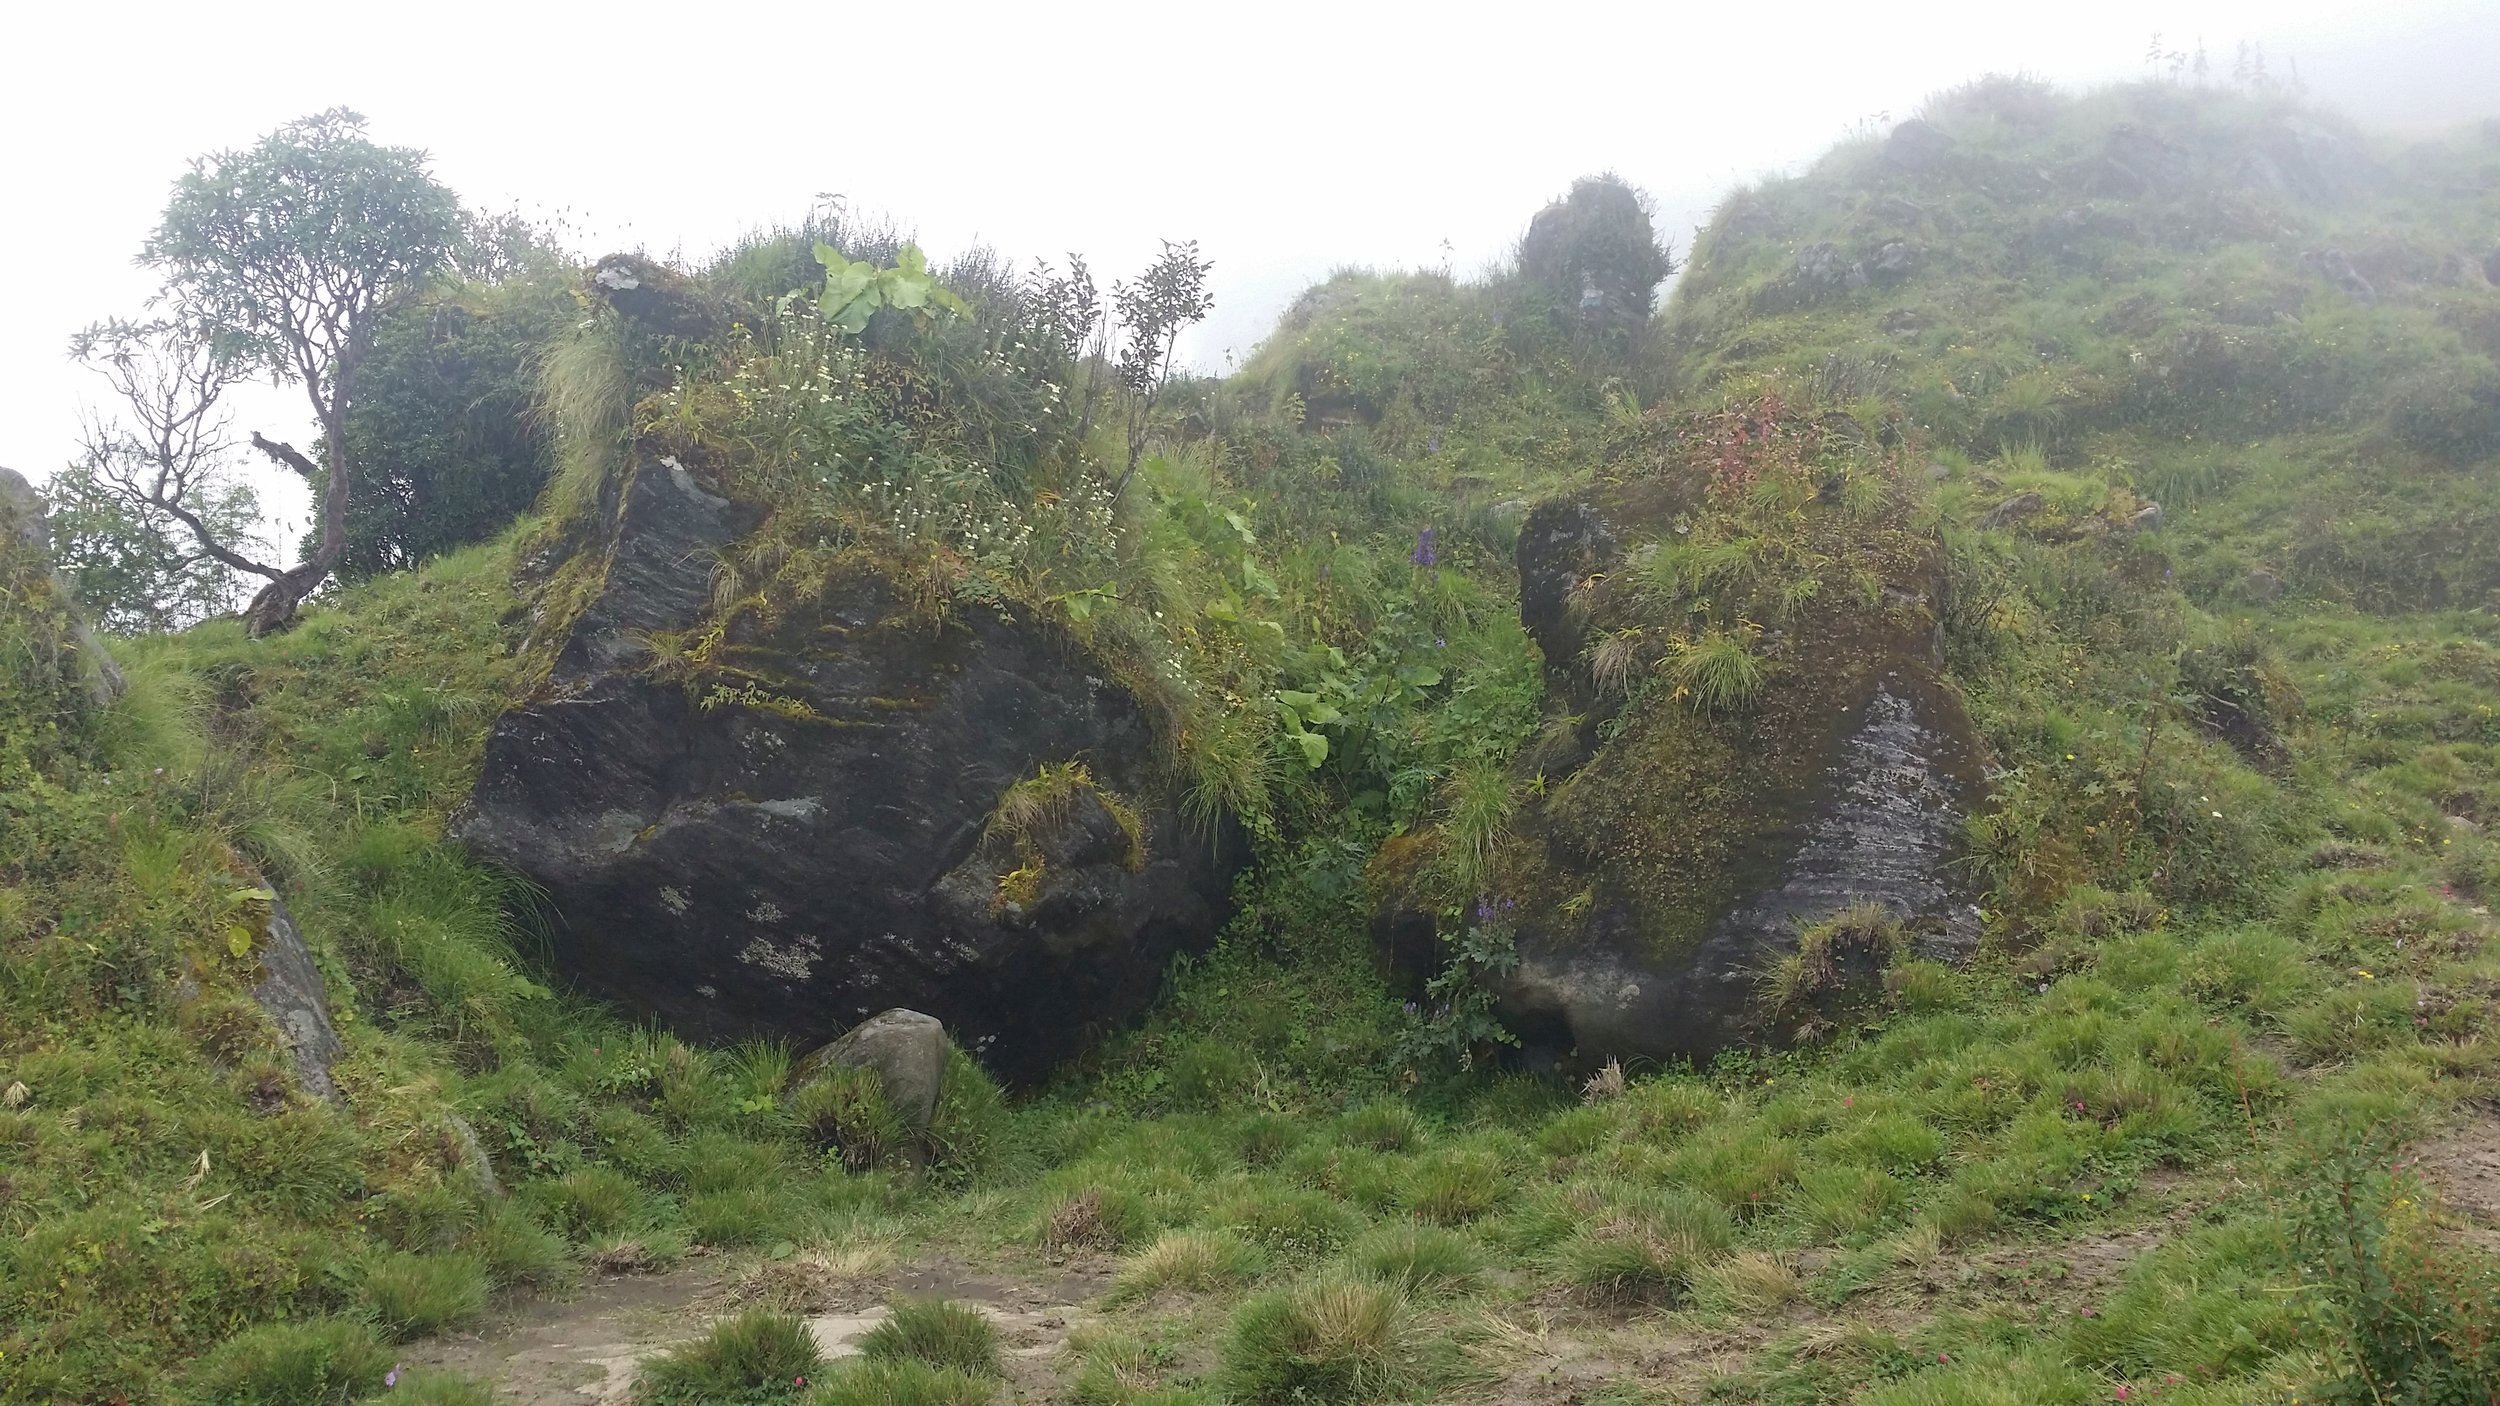
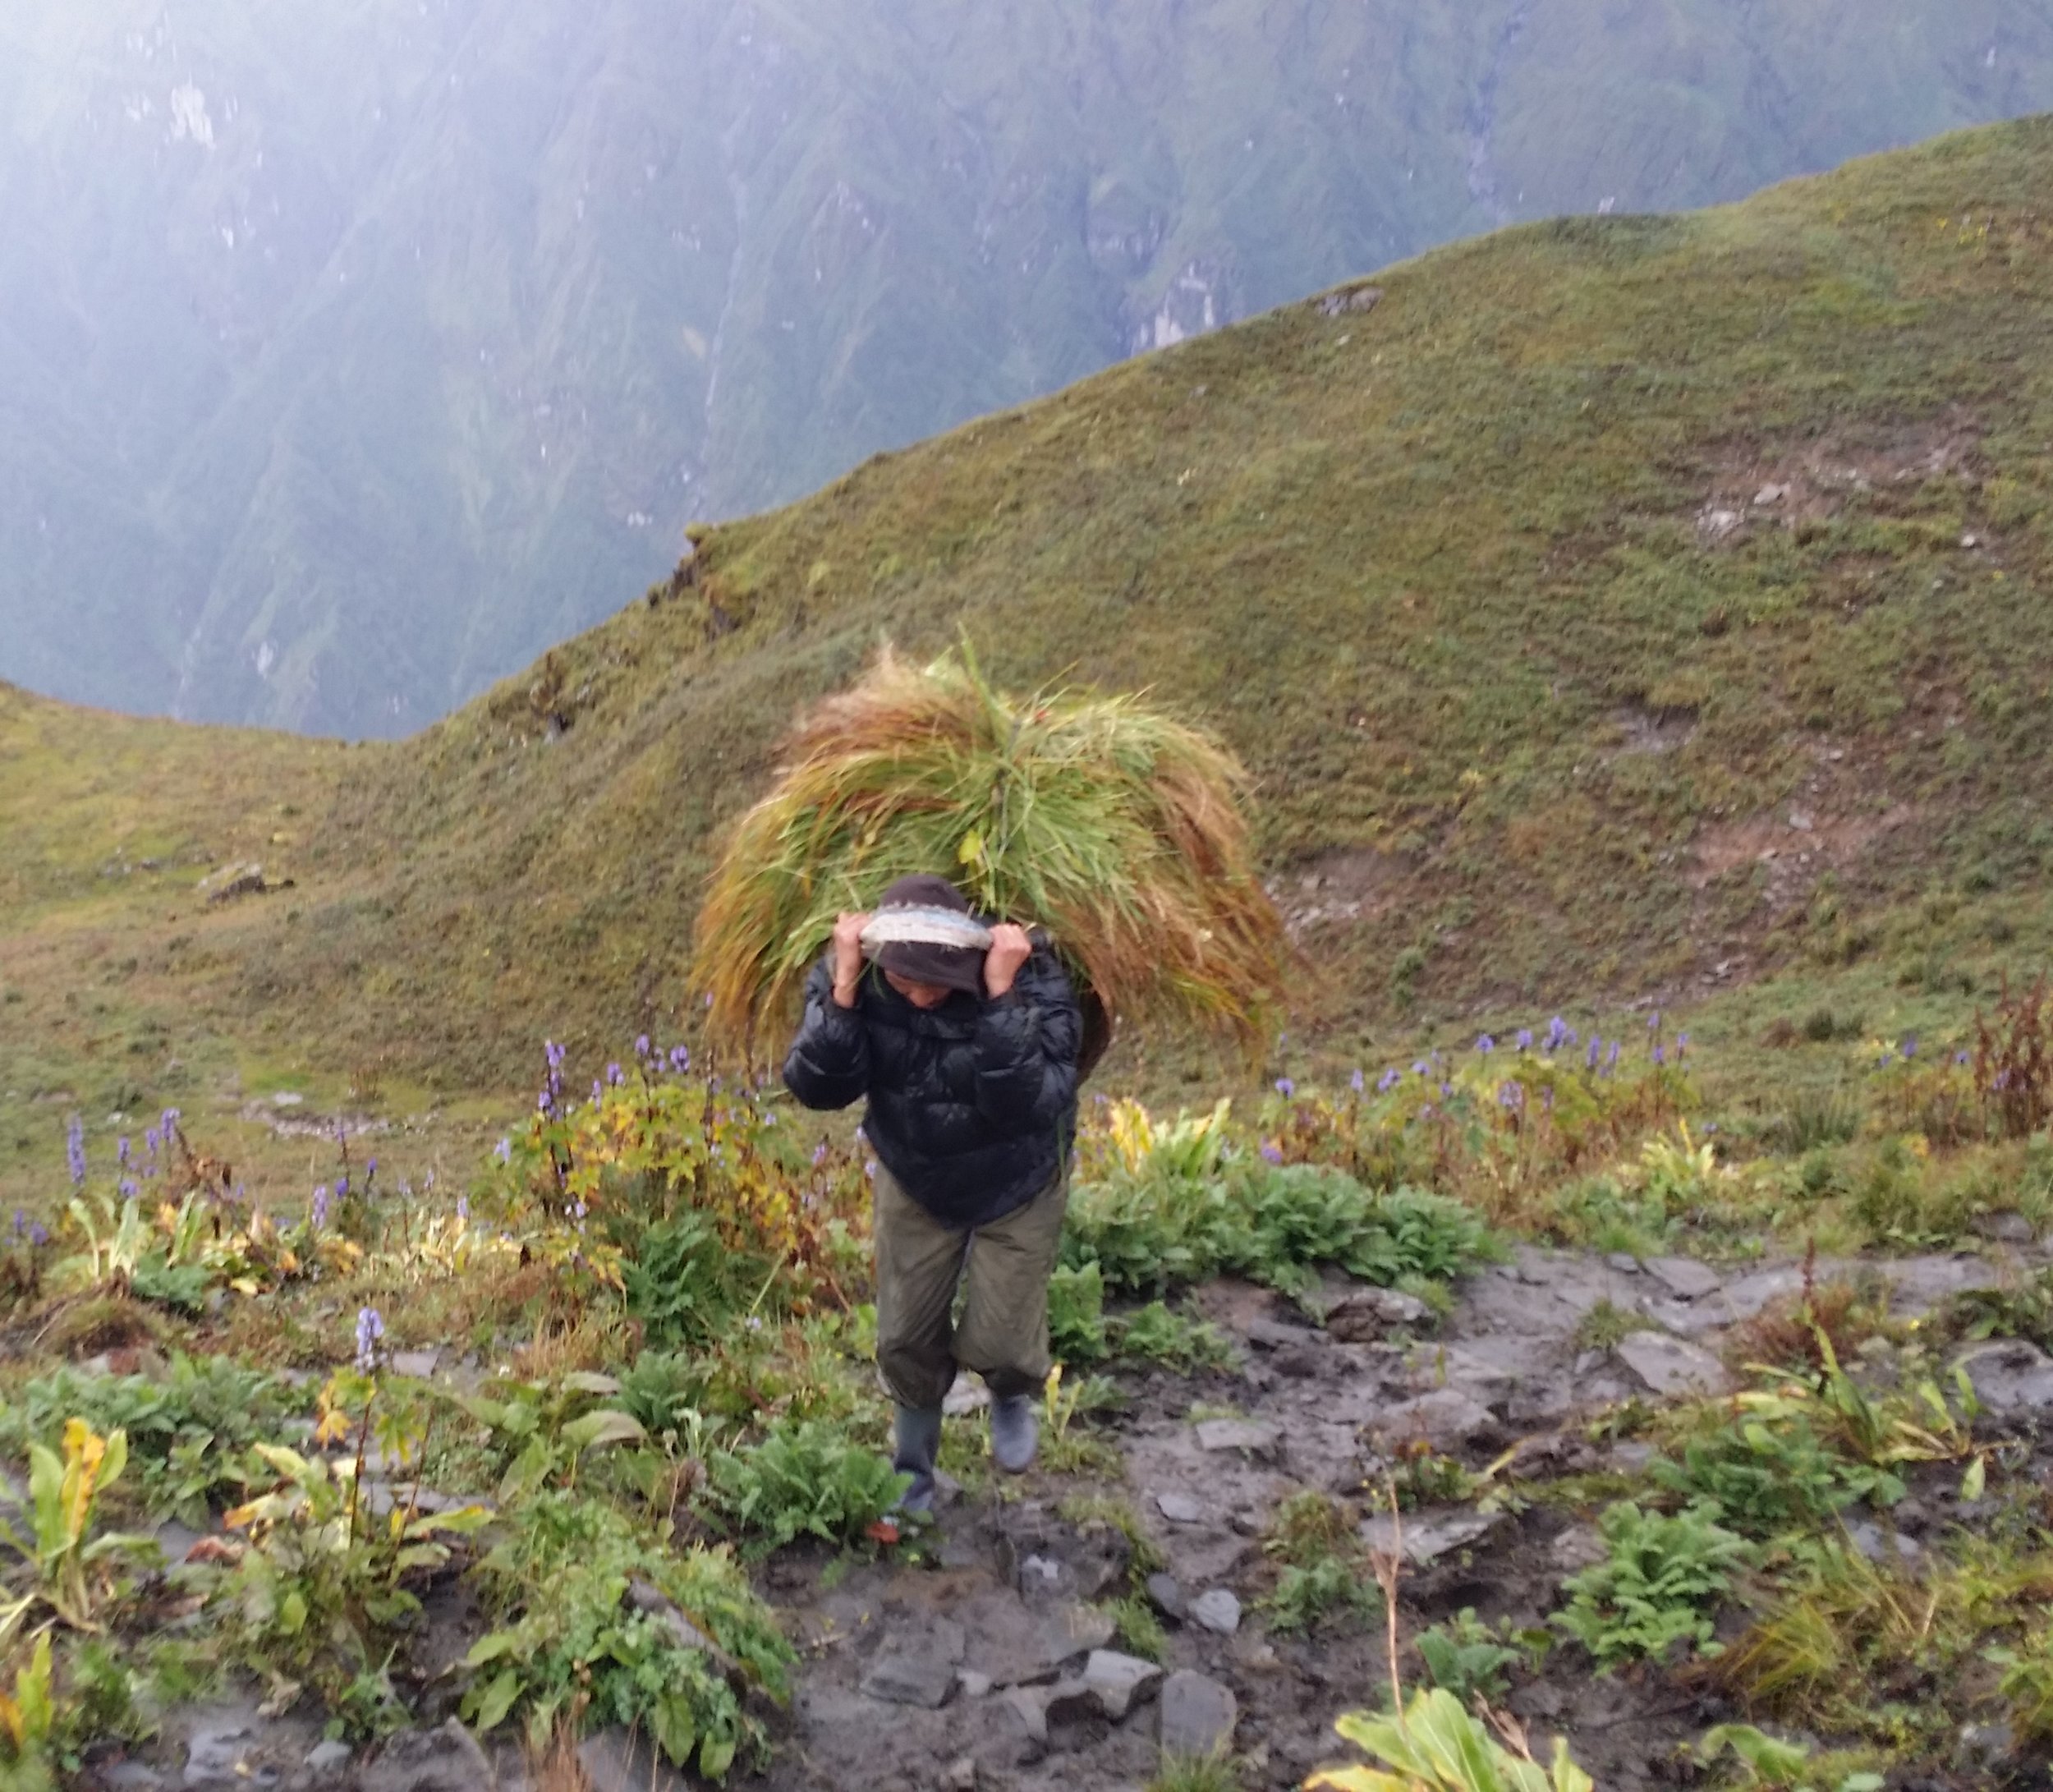
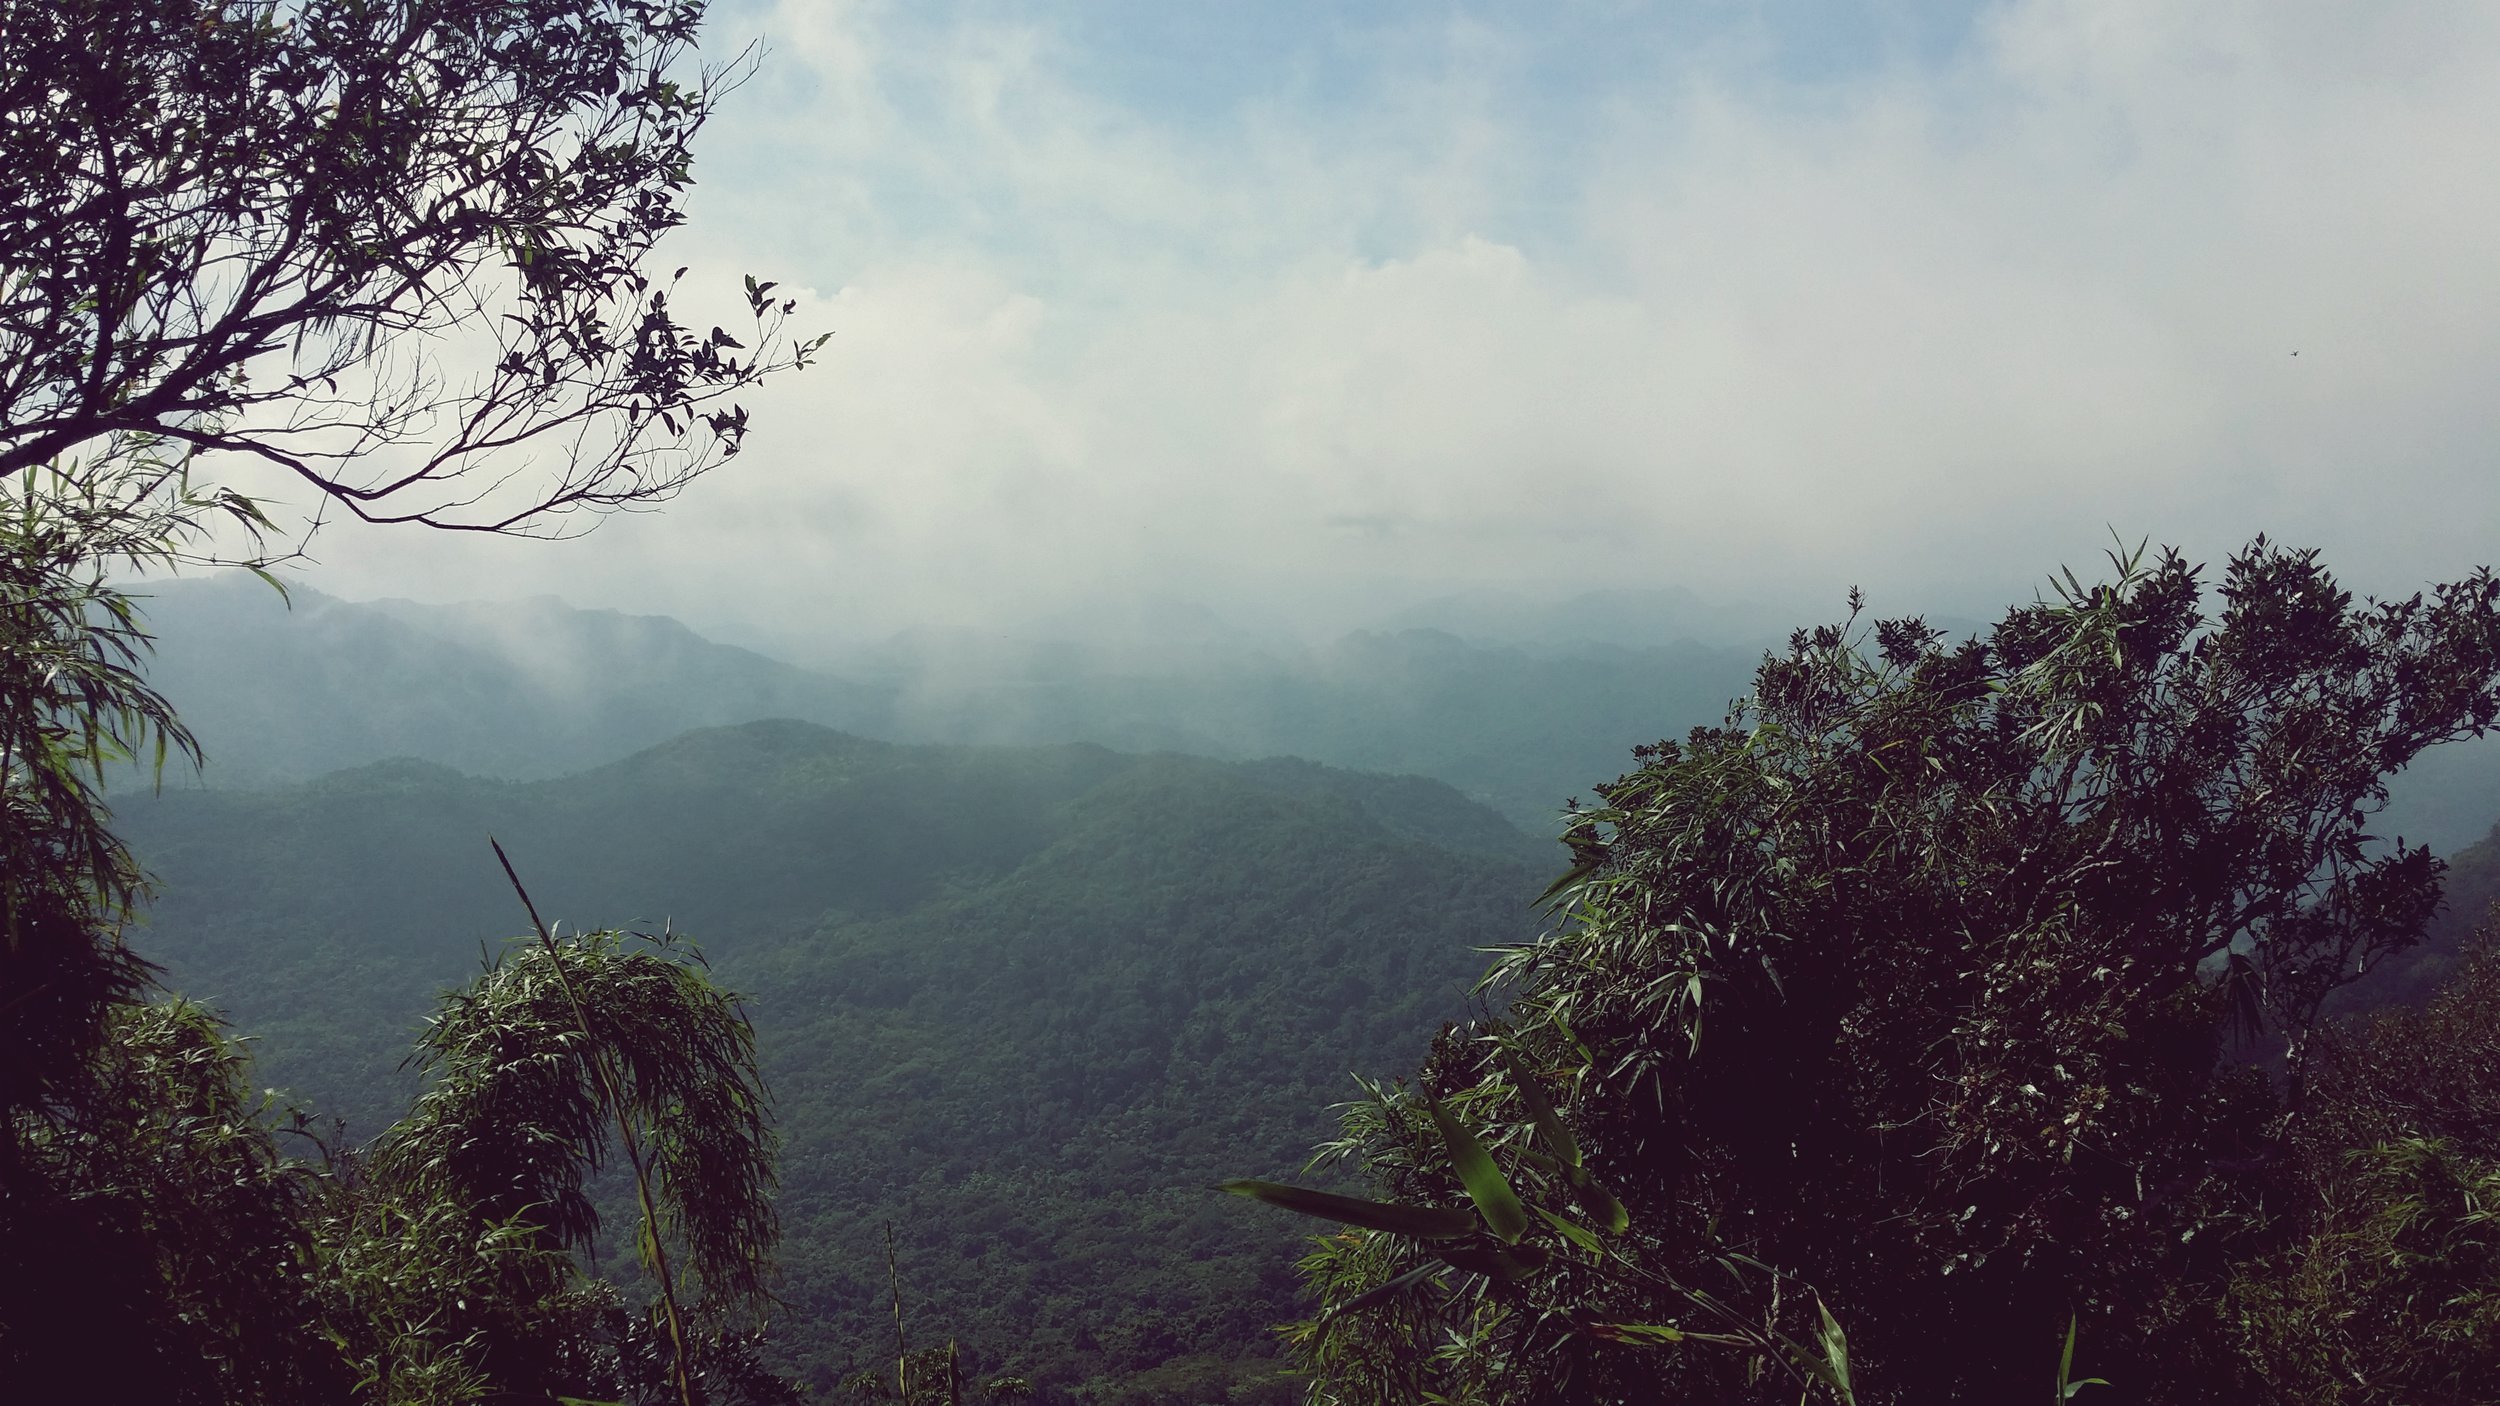
Aside from the mountain view, there are around 5,000 different species of plants and flowers along the trail. The name ‘Kinabalu’ is actually ‘Cina Balu’ which means ‘Chinese Widow'. Legend has it that there was a Chinese man who ascended the mountain in search of pearls where he also met and married a Kadazan (a tribe from Dusun) woman. However, he left and returned to China. The woman then wandered about the mountain and was severely depressed. Consequently, she turned into stone.
MOUNT KINABALU PACKAGES
There are two types of packages available for climbers upon climbing Mount Kinabalu. Reserving your spots in advance is required. There is a limit up to 185 climb permits for climbers to climb the mountain on a day to day basis. Moreover, there are times when summit climb is not open for public due to bad weather.
Have a look at this link ‘Mount Kinabalu News and Updates’ to know more information about their recent news and updates.
It is essential to know the packages Kinabalu Park offers to help you plan your climb dates. Picking the right season is also necessary, which will also be cover in this blog. Here are the ideal packages of the climb.
2 DAYS, 1 NIGHT PACKAGE (2D1N)
1 night overnight stay at Panalaban Base Camp. This is a shared accommodation (bunk beds). Unfortunately, hot shower is not available in this hut.
Private rooms with hot shower are available with an additional charge.
Low’s Peak Summit at 4,095 meters above sea level.
The trail starts at Timpohon Gate and will also end the trek there.
Climbing permit, climbing insurance and licensed Mountain guide are included.
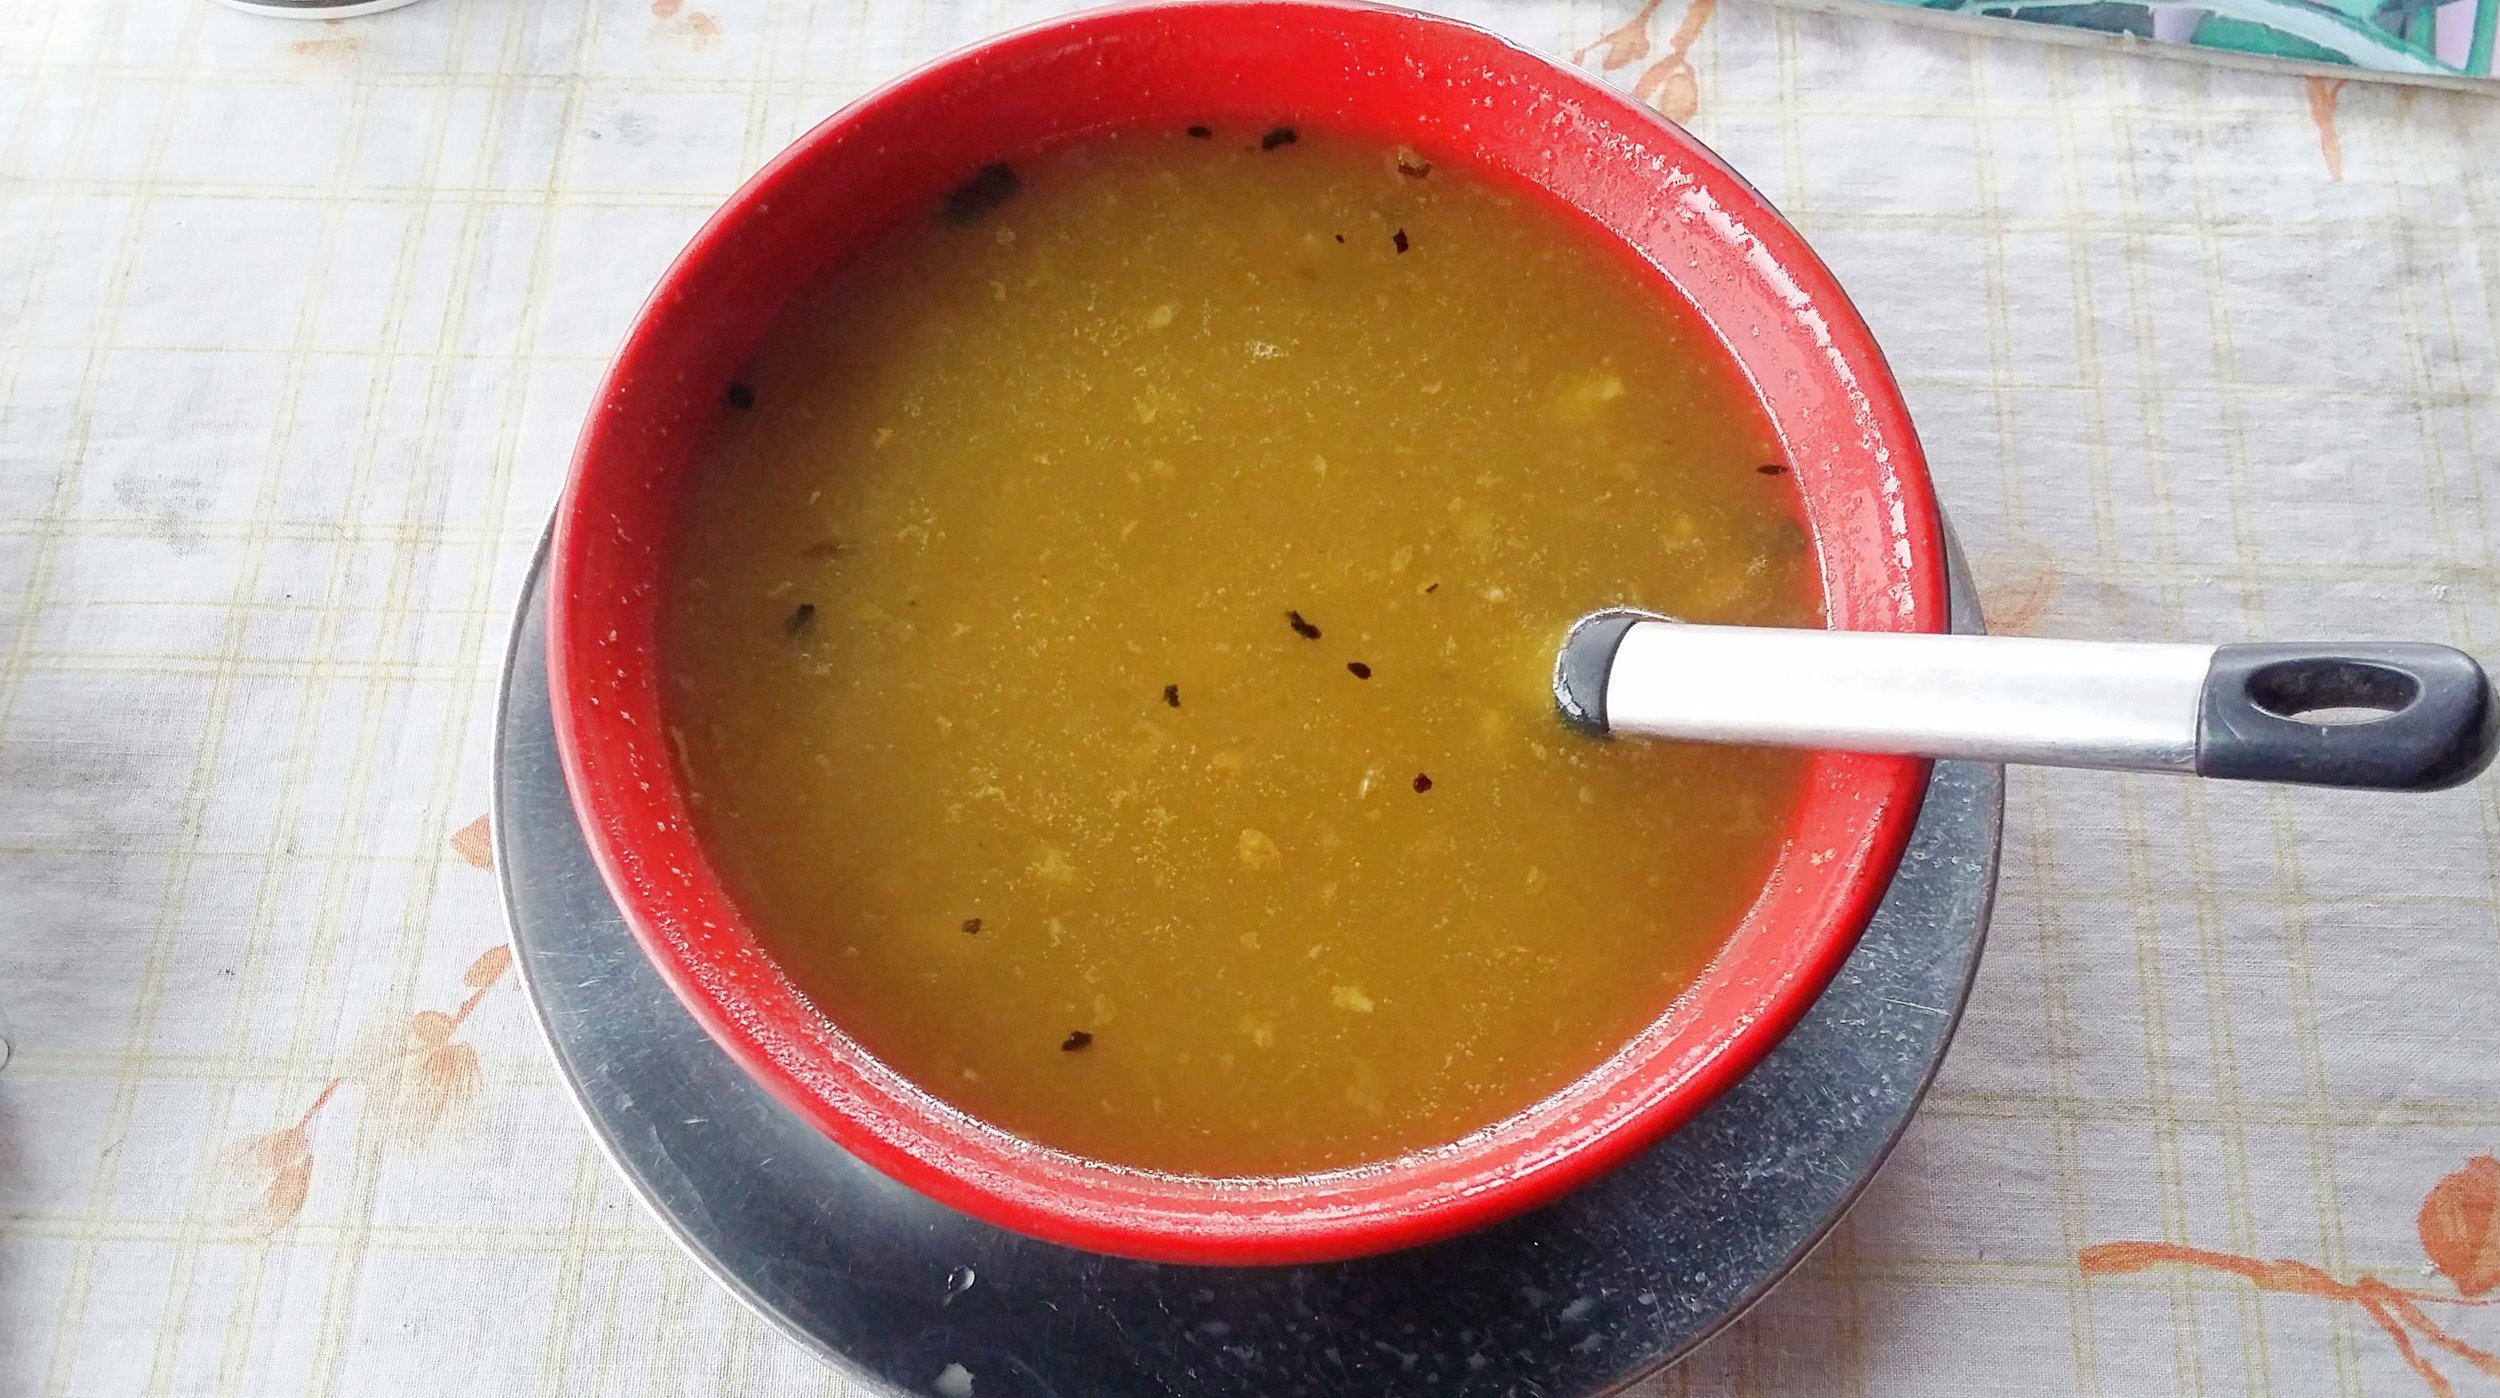
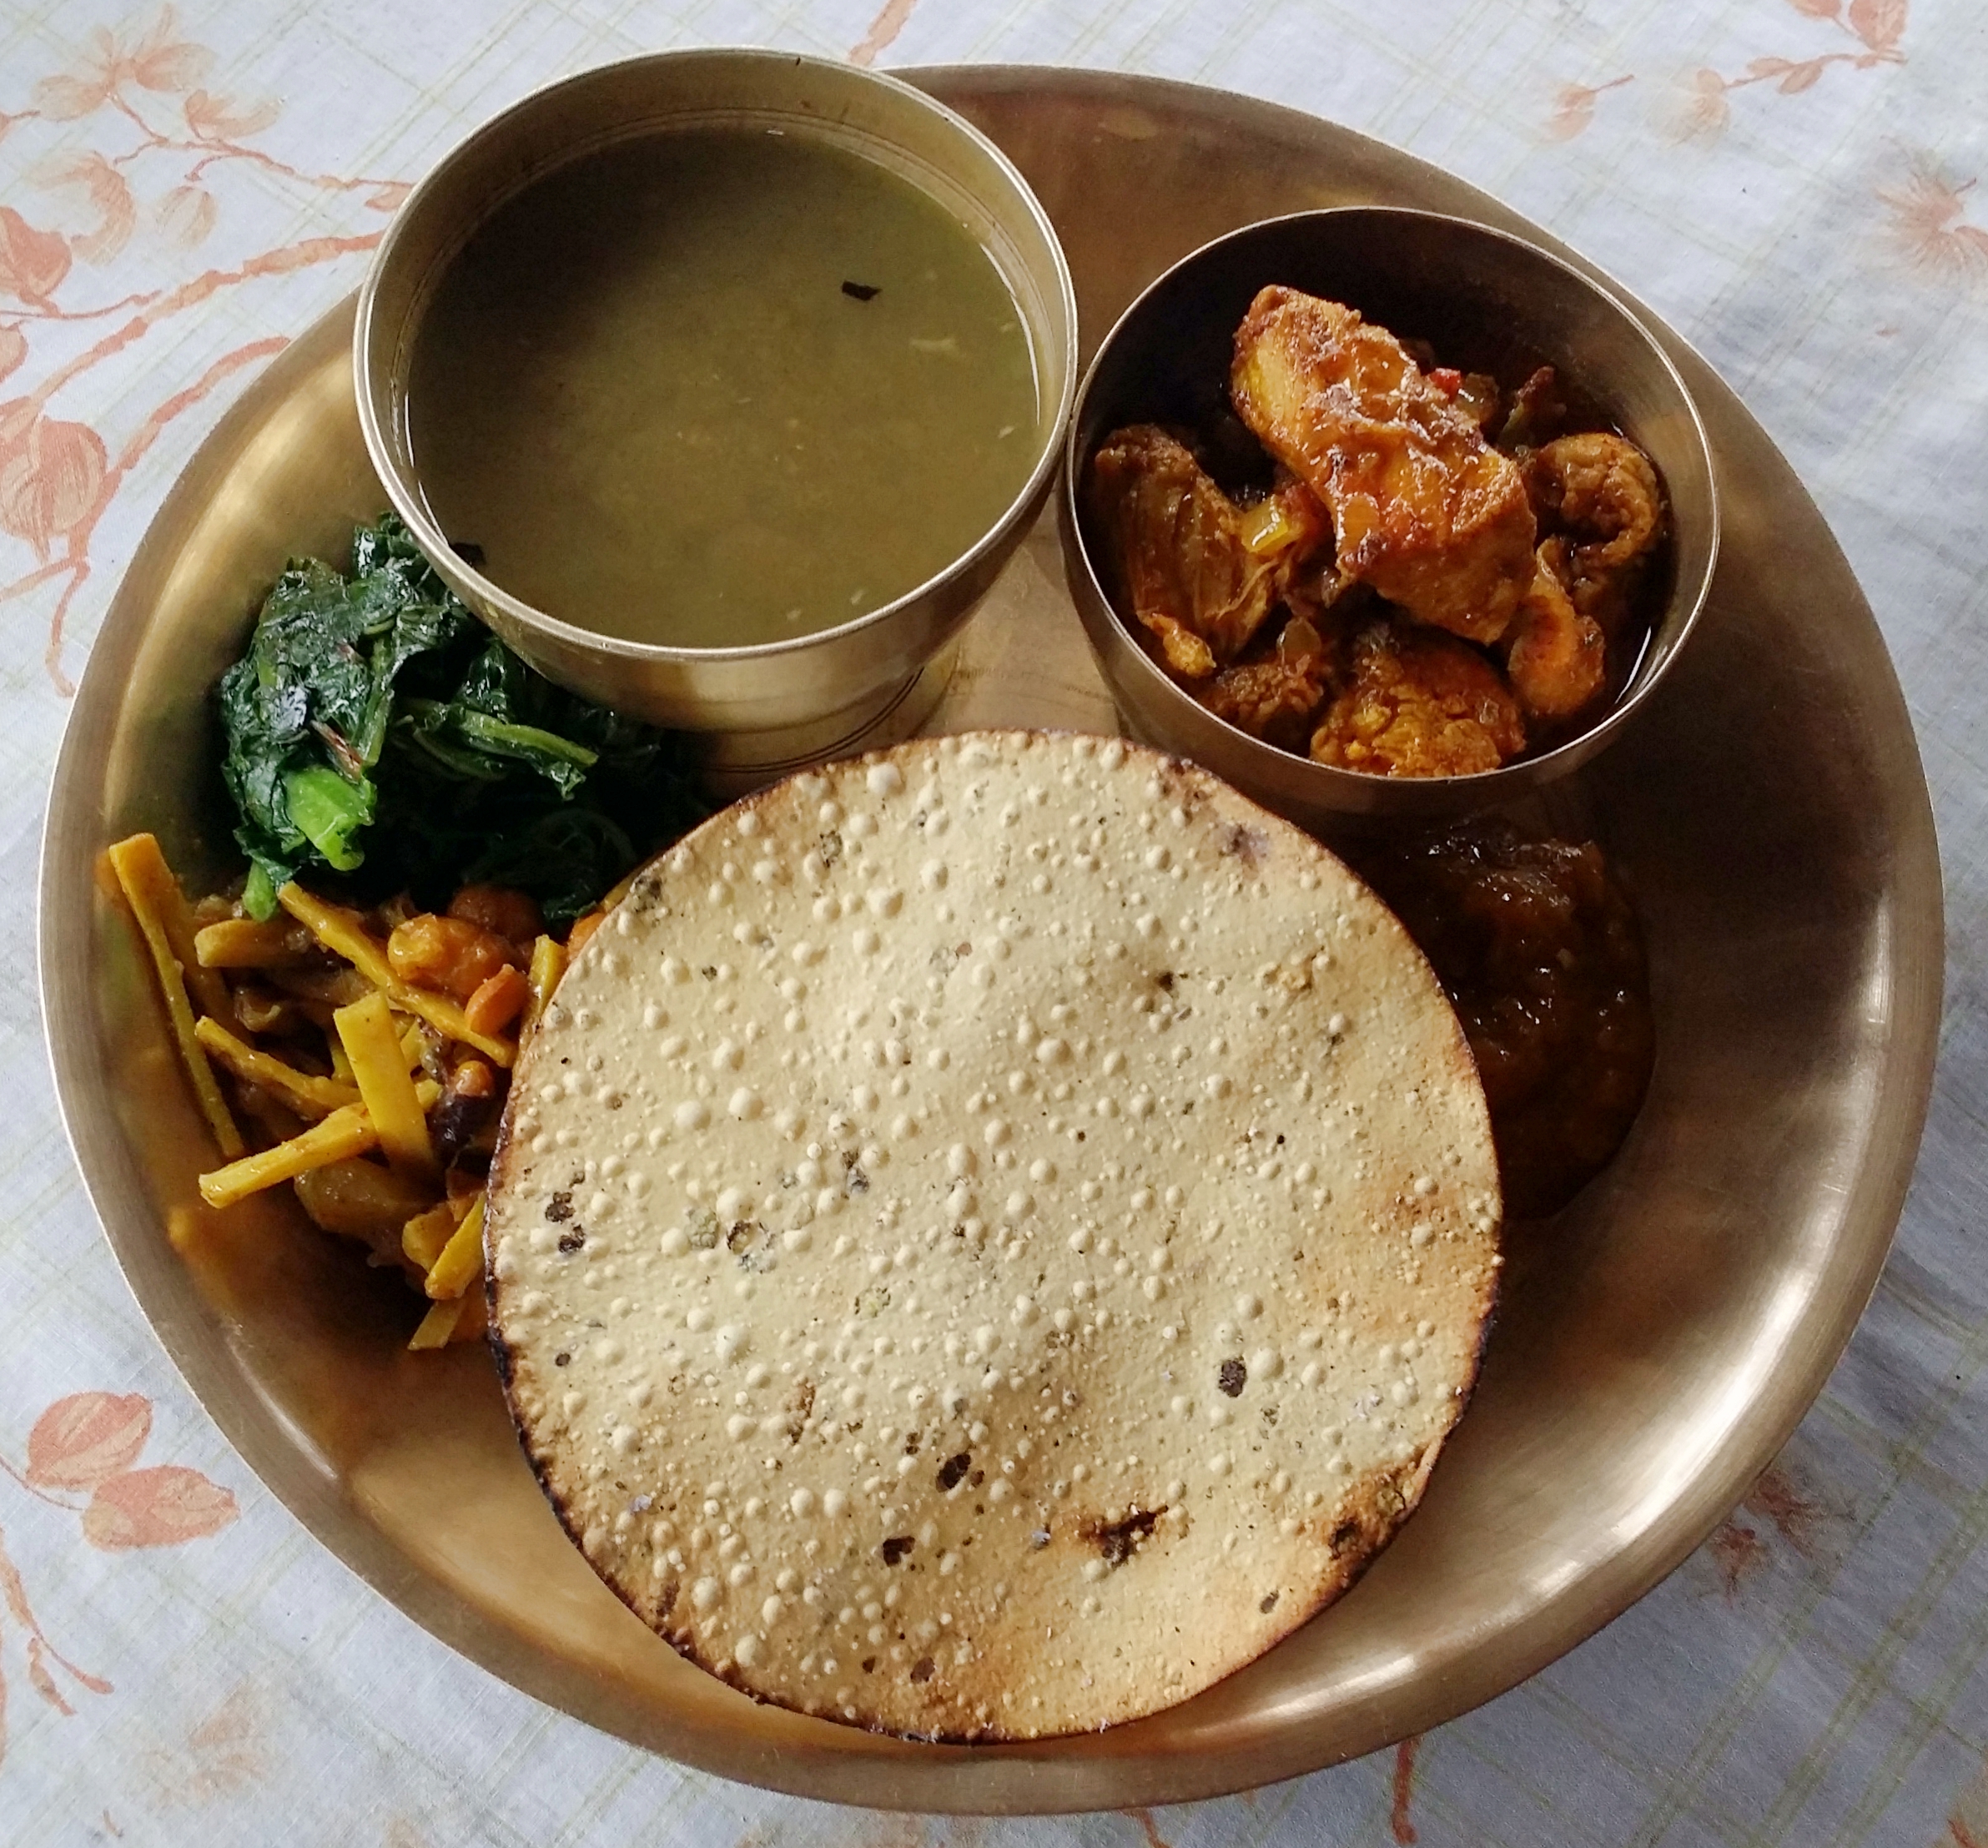
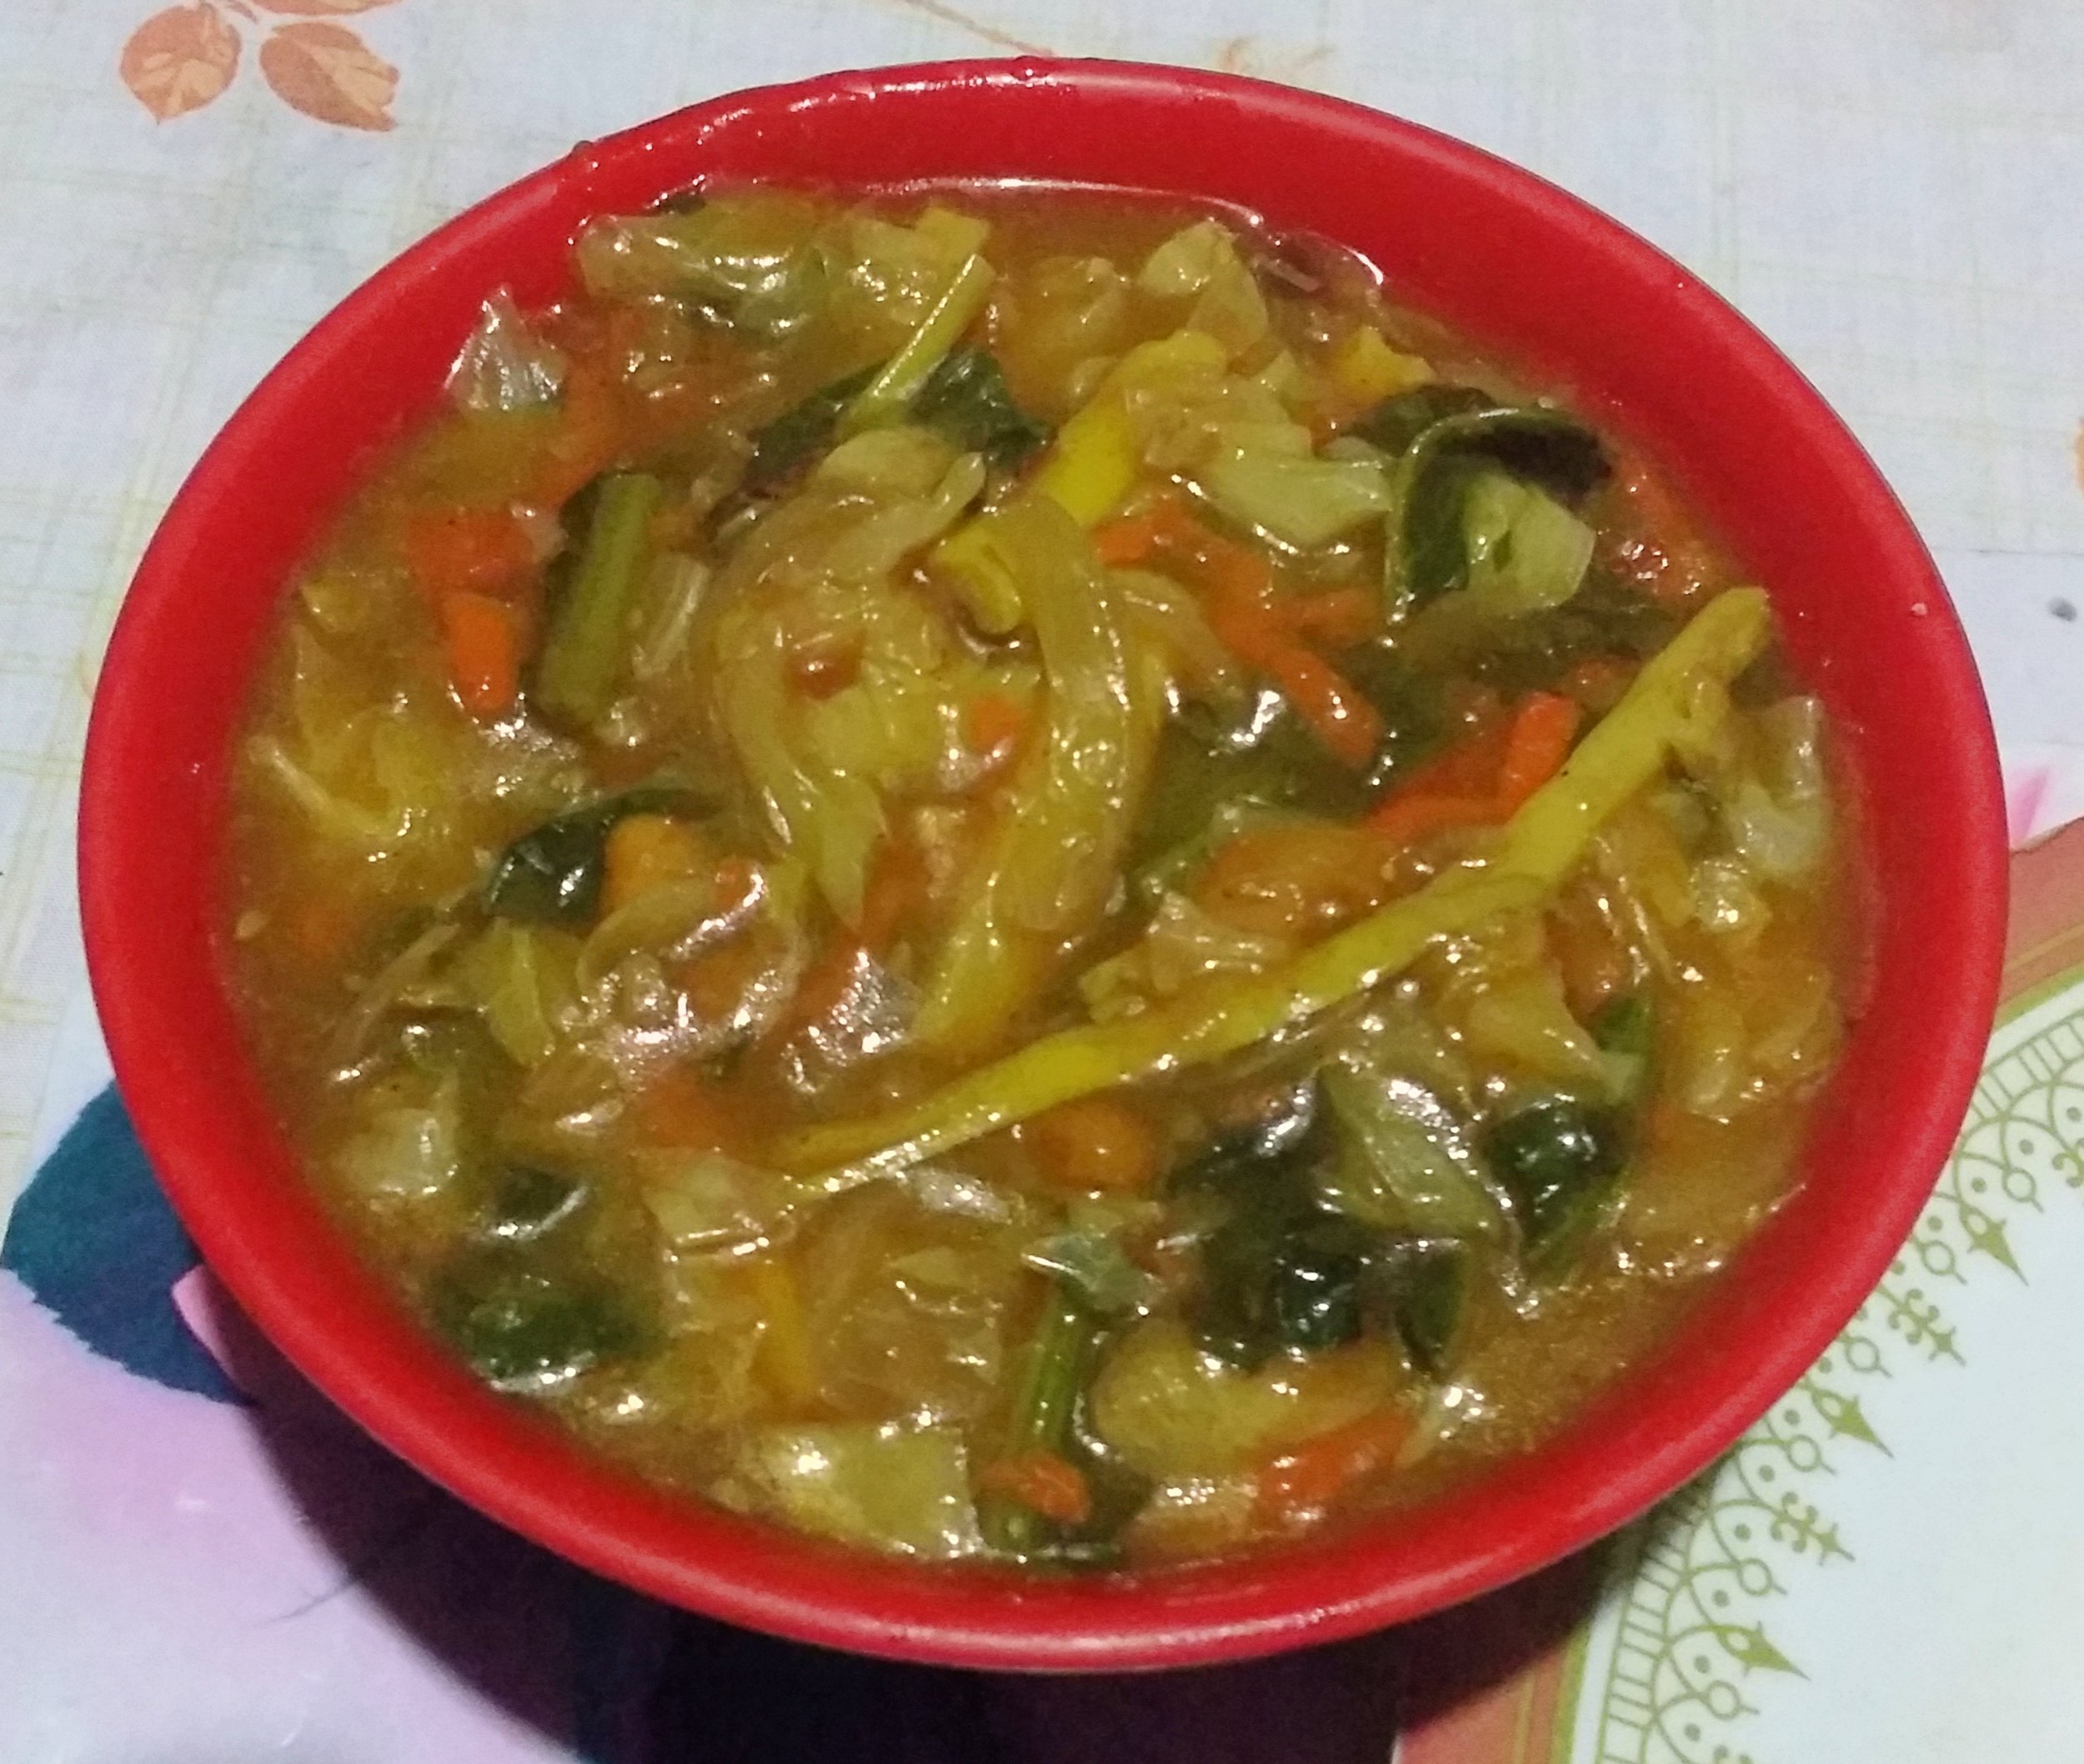
Packed lunch, dinner, supper, breakfast and lunch buffet are included in the package.
Pick-up from hotel and drop off to hotel are also included.
Porters are available upon request with an additional charge.
Check this link ‘2D1N Mount Kinabalu Climb Package’ to enquire or to book your climb.
3 DAYS, 2 NIGHTS PACKAGE (3D2N)
1 night overnight stay at Kinabalu Park and 1 night overnight stay at Panalaban Base Camp. This is a shared accommodation (bunk beds). Unfortunately, hot shower is not available in this hut.
Private rooms with hot shower at Panalaban are available with an additional charge.
Low’s Peak Summit at 4,095 meters above sea level.
The trail starts at Timpohon Gate and will also end the trek there.
Climbing permit, climbing insurance and licensed Mountain guide are included.
2 dinners, 2 breakfasts, 1 packed lunch, 1 supper and 1 lunch buffet are included.
Pick-up from hotel and drop off to hotel are also included.
Porters are available upon request with an additional charge.
Check this link ‘3D2N Mount Kinabalu Climb Package’ to enquire or to book your climb.
2 DAYS, 1 NIGHT VIA FERRATA PACKAGE
1 night overnight stay at Pendant Hut.
‘Walk The Torq’ Ferrata Climb
Low’s Peak Summit at 4,095 meters above sea level.
The trail starts at Timpohon Gate and will also end the trek there.
Climbing permit, climbing insurance and licensed Mountain guide/ Mountain Torq trainer are included.
Packed lunch, dinner, supper, breakfast and lunch buffet are included in the package.
Pick-up from hotel and drop off to hotel are also included.
Porters are available upon request with an additional charge.
Check this link ‘2D1N Mount Kinabalu Via Ferrata Climb Package’ to enquire or to book your climb.
3 DAYS, 2 NIGHTS VIA FERRATA PACKAGE
1 night overnight stay at Kinabalu Pine Resort and 1 night overnight stay at Pendant Hut.
‘Walk The Torq’ Ferrata Climb
Low’s Peak Summit at 4,095 meters above sea level.
The trail starts at Timpohon Gate and will also end the trek there.
Climbing permit, climbing insurance and licensed Mountain guide/ Mountain Torq trainer are included.
2 dinners, 2 breakfasts, 1 packed lunch, 1 supper and 1 lunch buffet are included in the package.
Pick-up from hotel and drop off to hotel are also included.
Porters are available upon request with an additional charge.
Check this link ‘3D2N Mount Kinabalu Via Ferrata Climb Package’ to enquire or to book your climb.
BEST TIME TO CLIMB MOUNT KINABALU
Deciding when to go is the first step. However, checking the best time to climb is also essential.
The best months to climb Mount Kinabalu are from February to September. These months are considered to be the dry season. The not-so-best months to climb the highest mountain are from October to January (North-East Monsoon) as these months are the monsoon season and heavy rains are to be expected.
When extreme weather occurs, summit climb will be cancelled. So be sure to pick the right time to plan your trip to Borneo. Heavy rains can result in some serious complications such as cold or flu due to cold and wet weather, unstable and muddy pathways, summit climb being cancelled due to heavy rain and spoiling your holiday mood.
CLIMBING DURATION AND POINTS
It only takes a minimum of 2 days to climb Mount Kinabalu. However, climbers must follow a strict timetable as there are time limits for each checkpoint.
DAY 1 - TIMPOHON GATE TO PANALABAN BASE CAMP
Ideally, it takes about 5-7 hours to finish the trek from Timpohon Gate to the Panalaban Base Camp. Depending on your speed and number of breaks, sometimes it may take longer up to 8 hours to complete the trek to the base camp.
Along the way, there are plenty of shelters for you to take a quick break and a more extended lunch break. A total of 7 shelters were built for people to rest.
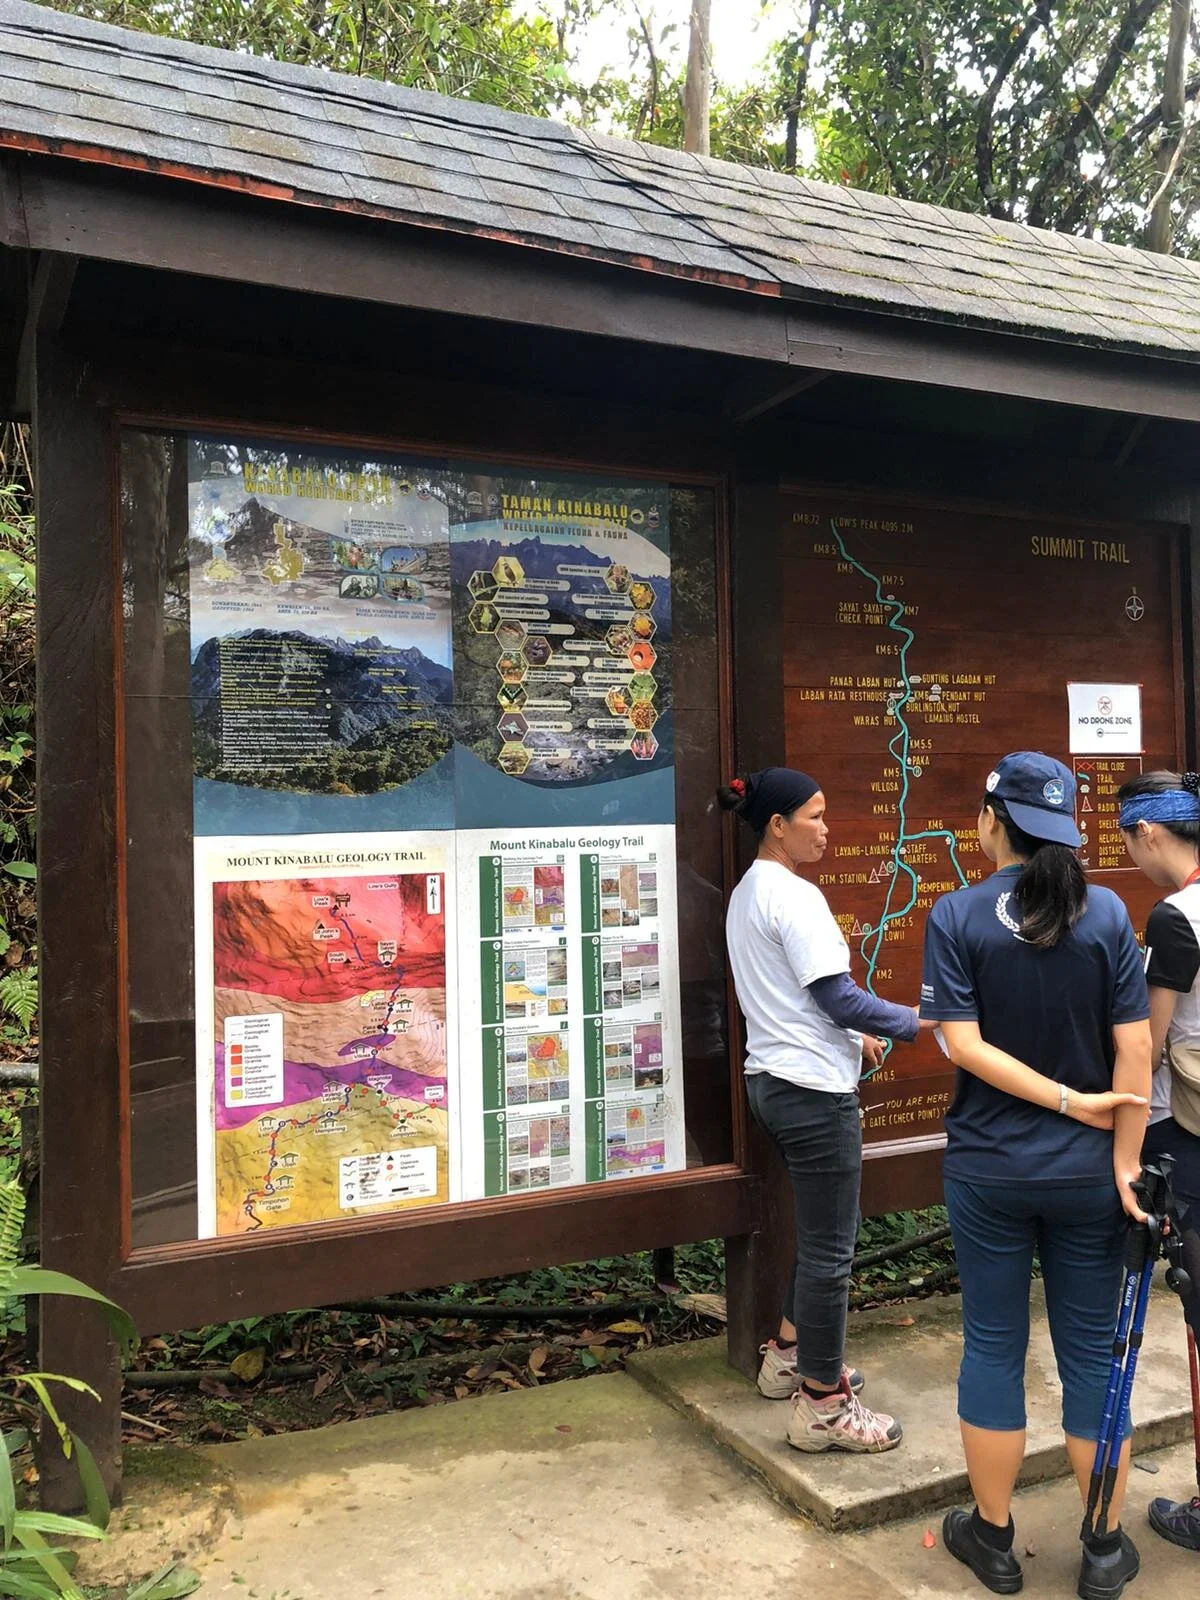
Here is a list of shelters in order:
Kandis Shelter (1km - 1,981m), Ubah Shelter (1.5kkm - 2,081m), Lowi Shelter (2km - 2,267m), Mempening Shelter (3km - 2,516m), Layang Layang Shelter (4km - 2,702m), Villosa Shelter (4.5km - 2,961m) and Paka Cave Shelter (5km - 3,080m).
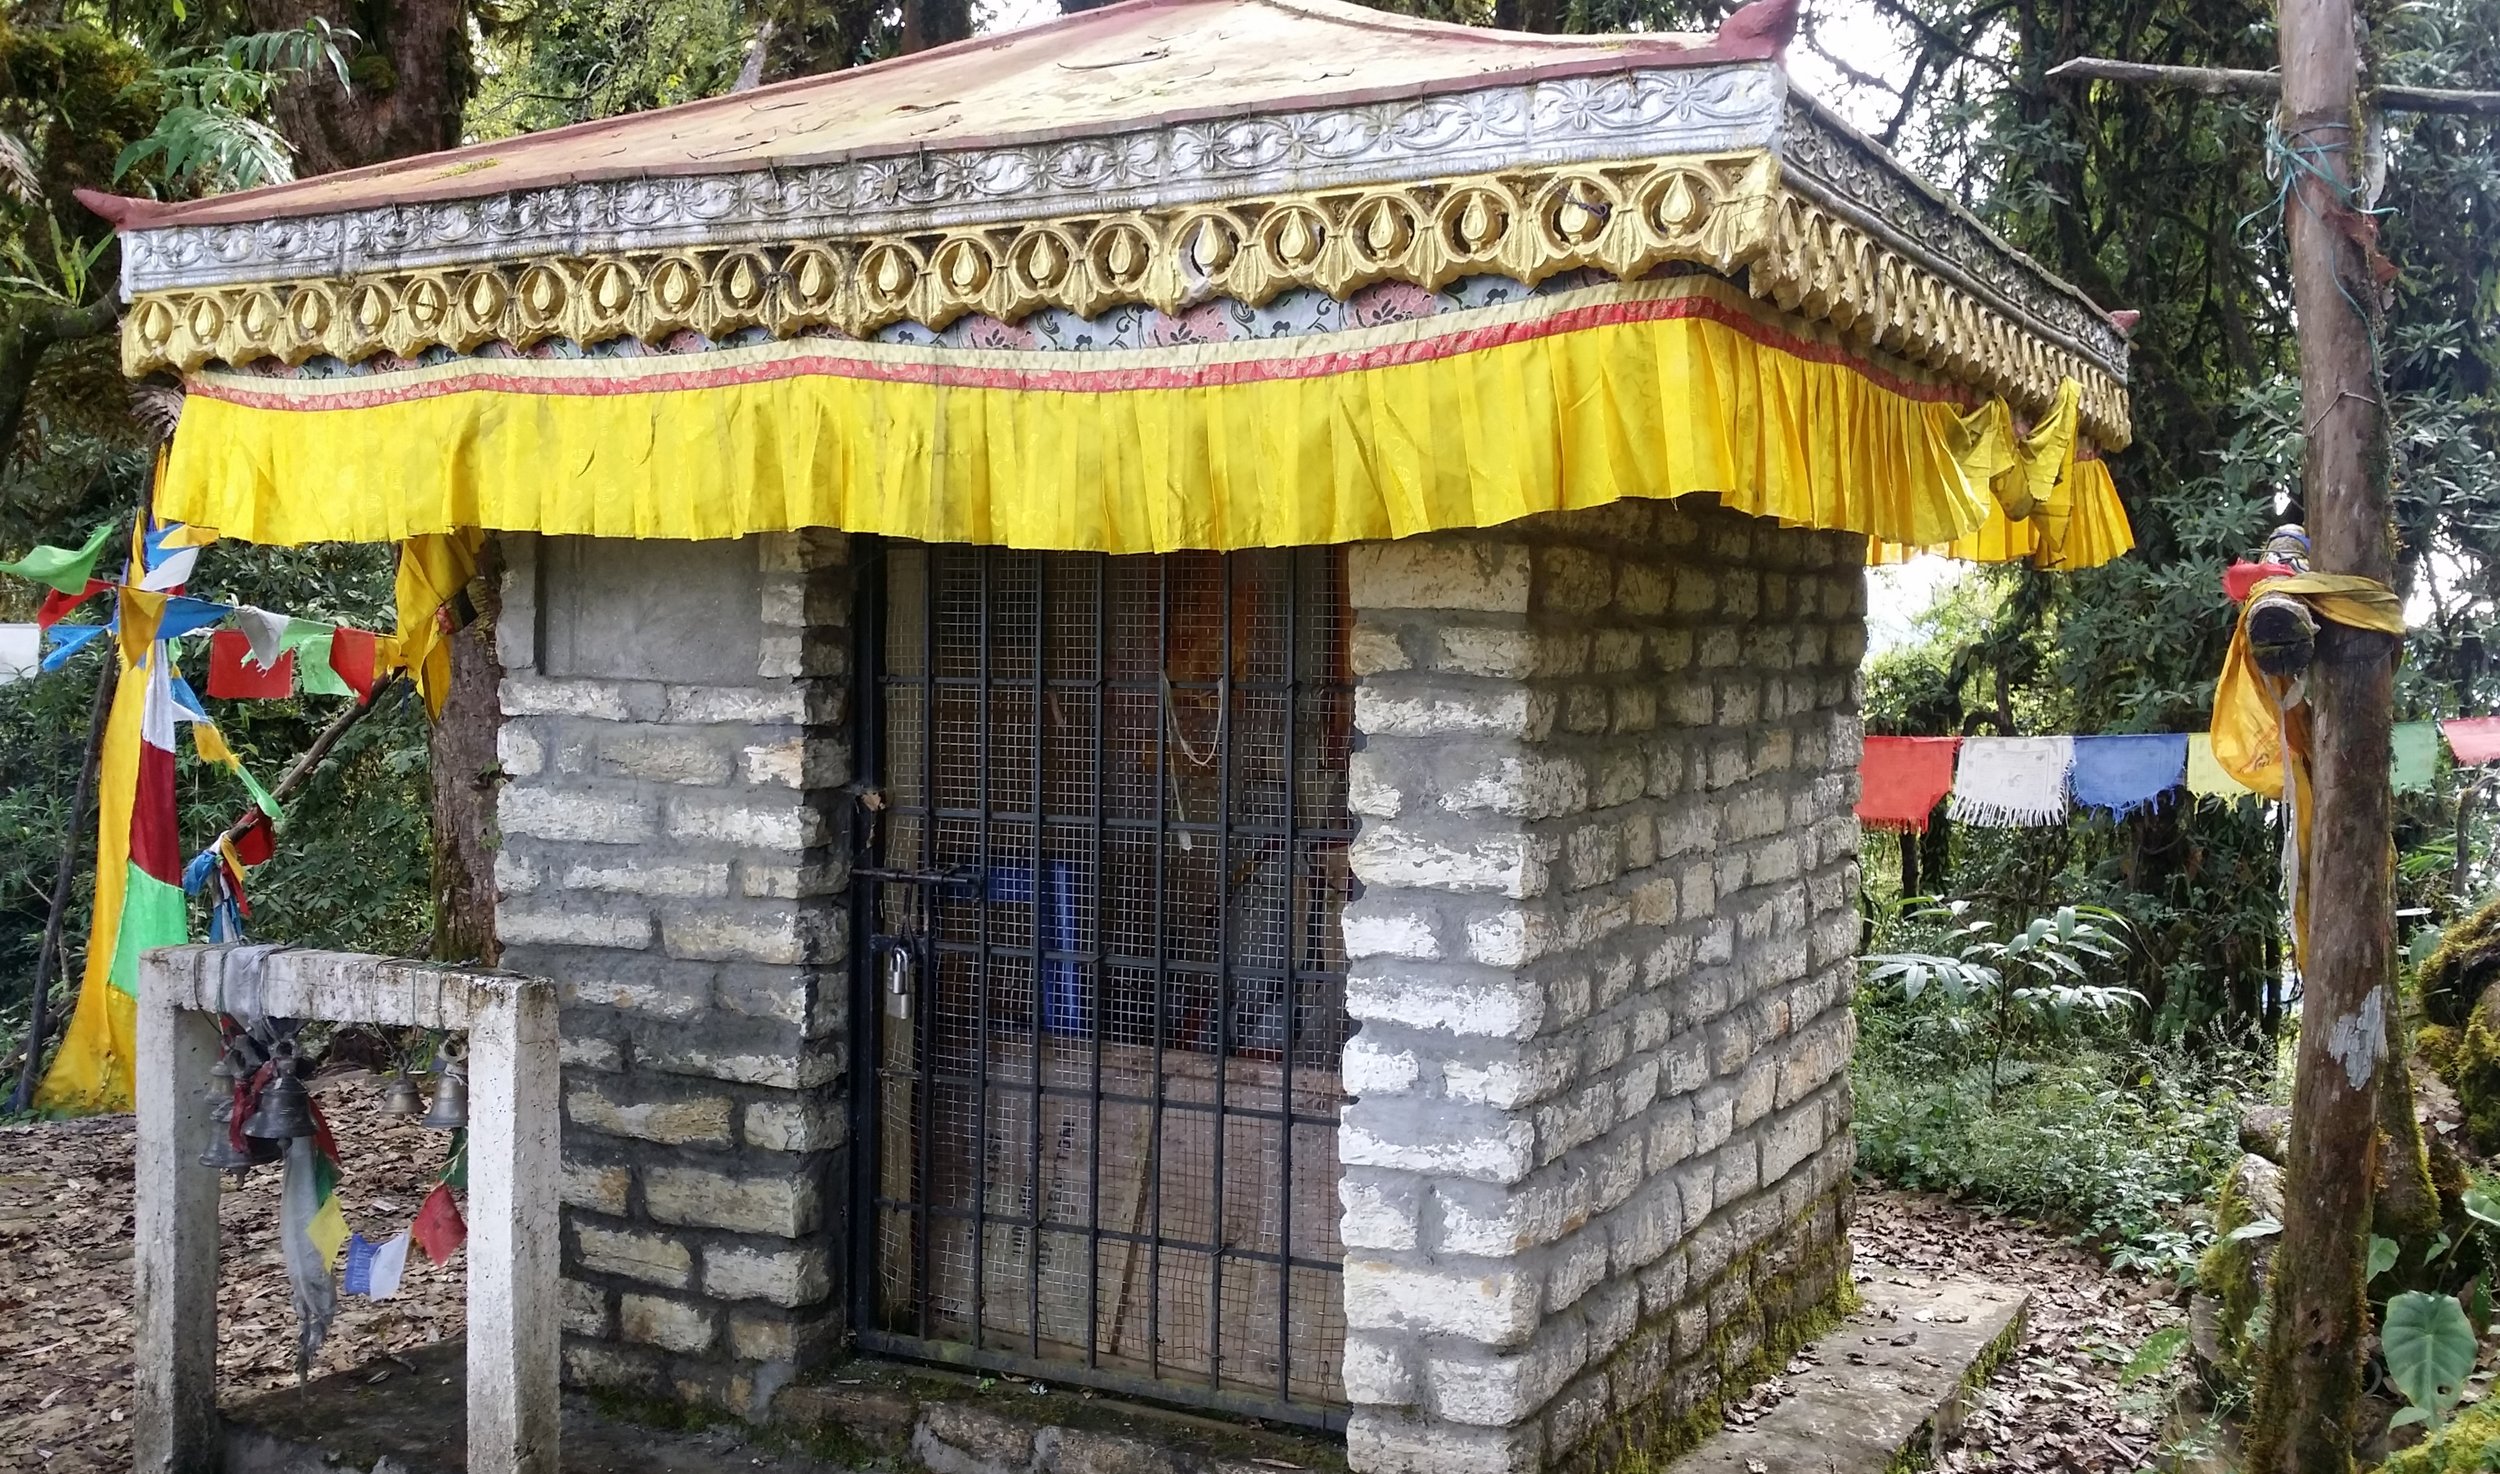
There are a few attractions while trekking up to the base camp. You may take a glimpse of the Carson Waterfall a few minutes from Timpohon Gate. A Heli-pad station for emergency evacuation and Paka Cave is also there. Paka Cave was once used as a resting spot of the first explorers.
There are two rest houses at the base camp available for climbers - Laban Rata Resthouse and Pendant Hut (Private) and a restaurant at Laban Rata just below the resthouse where you can have your dinner, supper and breakfast.
Timpohon Gate stands at 1,866 metres, and Panalaban Base Camp stands roughly at 3,320 metres above sea level.
DAY 2 - SUMMIT CLIMB AND DESCEND TO PANALABAN BASE CAMP
The summit climb usually starts at 2:00 am. It takes 3-4 hours to reach the peak.
There are no shelter points until Sayat-Sayat Hut (7km - 3,668m). You must log in and present your ID tag at the checkpoint. Toilets are also available at this point. You must also reach this checkpoint no later than 5:30 am.
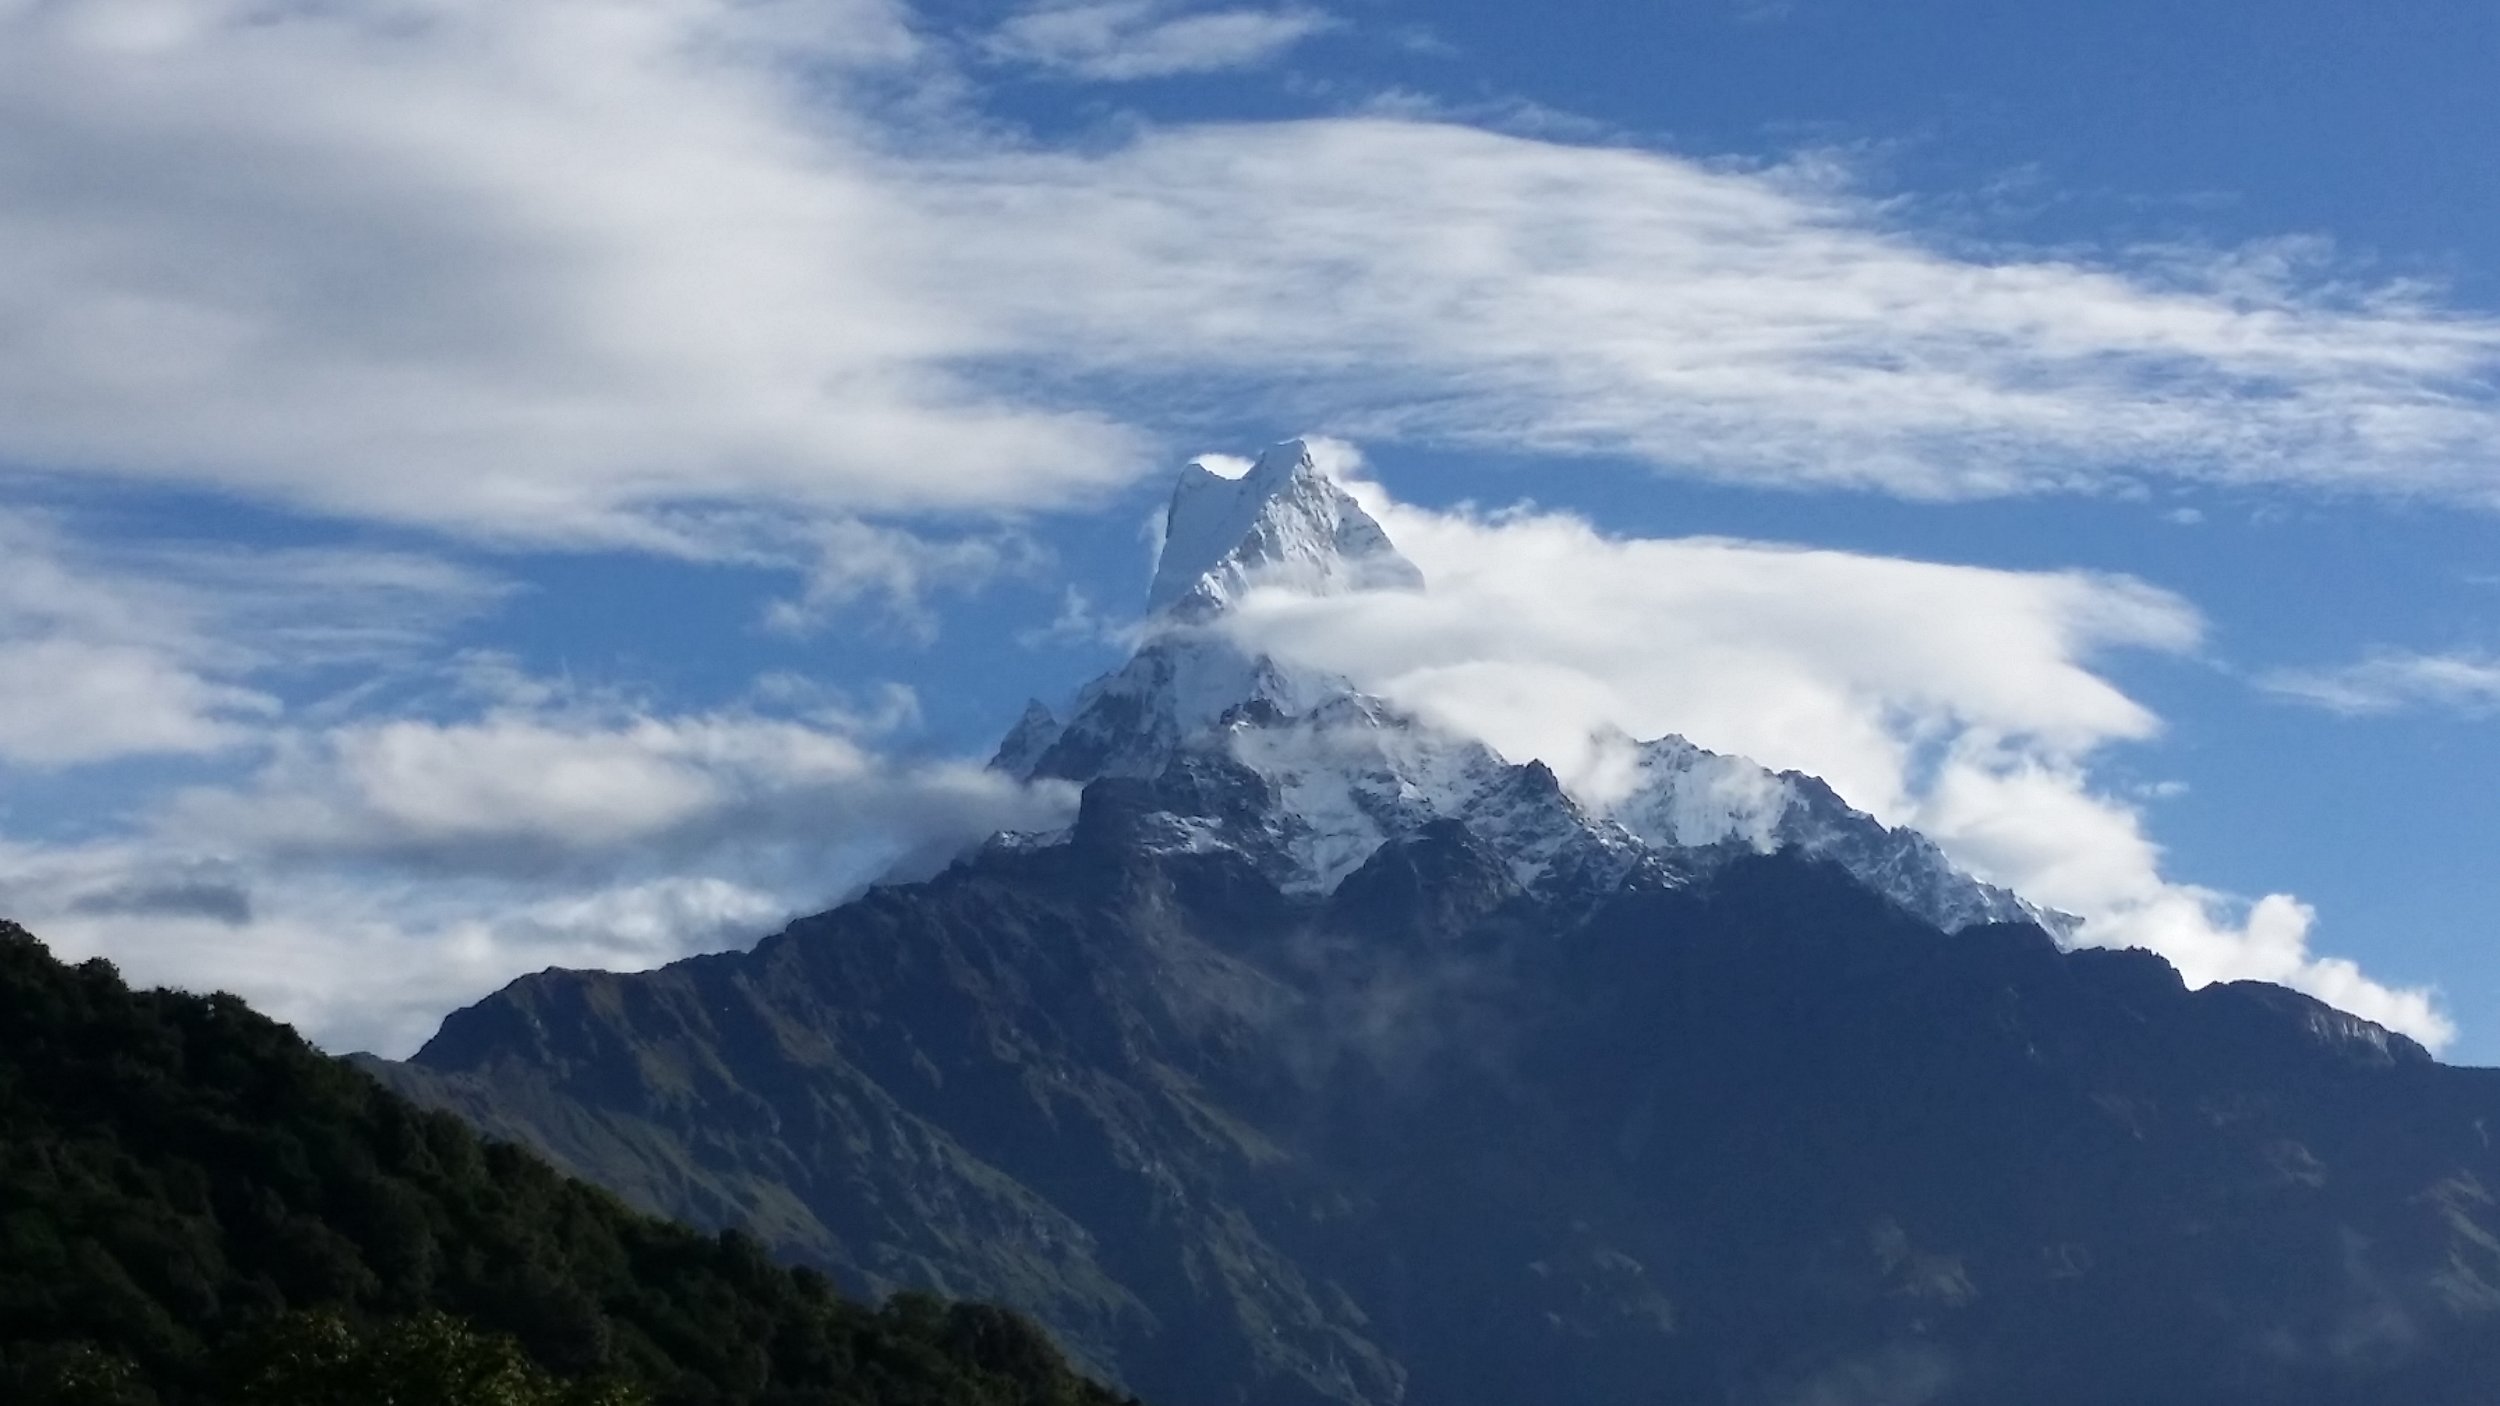
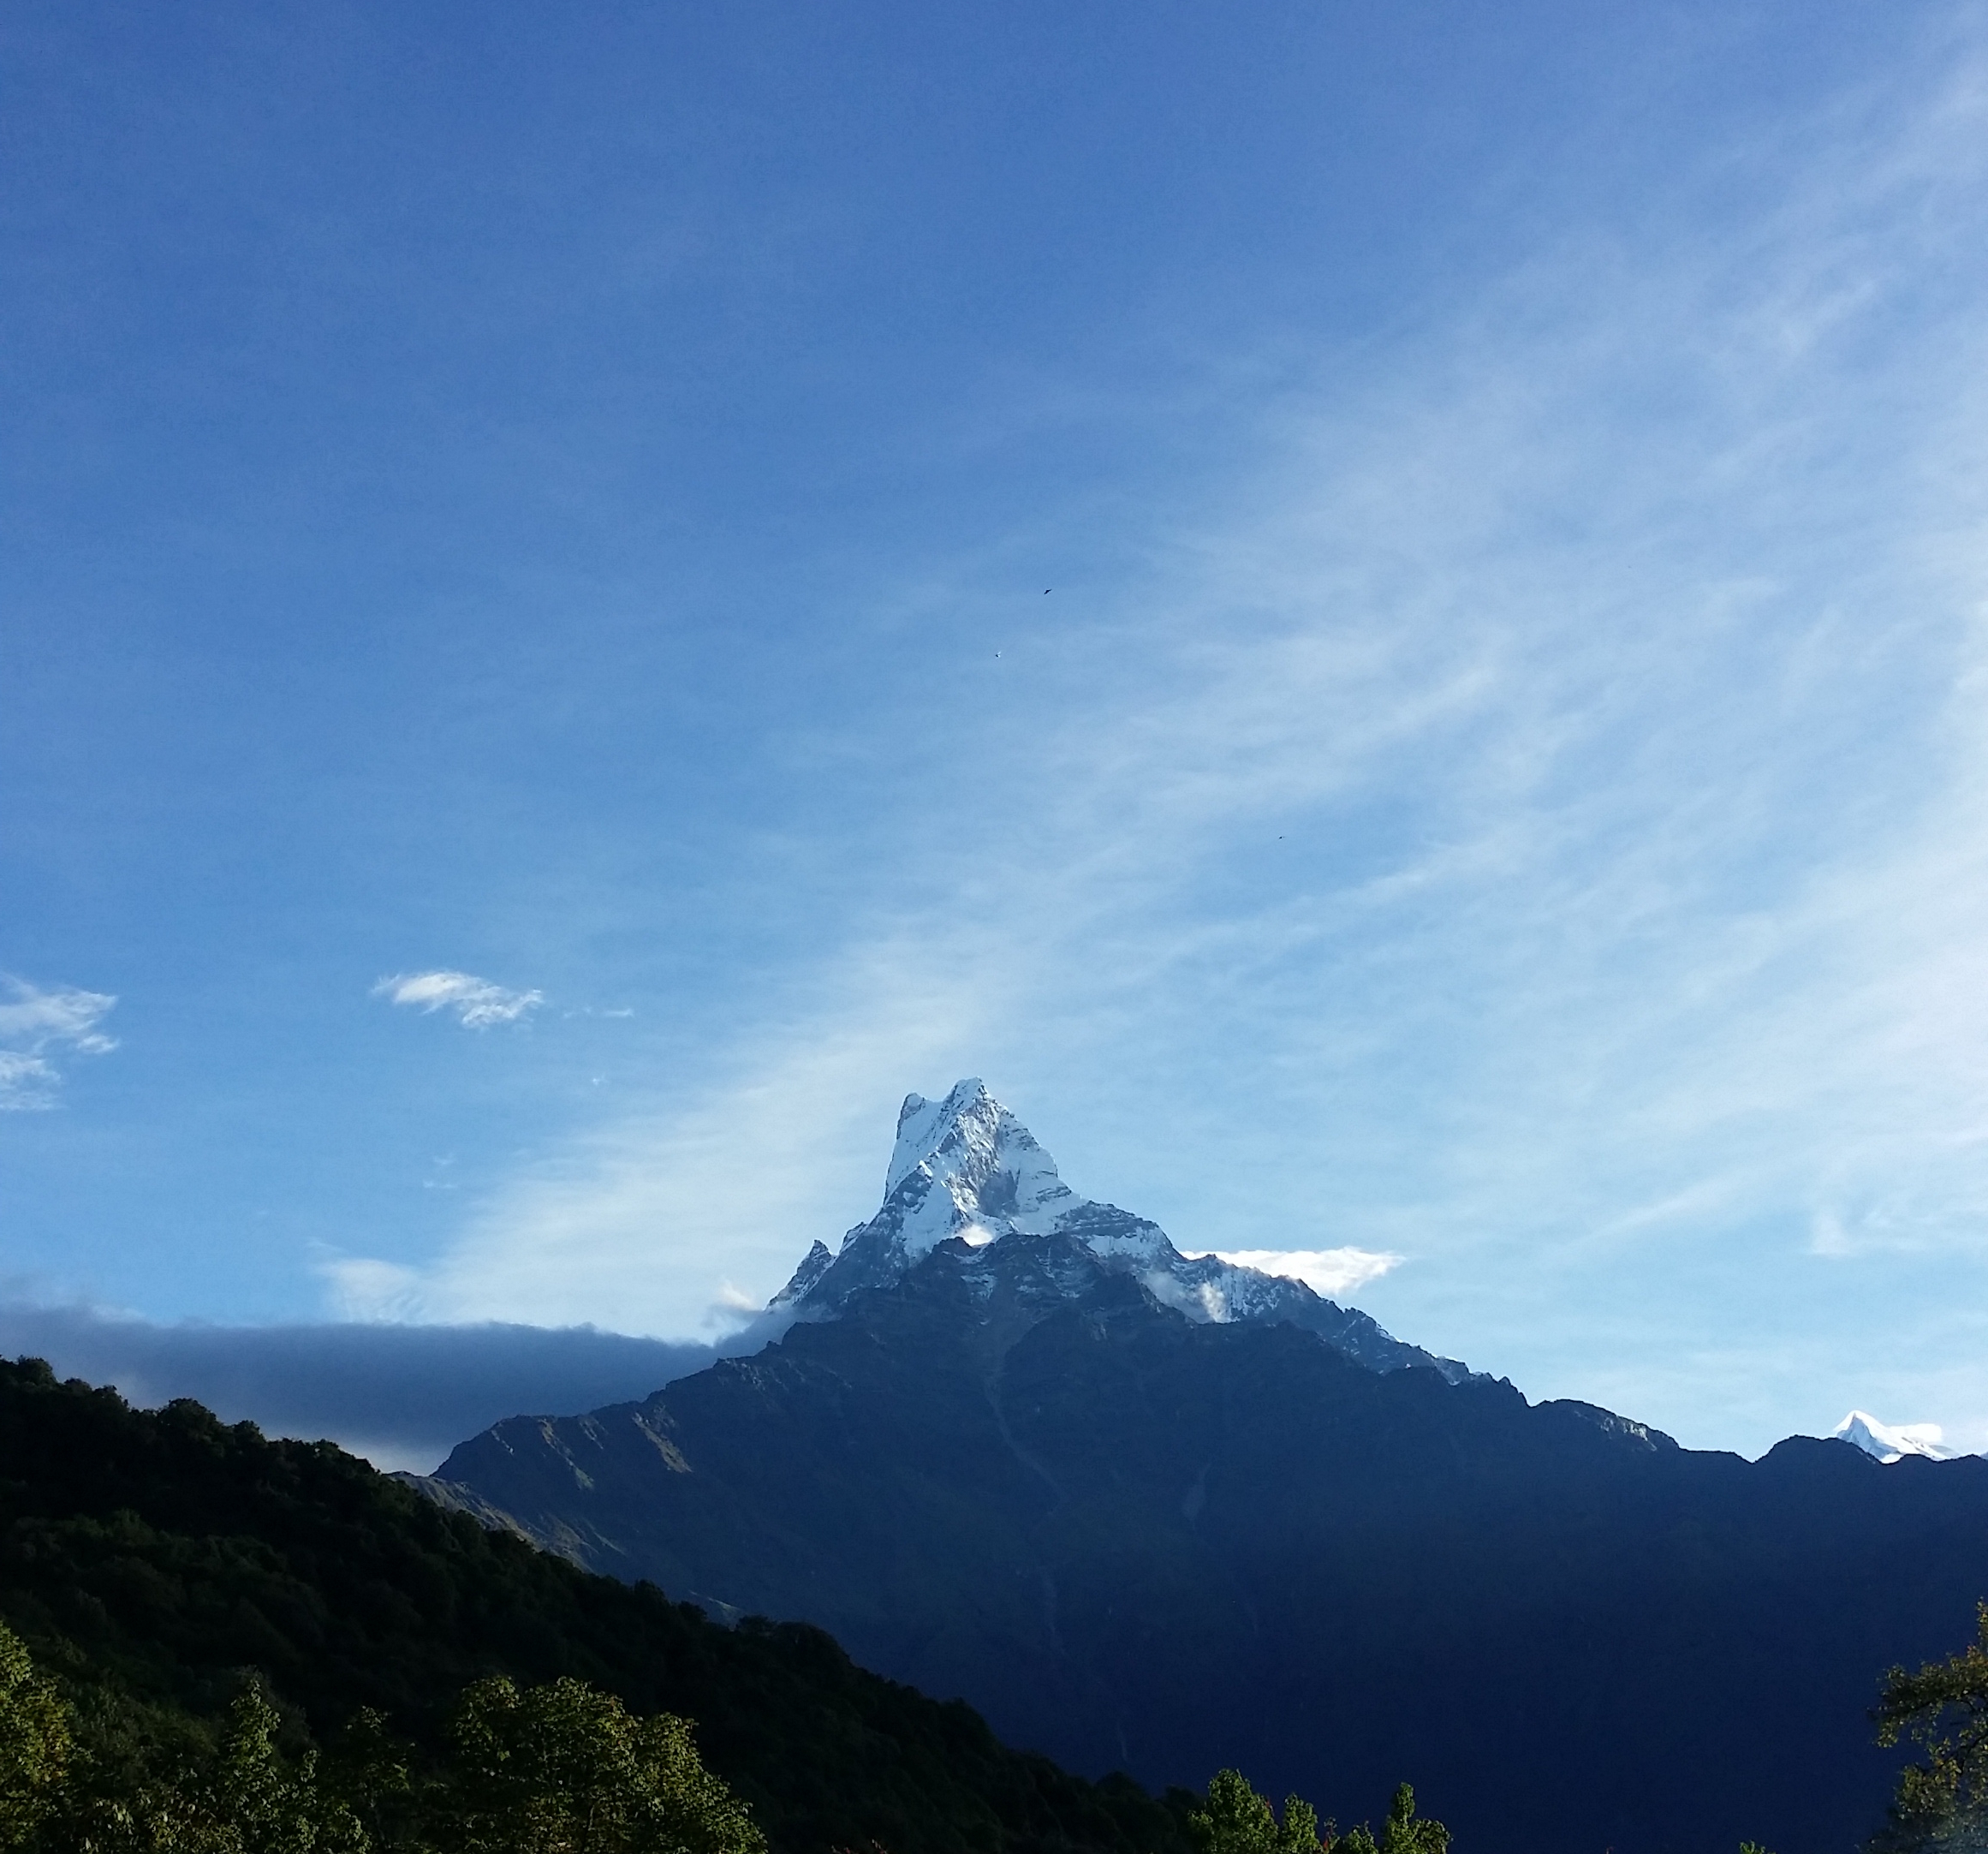
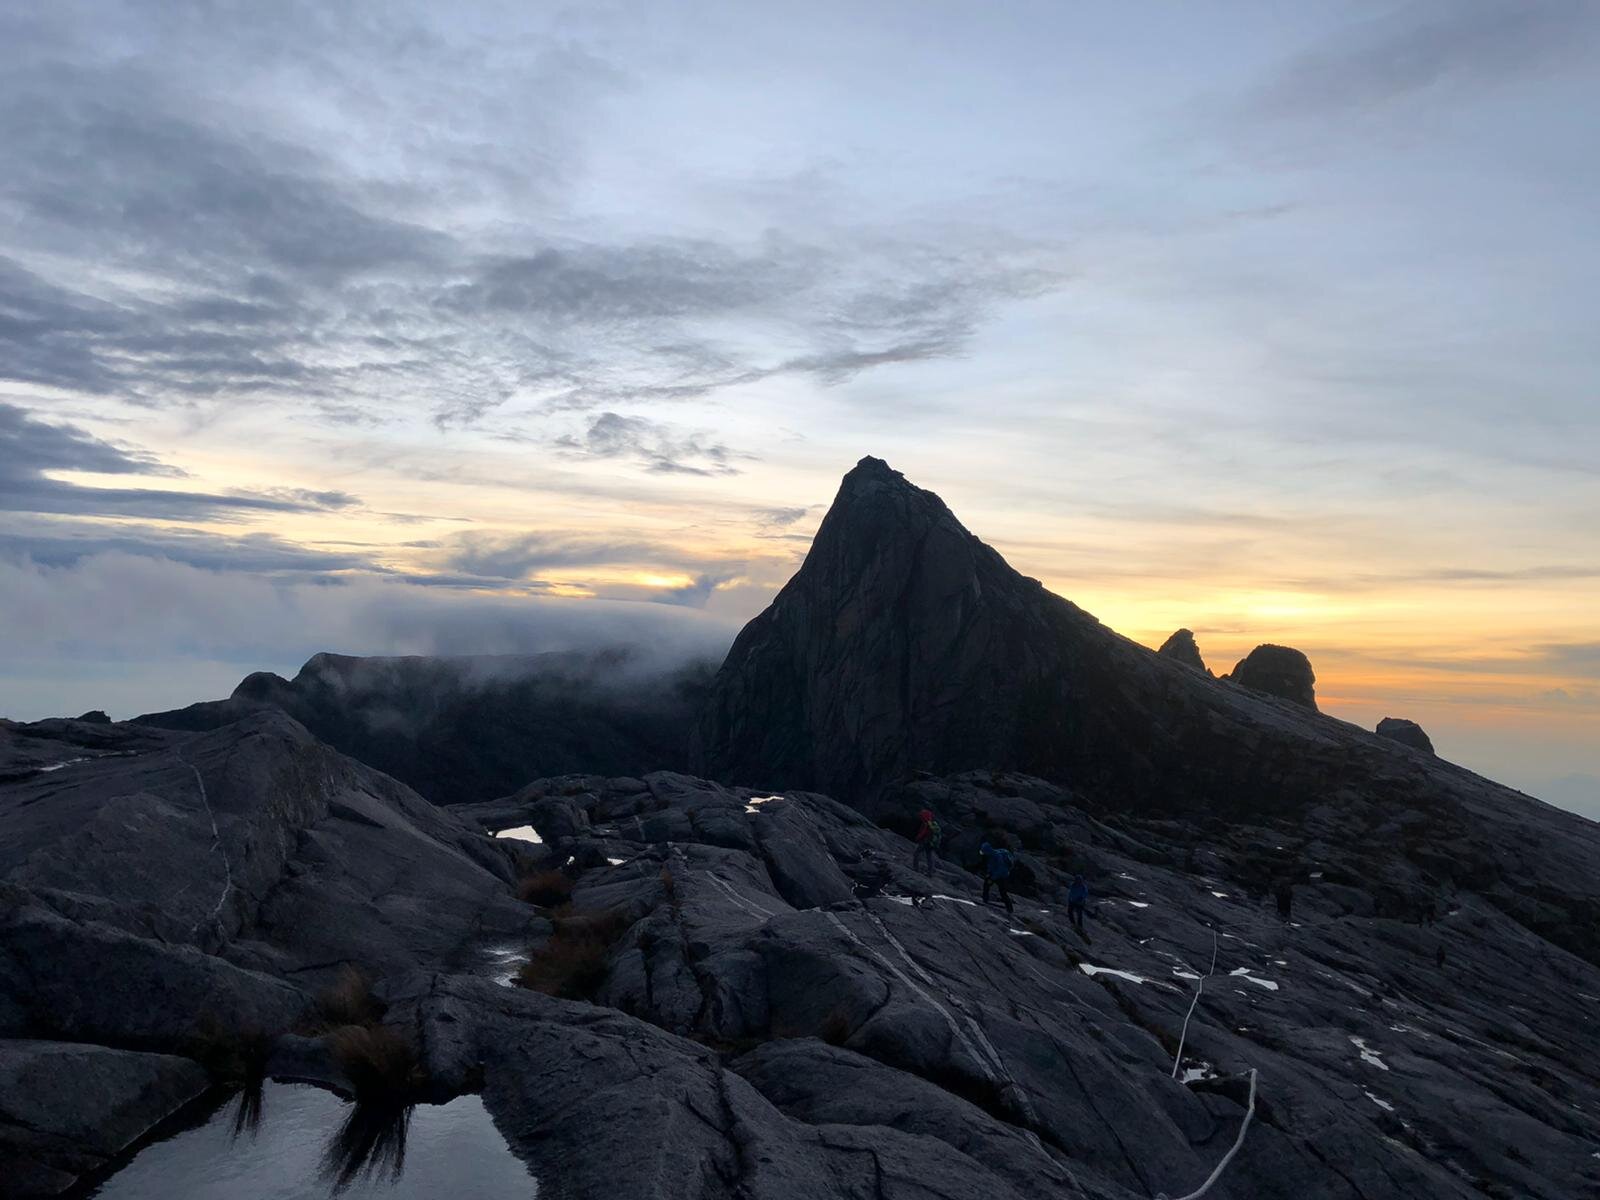
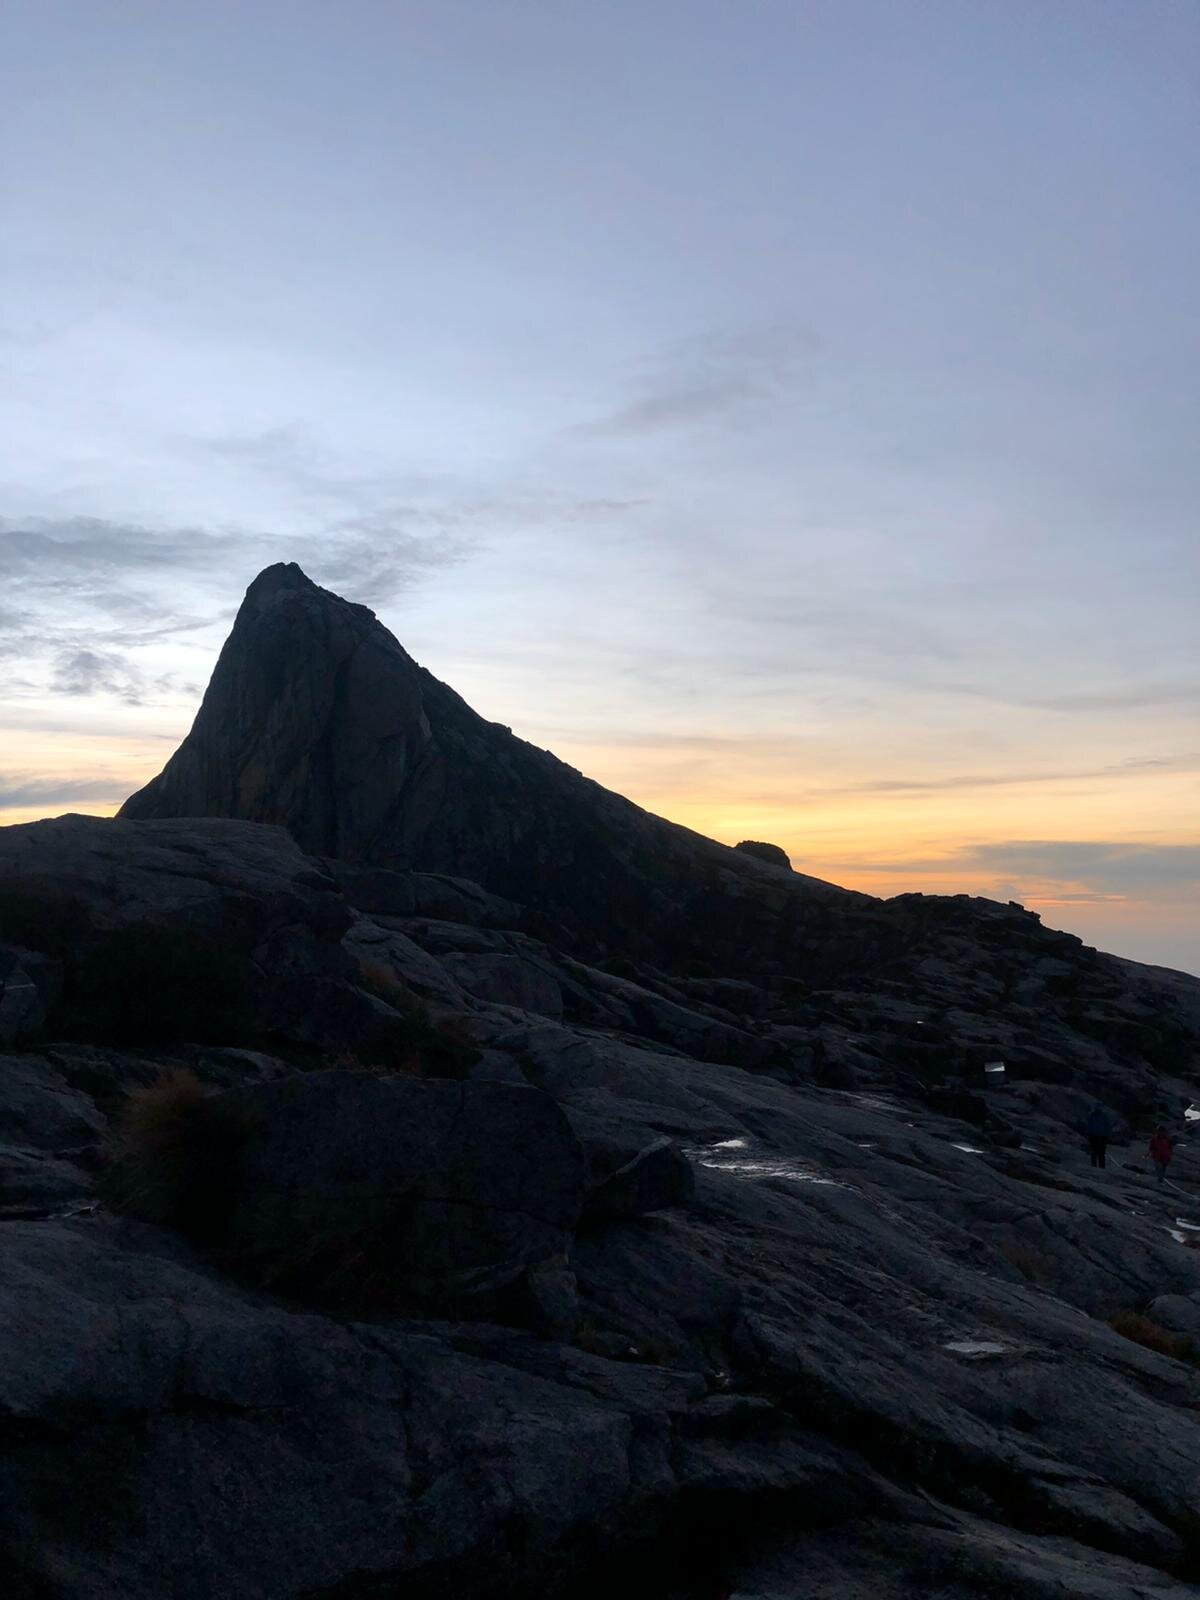
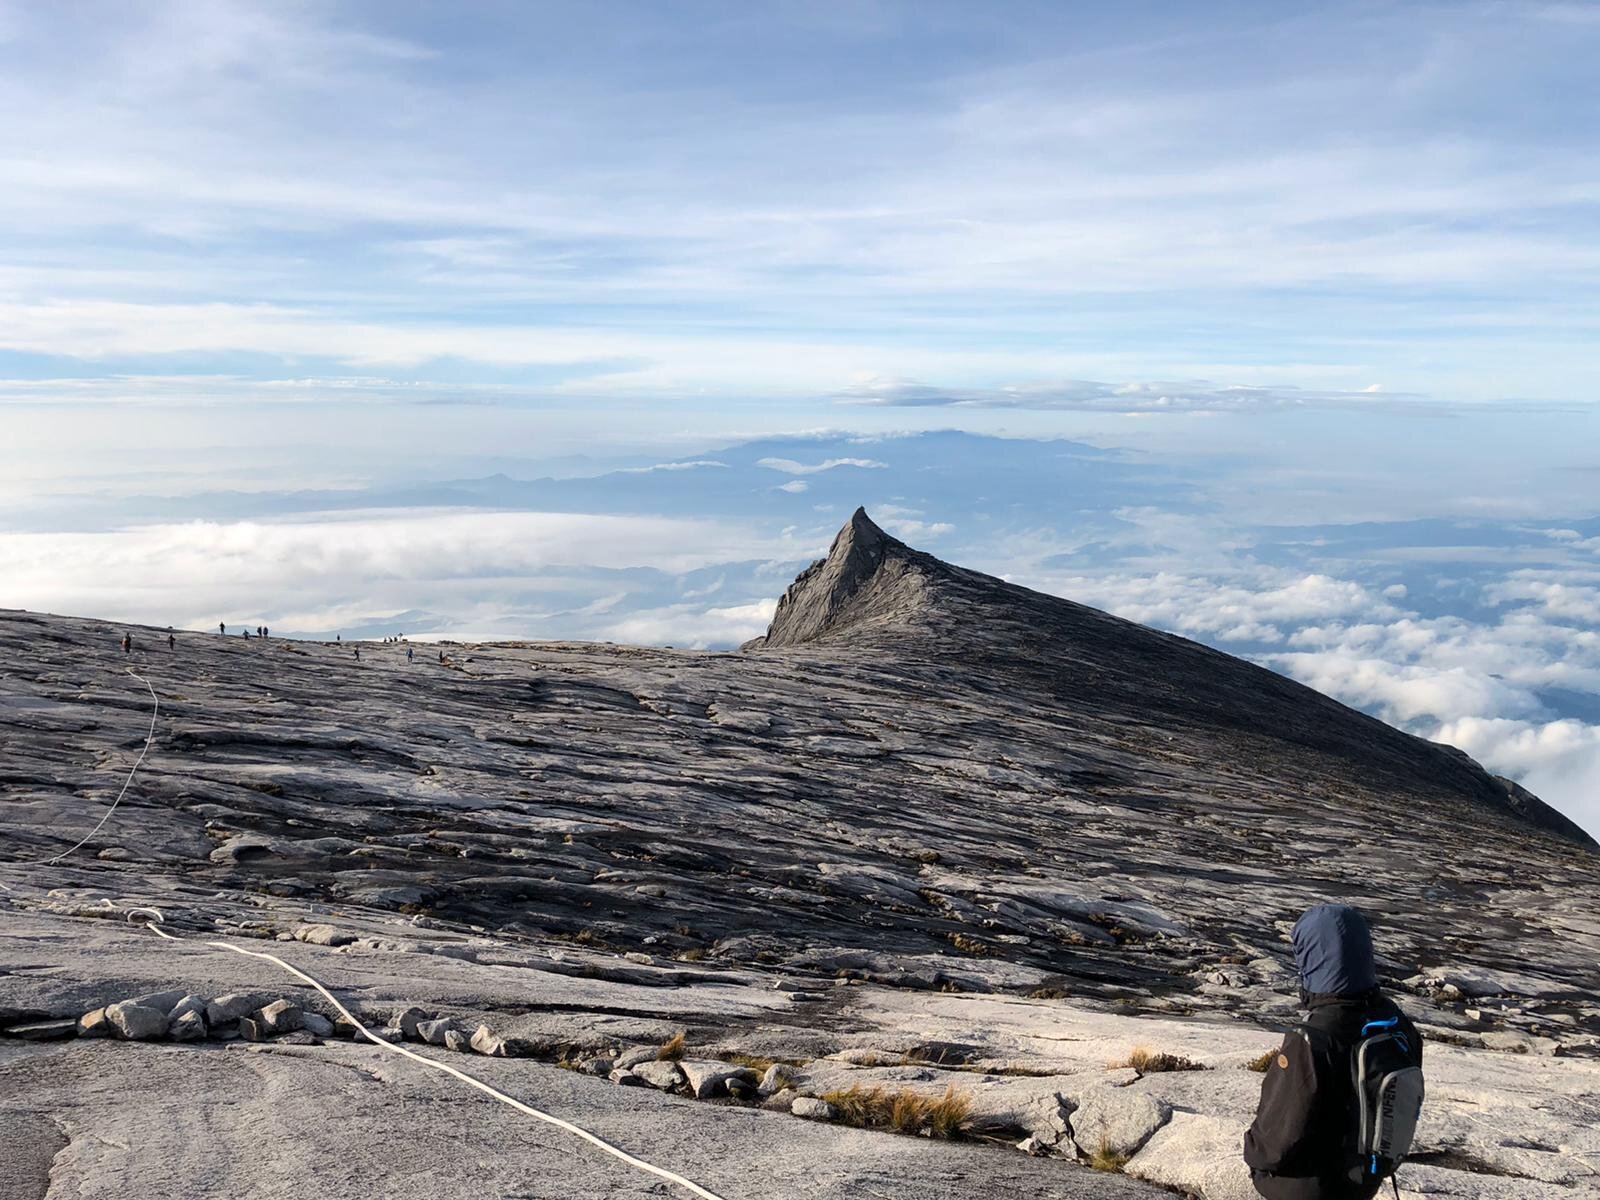
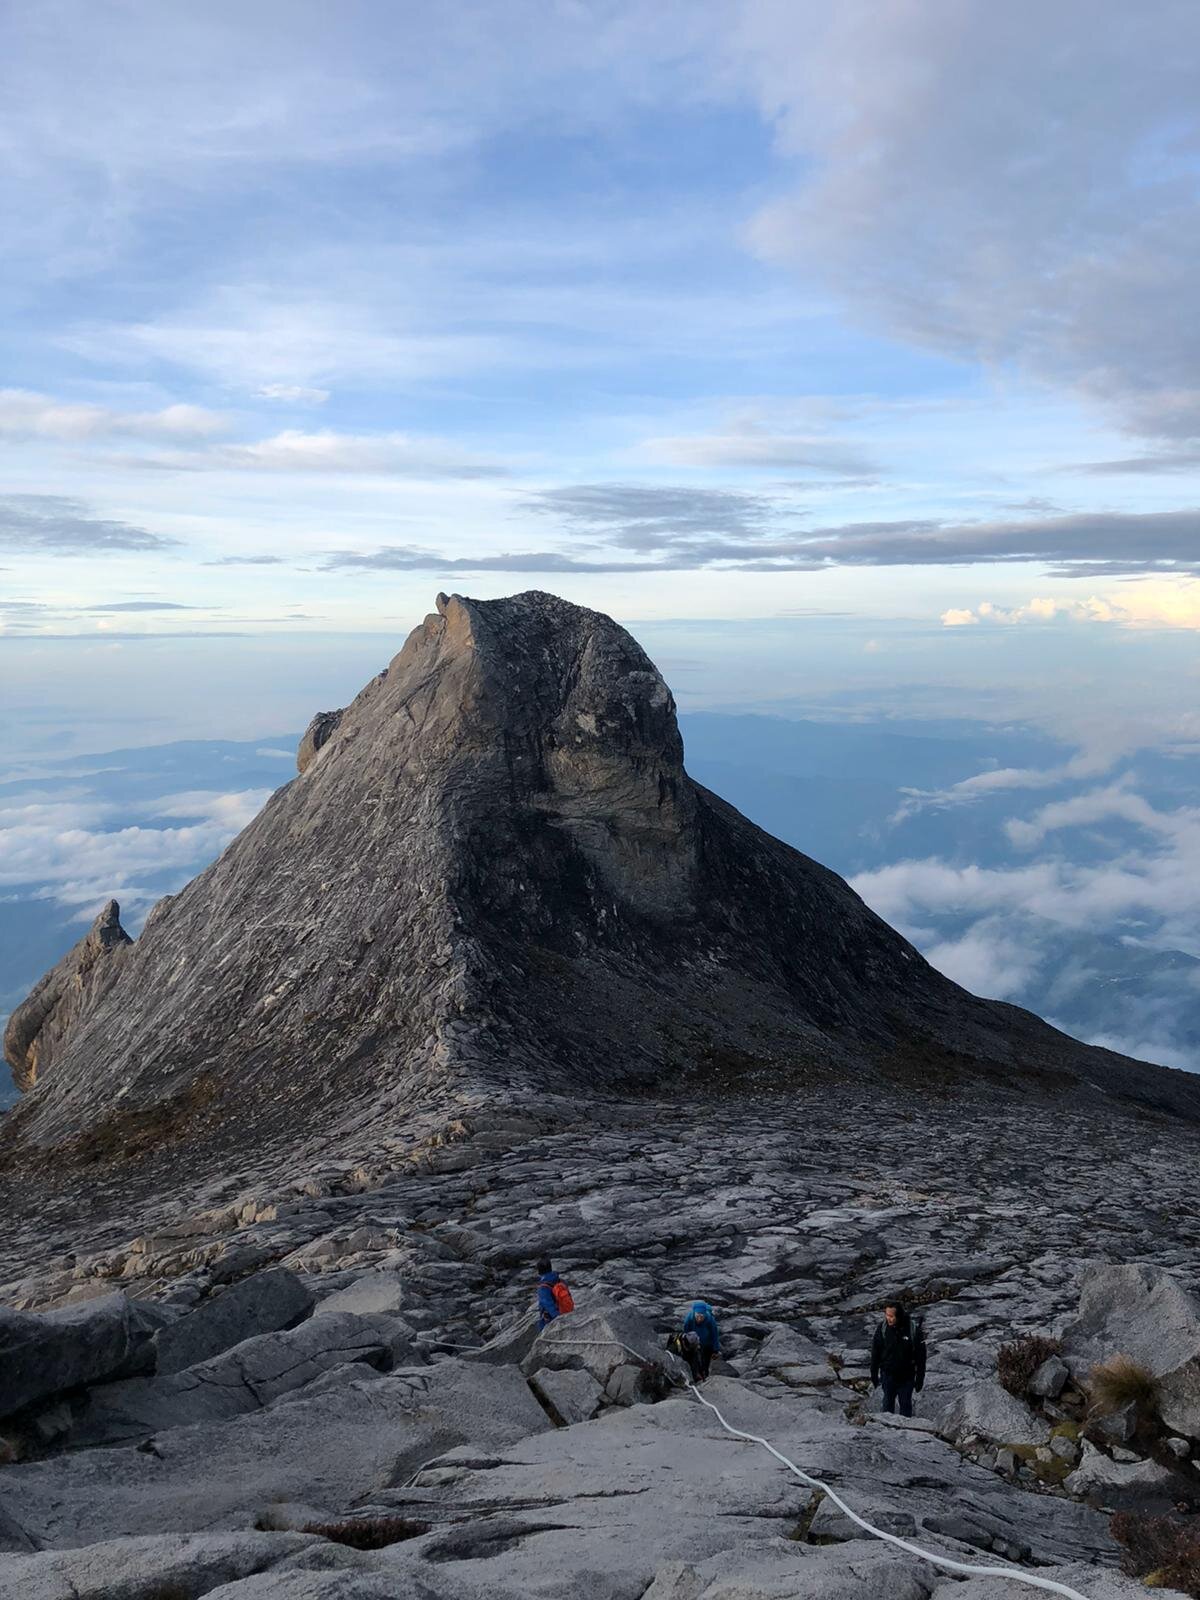
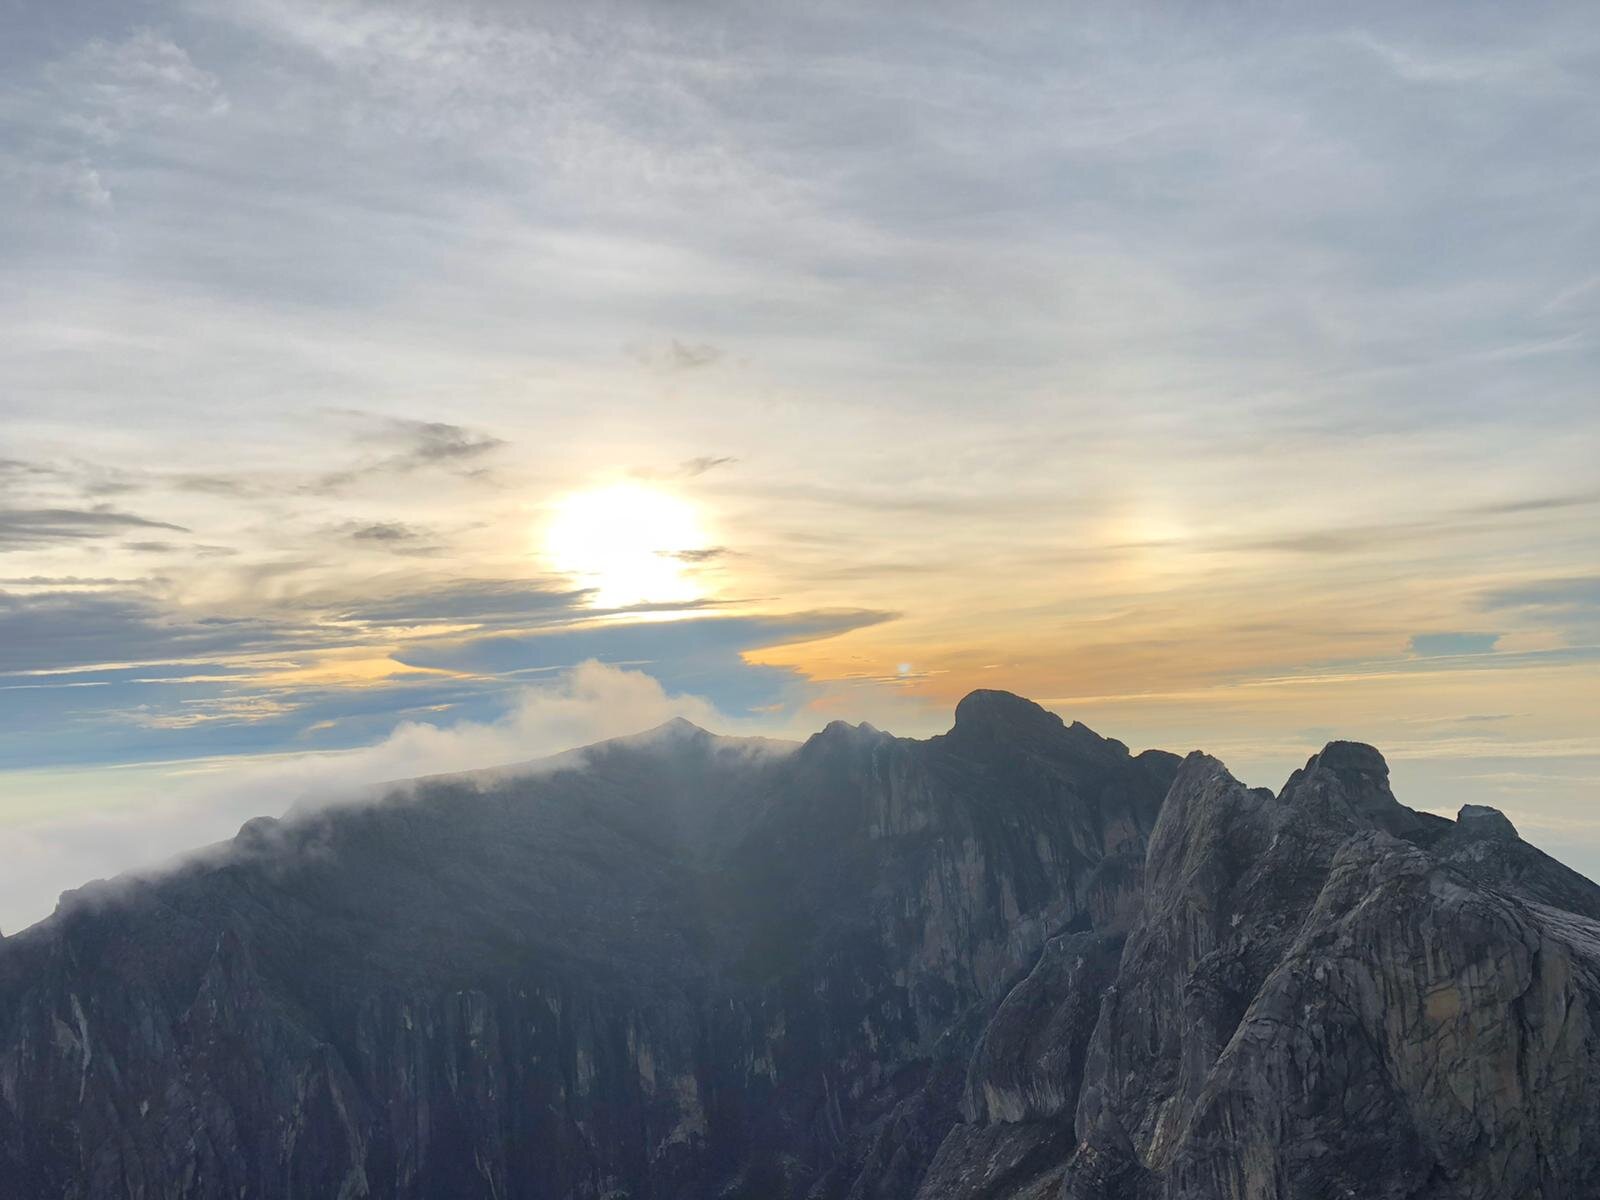
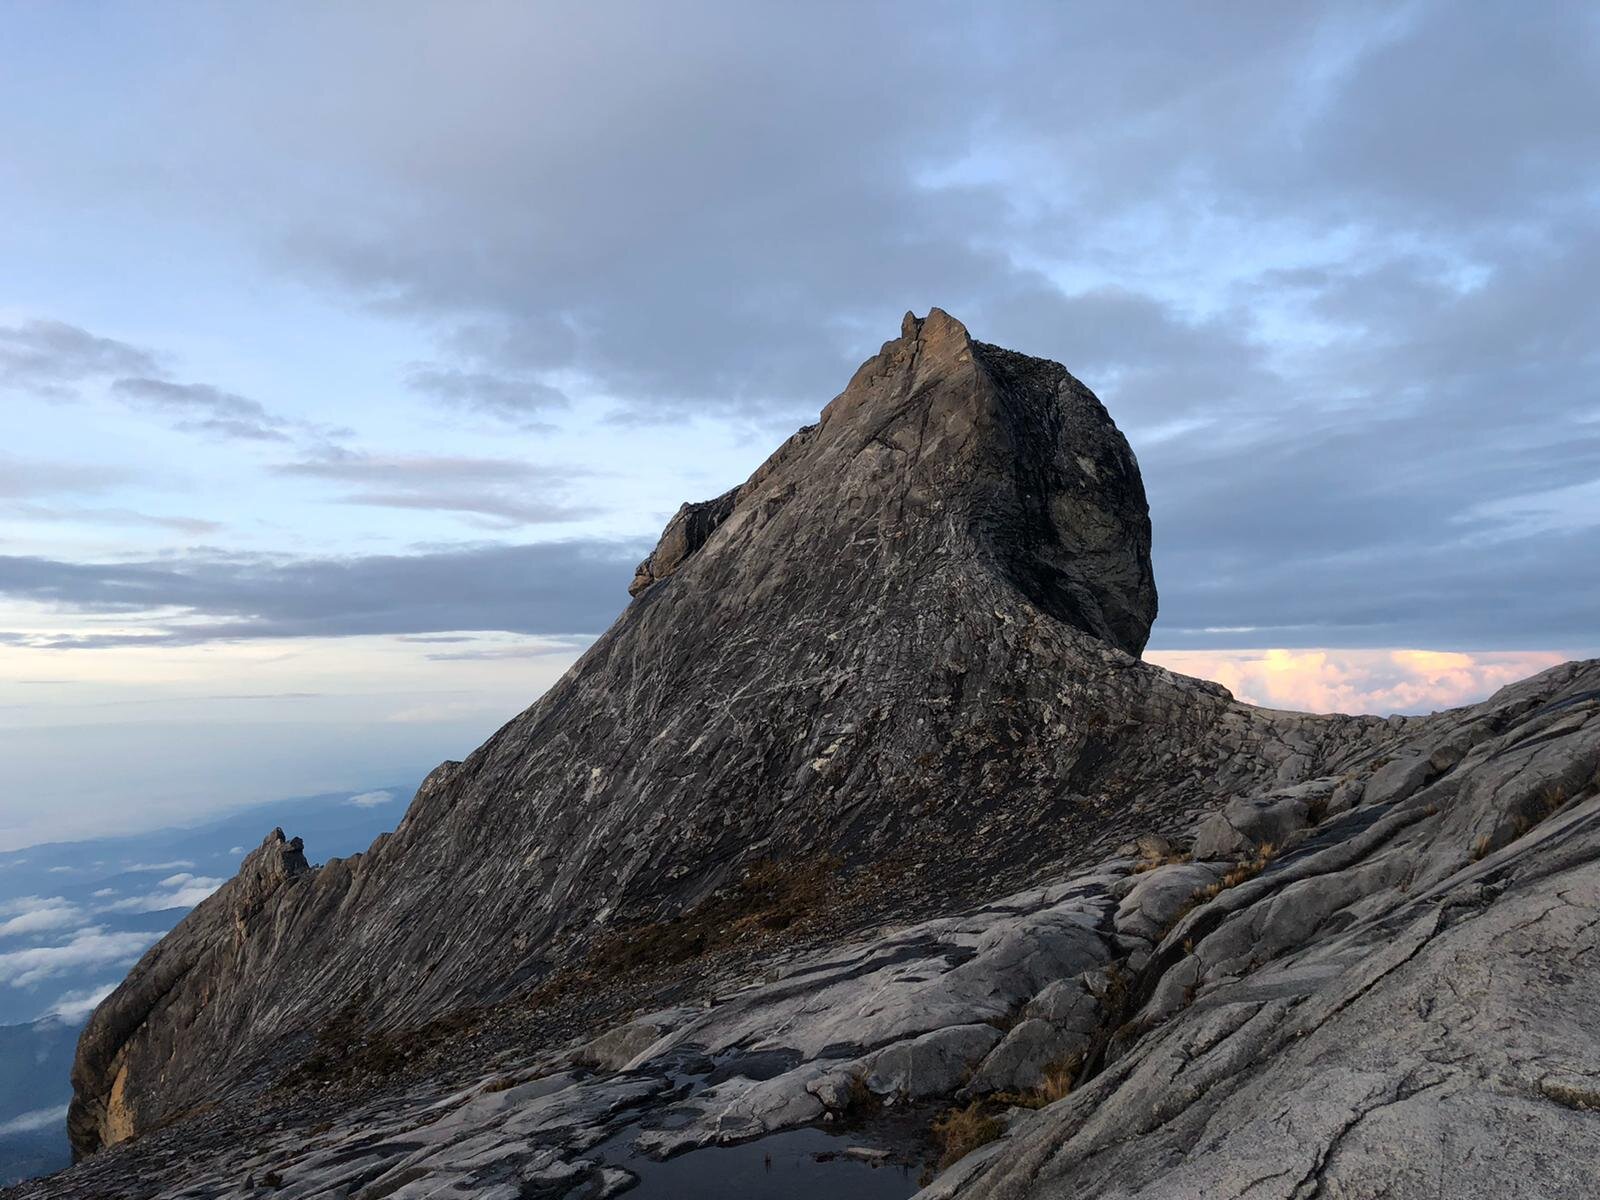
There are eight peaks from 7.5km. The highest one is Low’s Peak (4,095m) which is every climber’s aim to achieve.
Here is a list of peaks in order:
South Peak (3,922m), Tunku Abdul Rahman Peak (3,948m), Donkey’s Ears Peak (4,048m), Ugly Sisters Peak (4,032m), King Edward’s Peak (4,086m), John’s Peak (4,091m), Alexandra Peak (3,998m) and Low’s Peak Summit (4,095m).
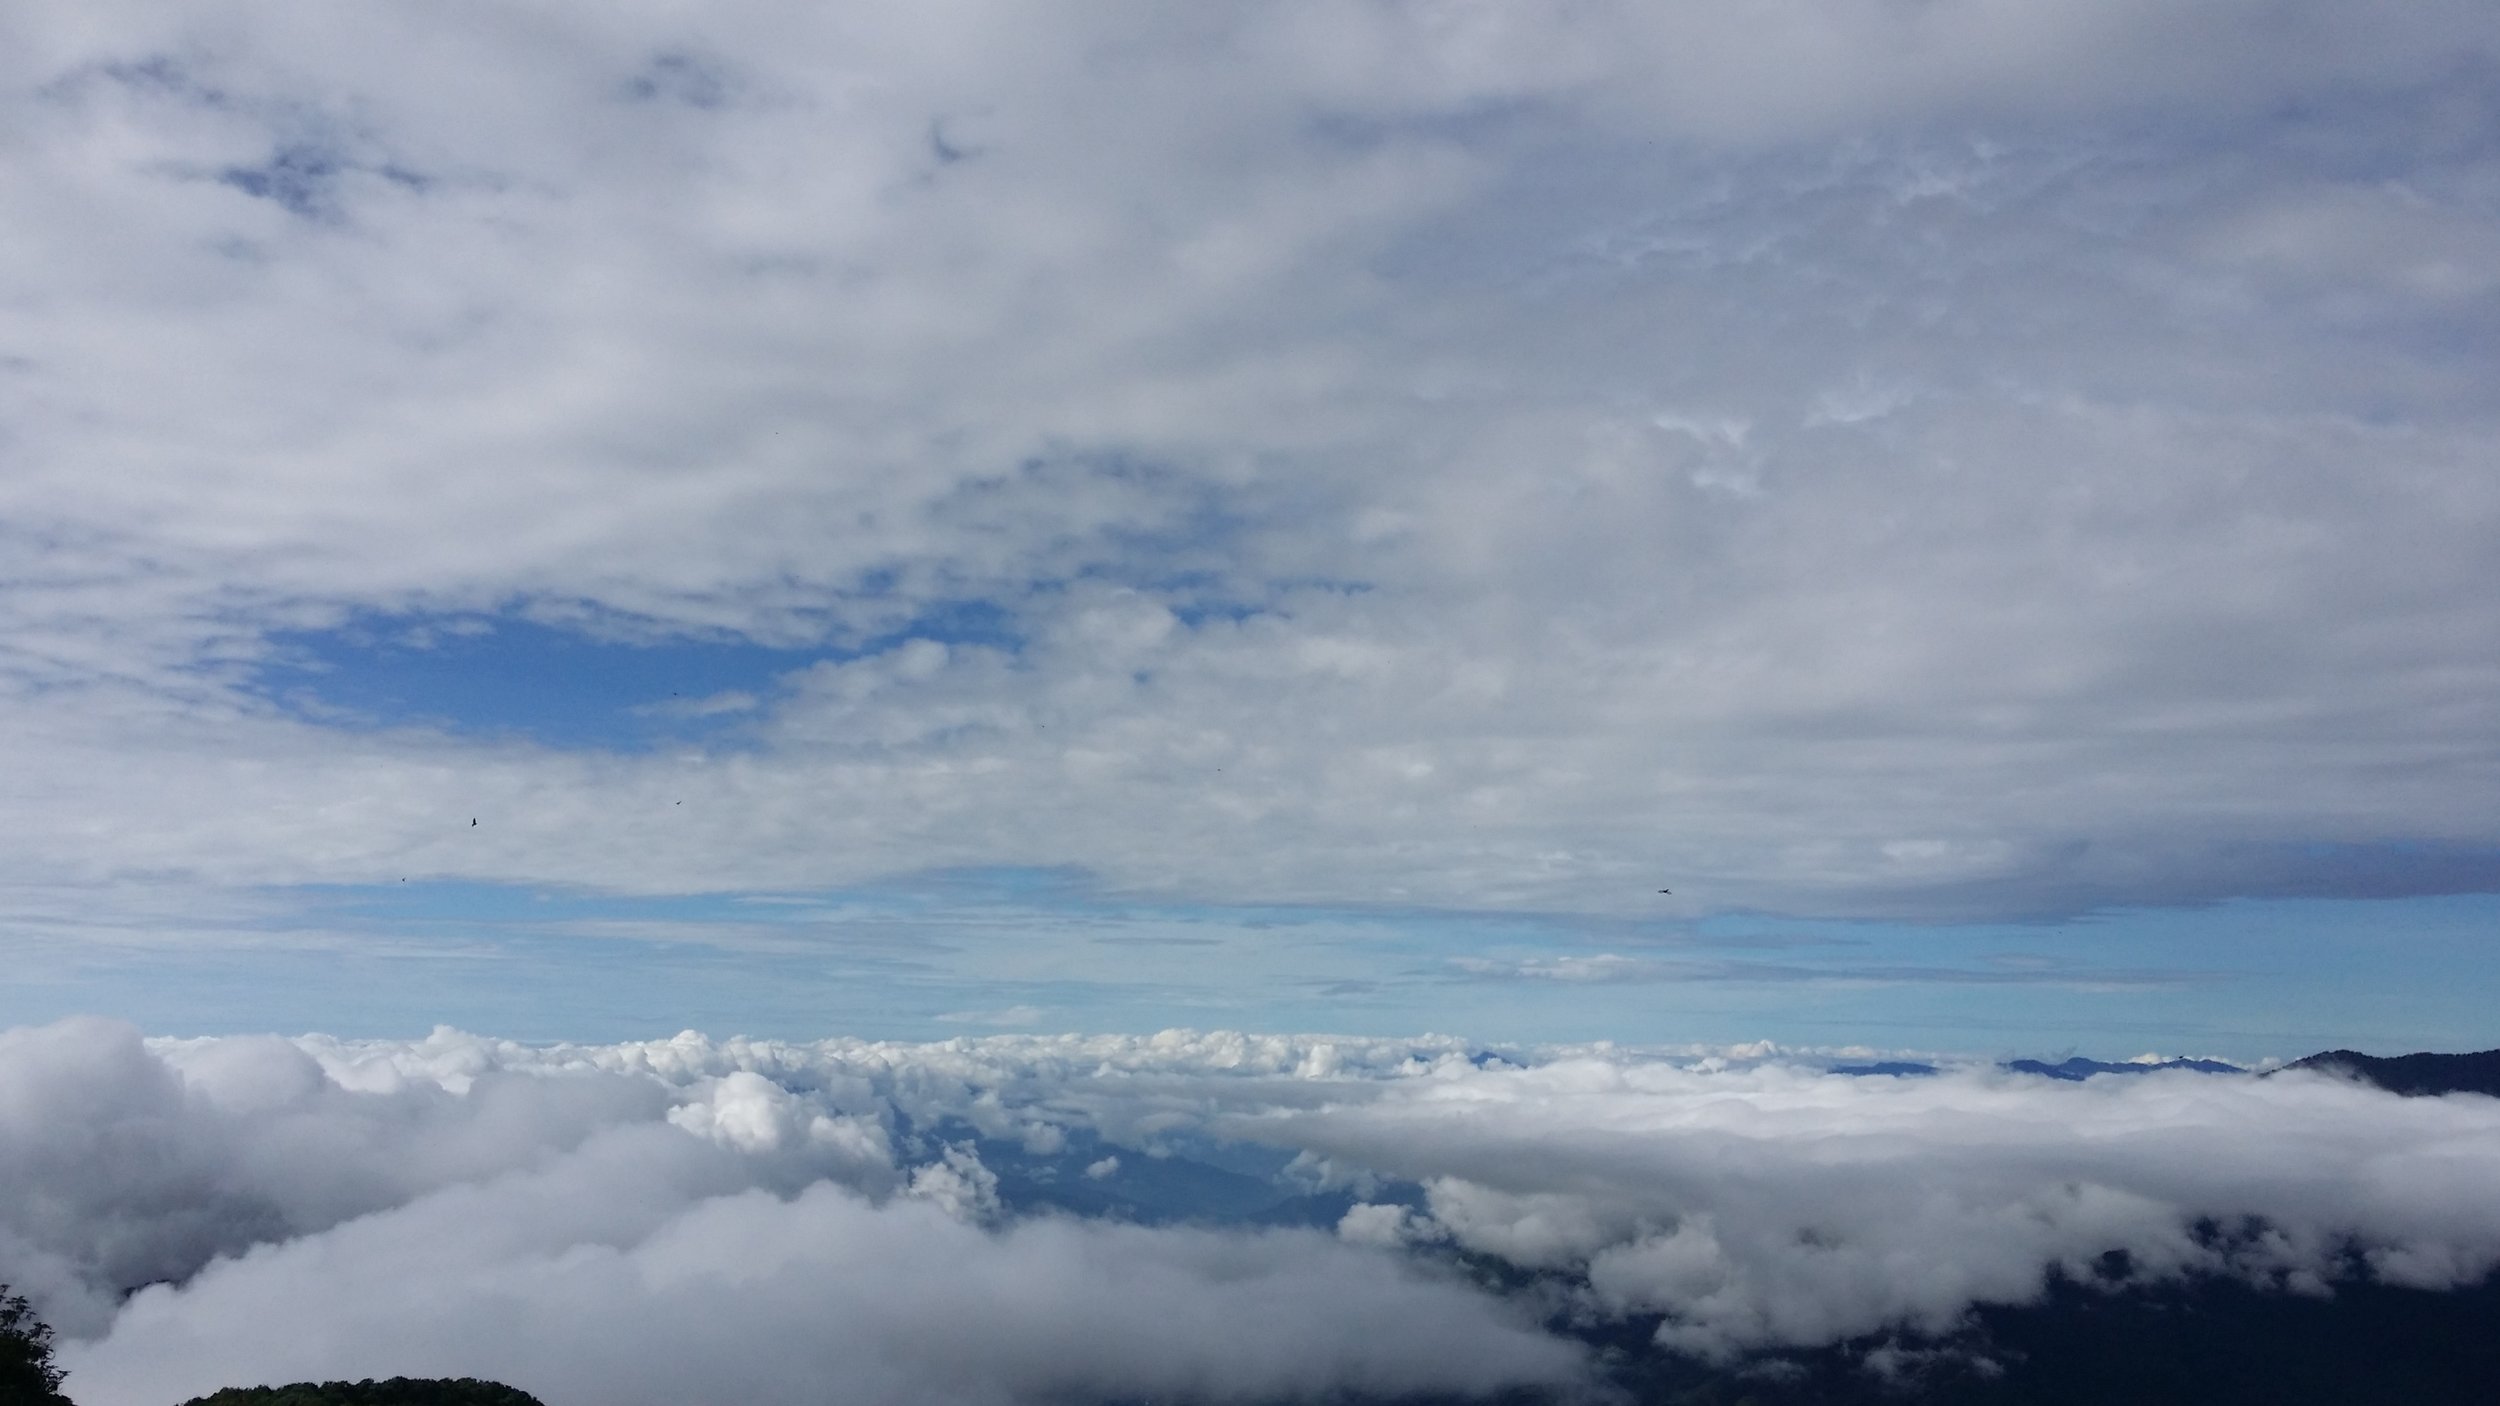
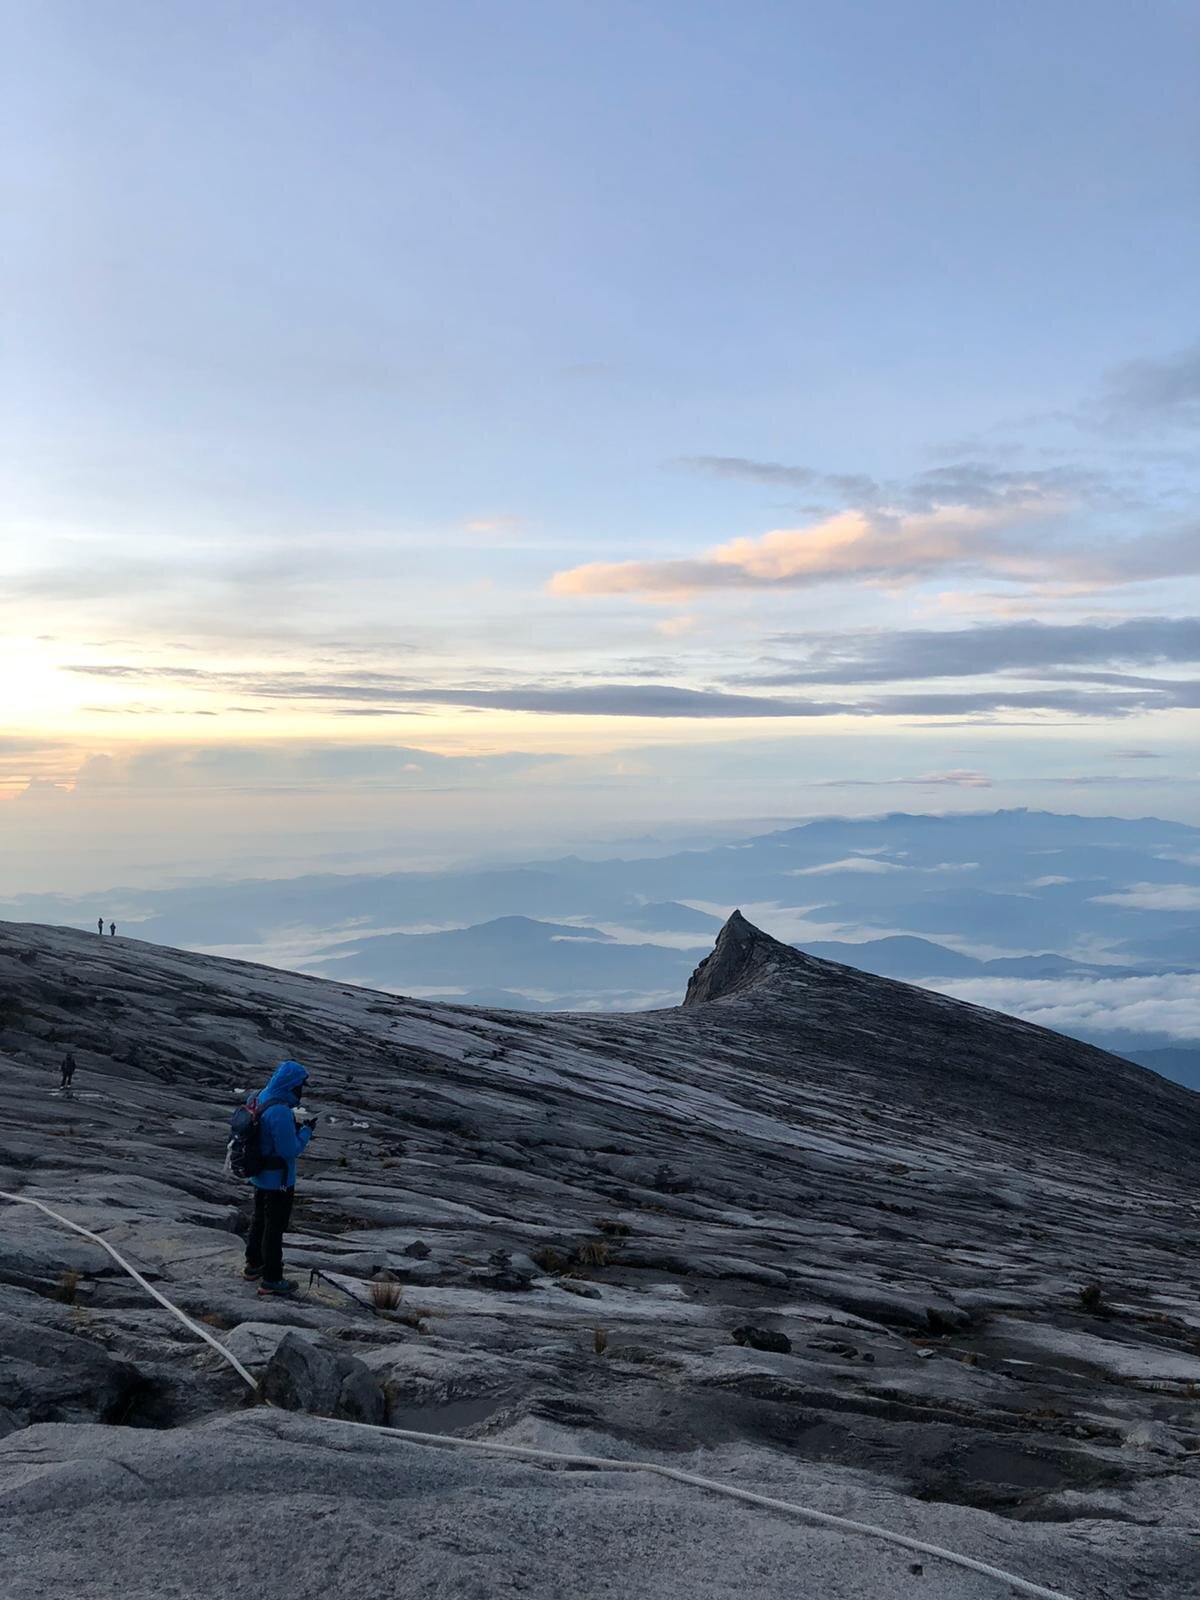
Reaching the peak before or at sunrise is a perfect time. The view is magnificent and will leave you speechless.
7:30 am is the latest time to descent back to Panalaban Base Camp. Of course, climbers may descent down as early as possible. It takes 2-3 hours to reach back to base camp.
The check-out time is 10:30 am, and the last call for late breakfast buffet also ends at 10:30 am so climbers must be back to the base camp no later than the time stated. There will be an extra charge if climbers fail to be back on time.
DAY 2 - DESCEND FROM PANALABAN BASE CAMP TO TIMPOHON GATE
After check-out and lunch, climbers can start to descend back to Timpohon Gate.
It usually takes about 4-6 hours to complete the descent.
As mentioned from ‘Day 1’ climb, there are seven shelters for climbers to take rest. There won’t be any packed lunch provided for the descent part, so make sure to bring or buy some protein or energy bars from the restaurant. There will be a lunch buffet provided upon arriving at Kinabalu Headquarter.
Climbers can also collect their storage baggage and receive or buy their climbing certificate at the Headquarter.
WHERE TO BOOK
There are many travel and tour agencies to choose from in Kota Kinabalu. However, picking the right one is essential. First, you need to check if the tour agency has a good or bad reputation. Typically the price ranges from $350-600 for foreign passports/ non-Malaysian citizens holders.
Before planning and booking, a friend of mine who works for Lightfoot Travel, Diana Fung advised me to check out this website 'Mount Kinabalu' to get an idea of the pricing and the availability of the dates.
Here is a list of places to book:
AMAZING BORNEO
https://www.amazingborneo.com/packages/tours/sabah-mount-kinabalu-packages
RIVER JUNKIE TOURS
BORNEO CALLING
BEFORE THE CLIMB
Preparing before the climb is essential as your preparations beforehand will help you a lot during your climb. Here are some tips for you to follow what needs to be prepared.
Have yourself medically checked before the climb. If you suffer from severe heart disease, chronic asthma, lung problems, knees or ankles injuries, diabetes, obesity, muscular cramps and other serious sickness or disease are not recommended to climb. You must be in decent physical health condition before doing the climb.
Pack only the essential stuff, and your backpack should not weigh more than 8kg. The ideal weight is 4-8kg. If you are worried about your other stuff, Kinabalu Headquarter offers storage service with a fee of RM 12 per bag (as of 2019).
Bring enough warm clothing, especially for the summit climb as it can get as cold as 0 degrees up there.
Wear proper trekking shoes with a good grip. Wearing the right shoes can help you balance and hold your grip on the ground while climbing and you will need this too when doing the summit climb. Waterproof shoes are also ideal in case of rain.
Pack some energy and protein bars while climbing.
Make sure to have your nails trimmed both your hand nails and toenails. This will help you trek better so you won’t accidentally bump or crack your nails while climbing.
The lodges up in the base camp only accept cash, so make sure you bring enough or extra money in case of emergency.
You must wear your ID tag at all times while trekking and climbing.
Consider bringing trekking poles as it will help you a lot, especially when descending. You may also rent or buy trekking poles from the headquarter.
Bring a pair of waterproof or windproof gloves. You will need them when doing the summit climb.
Wear a waterproof or windproof jacket during the summit climb. Make sure that your jacket is thick enough for cold weather as it can be very windy up there.
Workout before the climb. Focus on the treadmill, cycling, swimming and suspension training. Most of the time you are carrying yourself, so make sure to boost up your stamina. If you have weak arms, then you may go for some rope climbing lessons to help you when climbing the summit.
When doing the summit climb, you will need light to guide you from the dark path. A headlight is preferable and also very convenient. Bring extra batteries too just in case and don’t buy the low-quality ones. Energizer or Duracell are my recommendations.
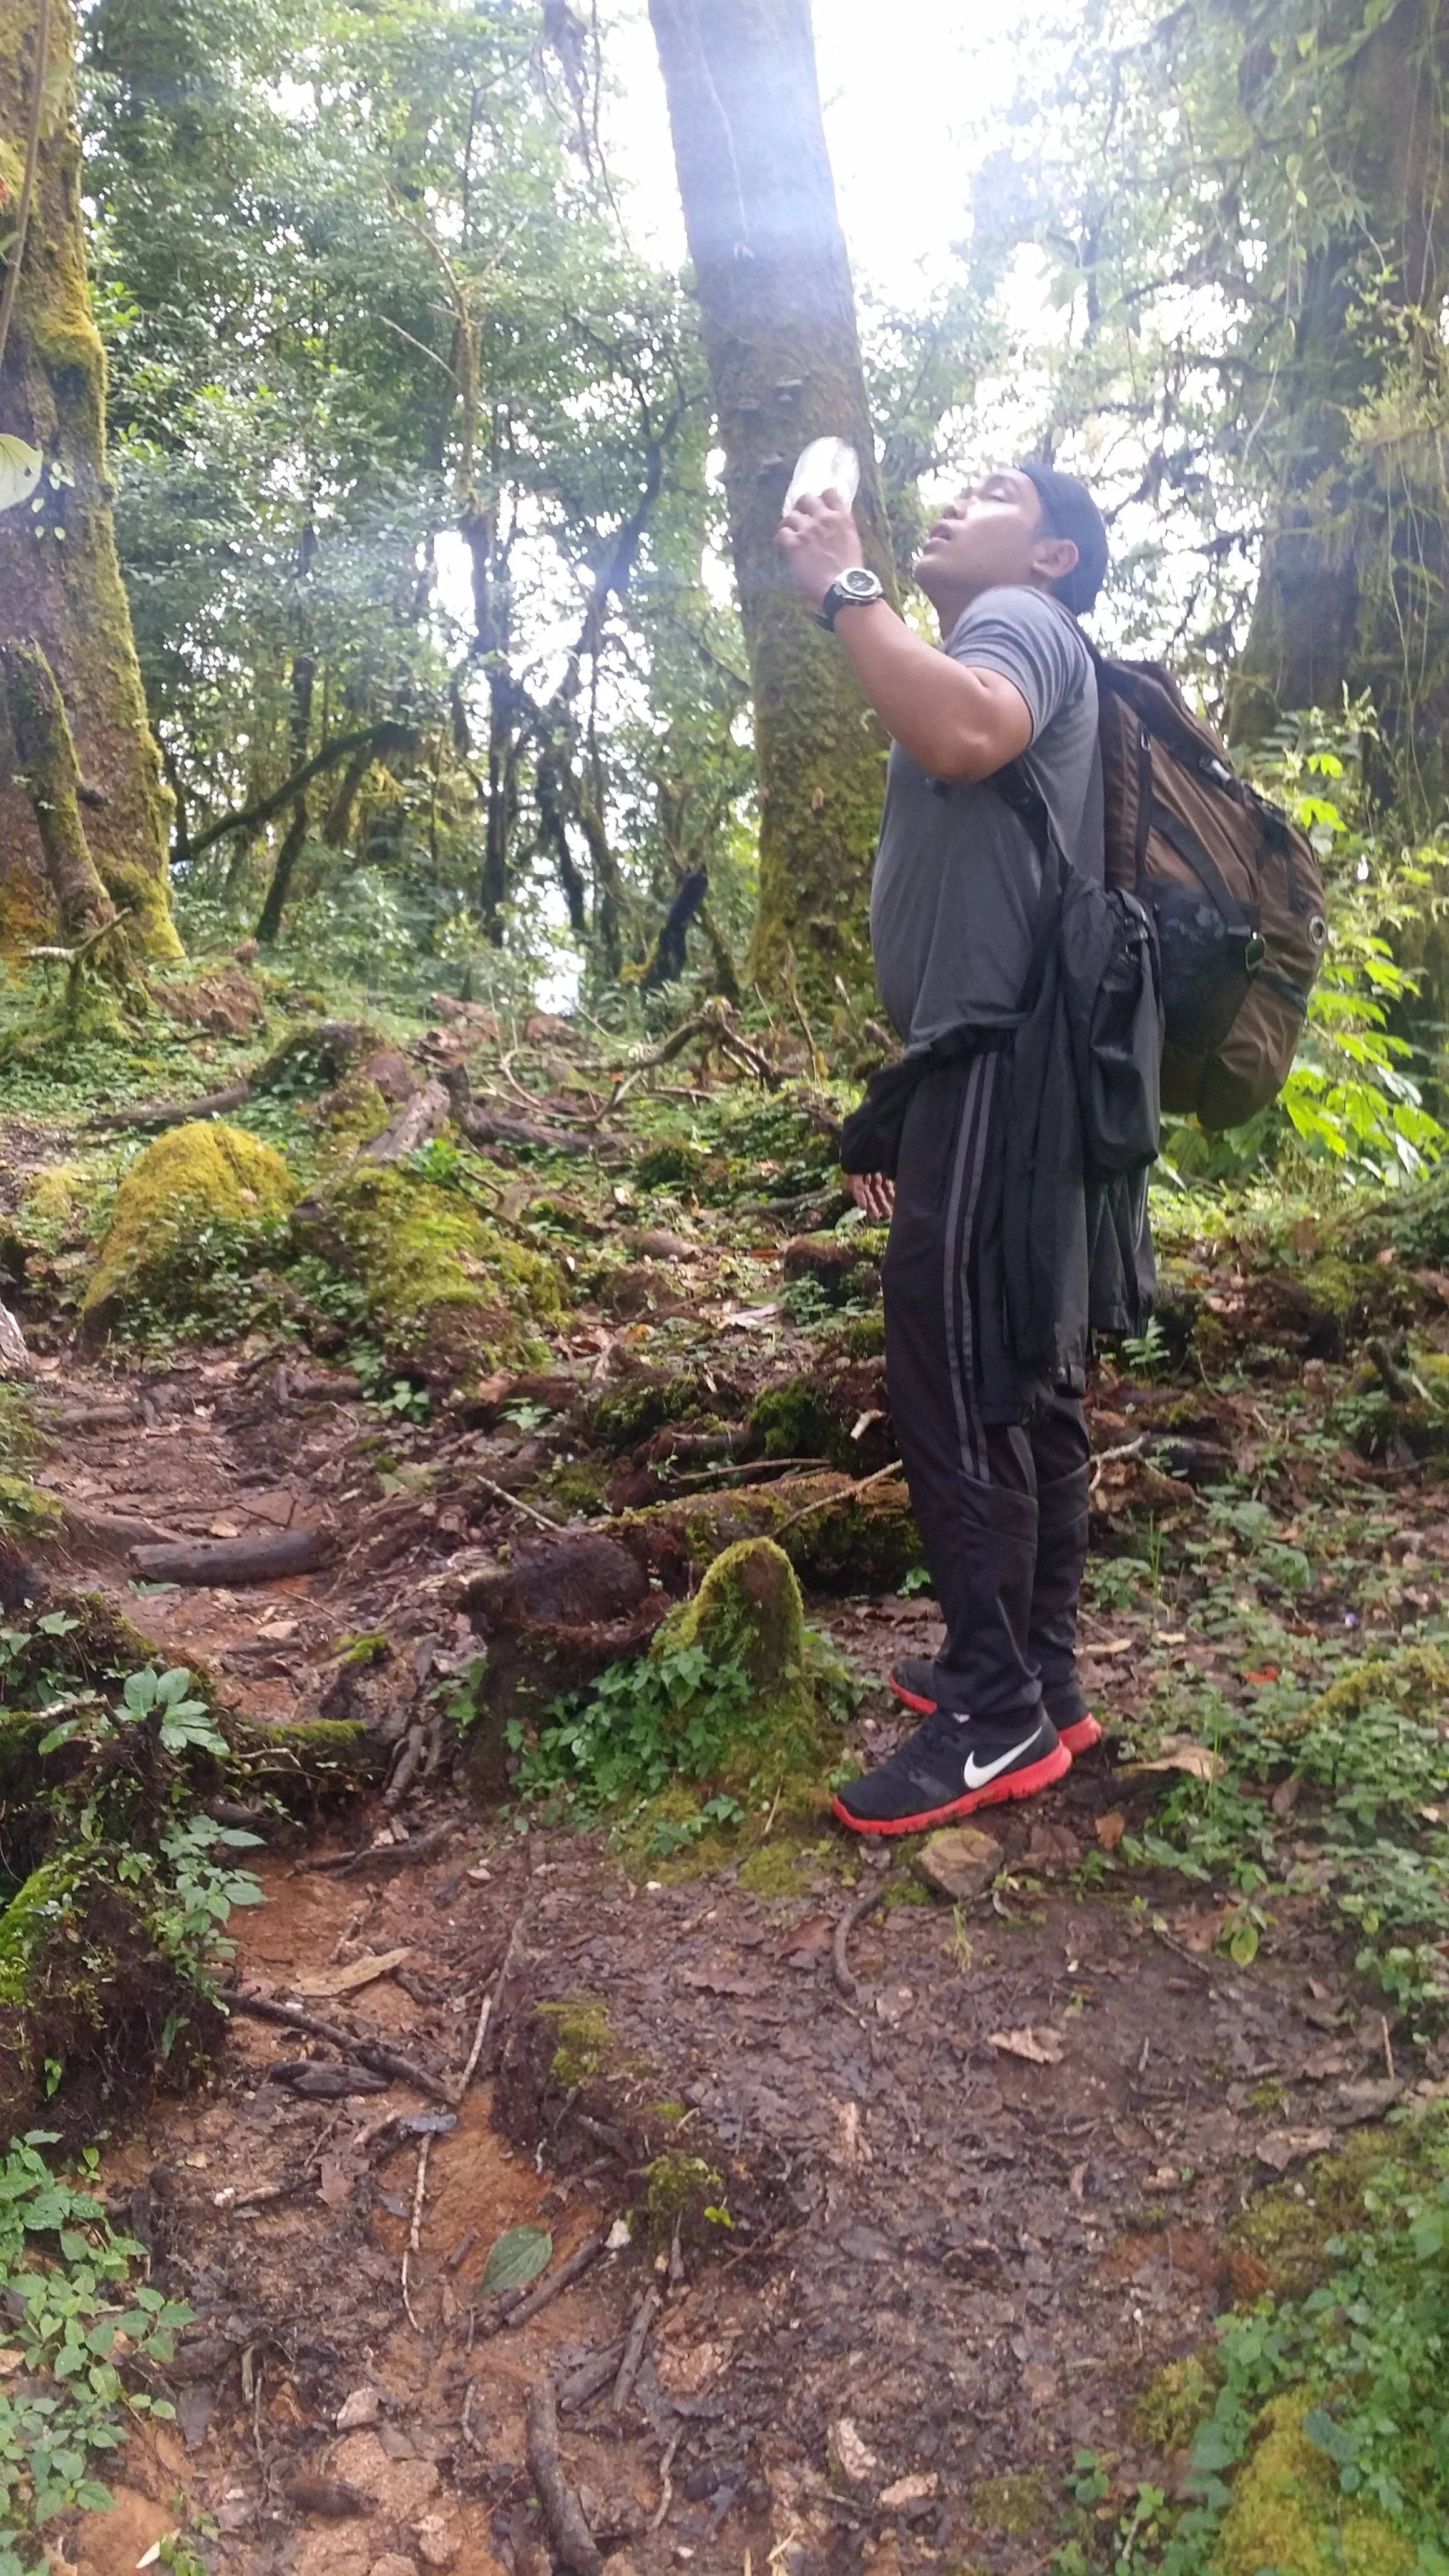
Bring up to 1.5-2 litres of water when ascending to Panlalaban Basecamp.
Bring 1.5 litres of water when doing the summit climb.
Bring 1.5 litres of water when descending back to Timpohon Gate.
Don’t forget to bring along your passports with you.
You may take along some altitude sickness tablets or headache pills with you but make sure to consult with your physician beforehand. Ginger tablets or ginger tea also helps with altitude sickness.
DURING THE CLIMB
Trek at an average pace. Take one step at a time, walk-in a zig-zag pattern. Avoid taking big steps to conserve your energy. Make sure to have steady breathing too. Since you are ascending 6km on your first day, your body also needs to acclimatize. You may take a short break from time to time to get used to the air pressure. Take a more extended break during your lunch break at Layang-Layang shelter.
Alert your mountain guide if you feel something such as difficulty to breath, sudden headache, dizziness or feeling nausea.
Have a good rest before the summit climb. Bring earplugs if you are a light sleeper.
Wake up early and get ready at 1:30 am. Avoid having substantial supper; only take what your tummy can. You may bring some energy or protein bars for you to eat along the way.
Always mind your step and hold the rail or rope at all times while climbing up the path.
There is a time limit for trekkers to climb the summit. Climbers must reach Sayat-Sayat checkpoint no later than 5:30 am. If you missed this, you might not be able to proceed to the summit for safety reasons.
Do not stay too long at the peak as it can be very windy and cold. Also, climbers are not advised to chill at the summit. Once you reach up there, you may take pictures, enjoy the view up there and head back down. Try to be considerate to other climbers too.
There is also a curfew time when to check out from the base camp. The check out time is 10:30 am. There will be an extra charge when you miss the check out time.
Have a nice breakfast and make sure you bring enough water as it is a long way down back to the headquarter.
Watch your steps while descending. Although most rocks along the path are friendly, there may be a few that are not stable to step. Don’t step the stairs with metal edges, especially when the path is wet so you won’t slip and hurt yourself.
Use your trekking poles to help support your knees and legs. Most climbers carry at least one stick with them, bring two poles when you feel you need it or if your balance is not good. Wear knee pads when you are prone to have knee injuries.
Remember to take nothing but pictures.
AFTER THE CLIMB
Remember to do some stretching after completing the trek.
You may have a satisfying lunch at a restaurant near the headquarter.
Drink plenty of fluid even after completing the climb.
Go for foot massage or full body massage two days later.
Recovery takes time, so post-body ache is normal. However, if your body ache continues for two weeks or a month, you should see a doctor and have a body check-up.
Avoid engaging in physical activity for the next three days to 1 week until your body has fully recovered.
Share your experience with your family and friends and on social media too.
BRING ONLY THE ESSENTIAL THINGS
Since it only takes two days to climb Mt. Kinabalu, you need not bring a bunch of things with you. Trust me when I say this because what you bring up there will determine your fate in completing the climb. Unless of course, you hire a porter but even that, don’t bring anything unnecessary.
I honestly thought I packed light. I made a list, and on that list, I included the things I most need. However, I still struggle. It was just too exhausting so imagine if I packed too much, I would have a much harder time completing the climb or worse I may not even make it. My major mistake was bringing too much water. The suggested amount of water is between 1.5-2 litres. I end up bringing 3 litres because I assume I need to drink a lot of water. However, I only drank about 2 litres. Luckily, my boyfriend offered to help me carry 1 litre of water, and our mountain guide had also helped me carry my backpack from 3km to 4km. That had helped me a lot as I was suffering. I guess I underestimated Mt. Kinabalu.
So here is an ideal list to bring during your mountain climbing journey:
Waterproof Backpack or Backpack with a rain cover
Small Bag or Bumbag (Waist Bag) for Summit Climb
1 pair Waterproof and Comfortable Trekking Shoes with good grips
Lightweight Clothing (Day 1 ascend and Day 2 descend) - ideally 2 t-shirts, 1 pair of shorts or 1 pair of trekking pants, 2 pairs of socks for trekking and 1 cap or trekking hat
Warm Clothing (Overnight and Summit Climb) - ideally 1-2 long sleeves, 1 pair of trekking windproof pants, 1 waterproof or windproof jacket, 1 beanie or headscarf, 1 pair of waterproof or windproof gloves, 1 pair of socks good for trekking and fleece jacket (optional)
Headlight or Head Torch (Night and Summit Climb)
Ponchos (in case of rain)
Snacks - ideally energy or protein bars, chocolates, nuts, sweets or biscuits
Toiletries - preferably soap, toothbrush and toothpaste, extra plastic bags (for wet clothes) and toilet tissue paper and wet tissue
1-2 Small or Quick Dry Towel (for sweats and washing)
1-2 Trekking Poles
Sunglasses, Sunblock with SPF lotion (in a small container) and Insect Repellent (in a small container)
Medicines - such as altitude sickness tablets, headache tablets or ginger tablets
Camera with Waterproof Bag (for storage)
1.5-2 Litres Water (Timpohon Gate to Base Camp), 1.5 Litres Water (Summit Climb) and 1.5 Litres Water (Base Camp to Timpohon Gate)
In case you may wonder, you do not need to bring the following as the resthouse up at the base camp will provide these for you.
Bath Towel
Slippers
1 Pillow
Blanket with fleece
CLIMB DIARY
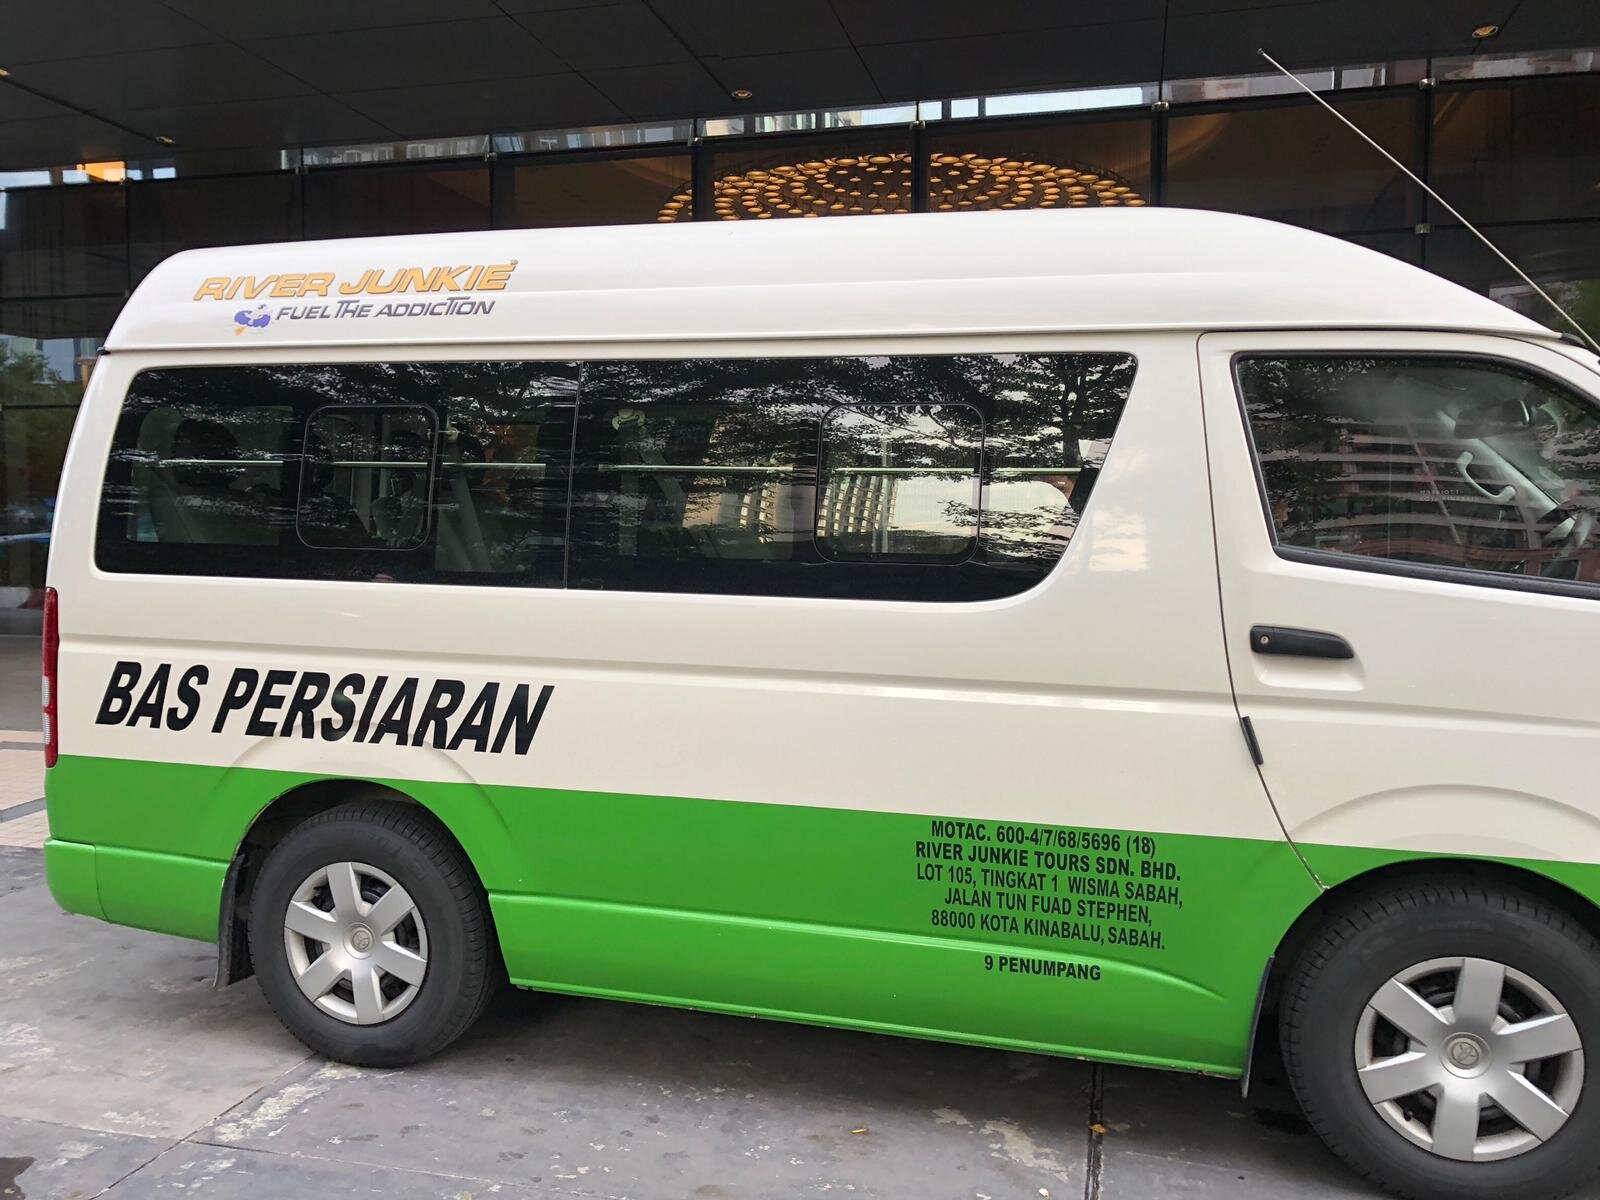
FROM HOTEL PICK UP TO KINABALU PARK HEADQUARTER
The drive from Kota Kinabalu City to the headquarter is about 2 hours. If there is traffic, it will take a bit longer to reach there. The pick-up time is usually from 6:00-7:00 am. We were picked up at 6:30 am, and we reach the headquarter at 8:30 am.
The mountain guides will usually make all the arrangement from registering and getting the permits, ID tags and packed lunch. While waiting, climbers may check-in their luggage at the baggage reception. The charge is RM 12 per bag.
We only waited less than 30 minutes, and our driver drove us to Timpohon Gate, which takes 10 minutes.
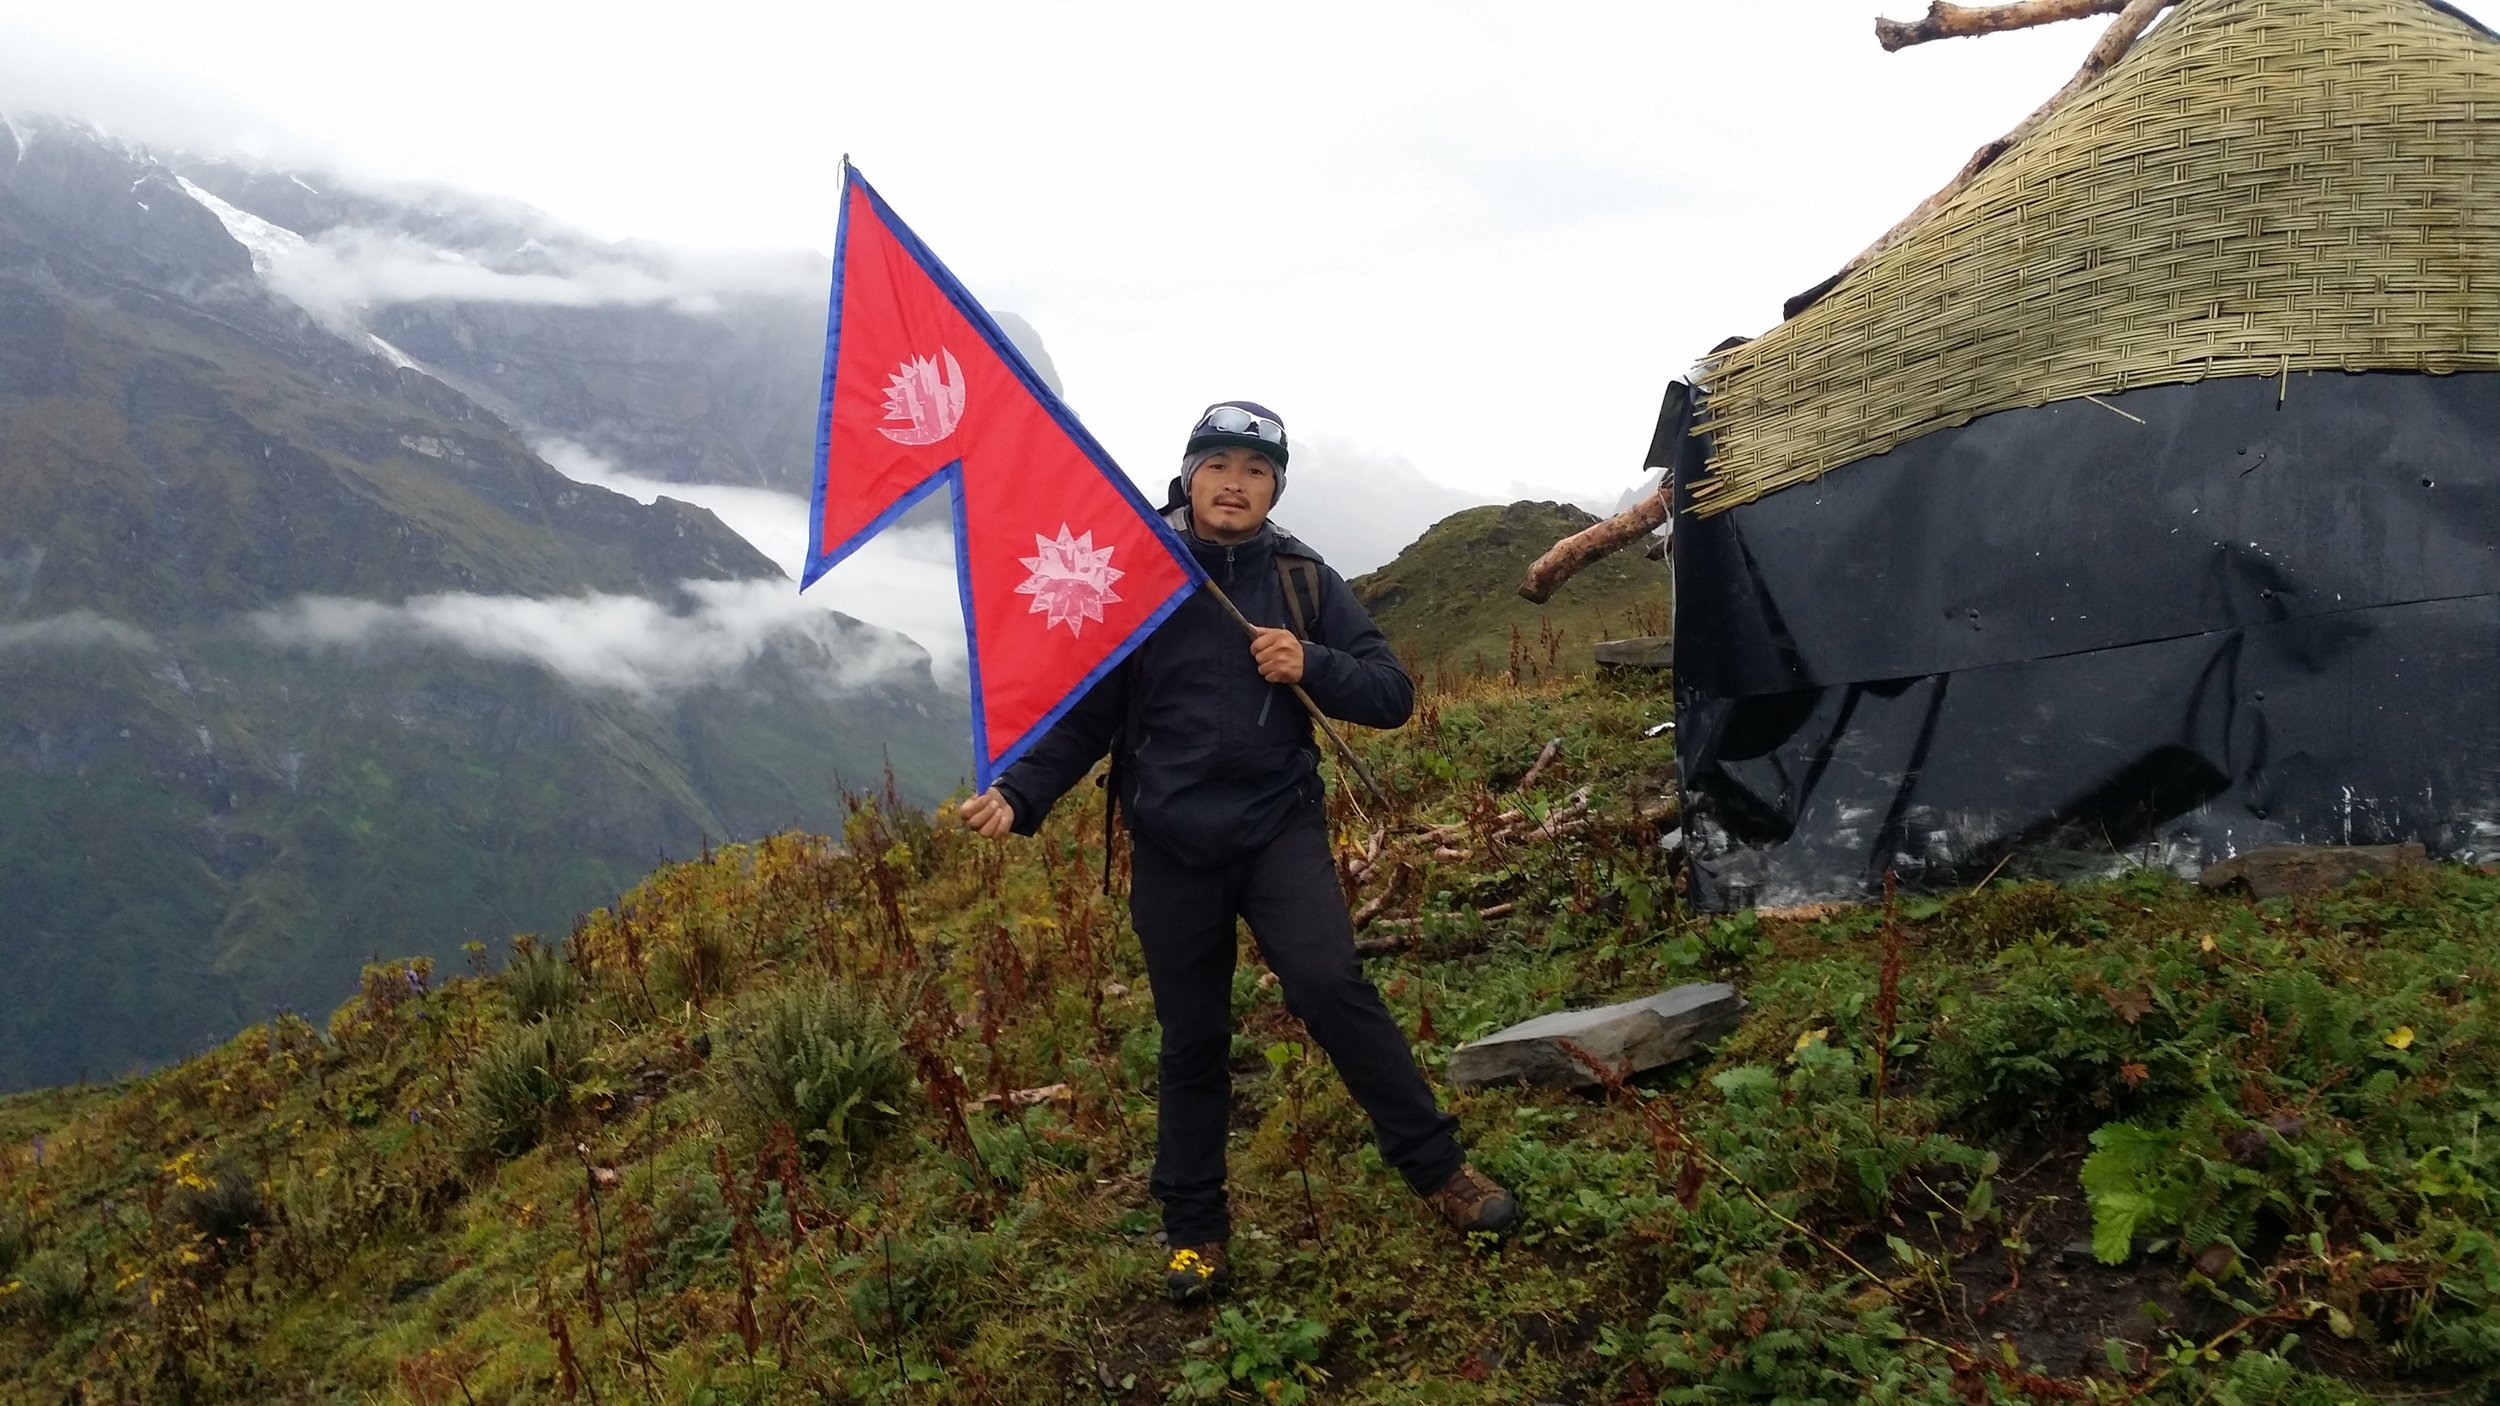
TIMPOHON GATE
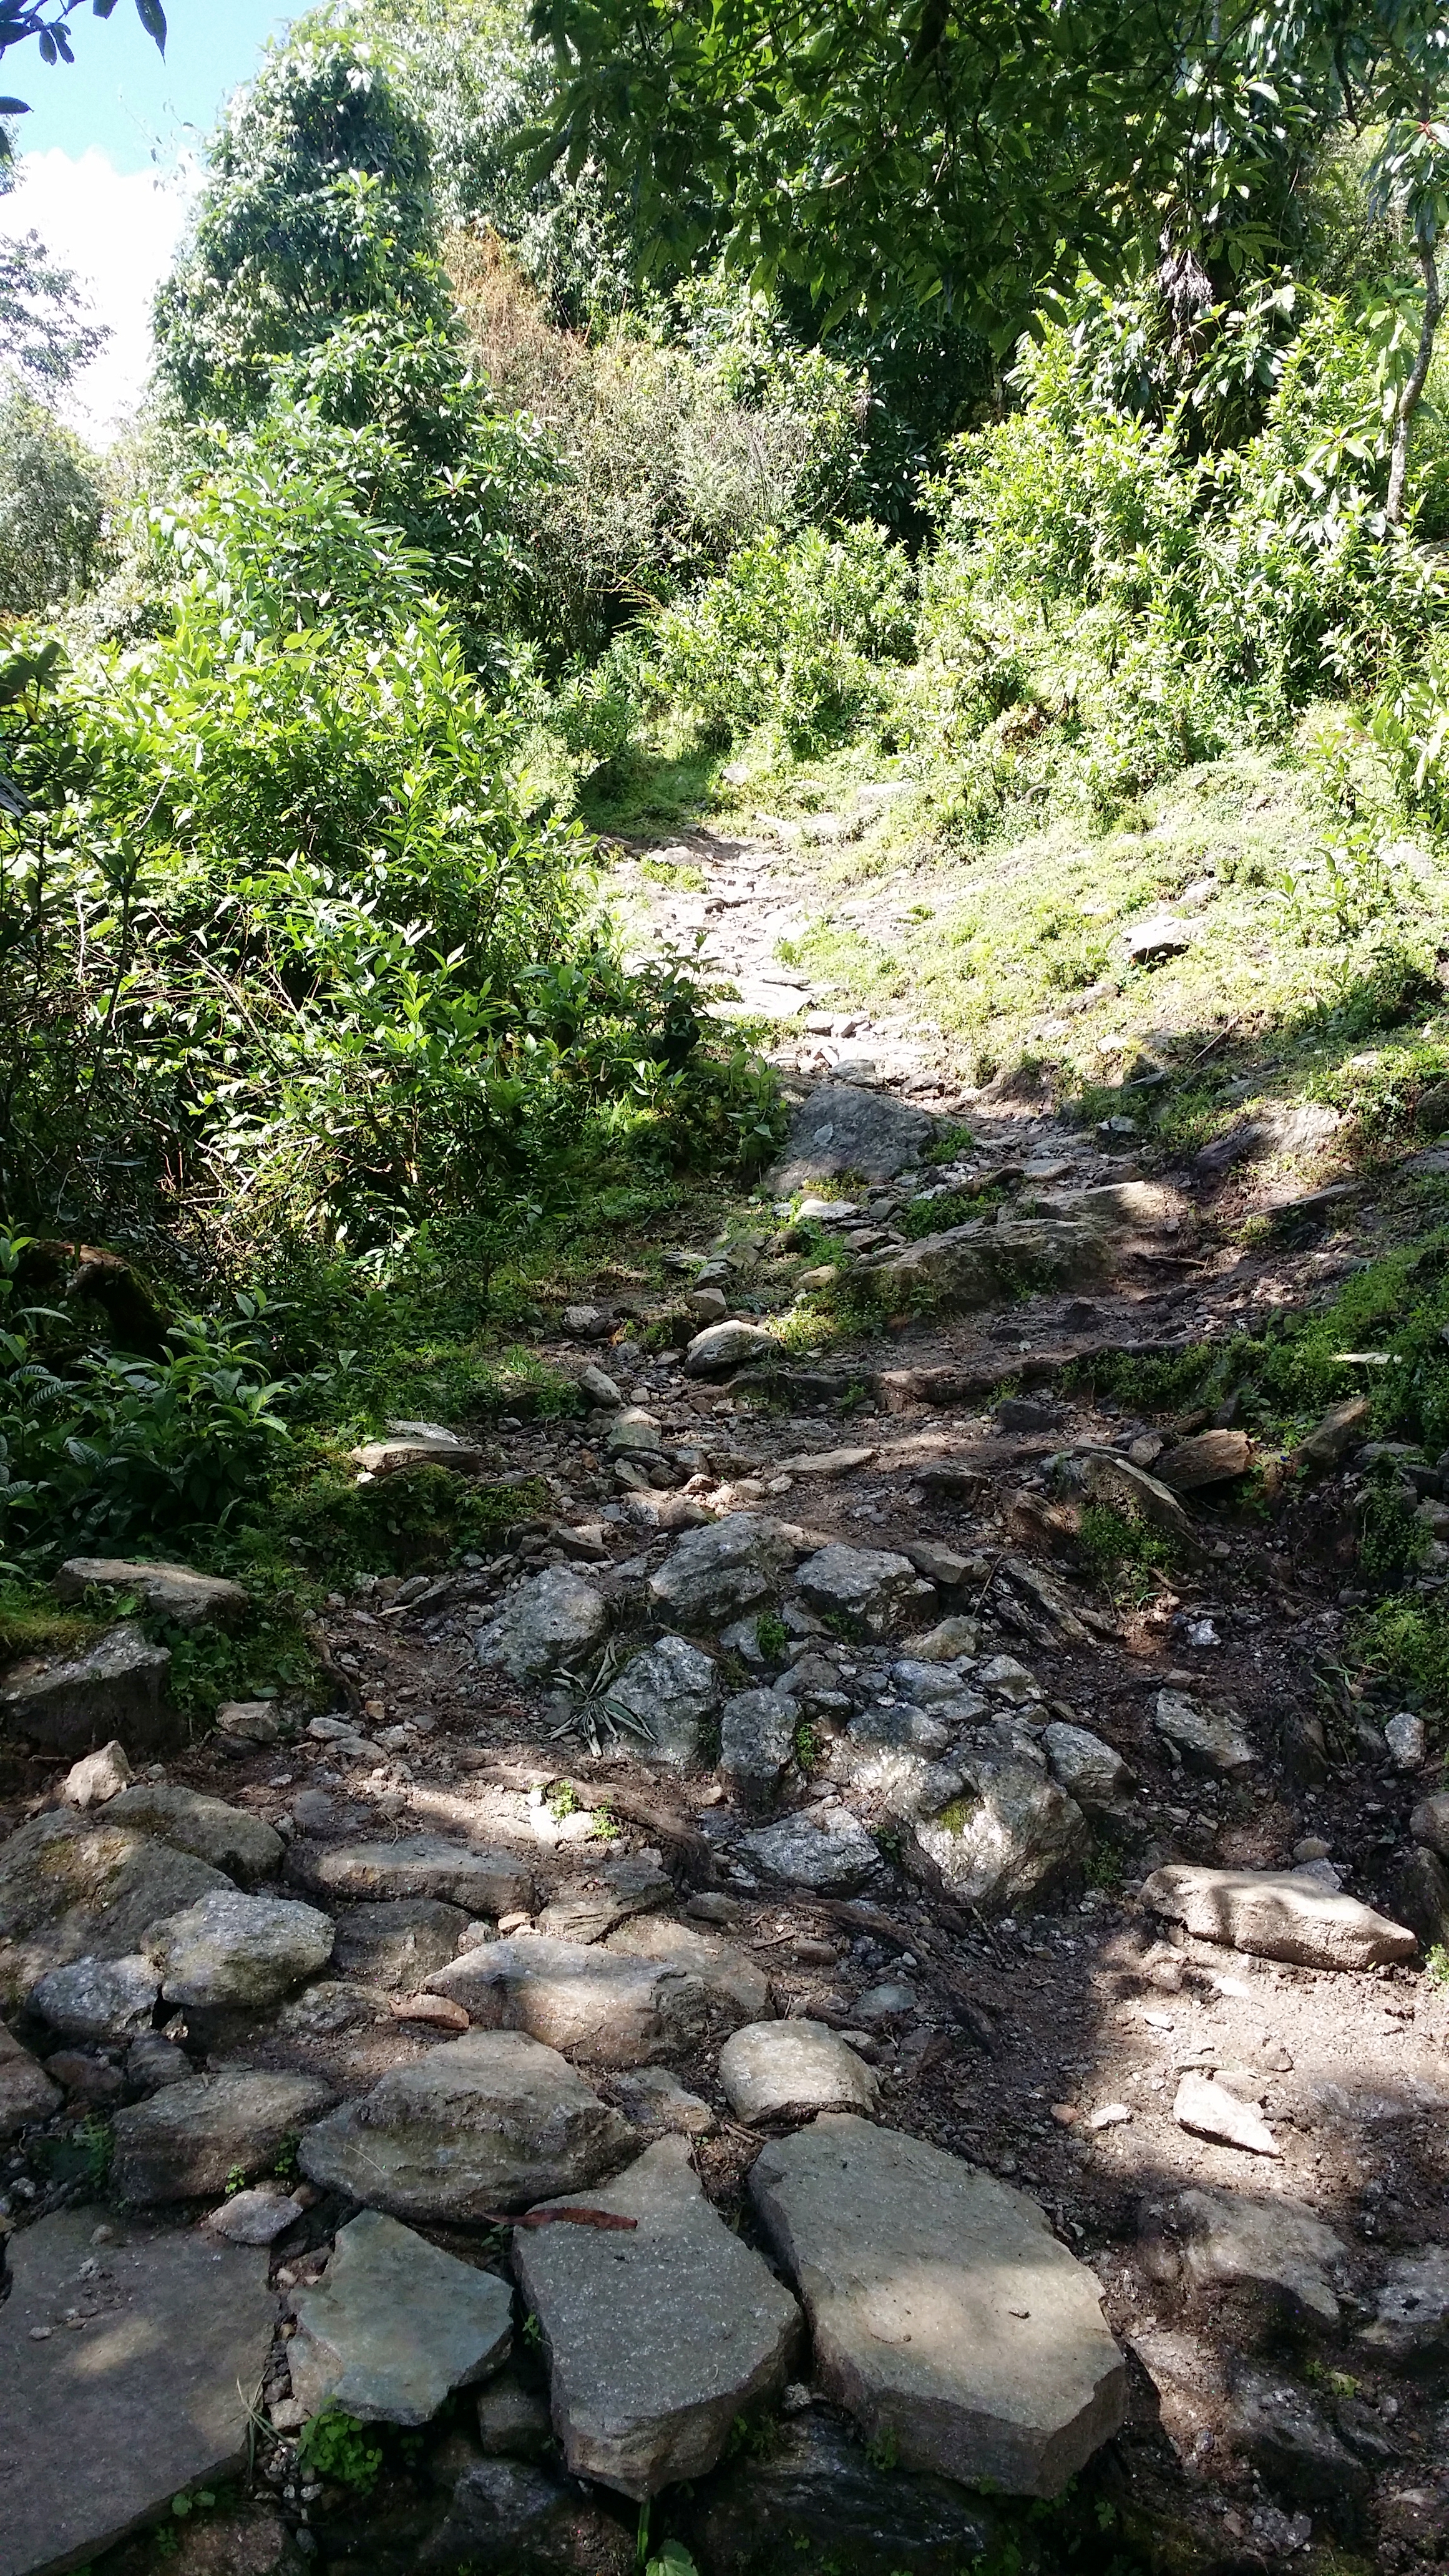
Guides will brief the climbers at this point, and all climbers must register at the checkpoint booth before starting the trek. There is not much to see at the gate except for a short flight of stairs heading downwards. That is the beginning of the trek.
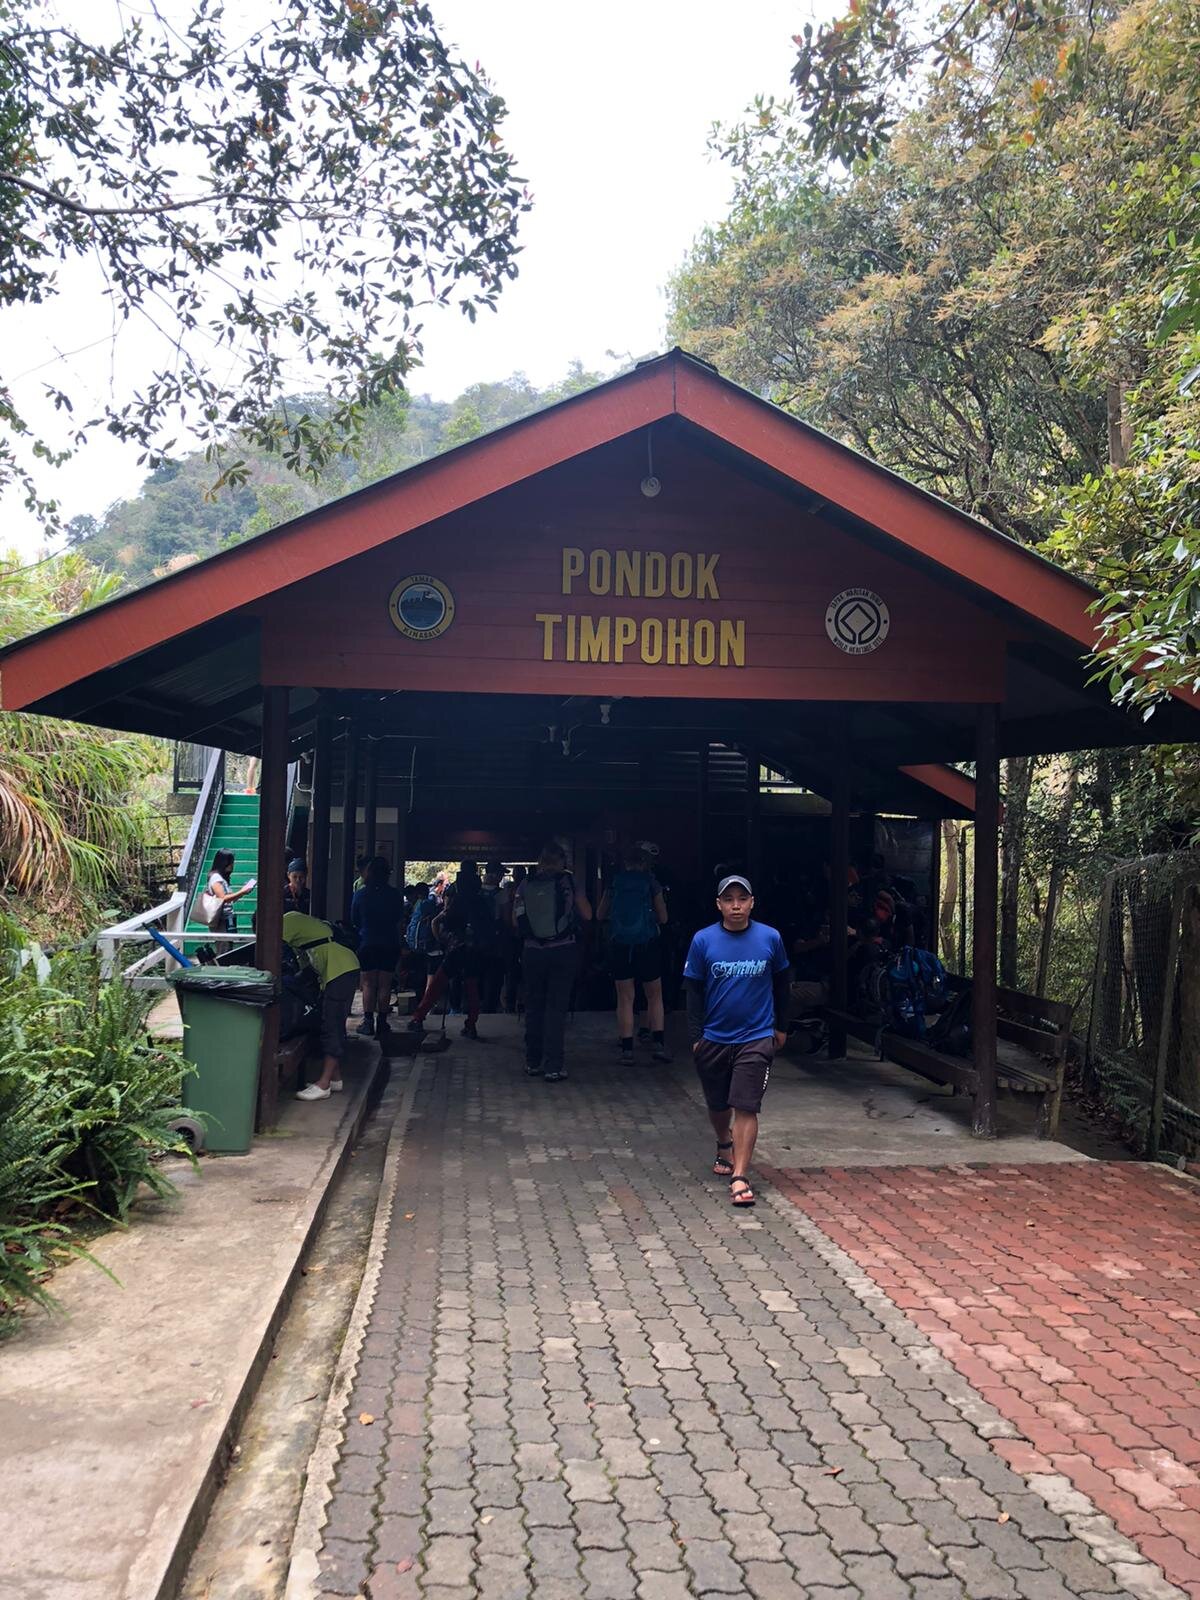
Timpohon Gate
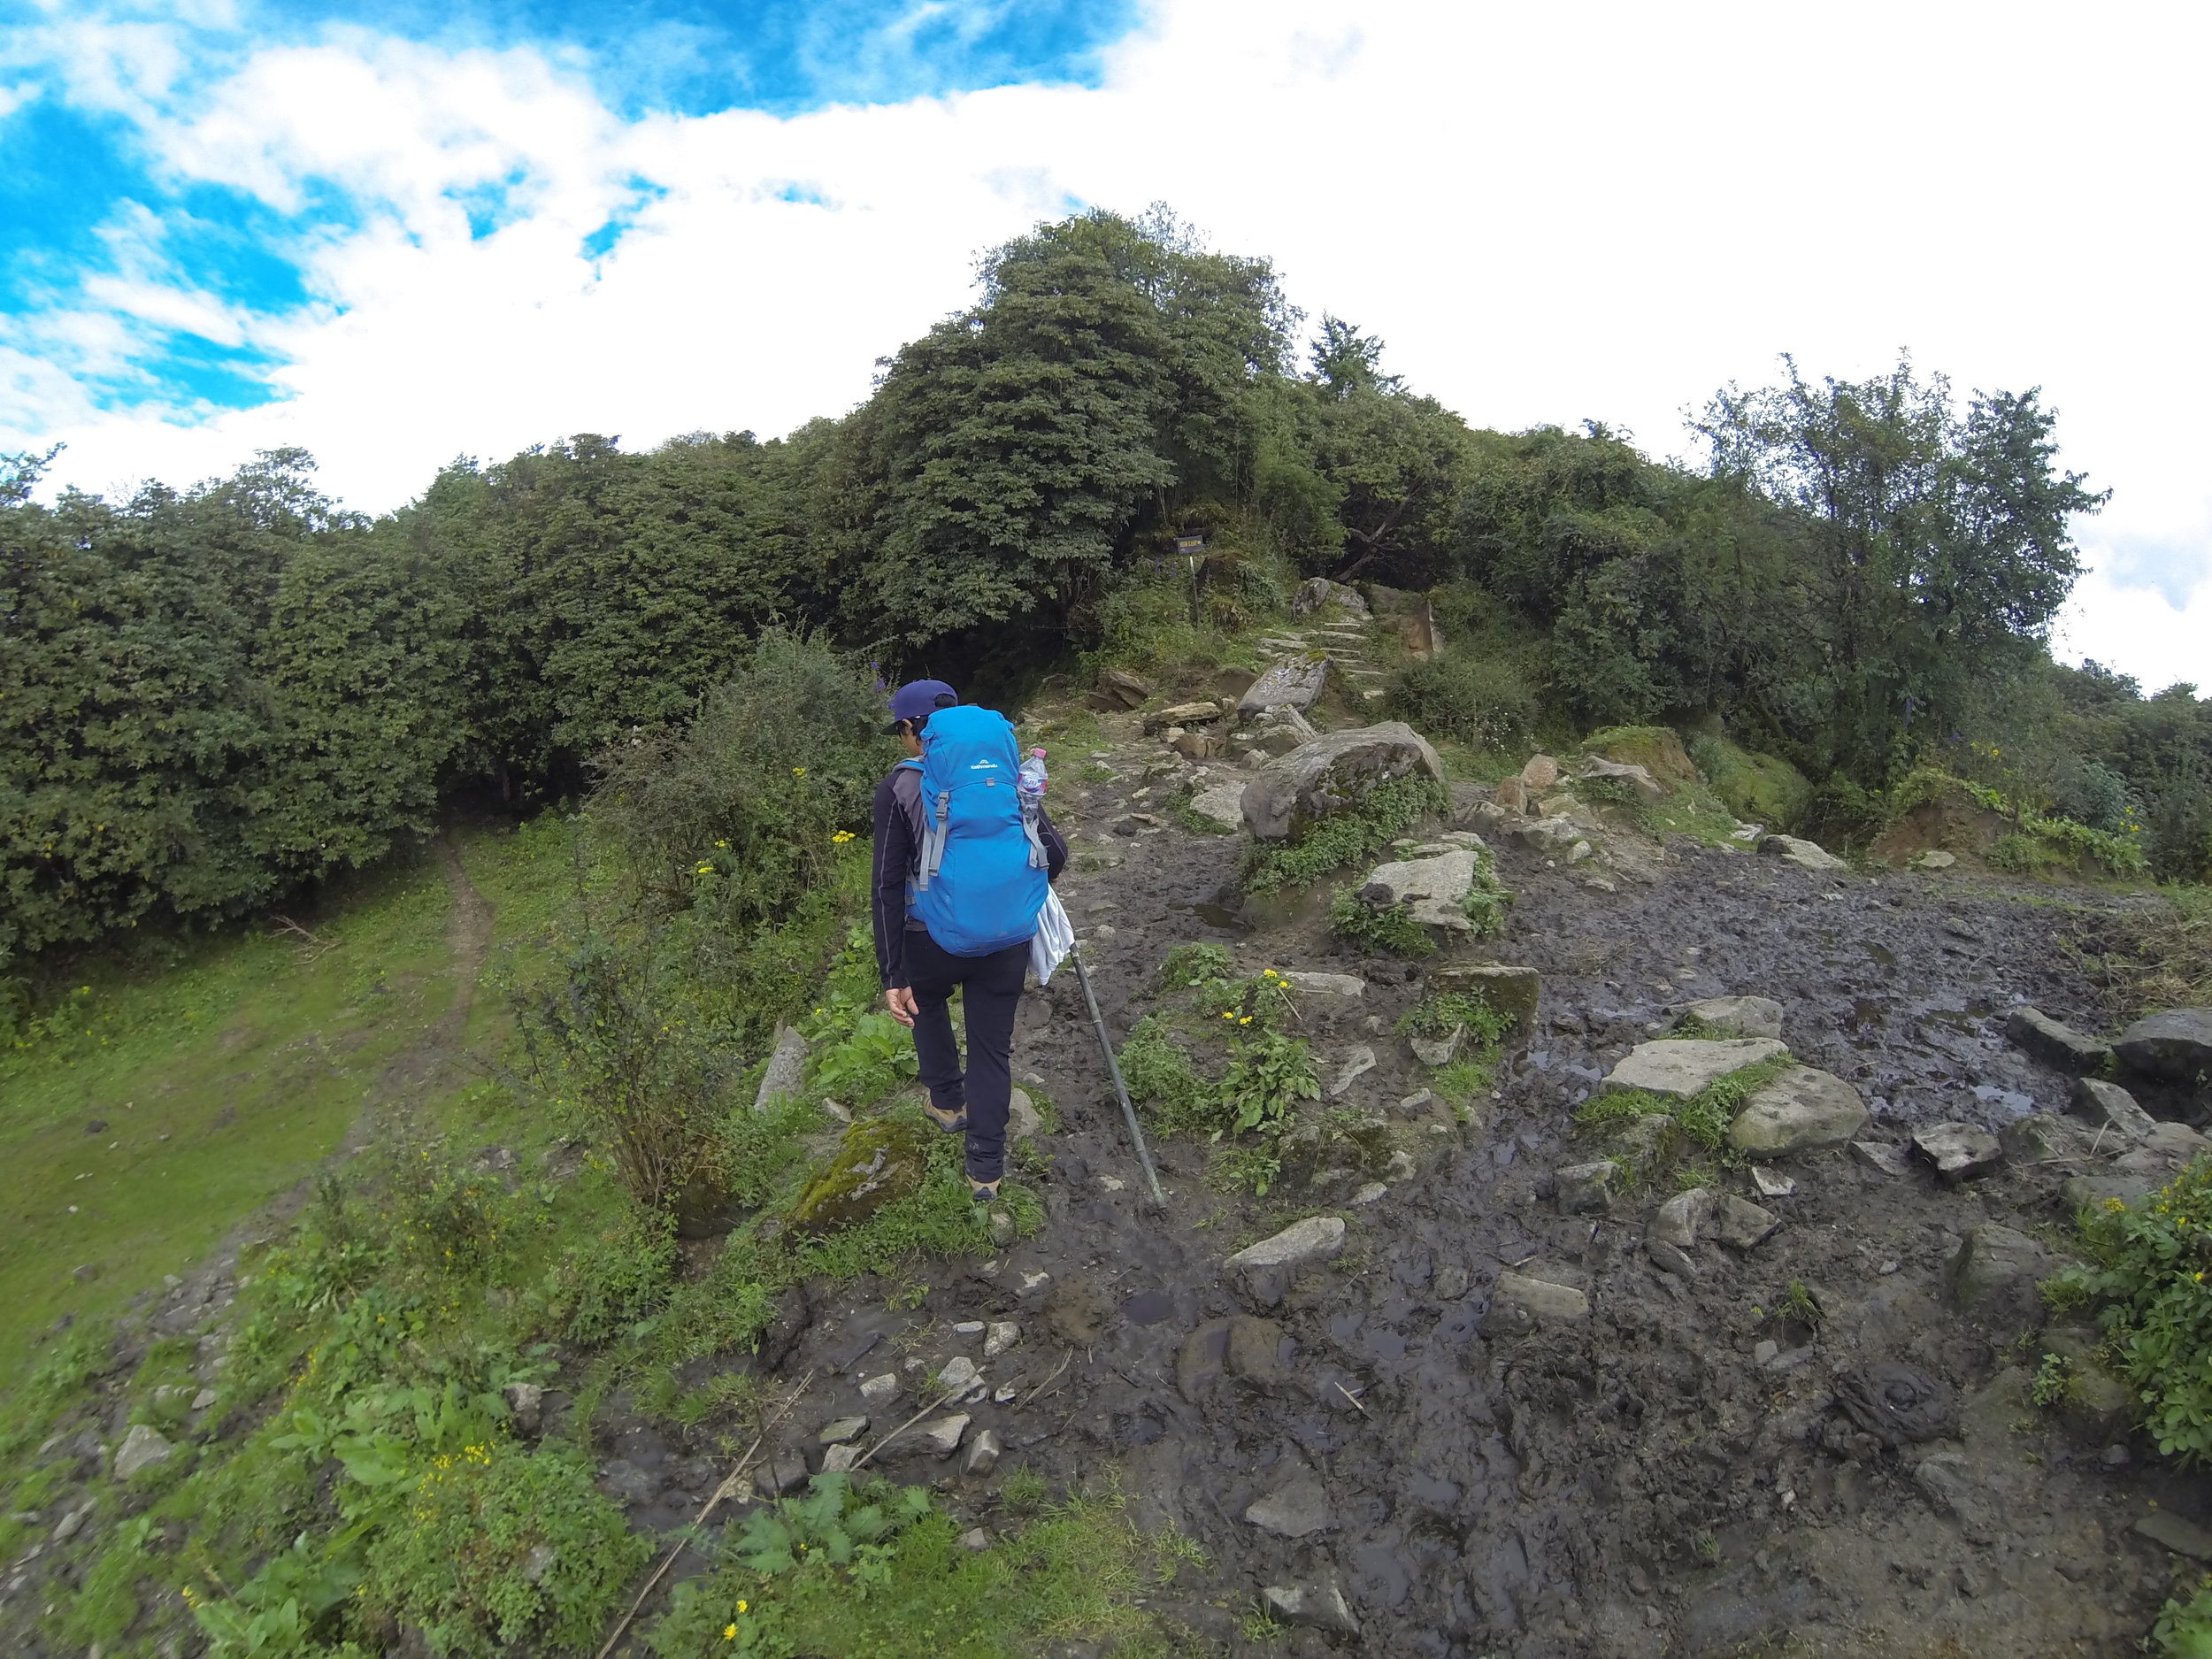
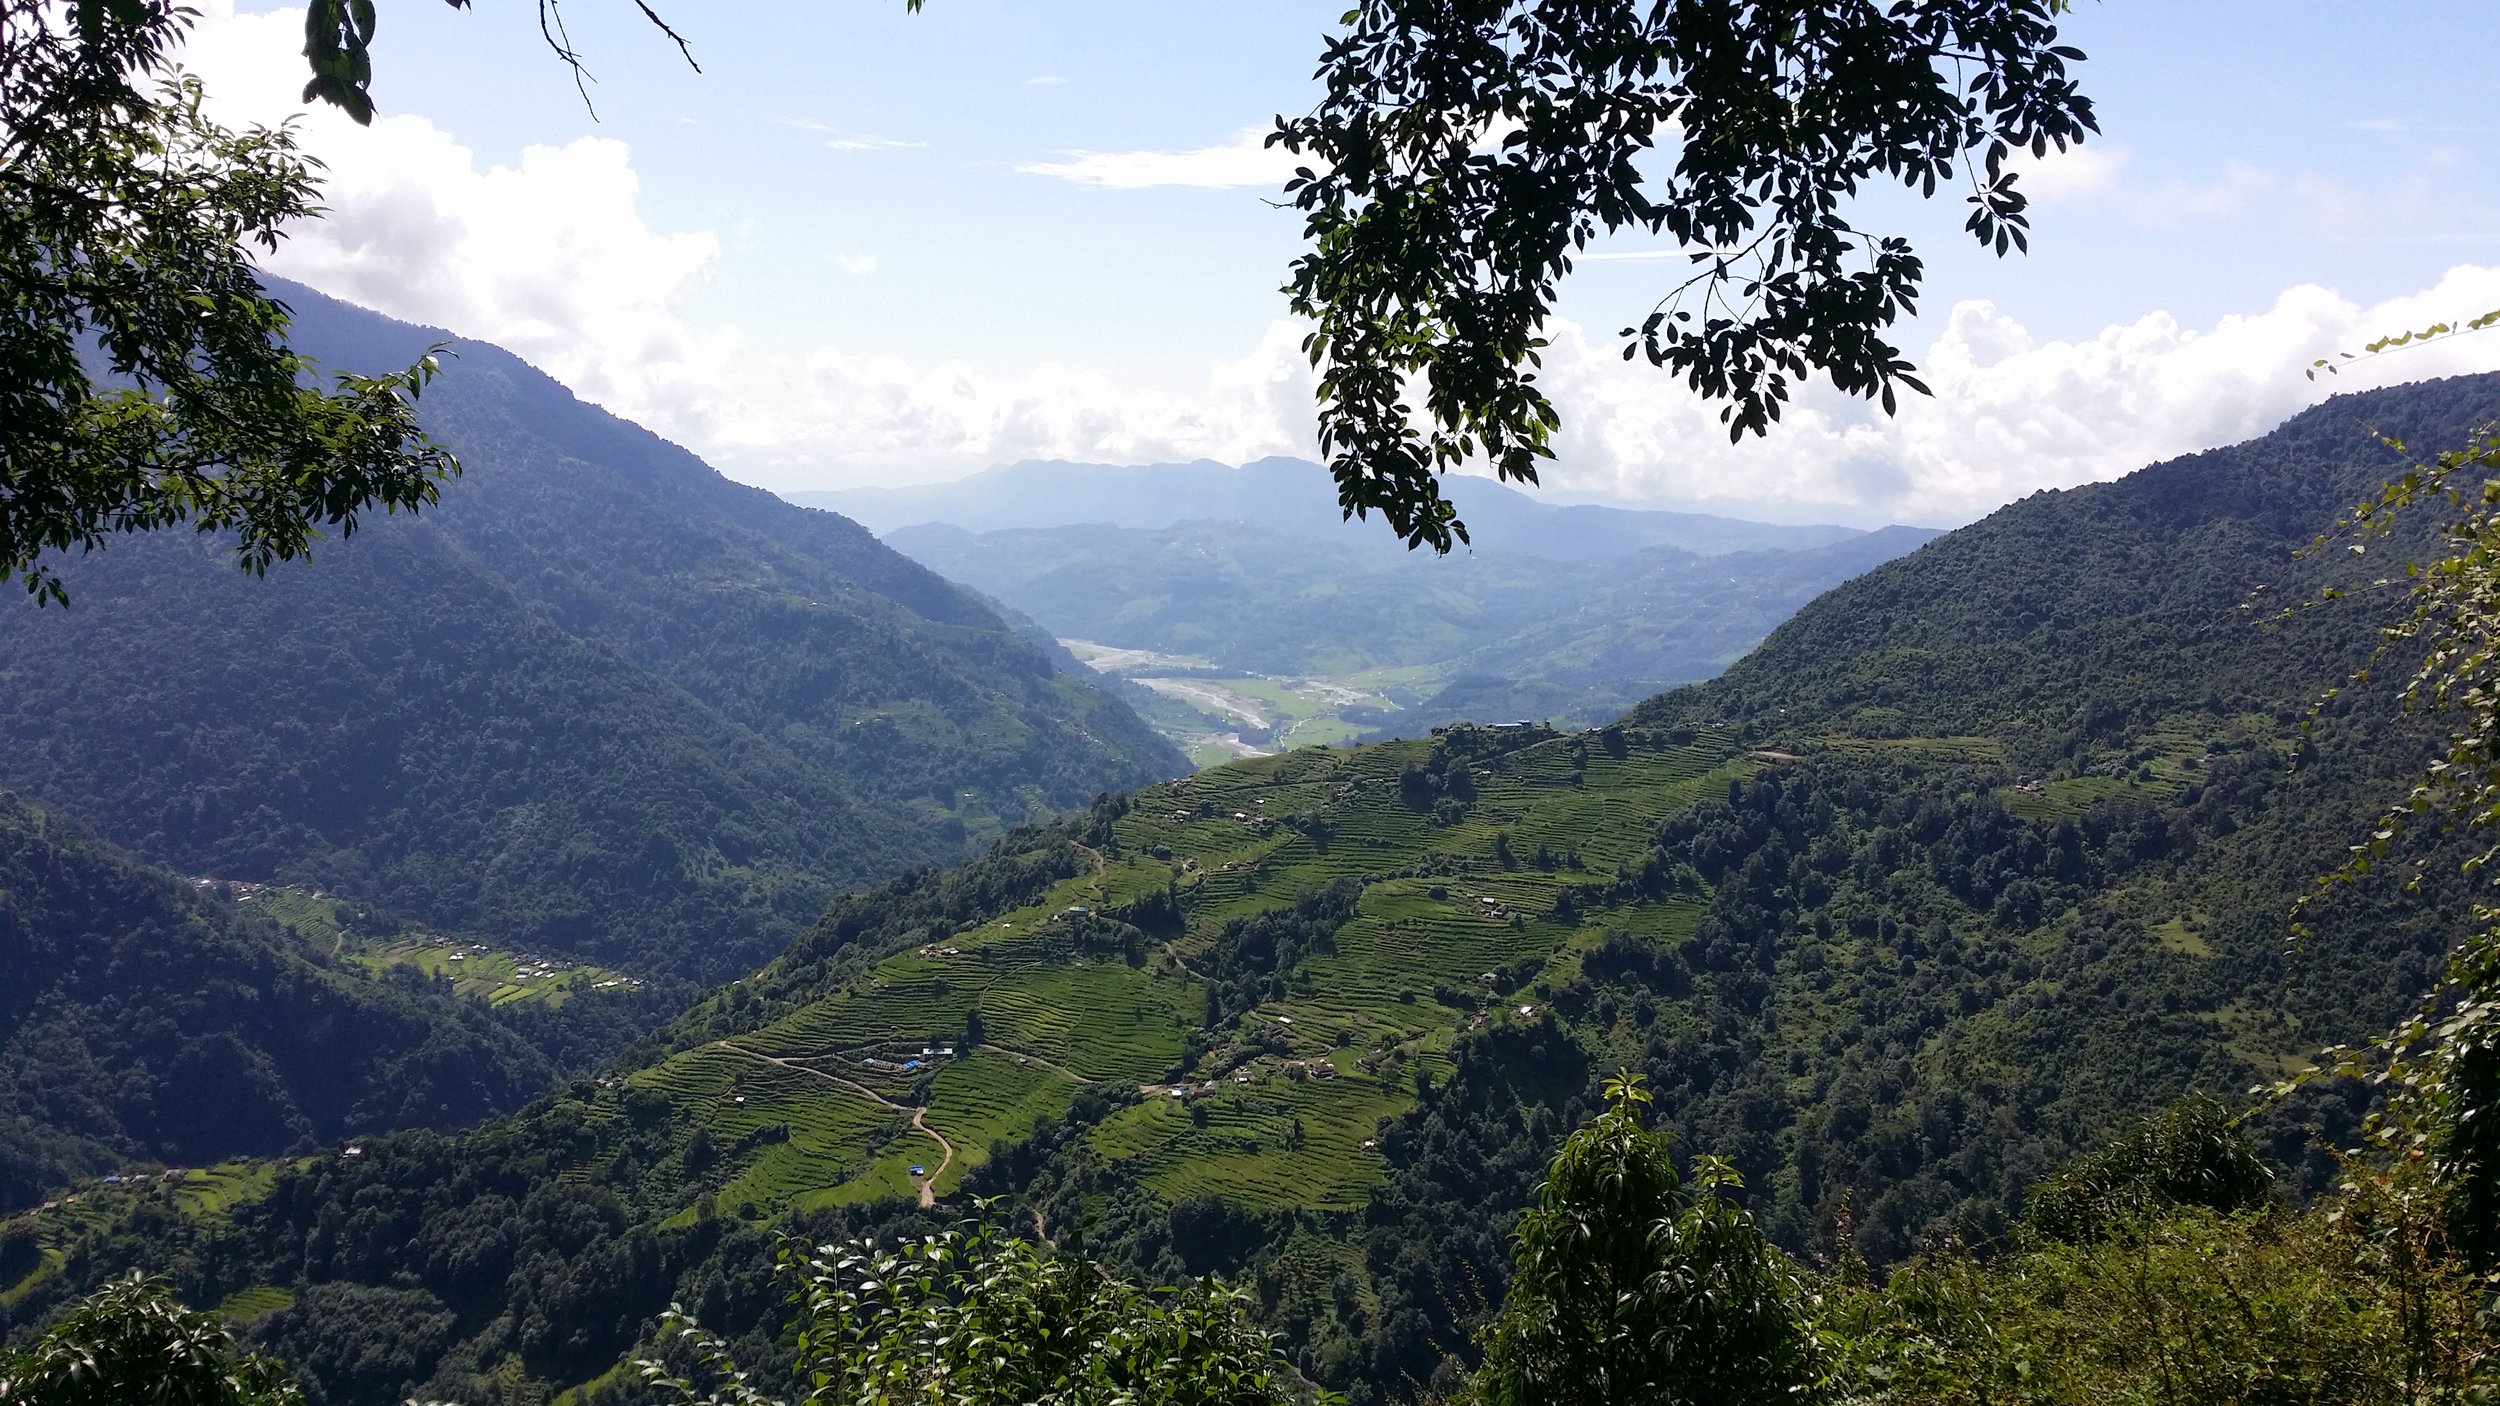
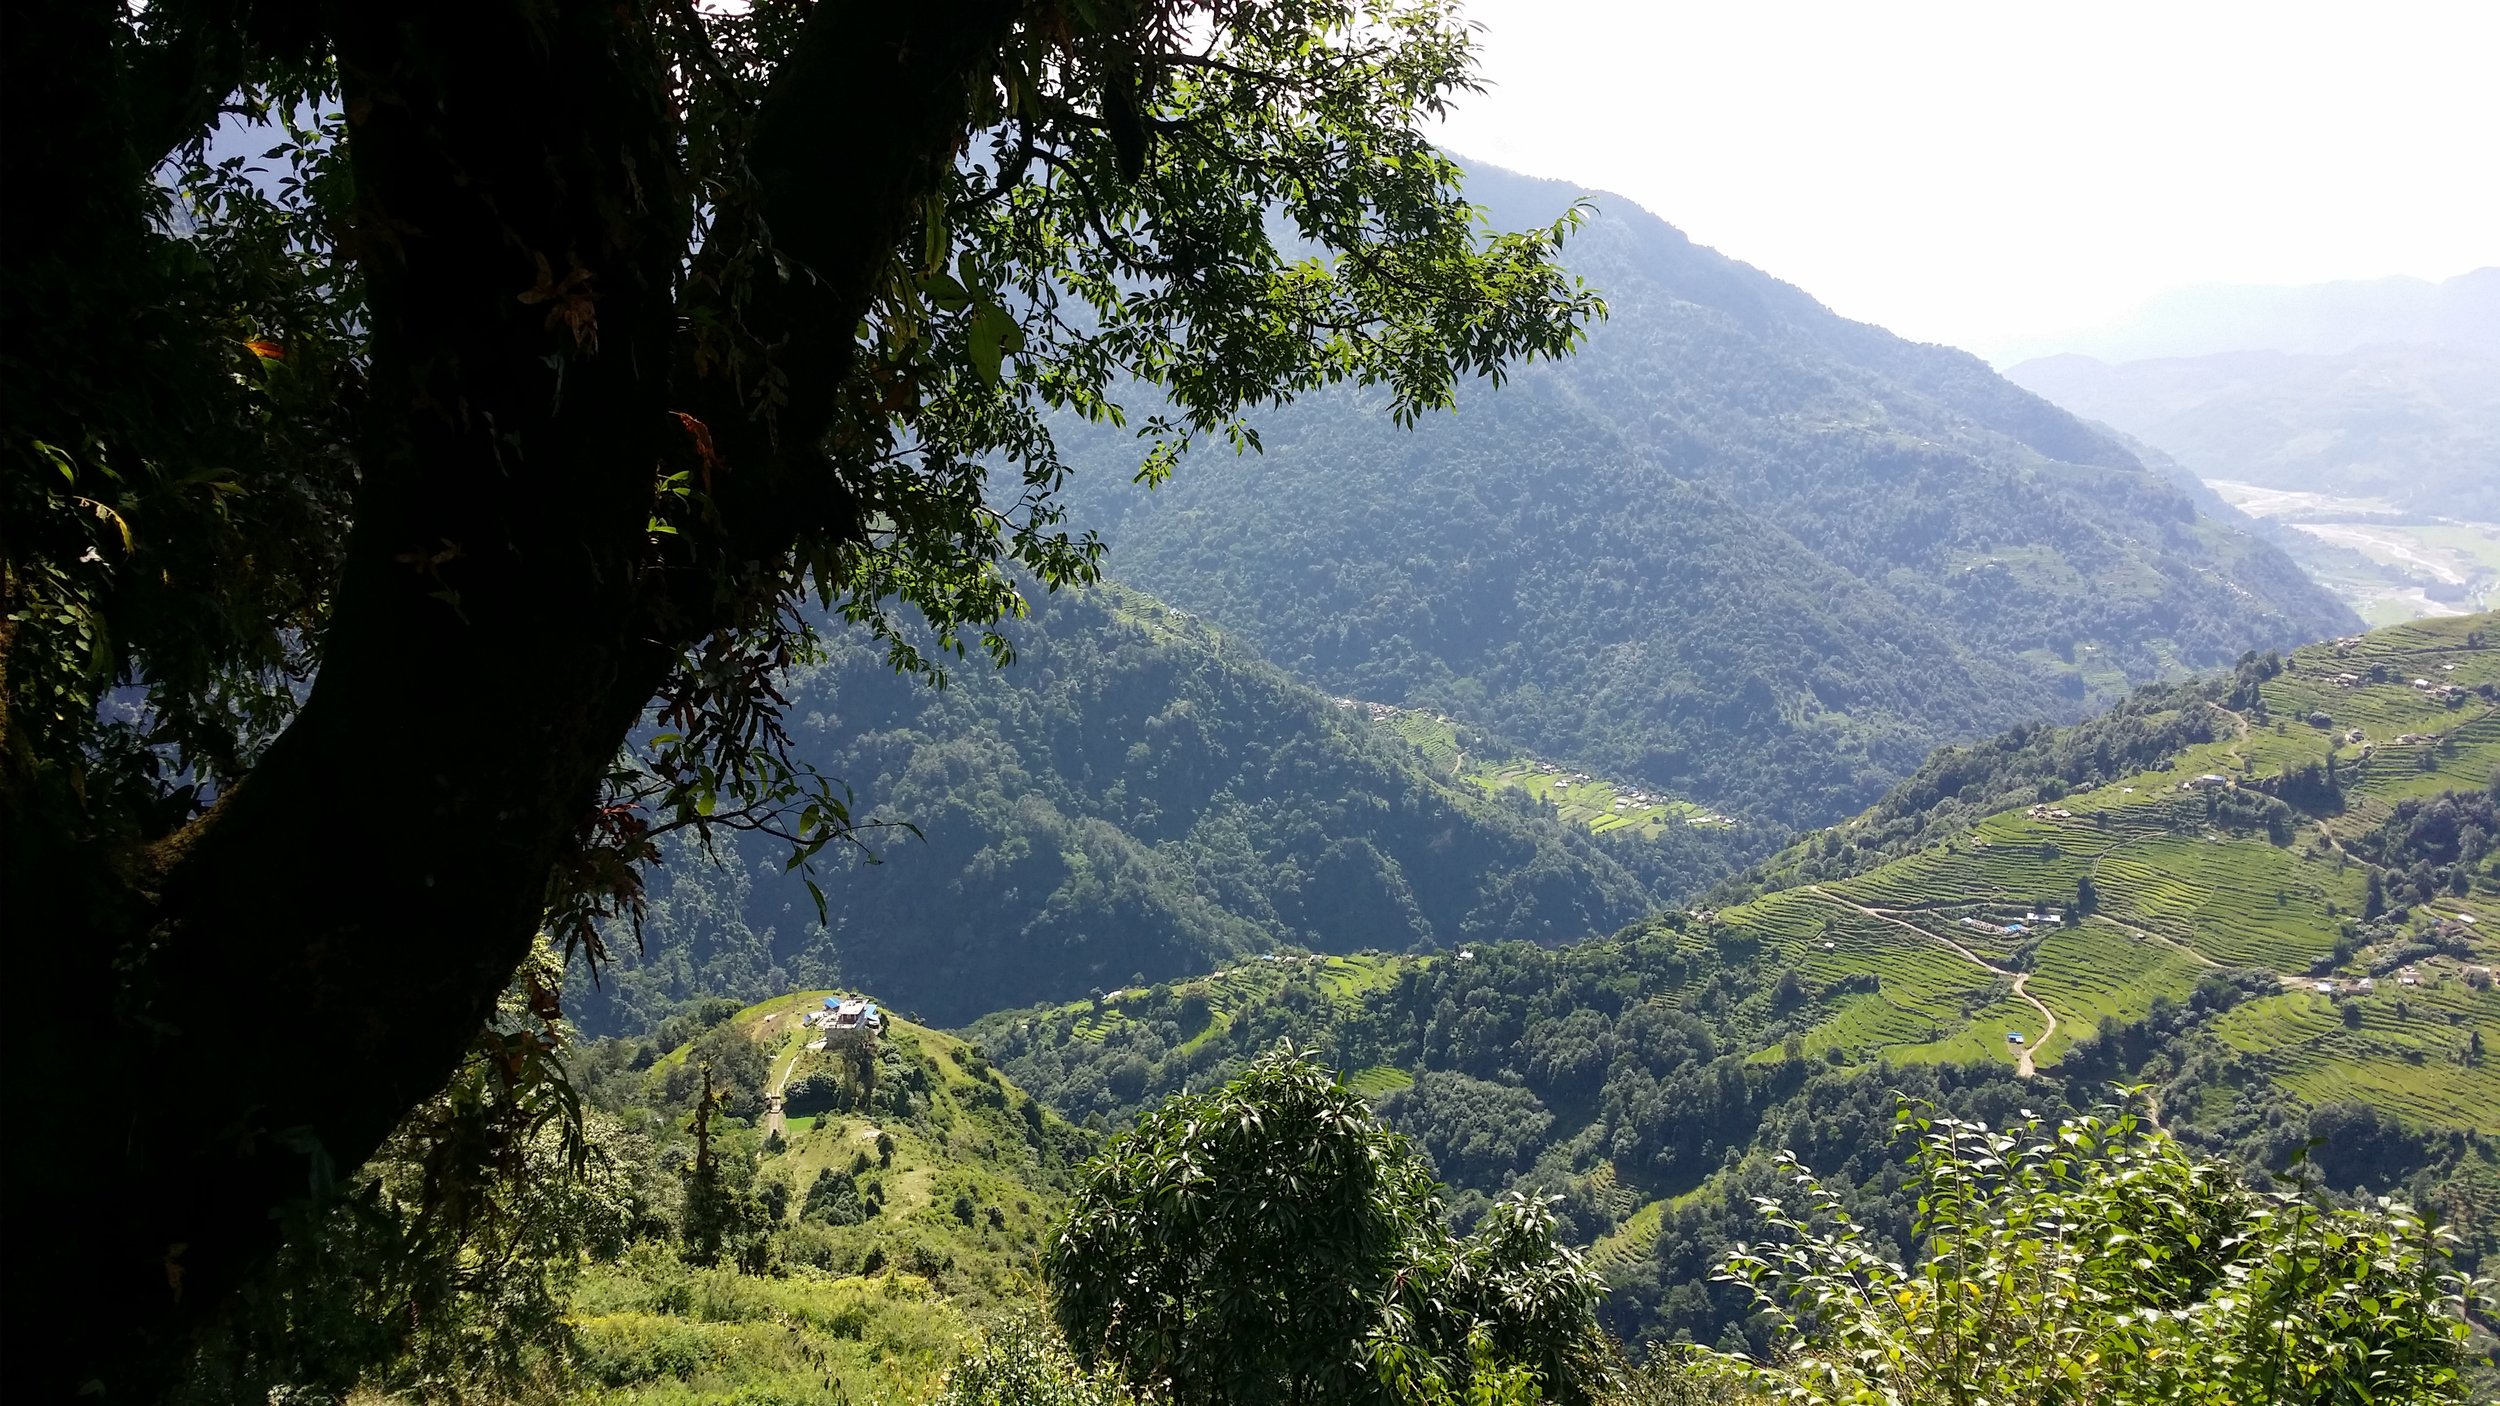
THE FIRST 1KM
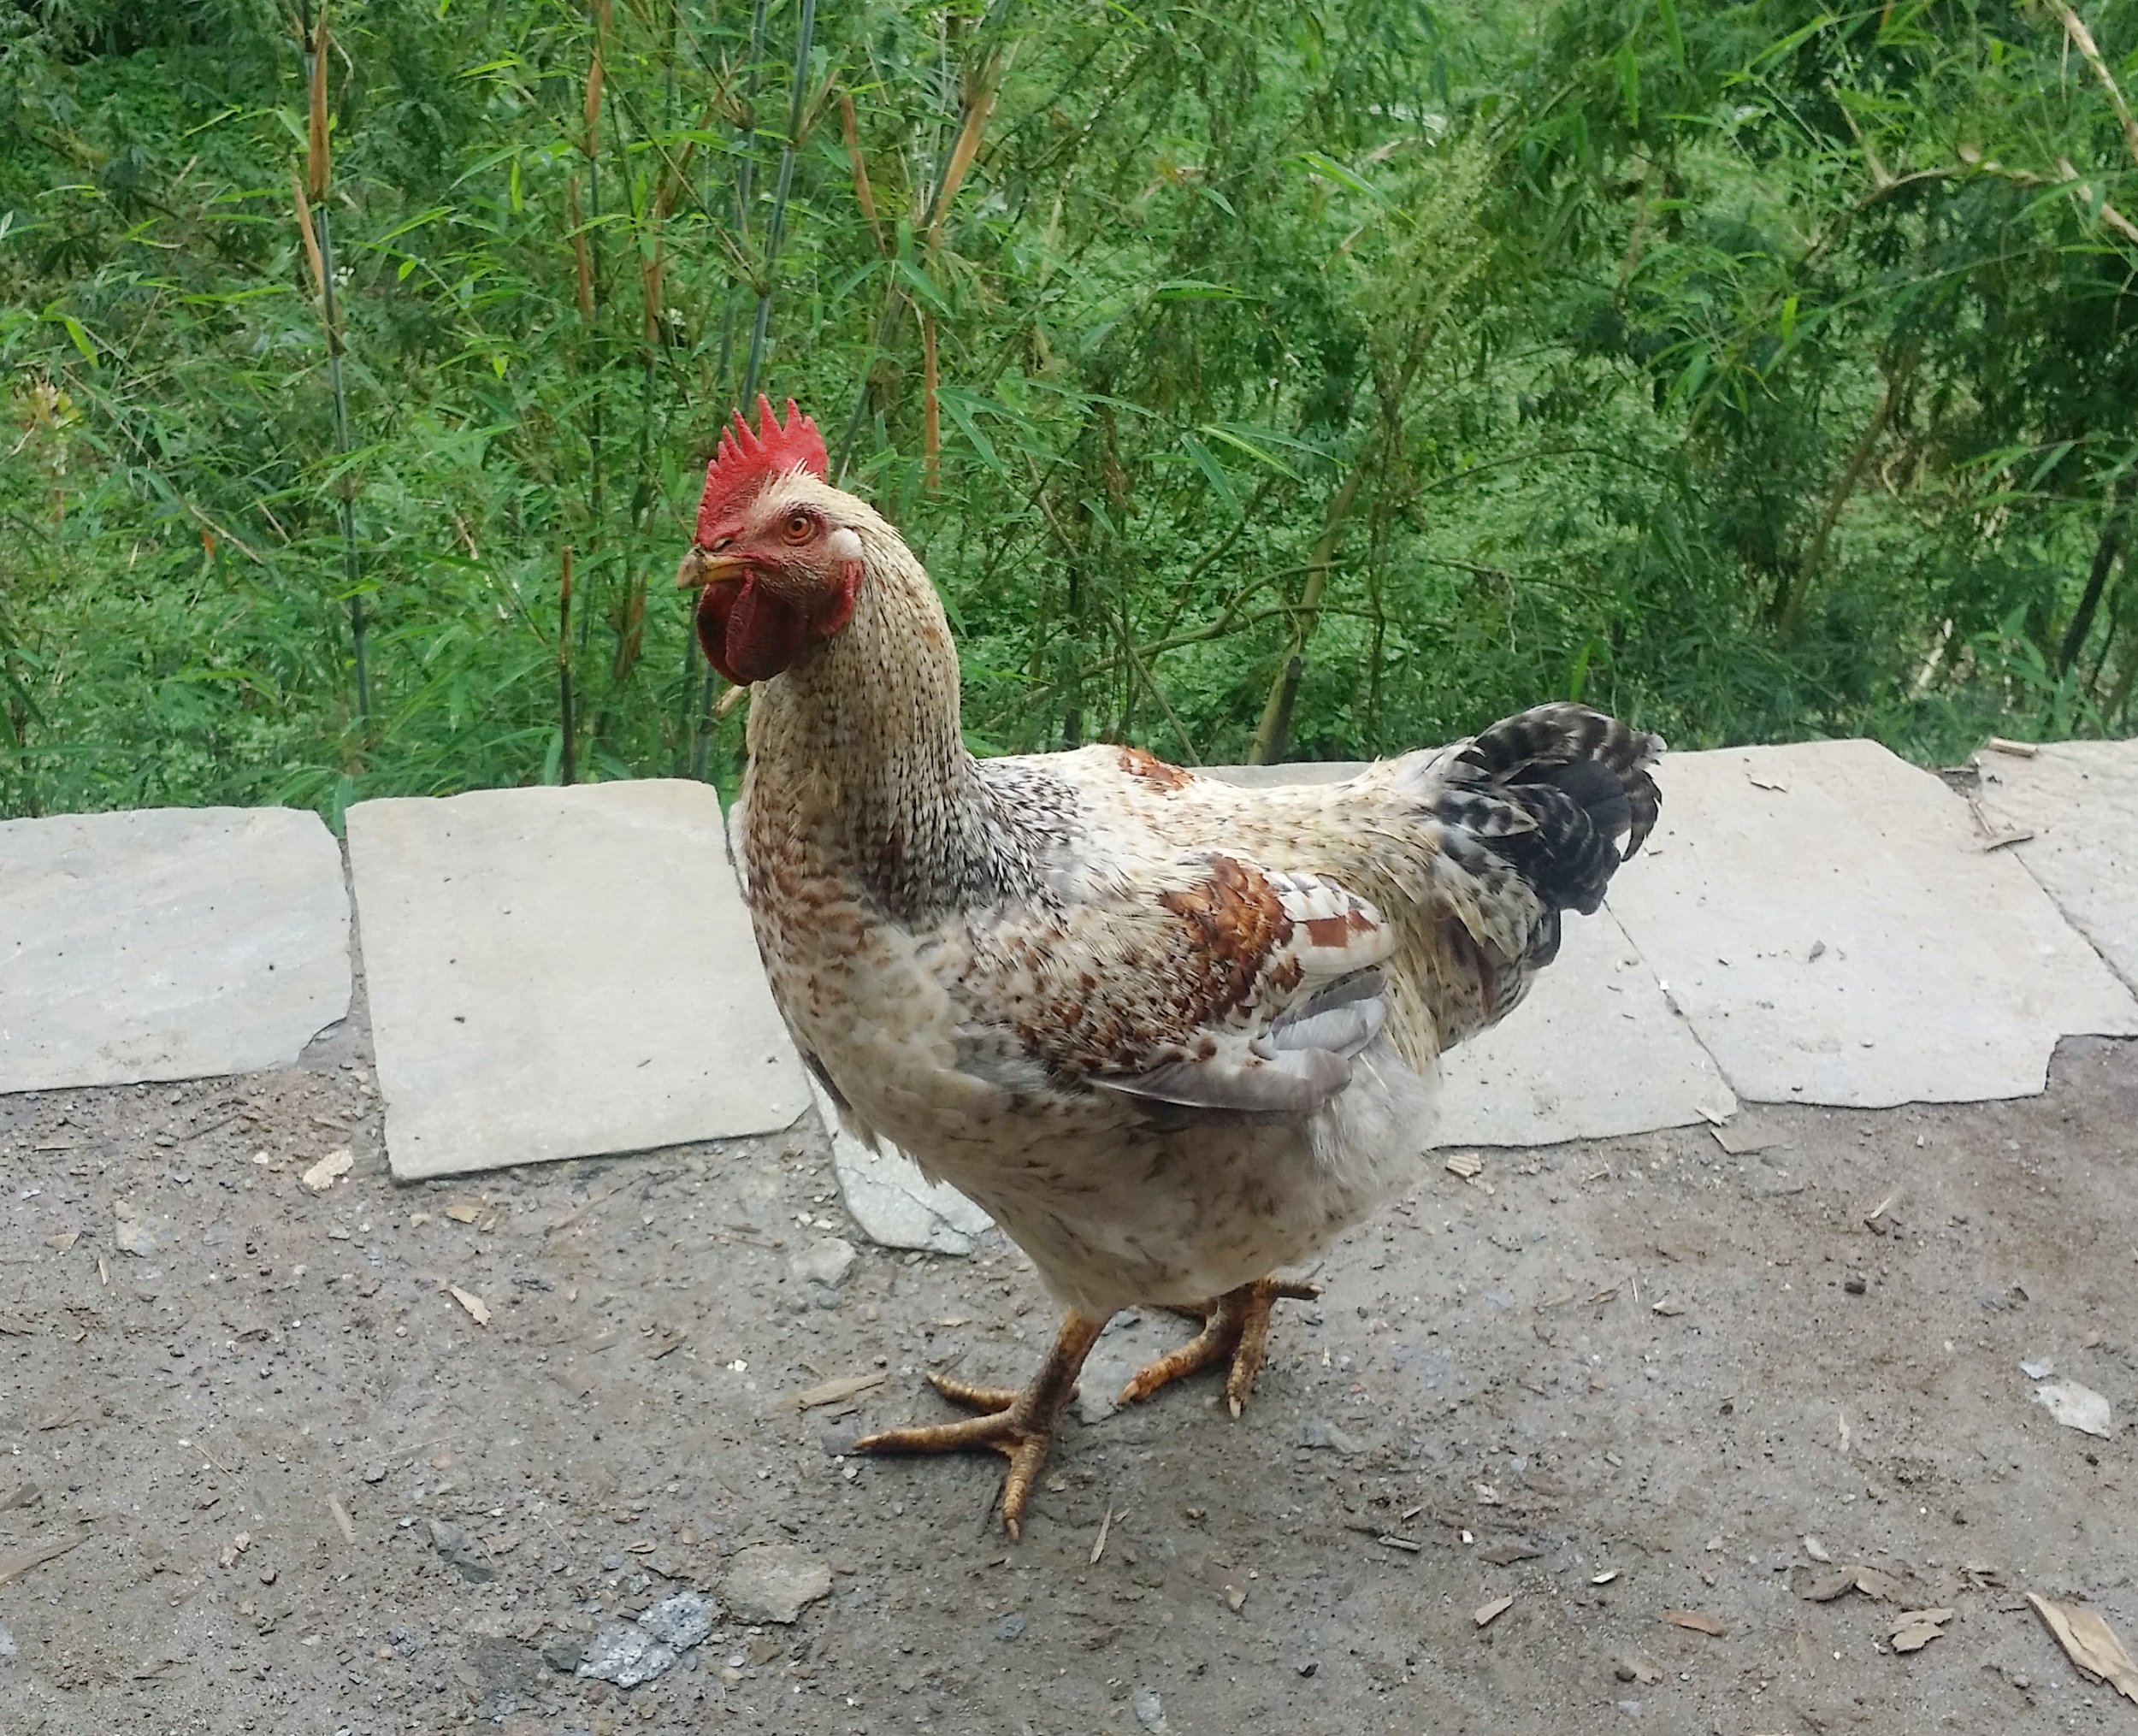
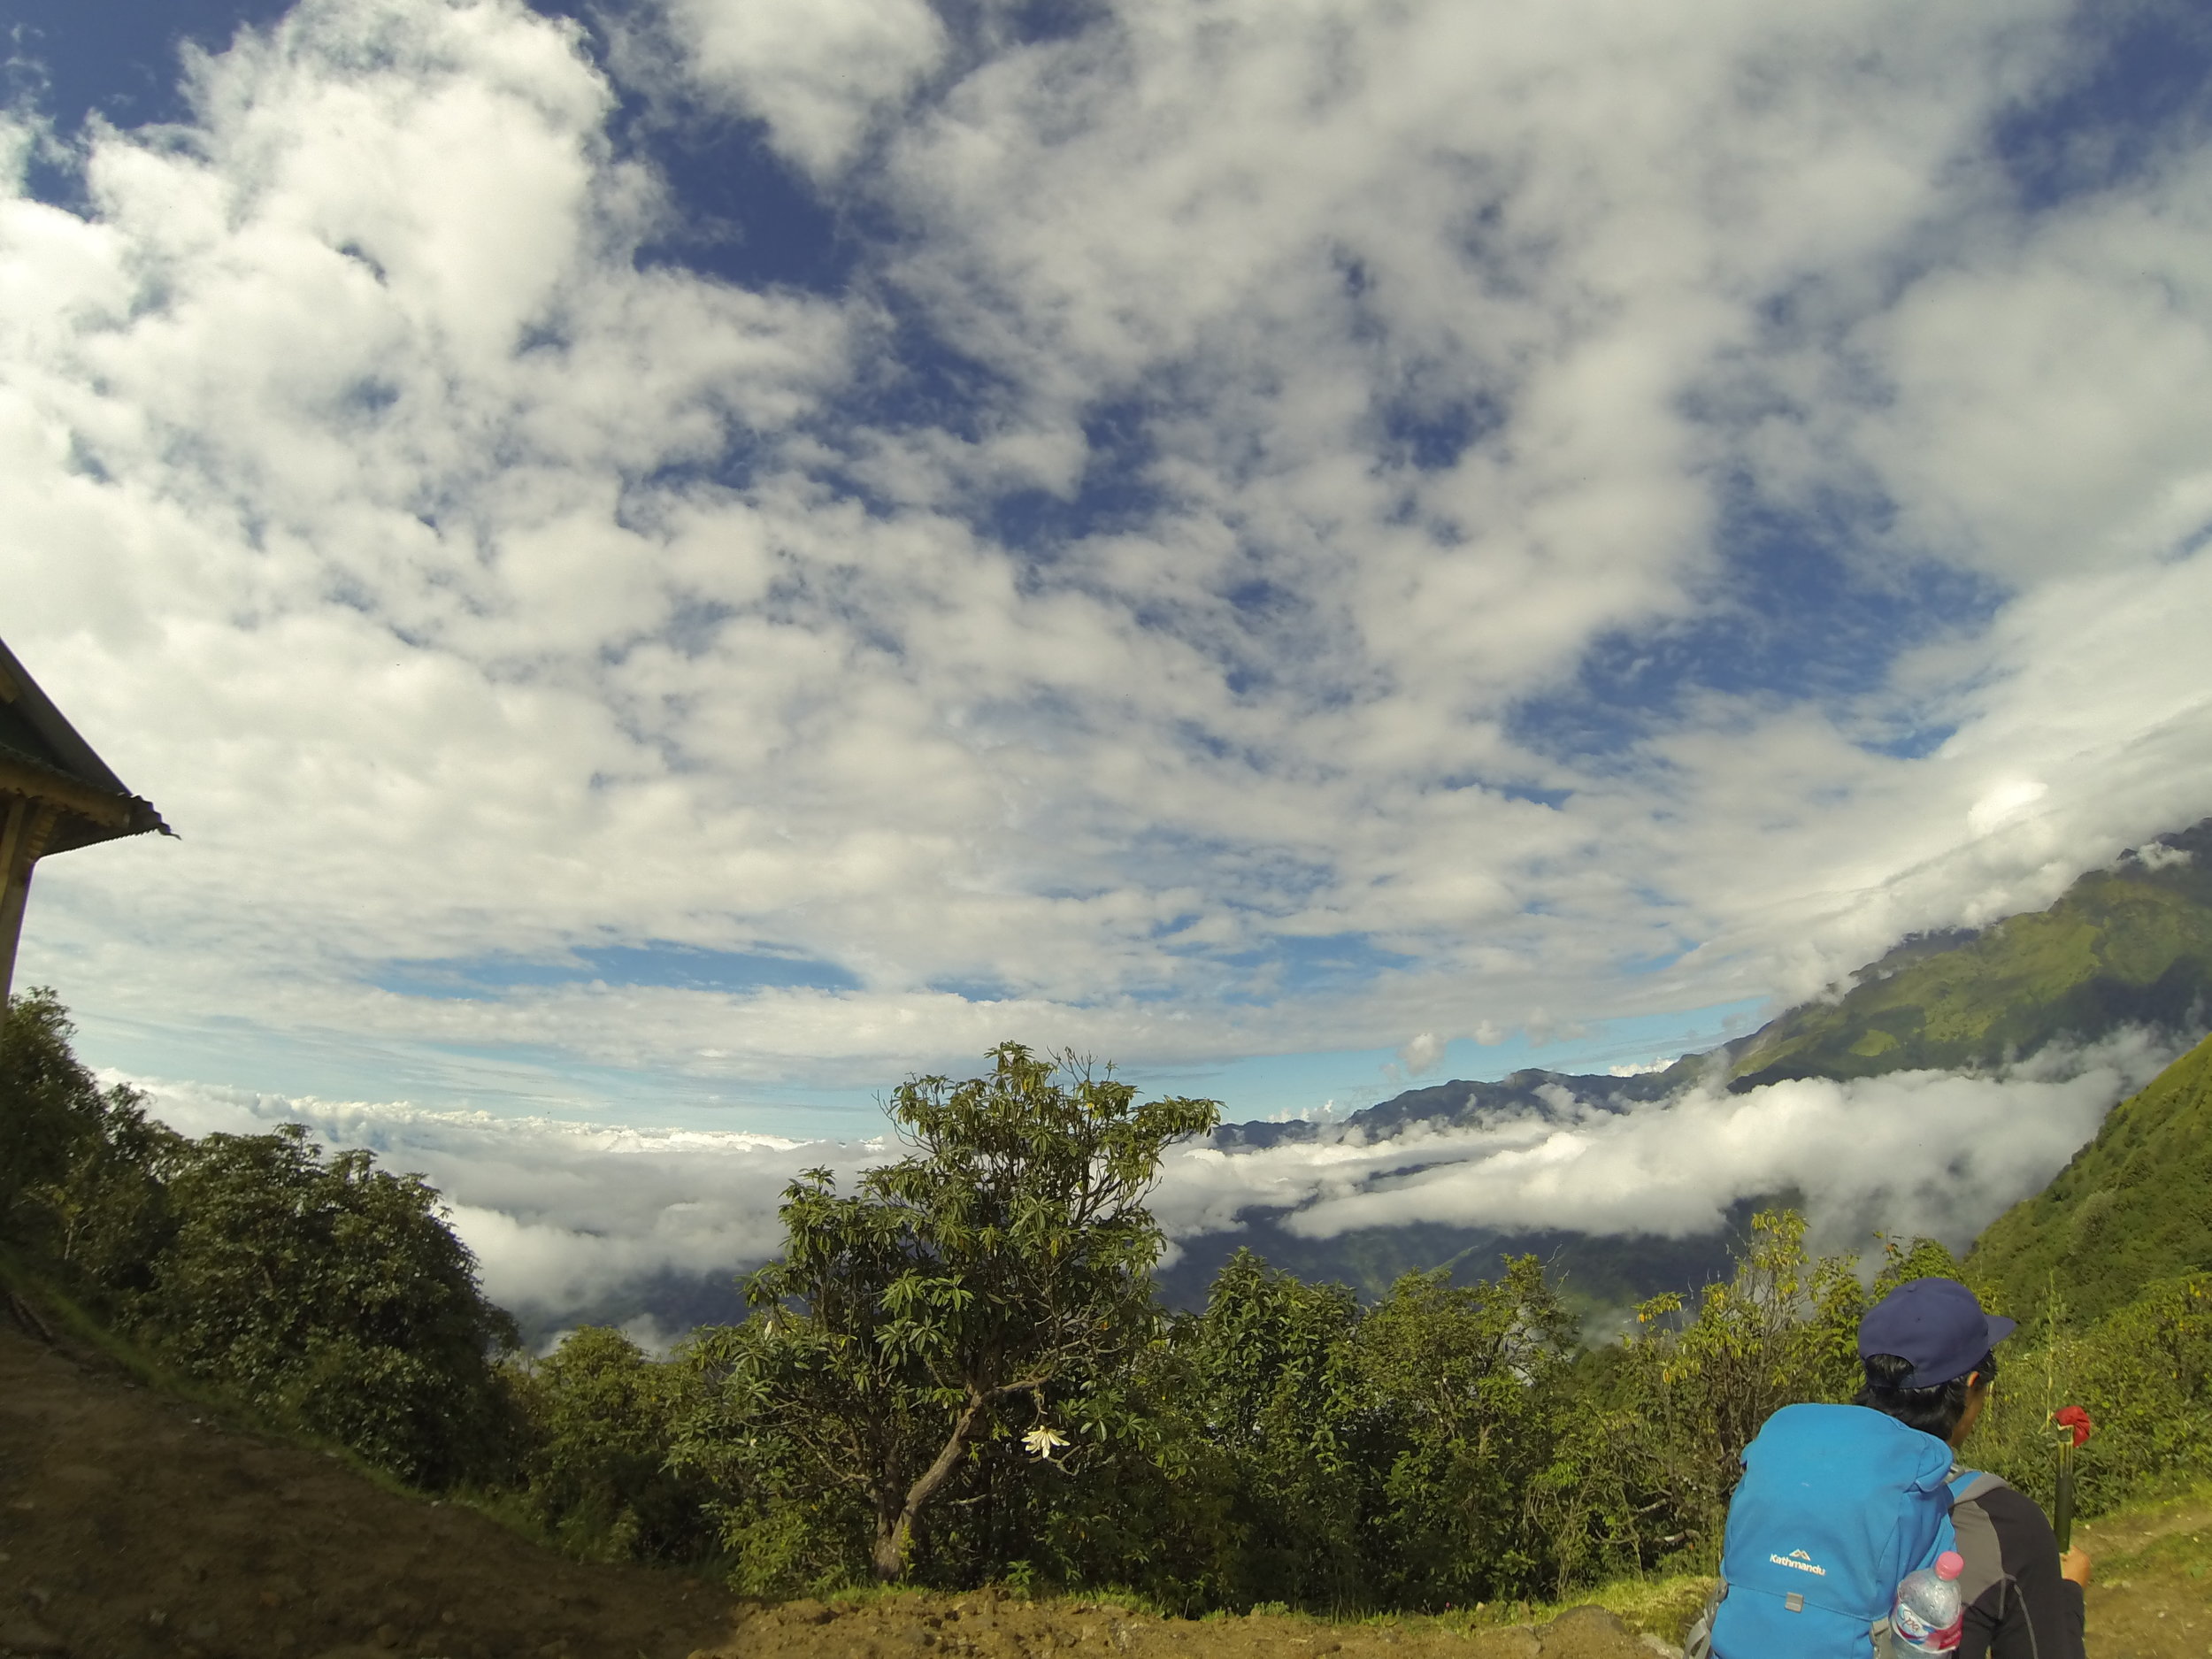
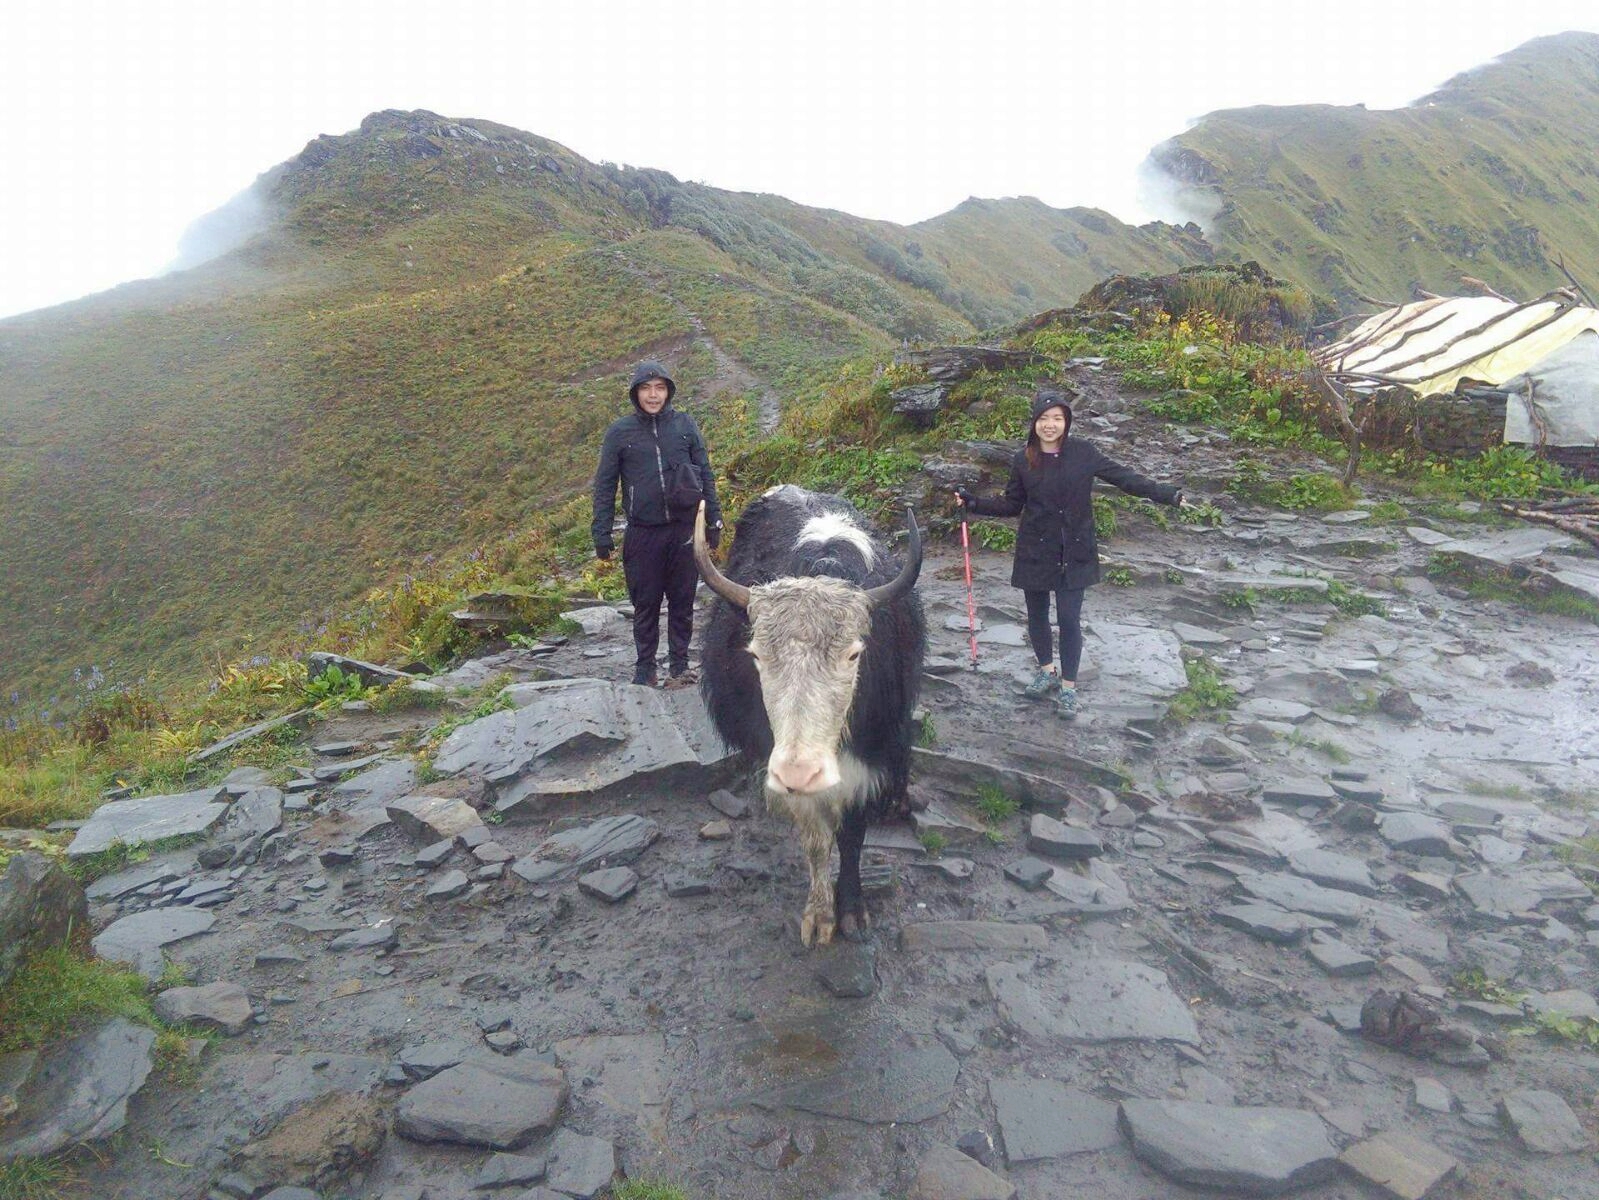
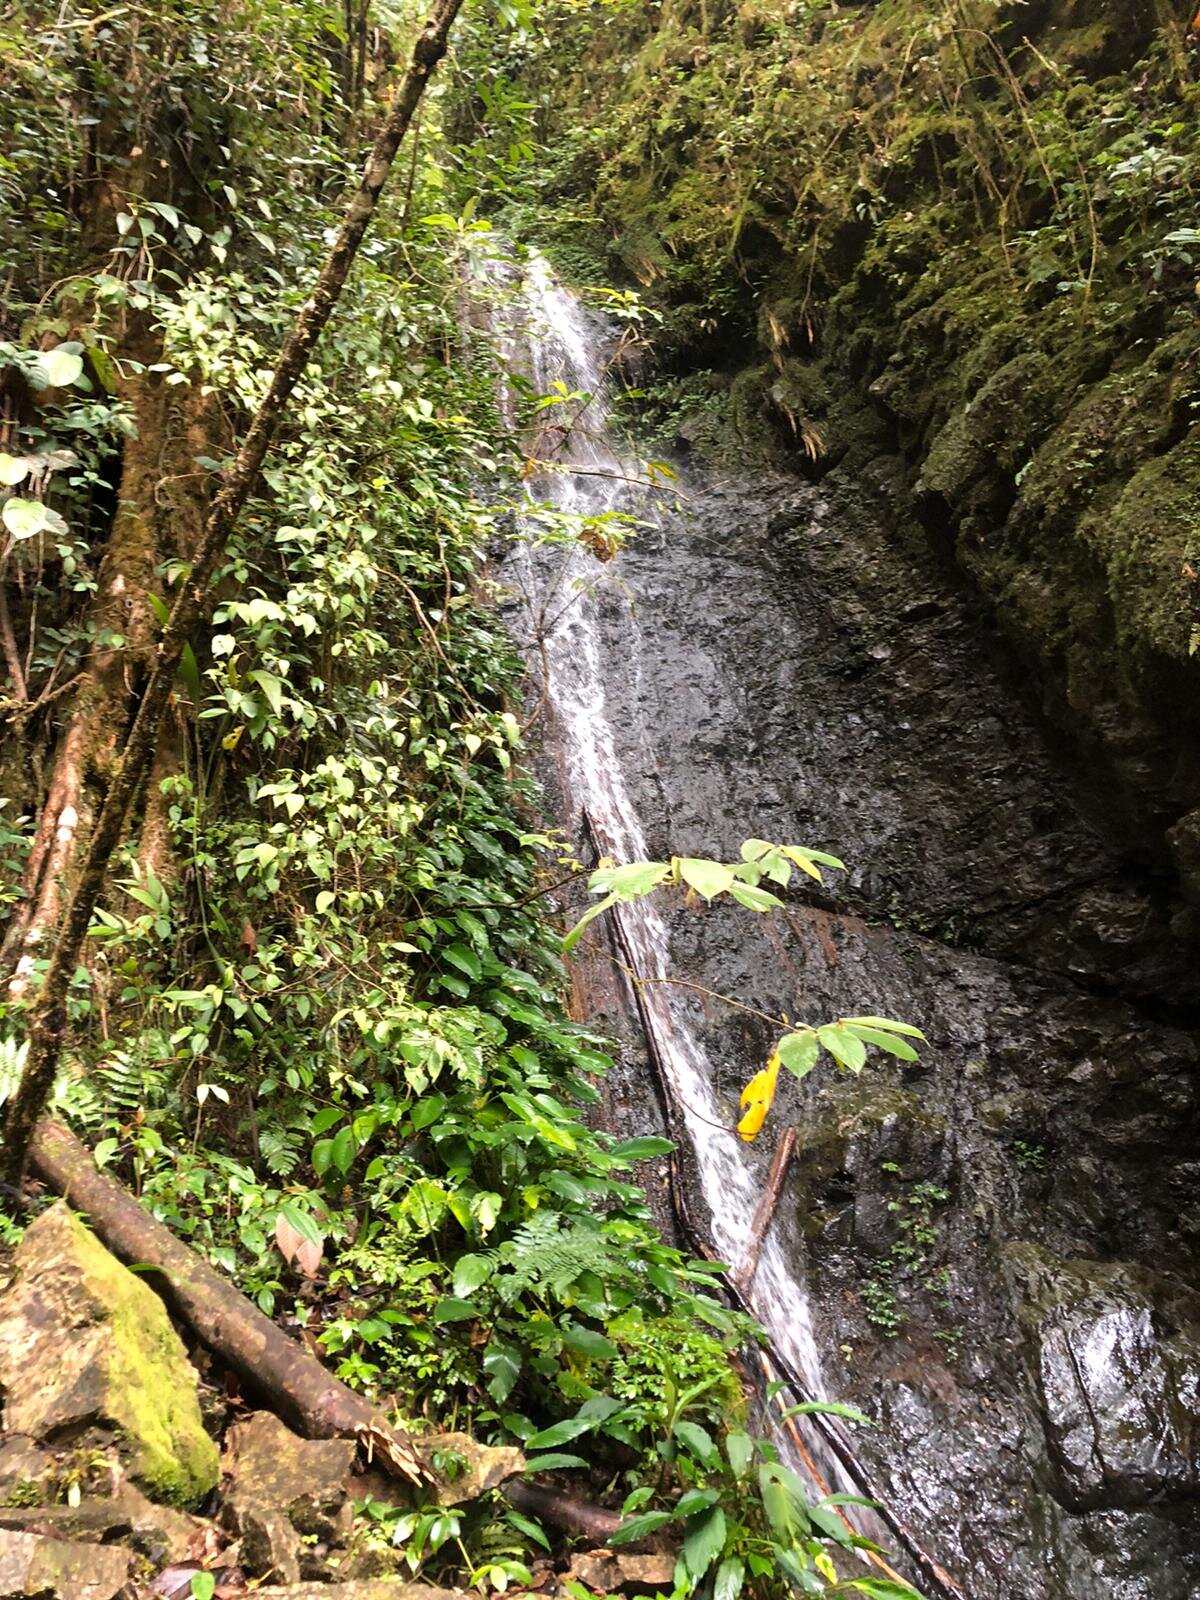
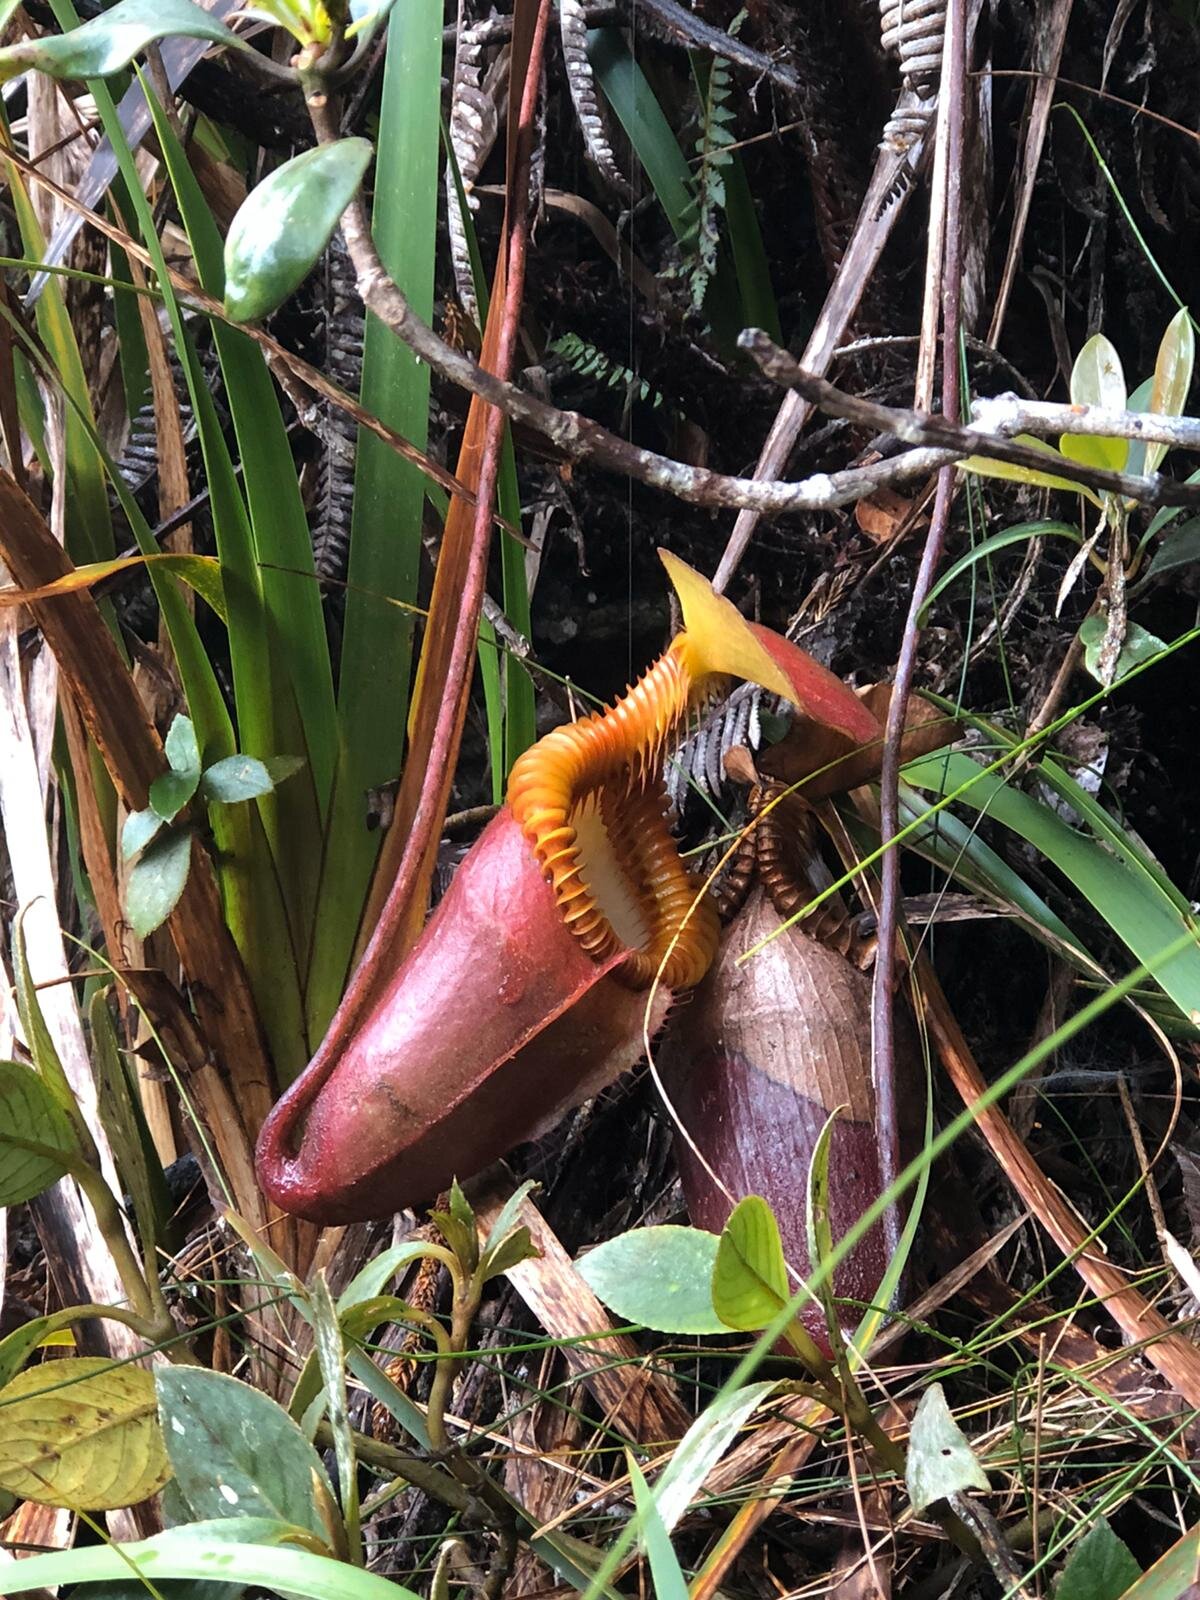
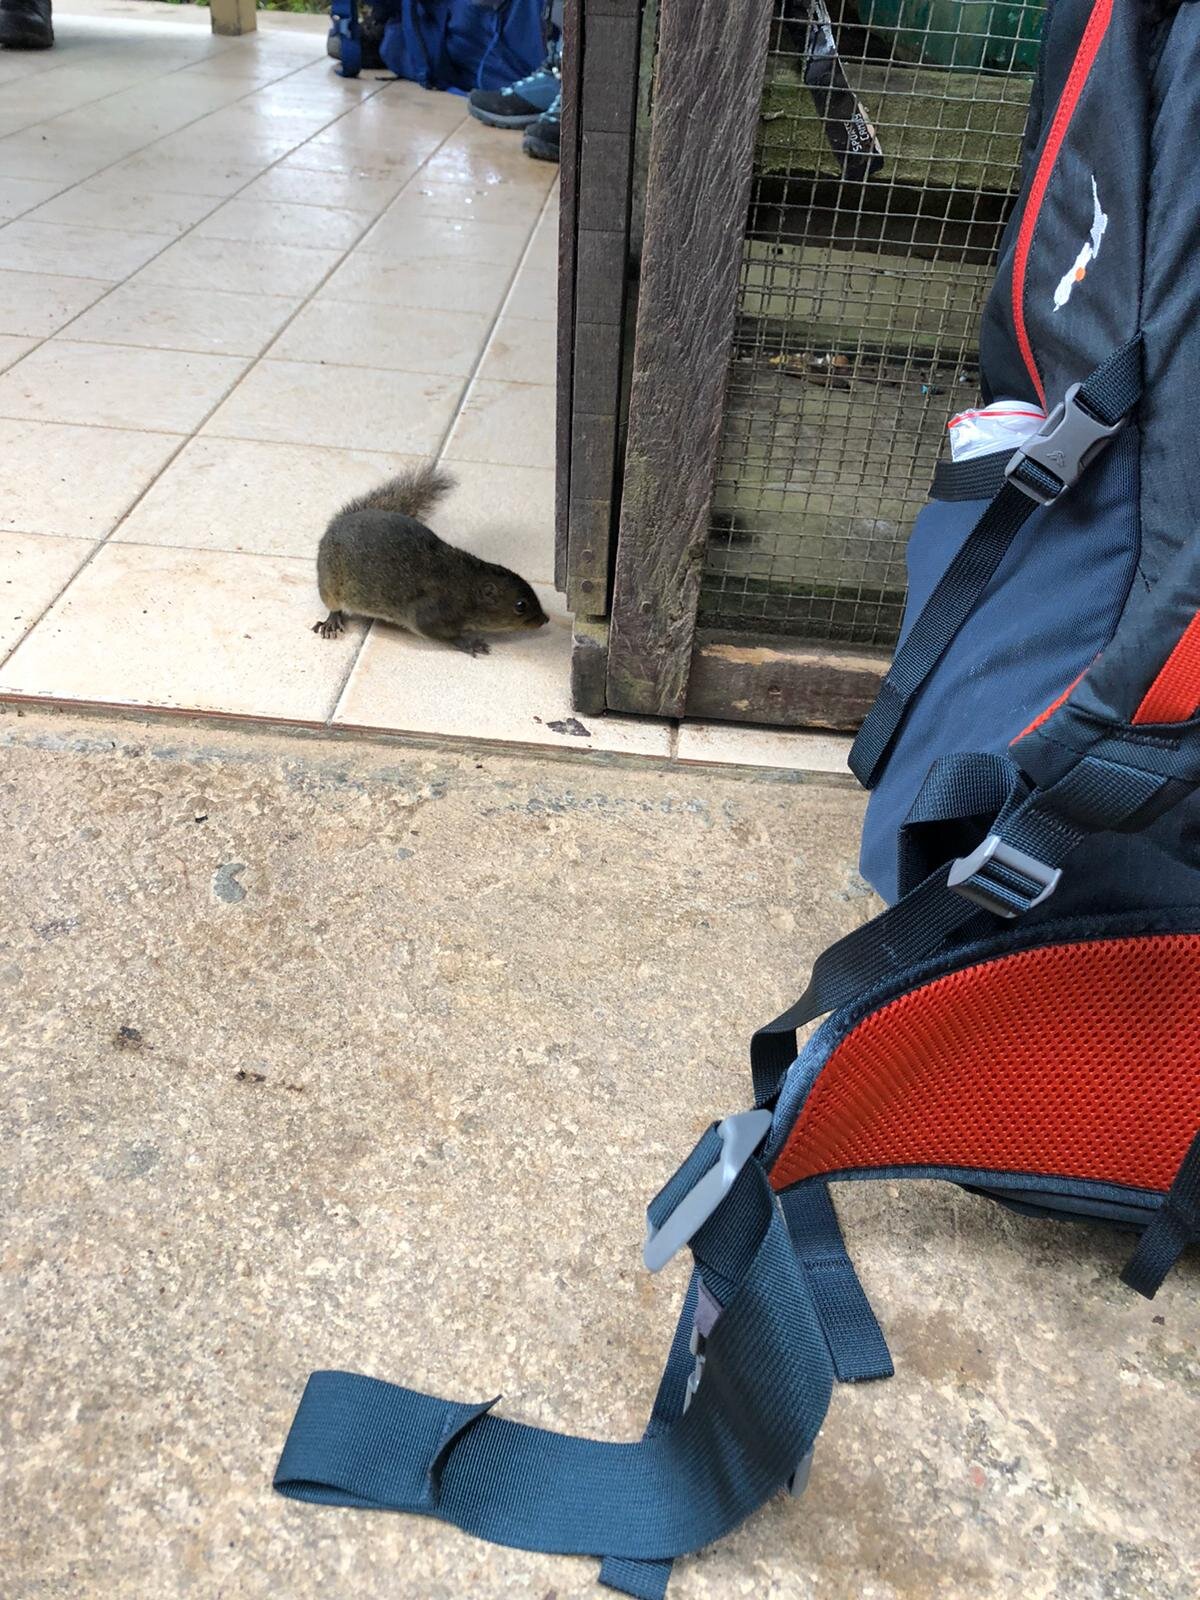
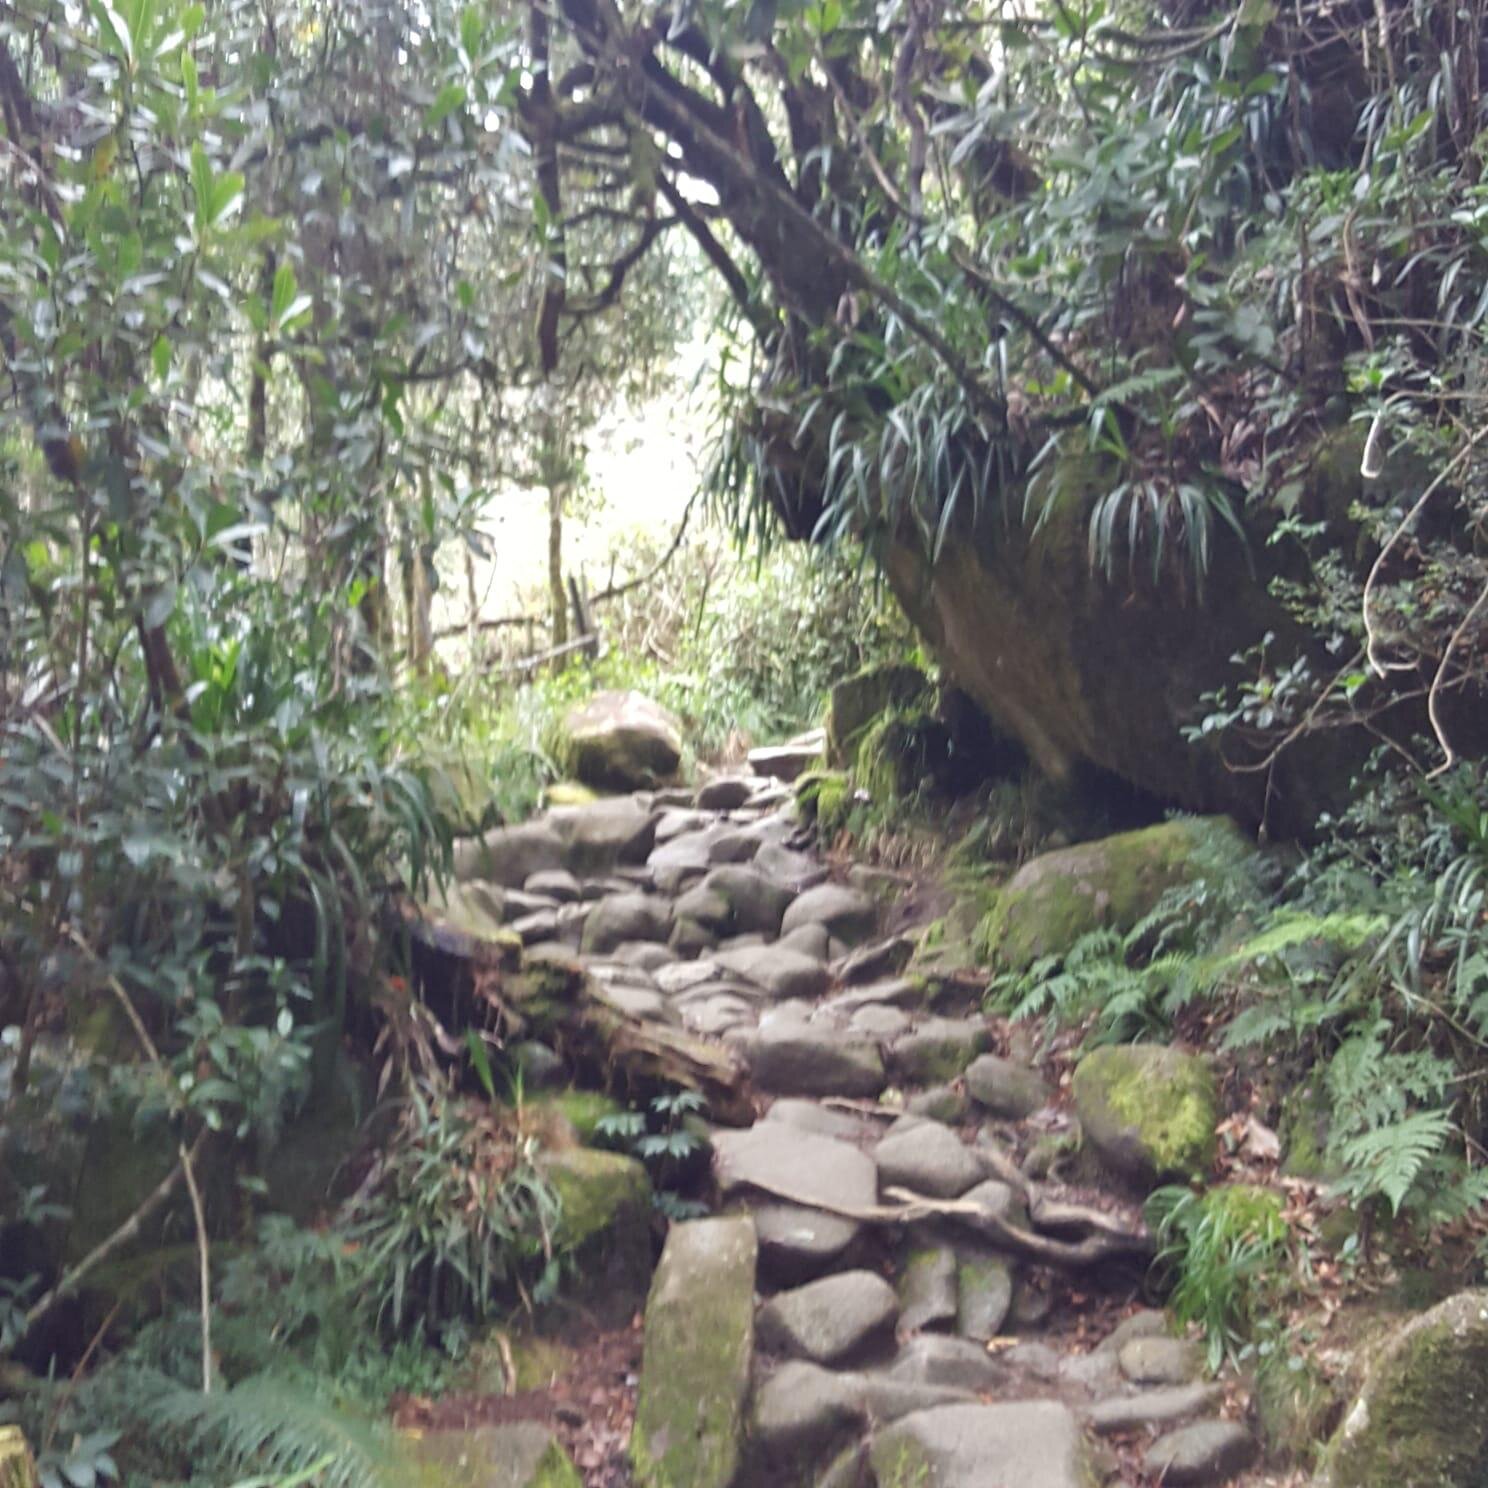
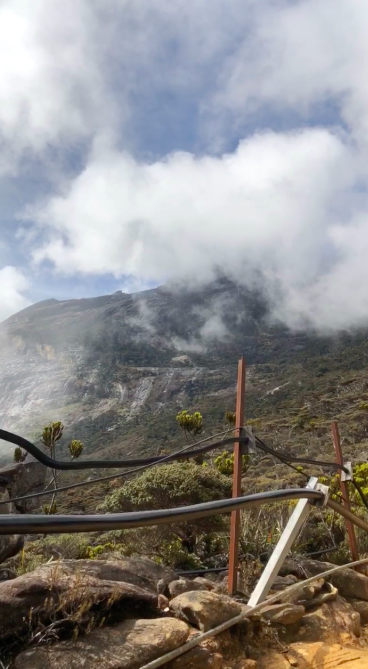
The first 1km was steady, and right there, trekkers can spot on plenty of beautiful plants and flowers and a waterfall called Carson Waterfall. The first shelter point stands at about 1km from the gate. Squirrels are basically just around the corner so if you spot them, ease up as they’re harmless, tiny and cute. Trekkers can spot on some unusual pitcher plants around the trail.
All shelters have decent toilets for people to use. However, be minded not to flush tissue paper as it may cause some clog problem. Our mountain guide told us that it is very difficult for workers to detect where the location is stuck so better help them out by throwing tissues in the bin. There are bins everywhere around the shelter points.
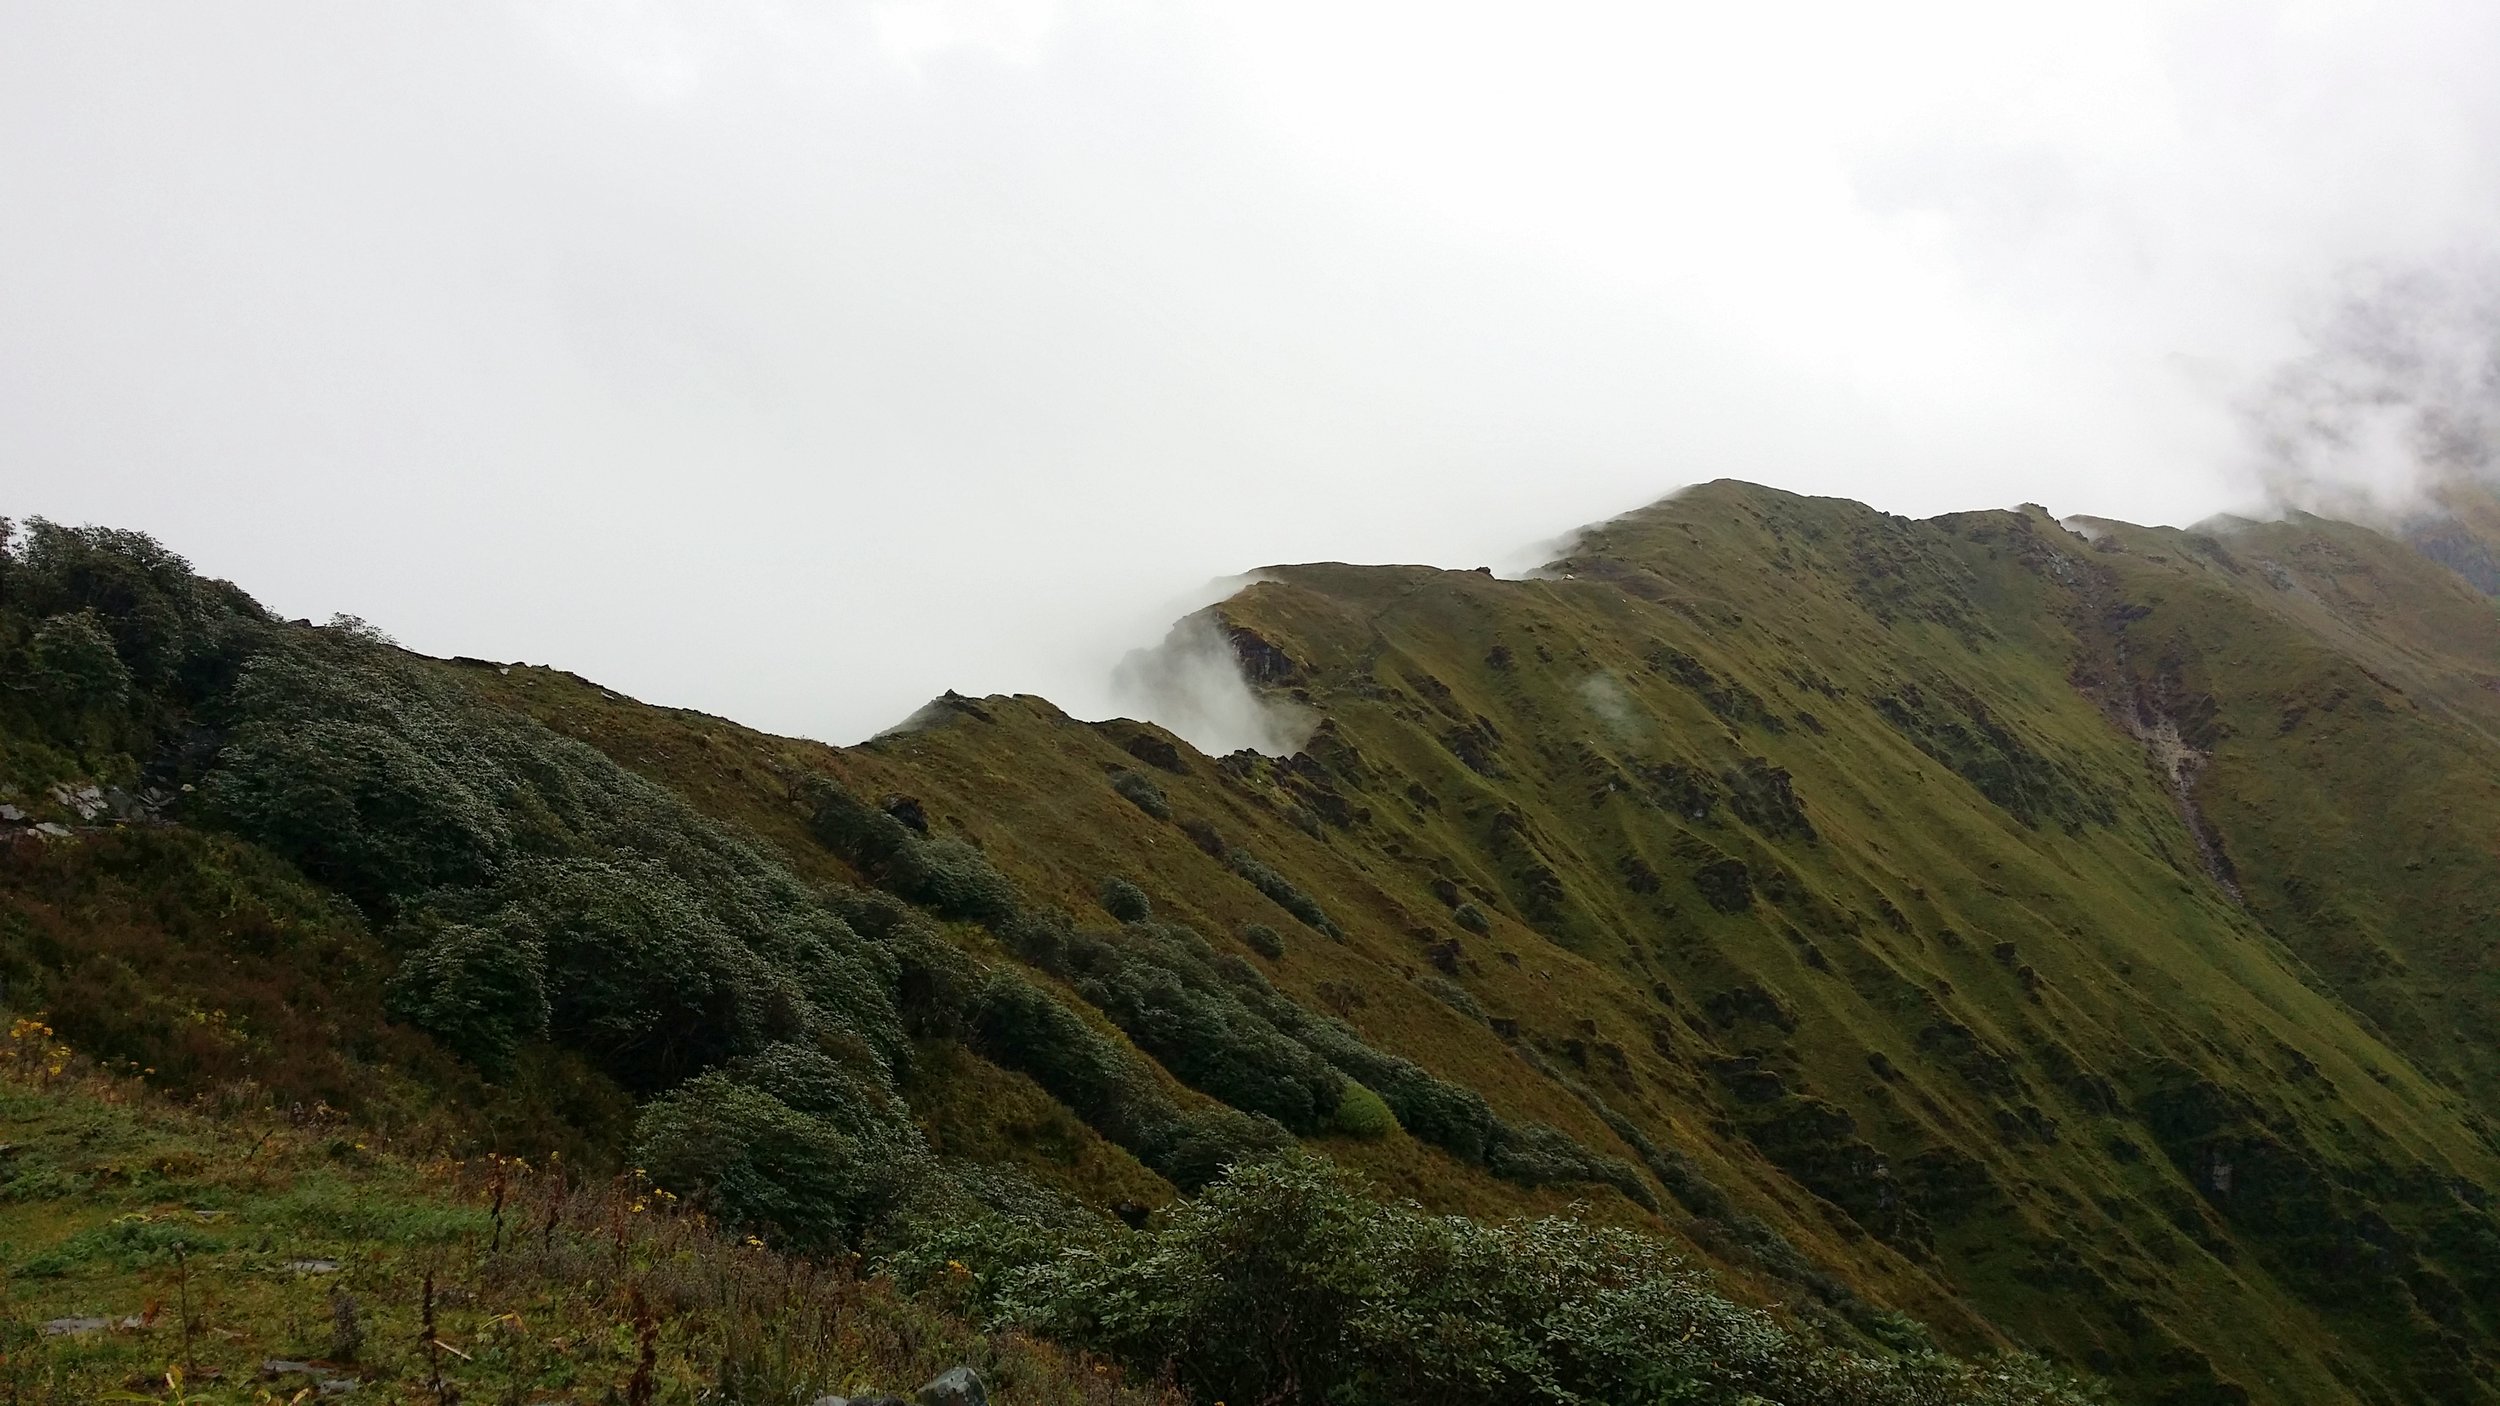
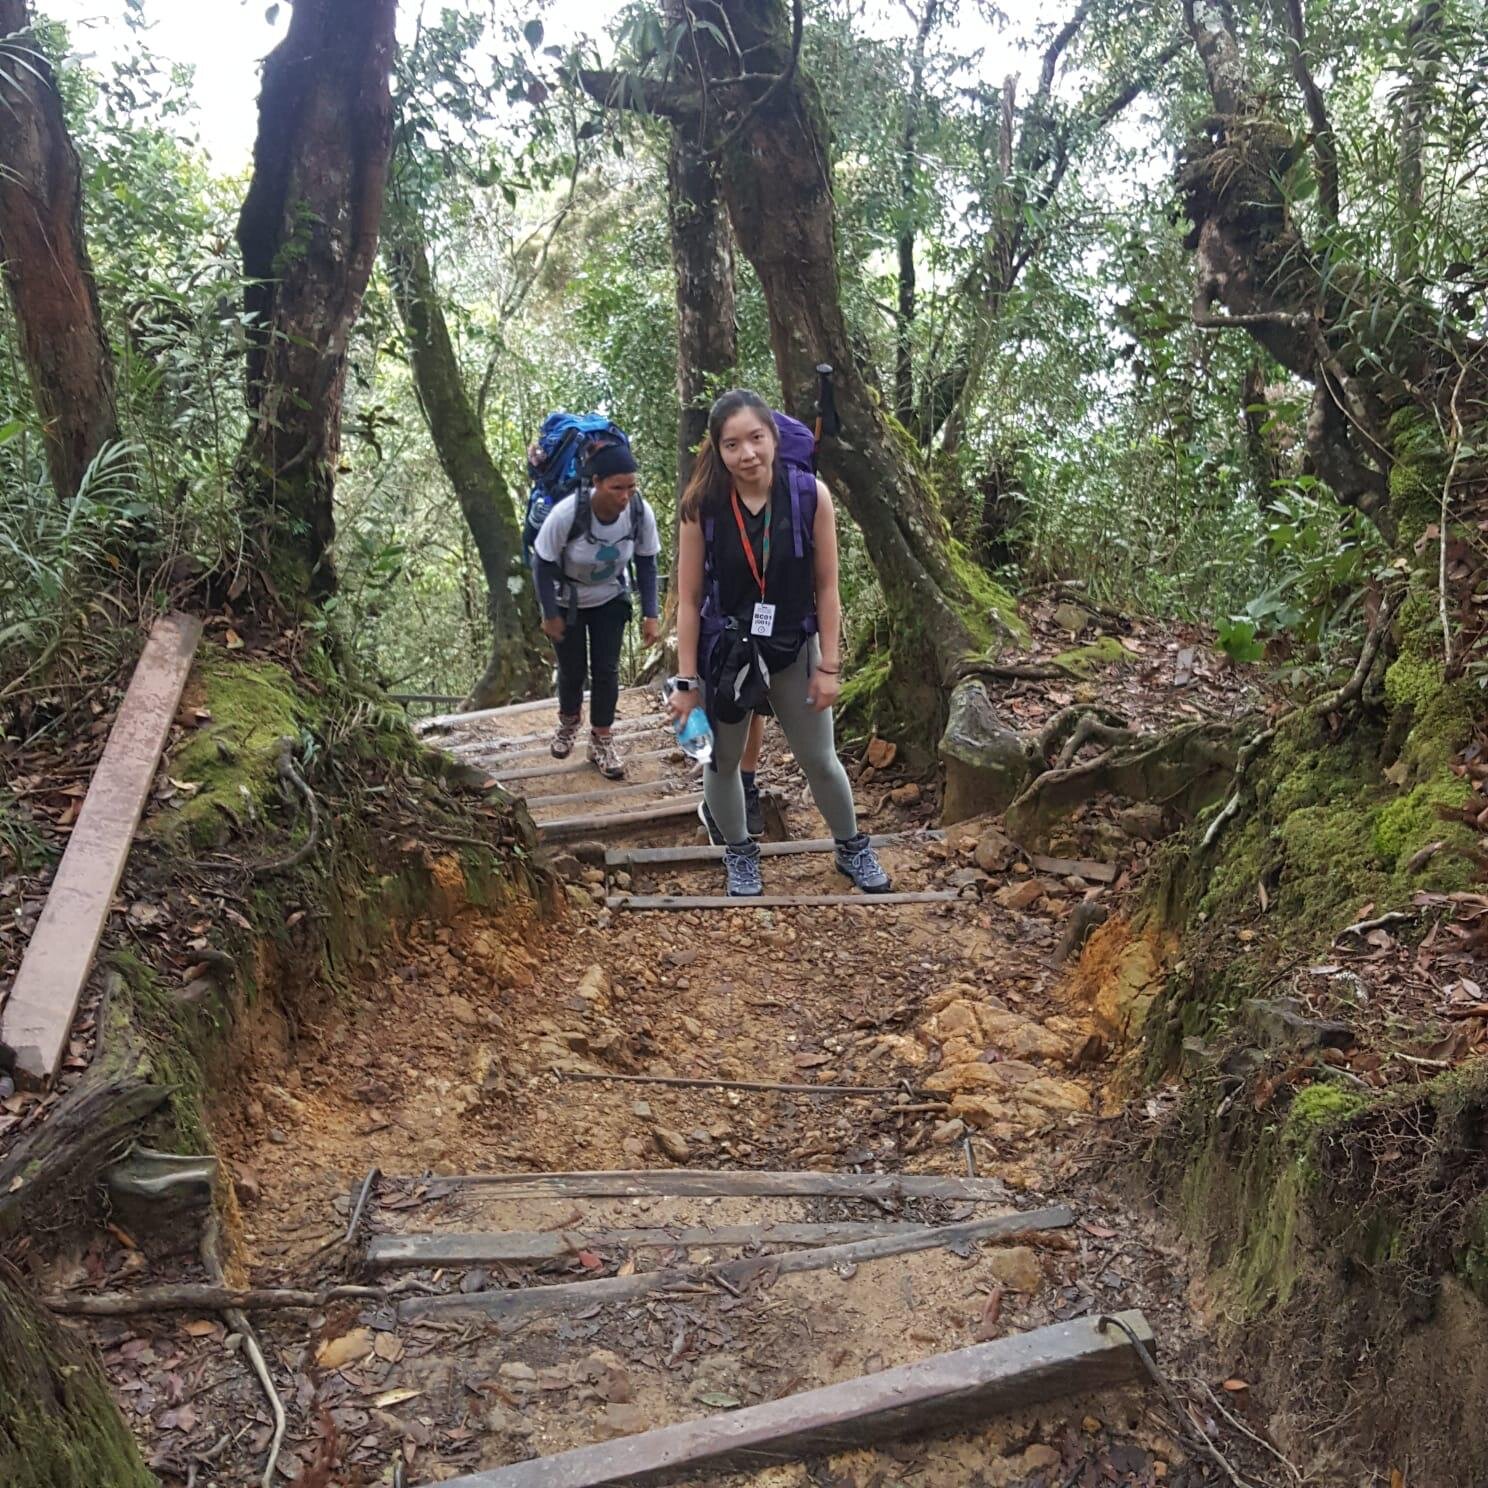
MORE SHELTERS AND STAIRS
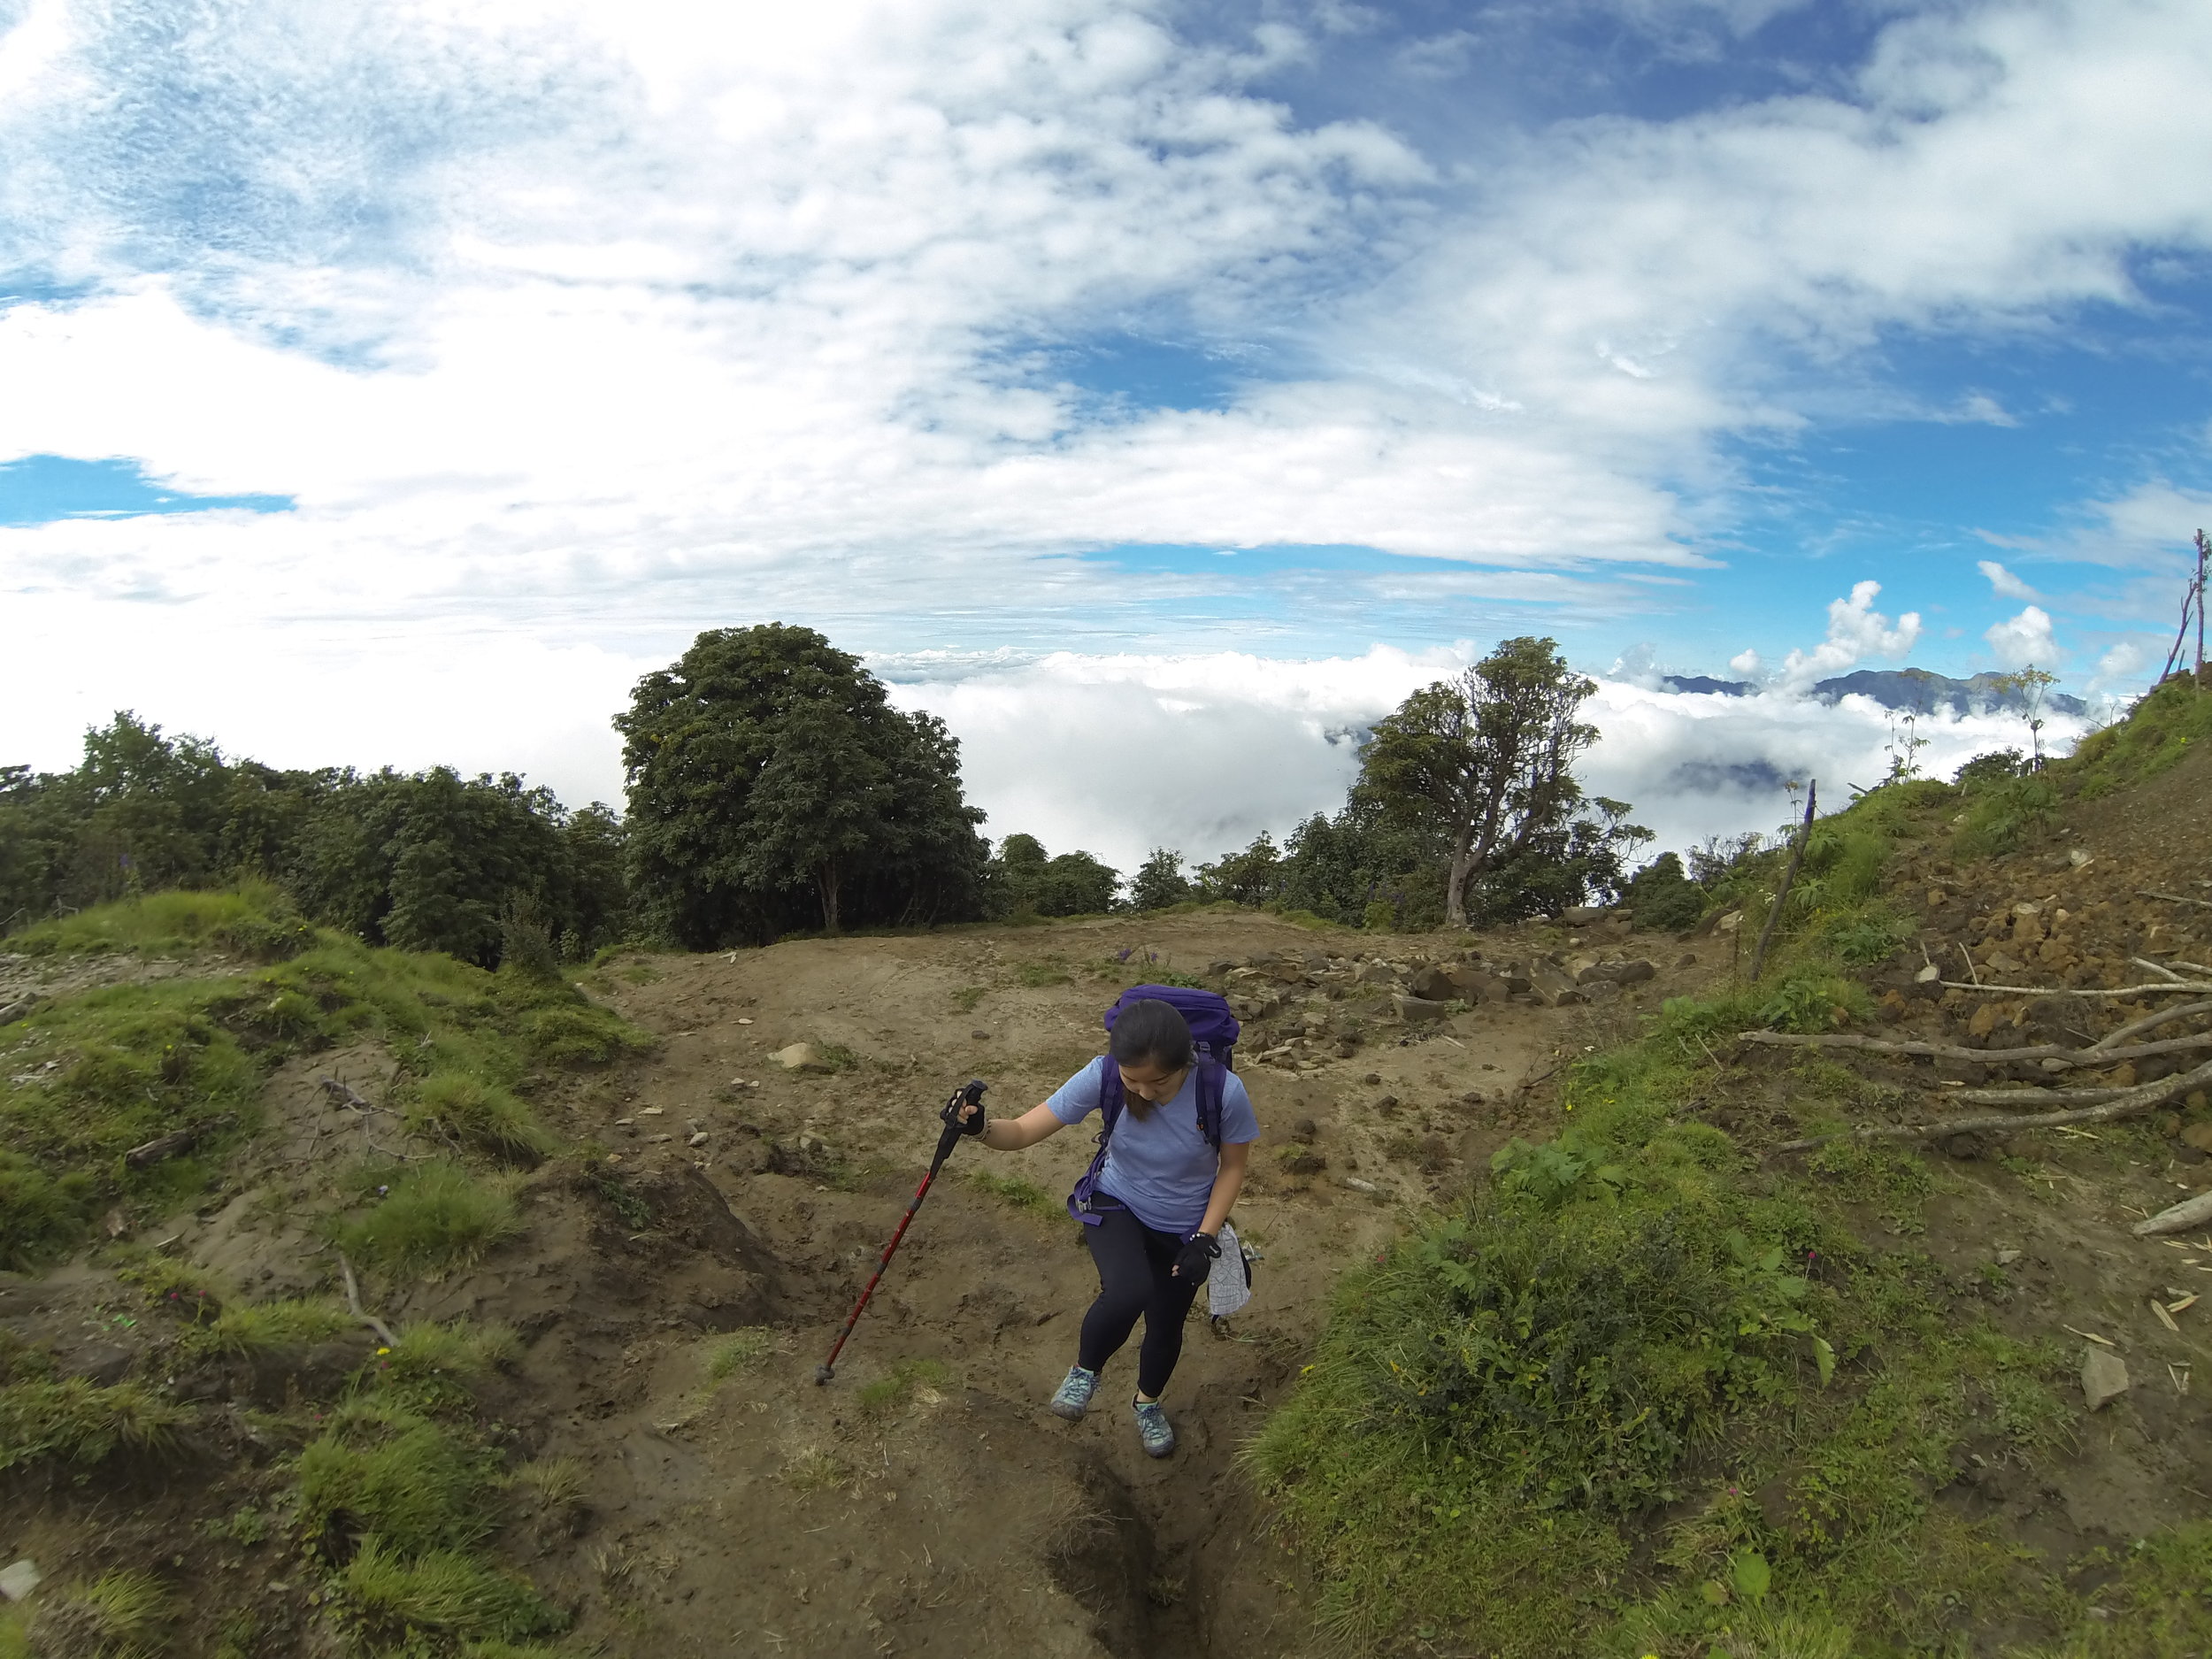
Continuing from 1km, there are about 3 more shelter points. Each would take about 1km to reach. At this point, it was already getting tough, and the temperature is dropping. Hence it’s getting colder.
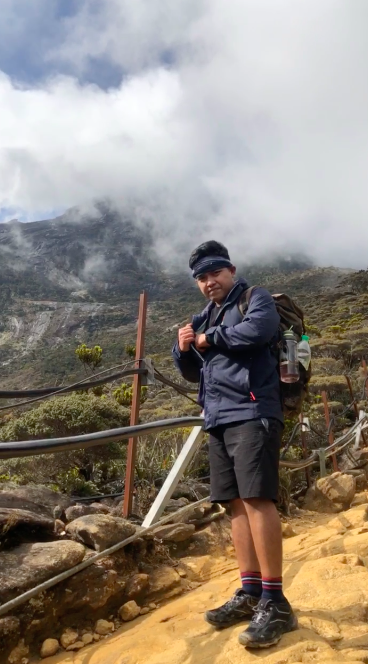
We were lucky that the weather was good while ascending and the temperature was not too cold. However, the second I stopped, the wind started to come by my cheeks, so I had to keep moving and not stop for a long time. Every time we passed by a shelter, it was such a relief, but we were also advised not o take too long breaks as it affects our momentum and we actually would get tired even more.
LUNCH BREAK AT 4KM
After a long tiring ascends, it’s time for a lunch break at 4km. Climbers are usually advised to take no longer than 30 minutes break, but one can choose to take longer than the suggested time when needed. Up there is chilly, and most people will be seen gearing up to their warm clothing like jackets or beanies. There are a lot of tiny squirrels around. Feeding them some bread would be a nice gesture. However, they may leap on your lap surprisingly so if you are the type who jump scare a lot then, beware!
After the lunch break, it’s time to keep ascending to Panalaban Base Camp.
LAST 2KM TREK THAT SEEMS TO TAKE FOREVER TO COMPLETE
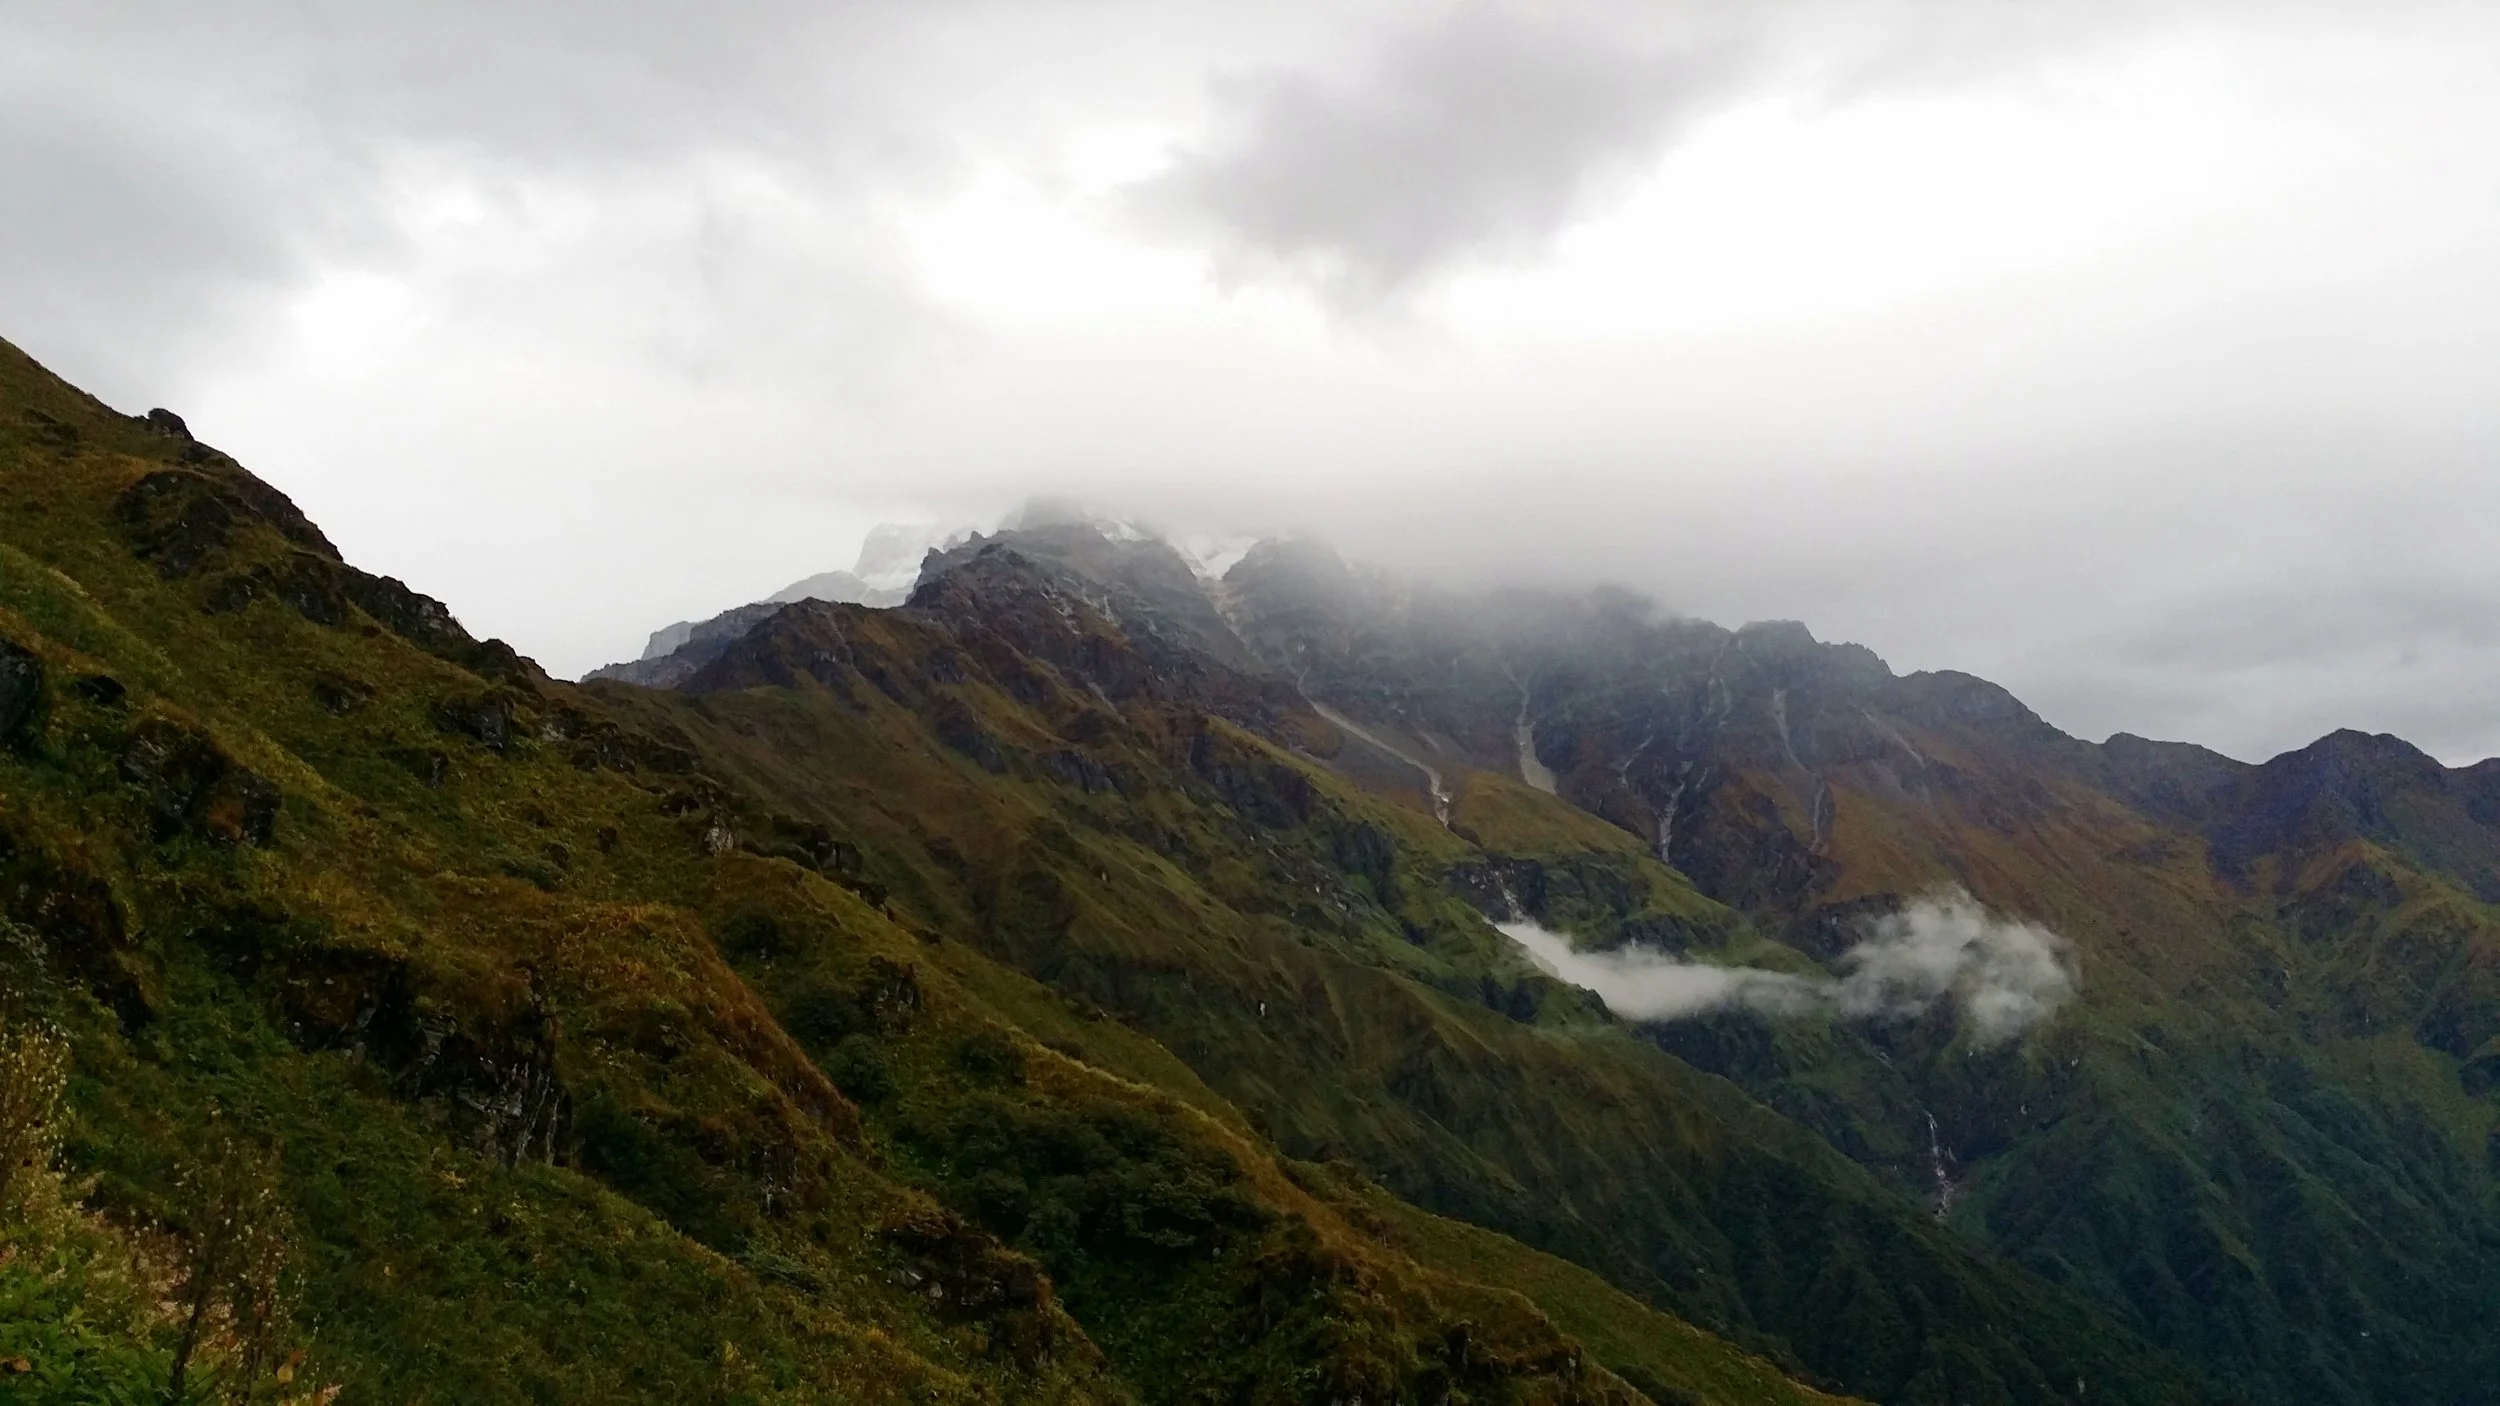
The lunch break happened at 4km for a reason. It is because it’s going to be a long way up to reach the base camp. The paths are rockier and more significant steps. However, that’s not the main reason. It is the thin air that makes it harder to breathe while ascending at the same time. It’s like multi-tasking. You have to keep moving, breathe, stay hydrated and look around the surrounding.
I’m not making this up, but for some reason, this 2km trek seems to be taking ages to finish. 2km may seem fast and easy, but it is not. I have no recollection of the times I have taken a quick break. What’s worse was my mind was telling me to go on, but my body felt more substantial than ever. This trek is truly all about carrying your body weight and your backpack.
I watched people struggling when I was descending in Day2, and I can see right in their faces how exhausted they were. At that time, I can only think of one thing, “That was me, hours ago.” So as a friendly fellow adventurer, I wish them ‘Goodluck’ as encouragement.
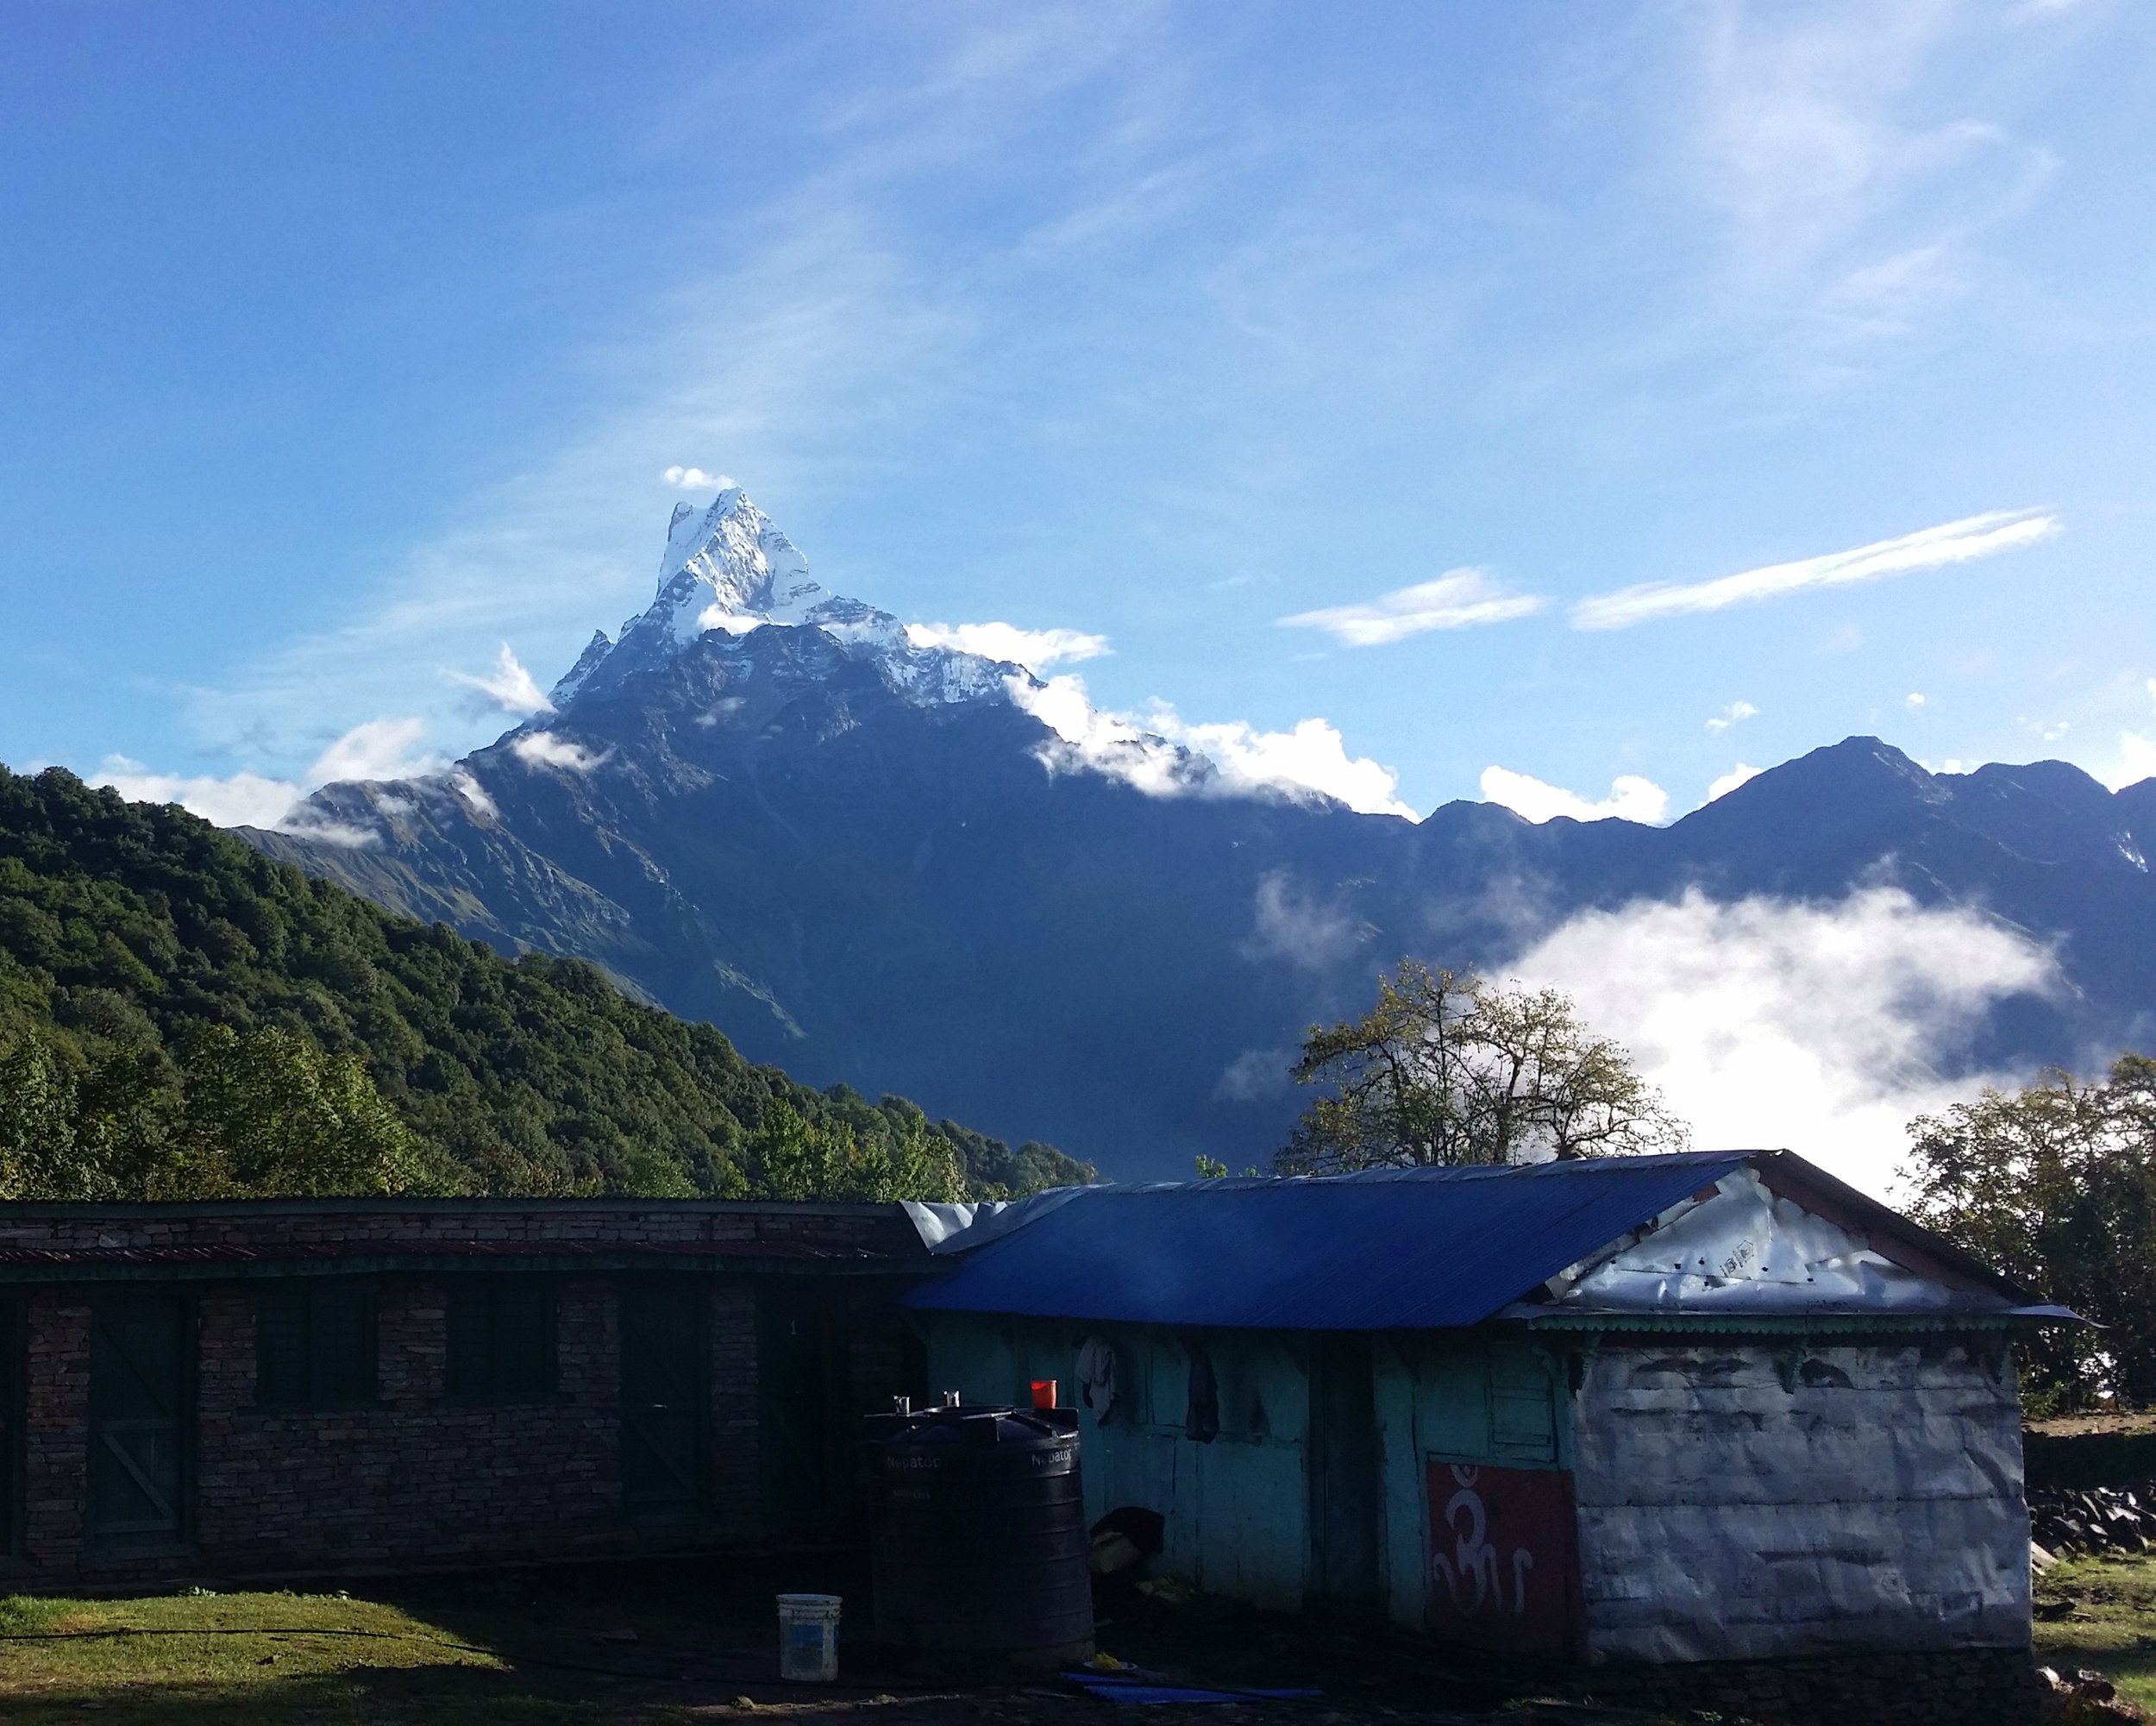
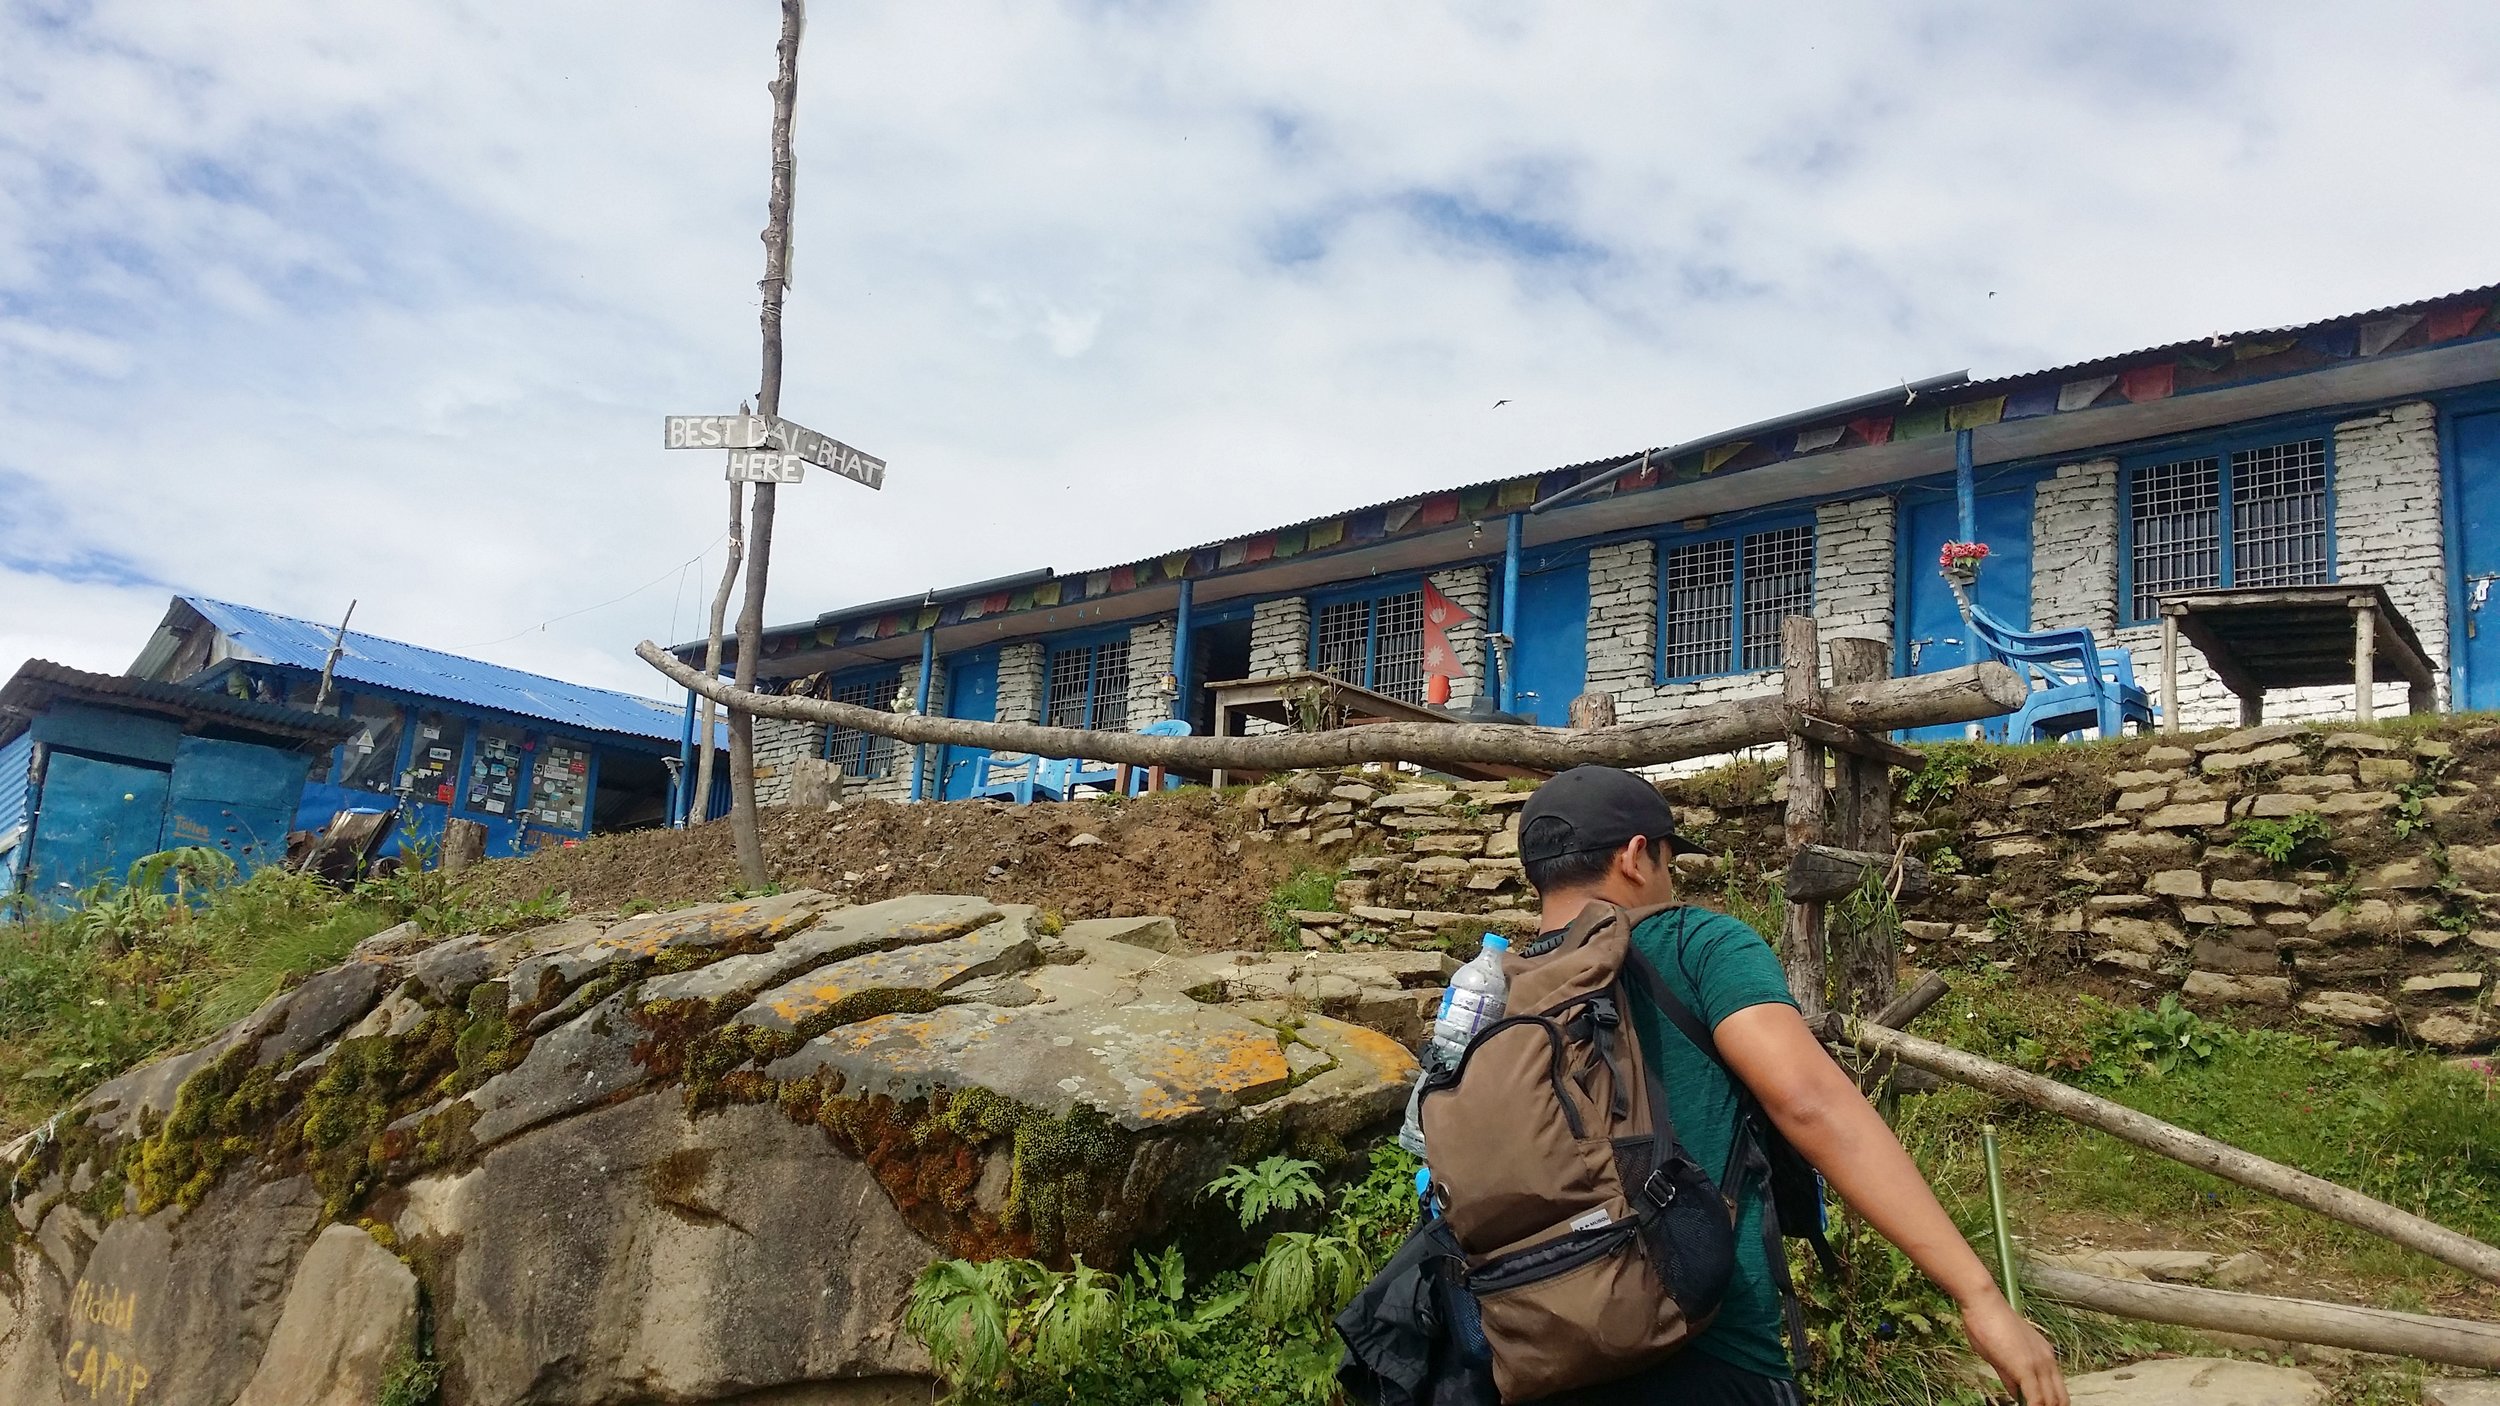
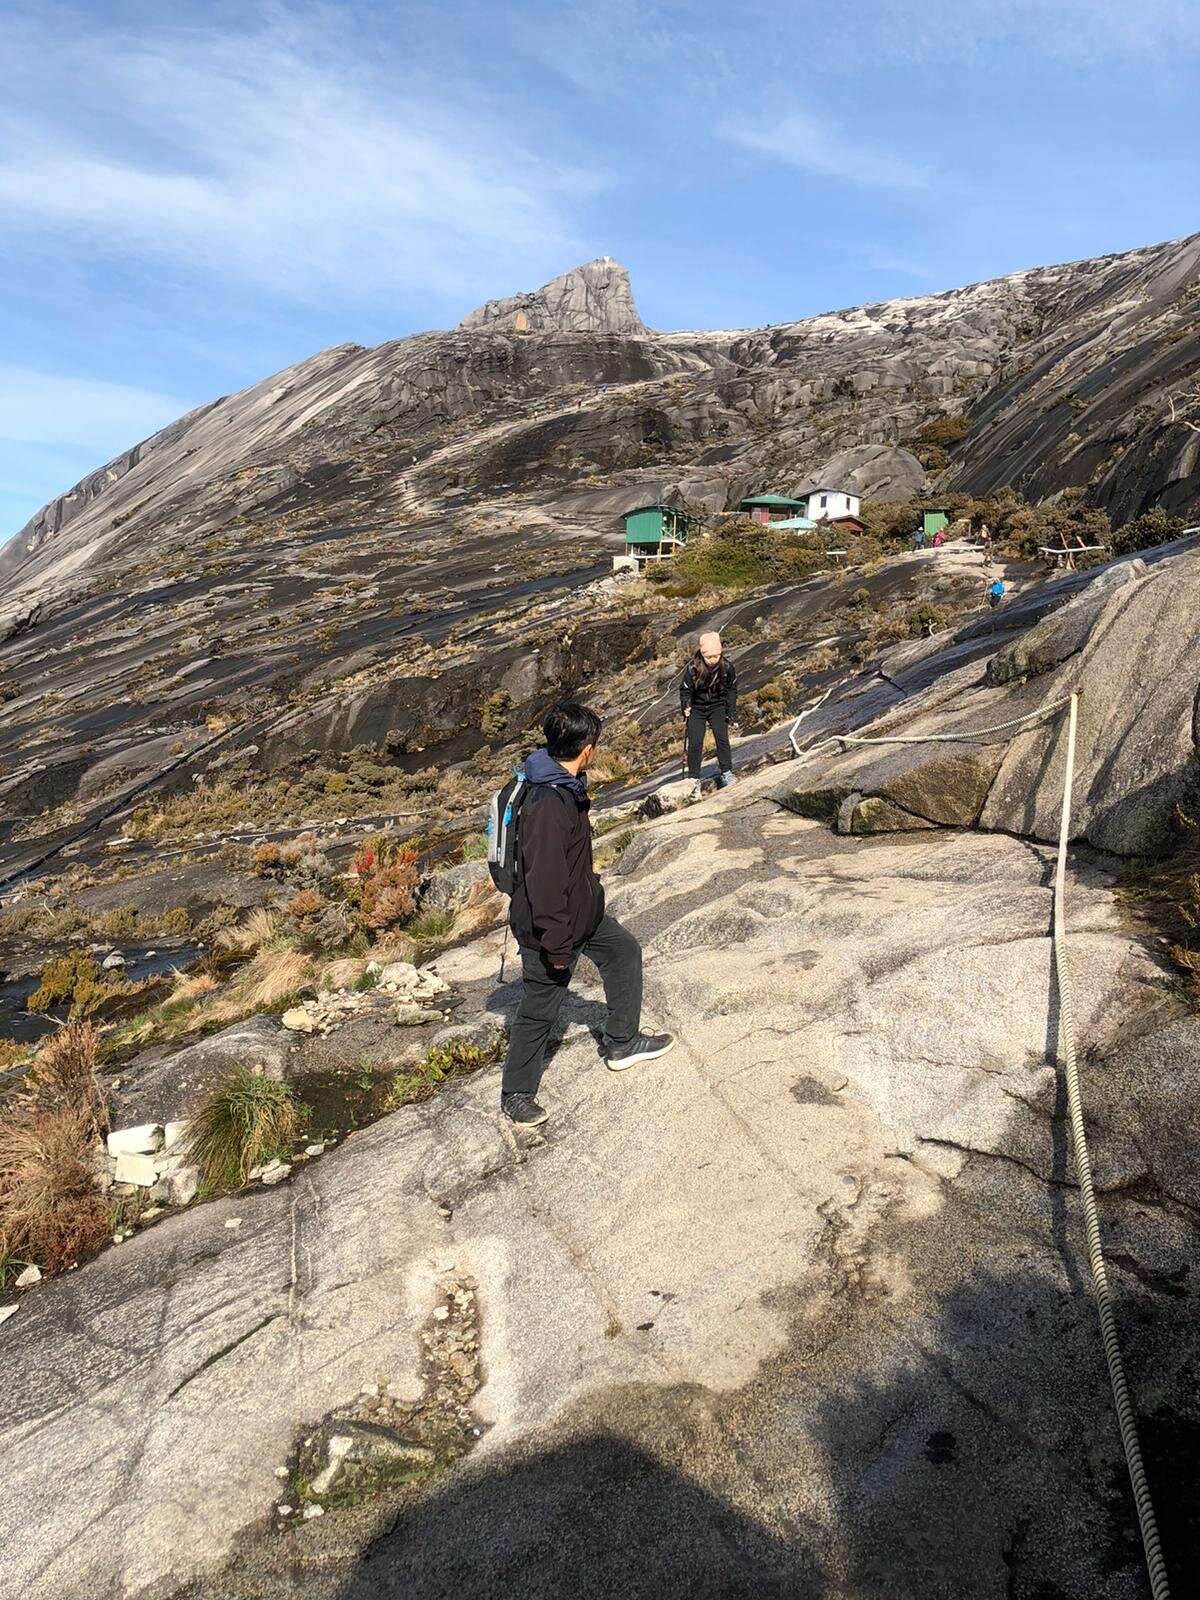
THE BASE CAMP
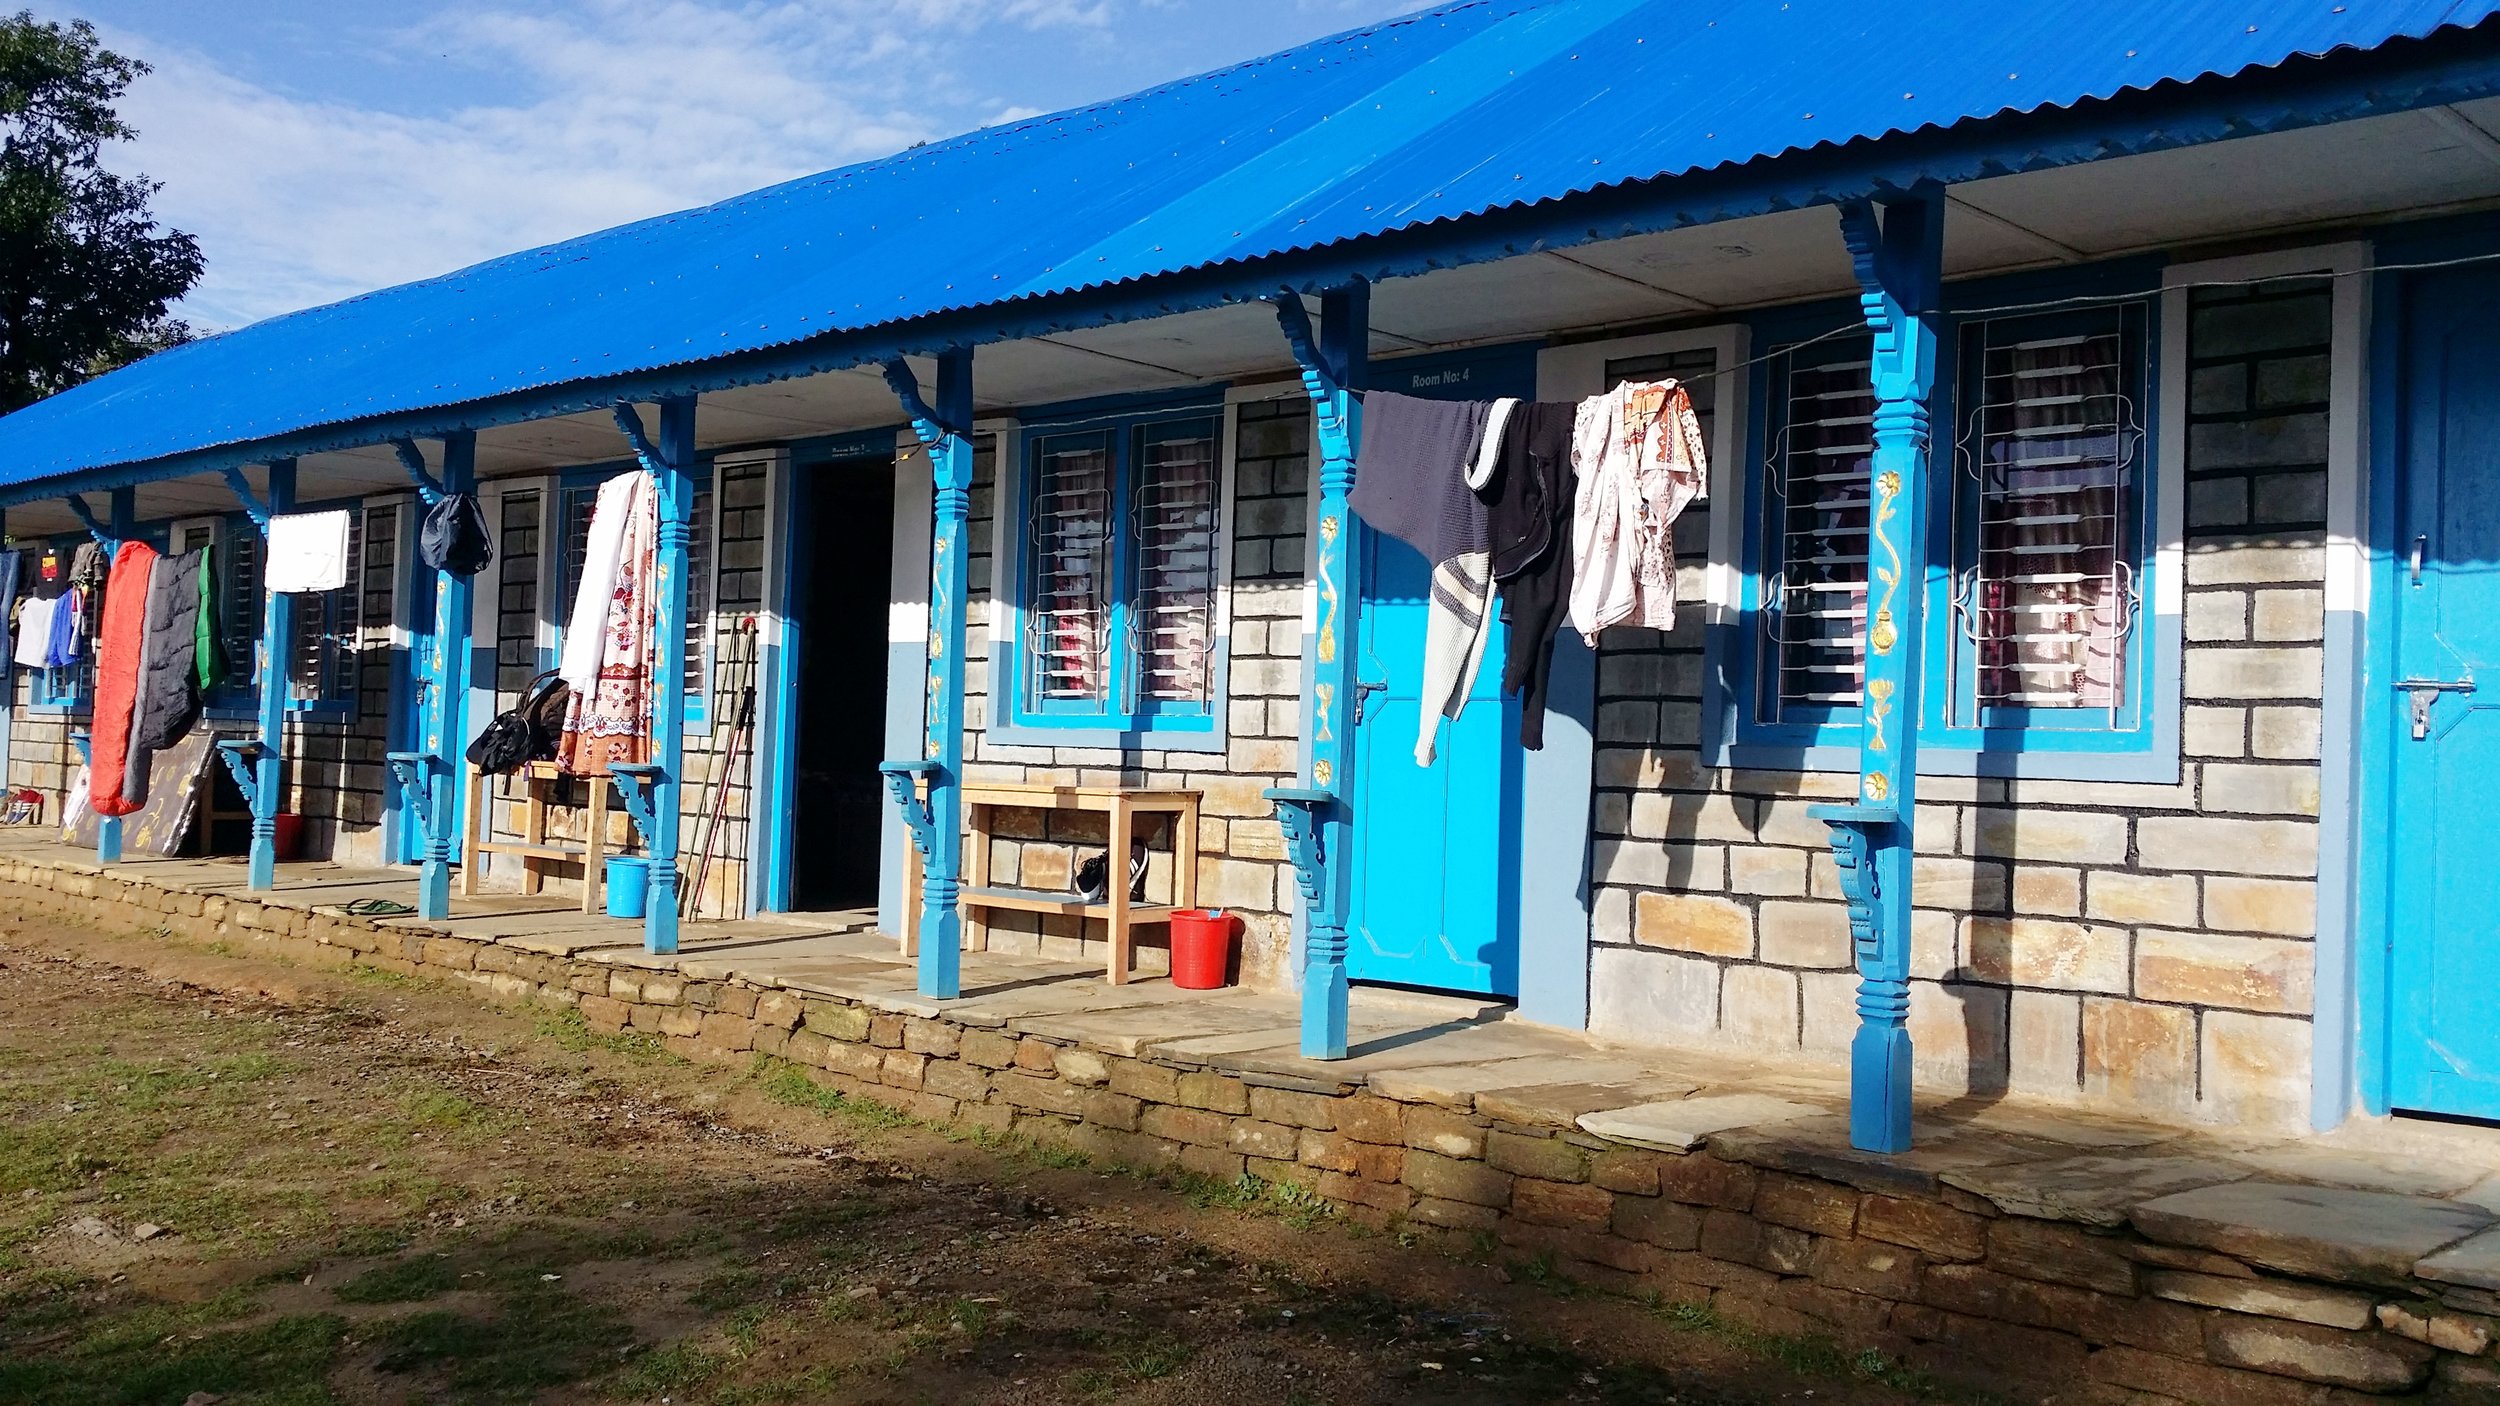
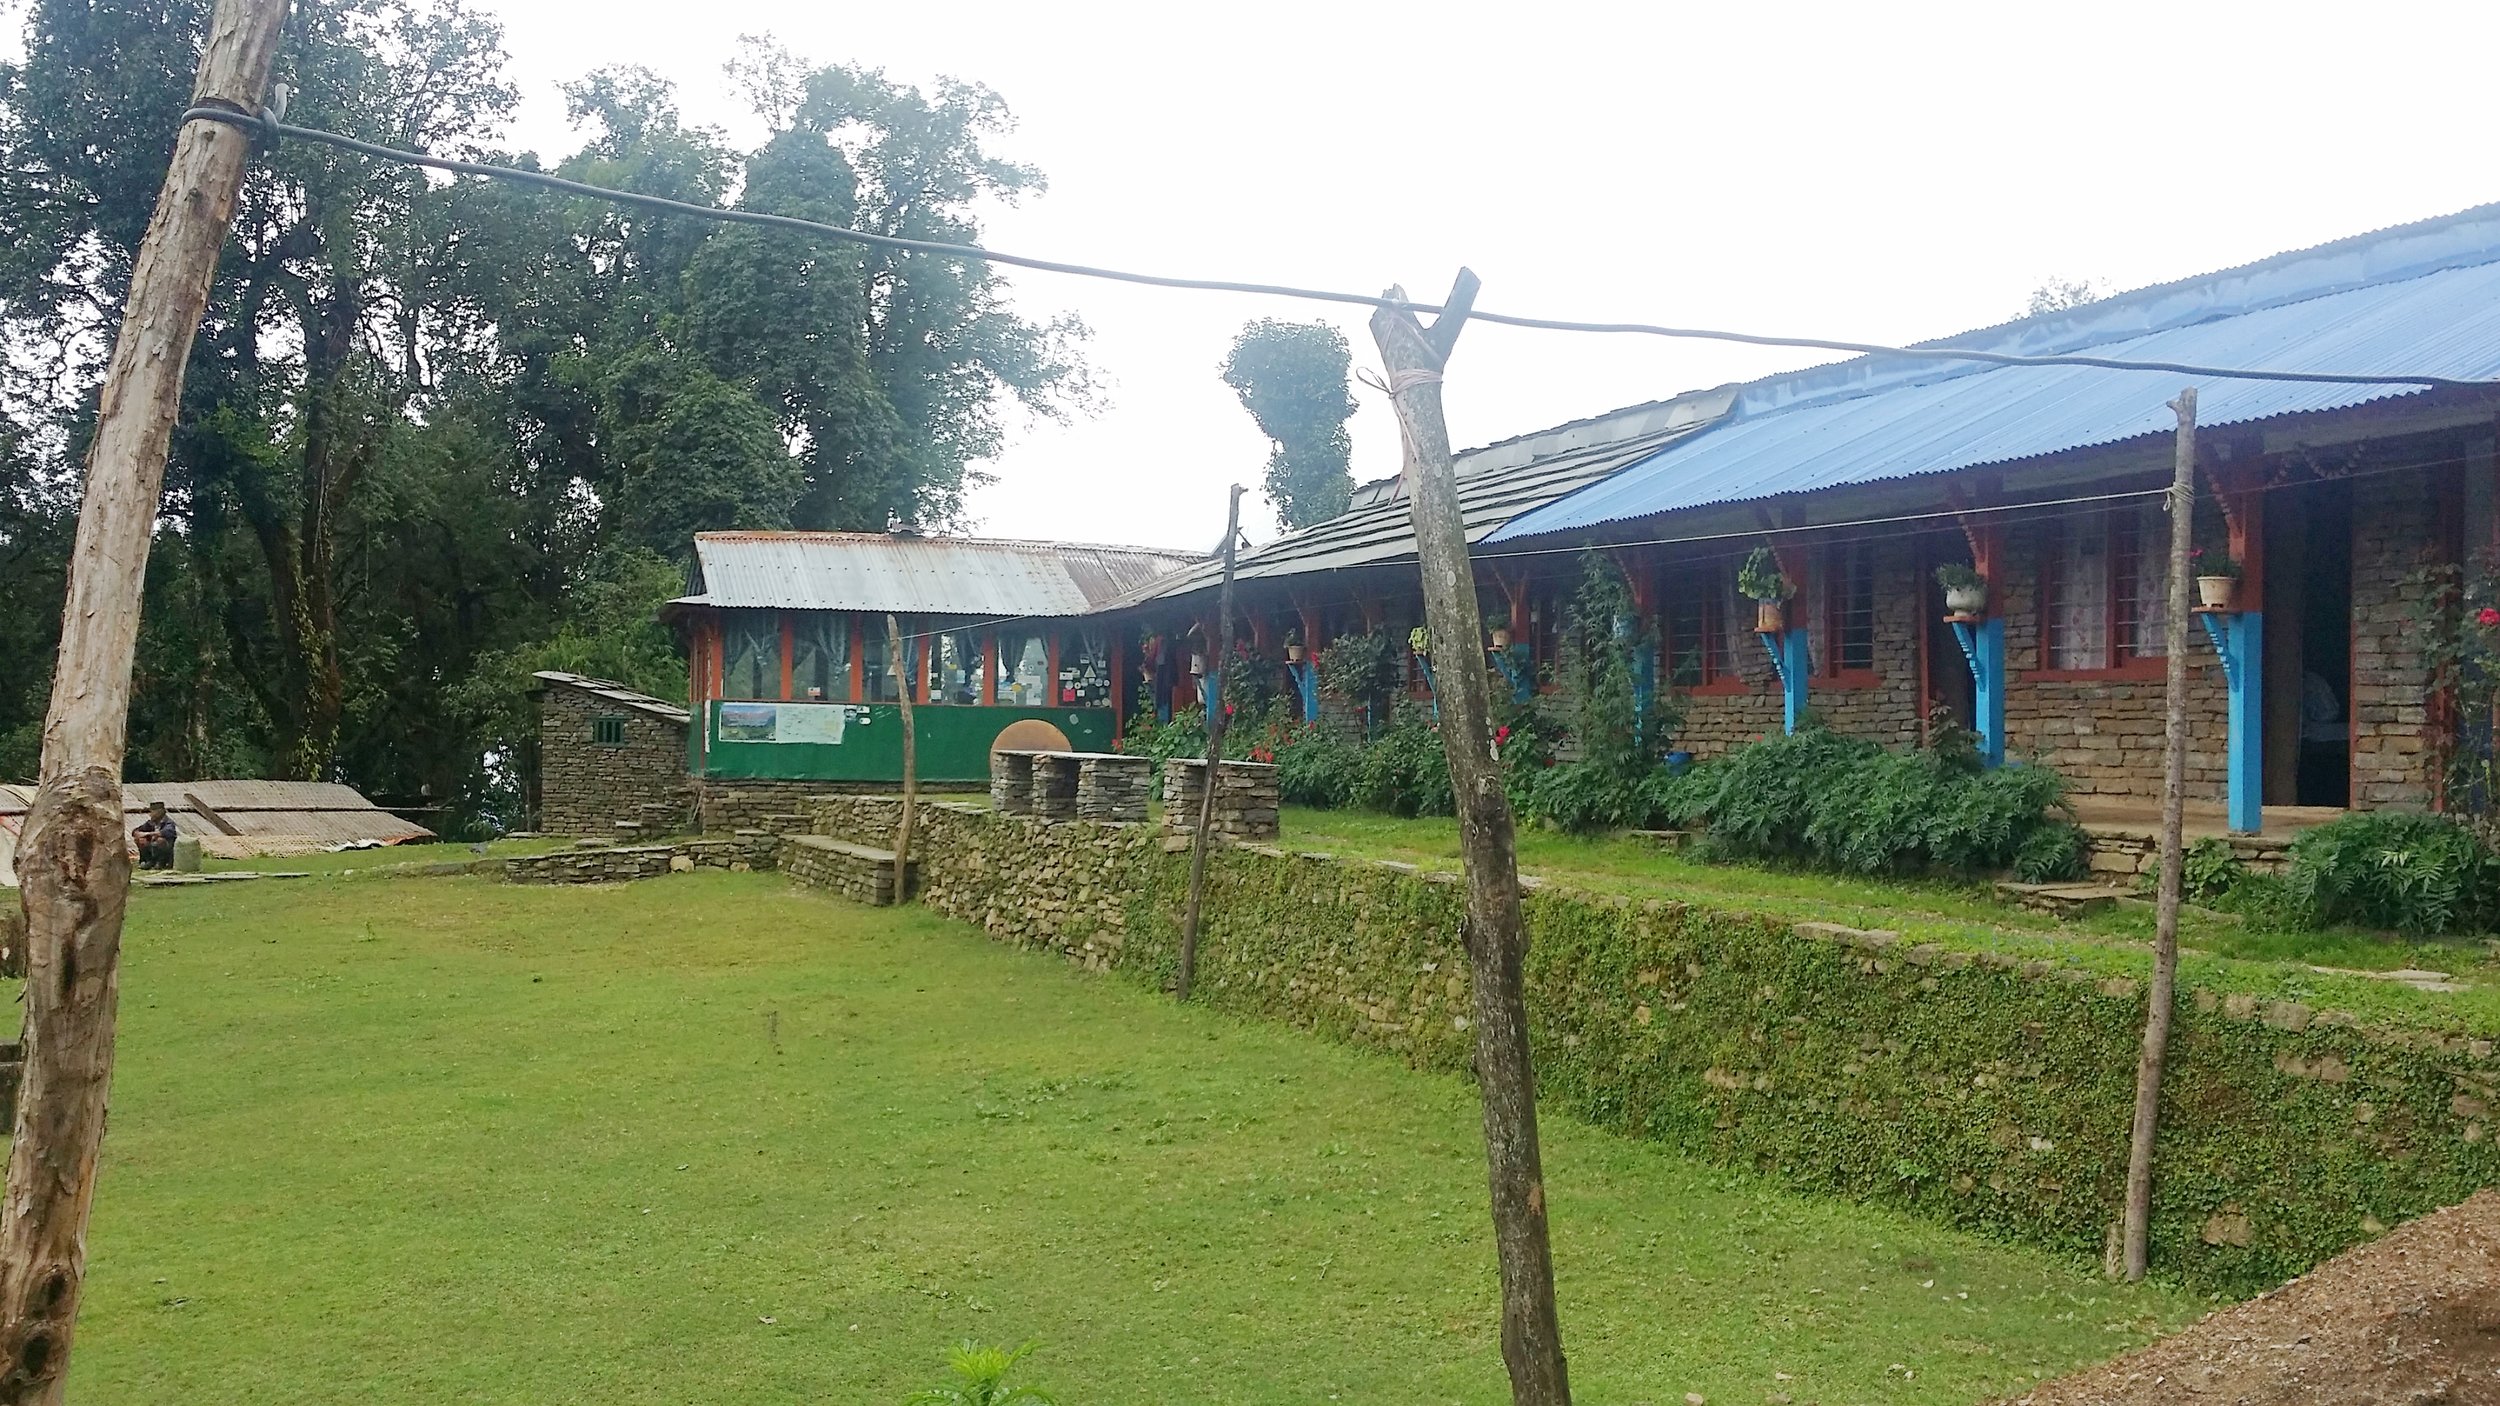
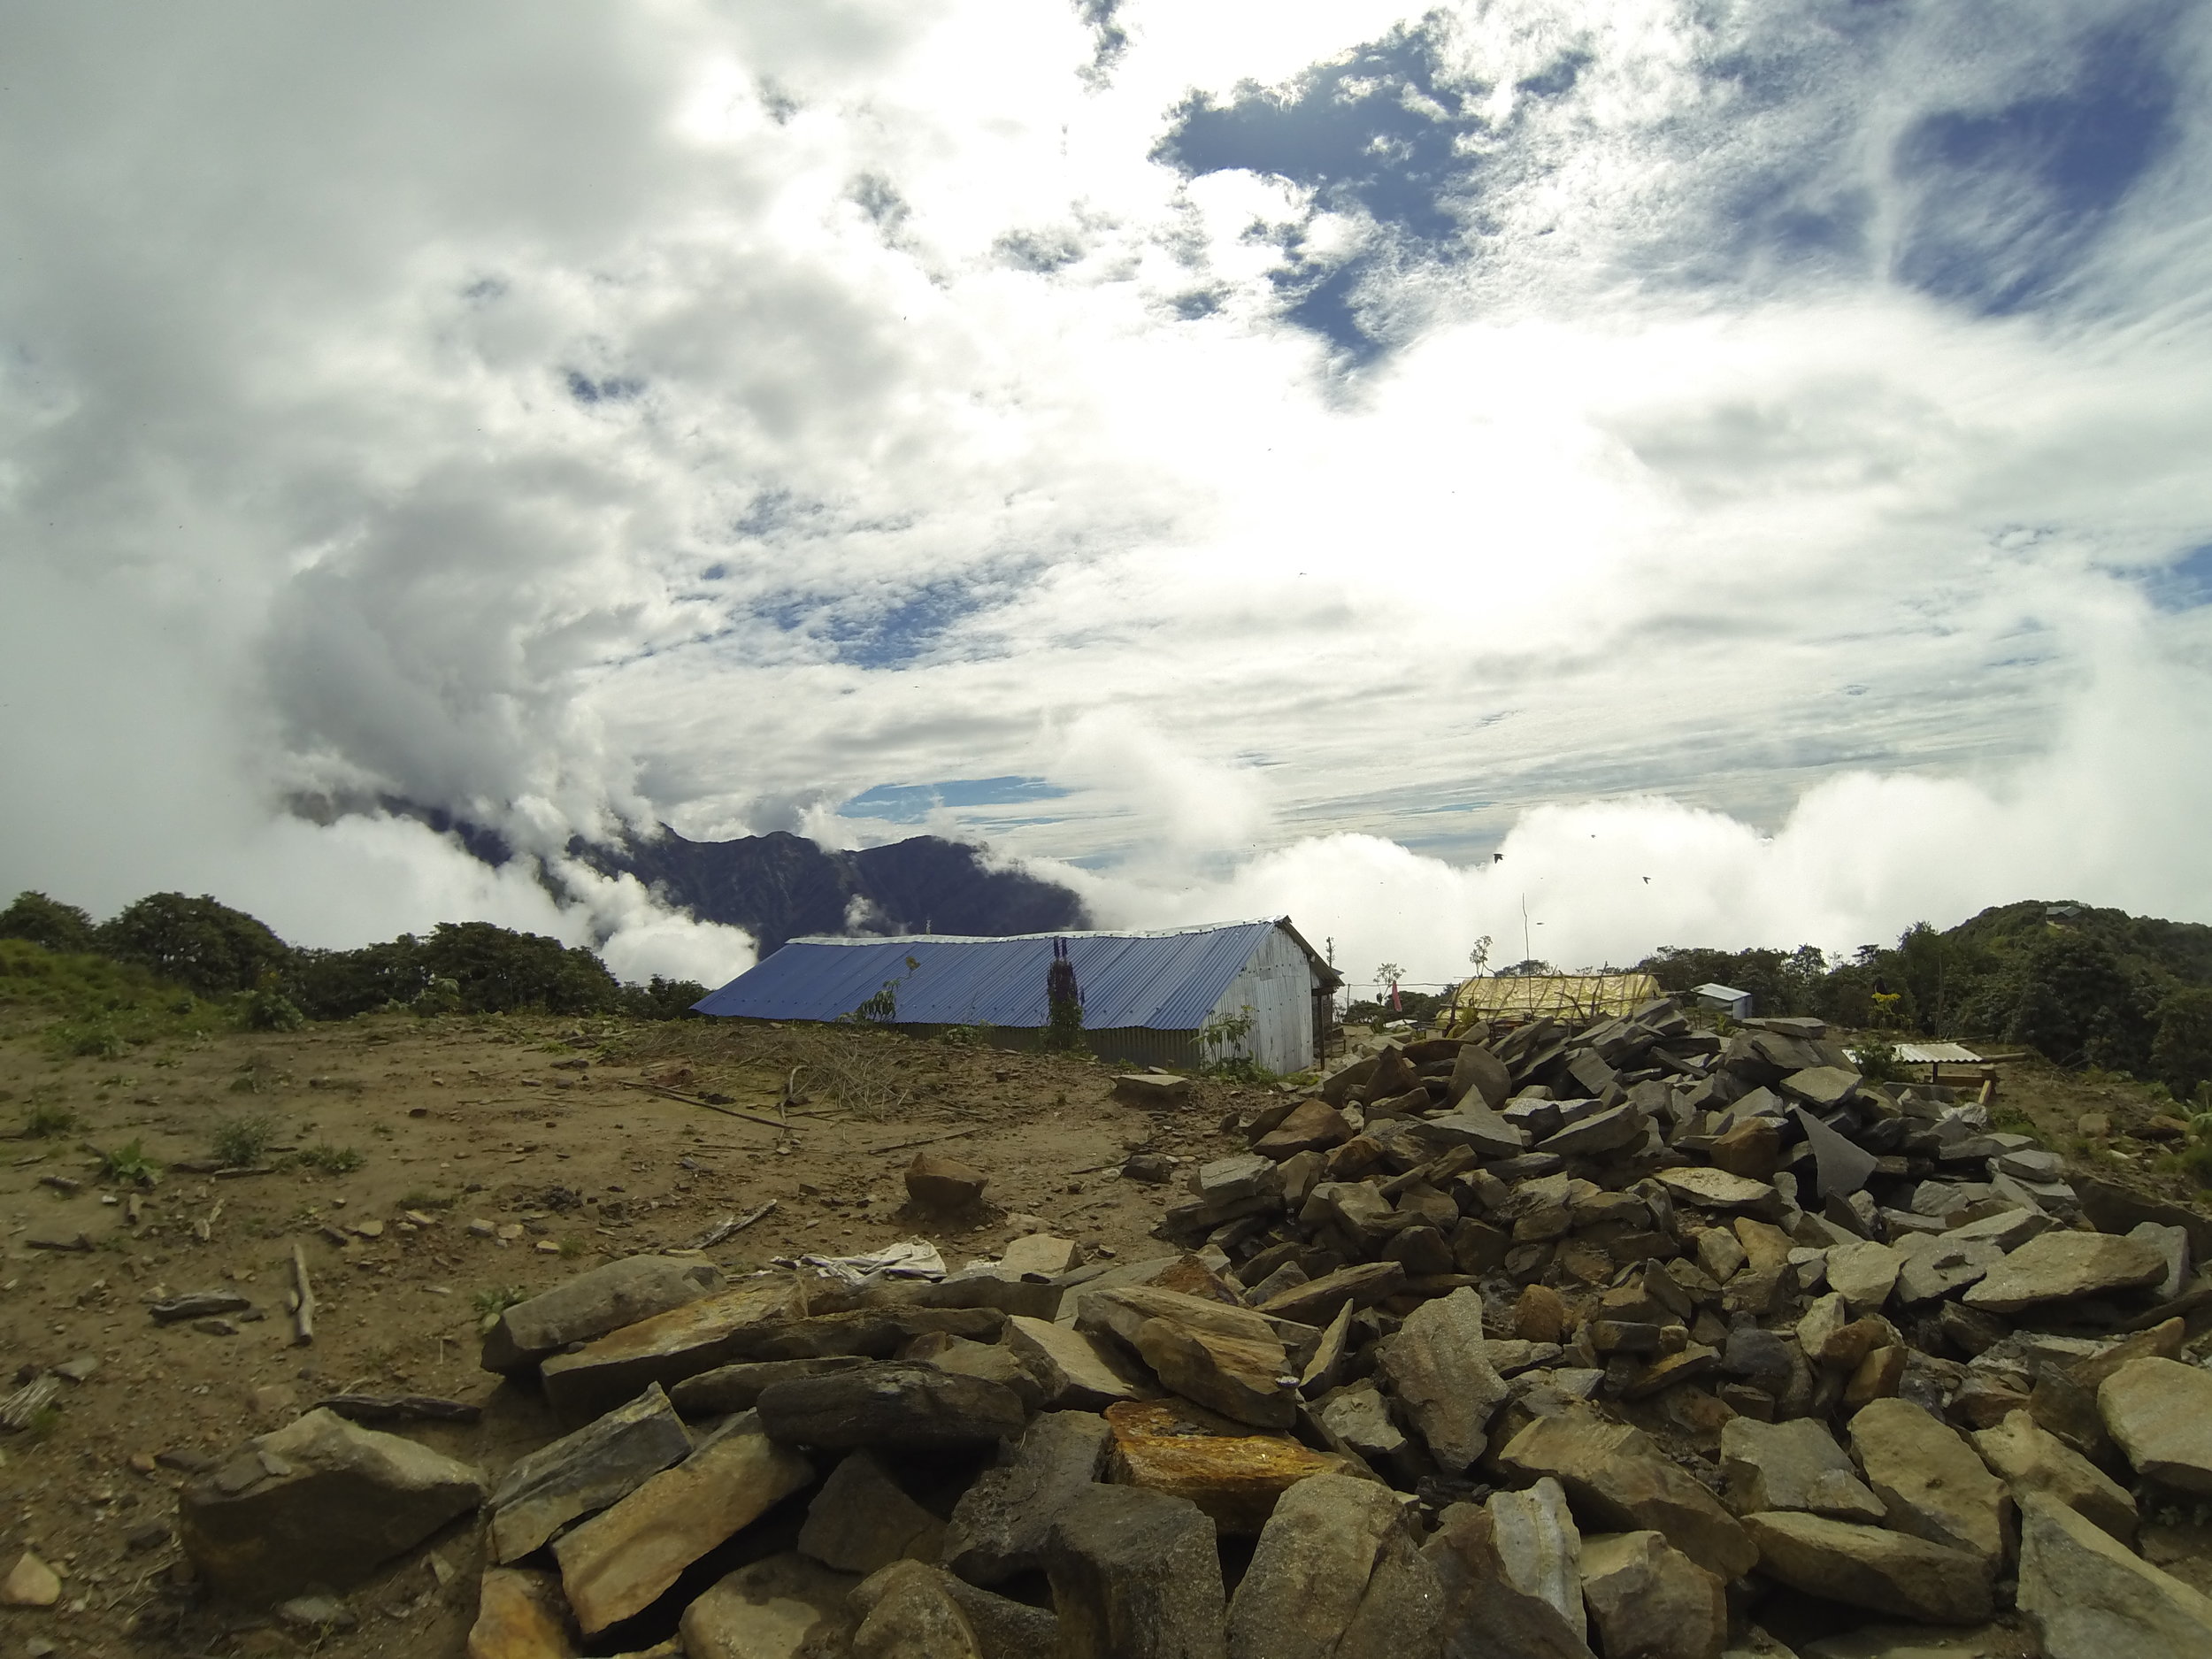
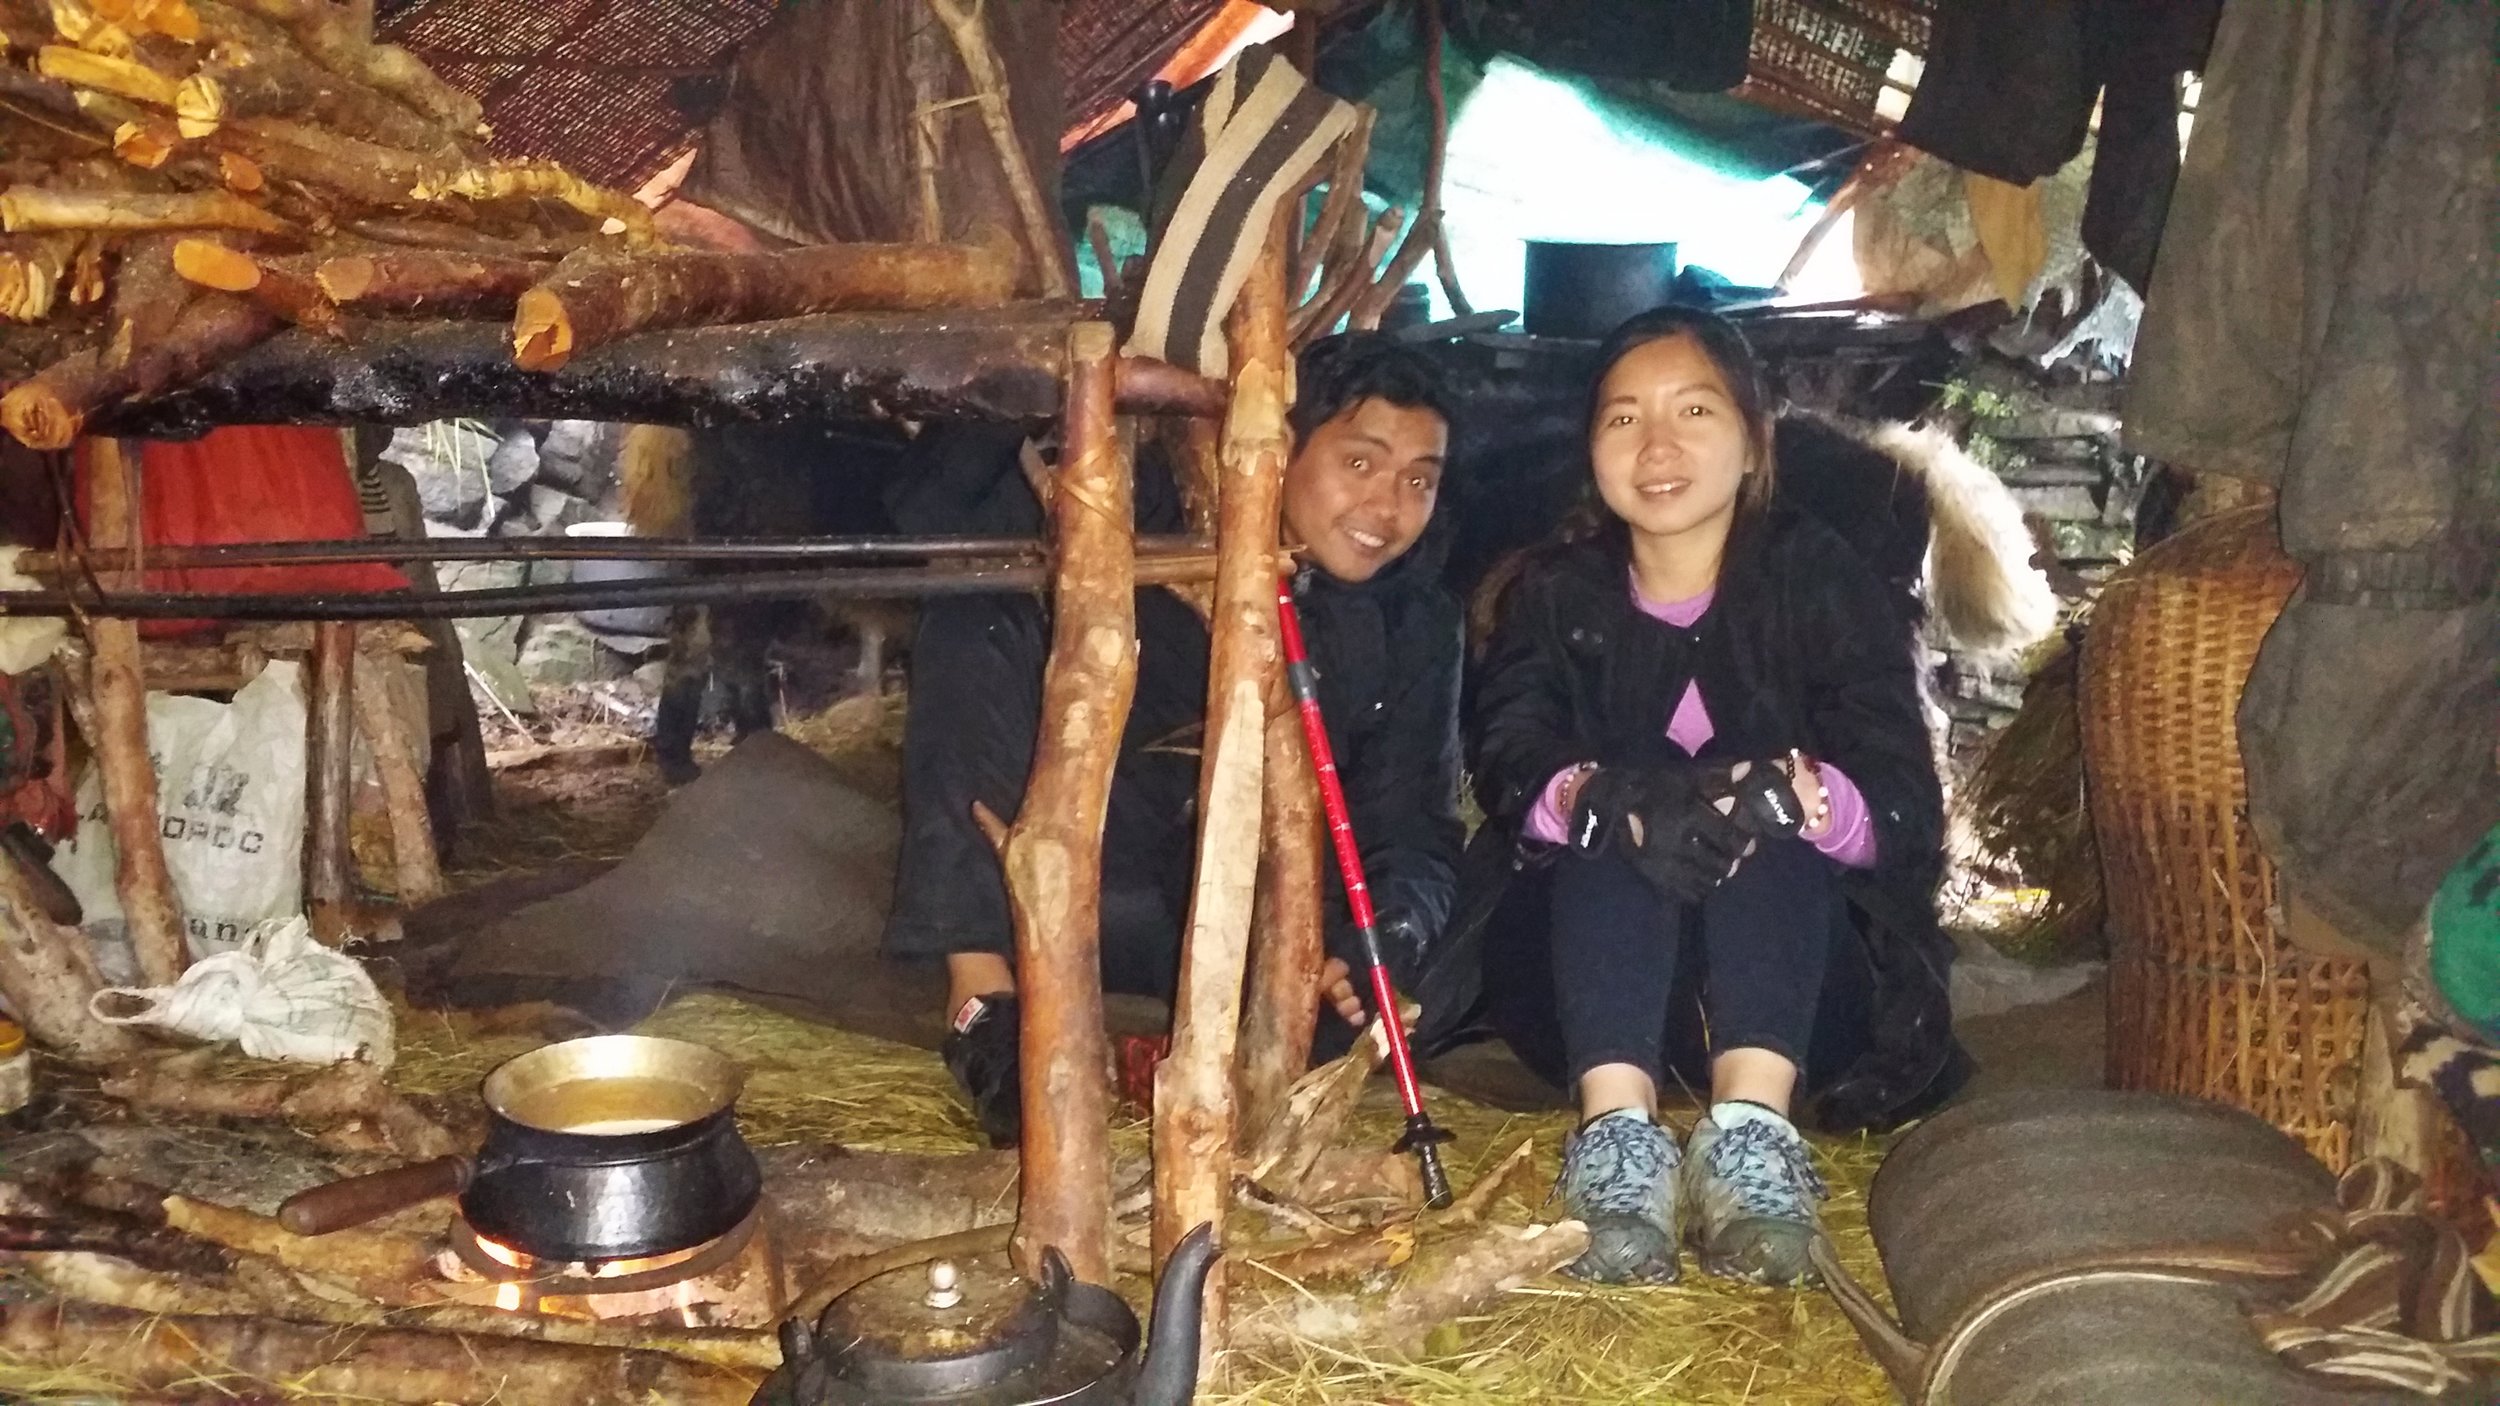
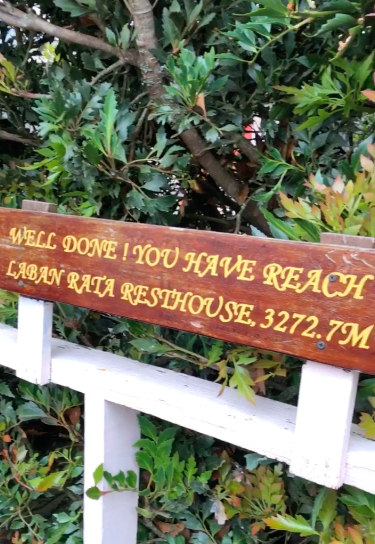
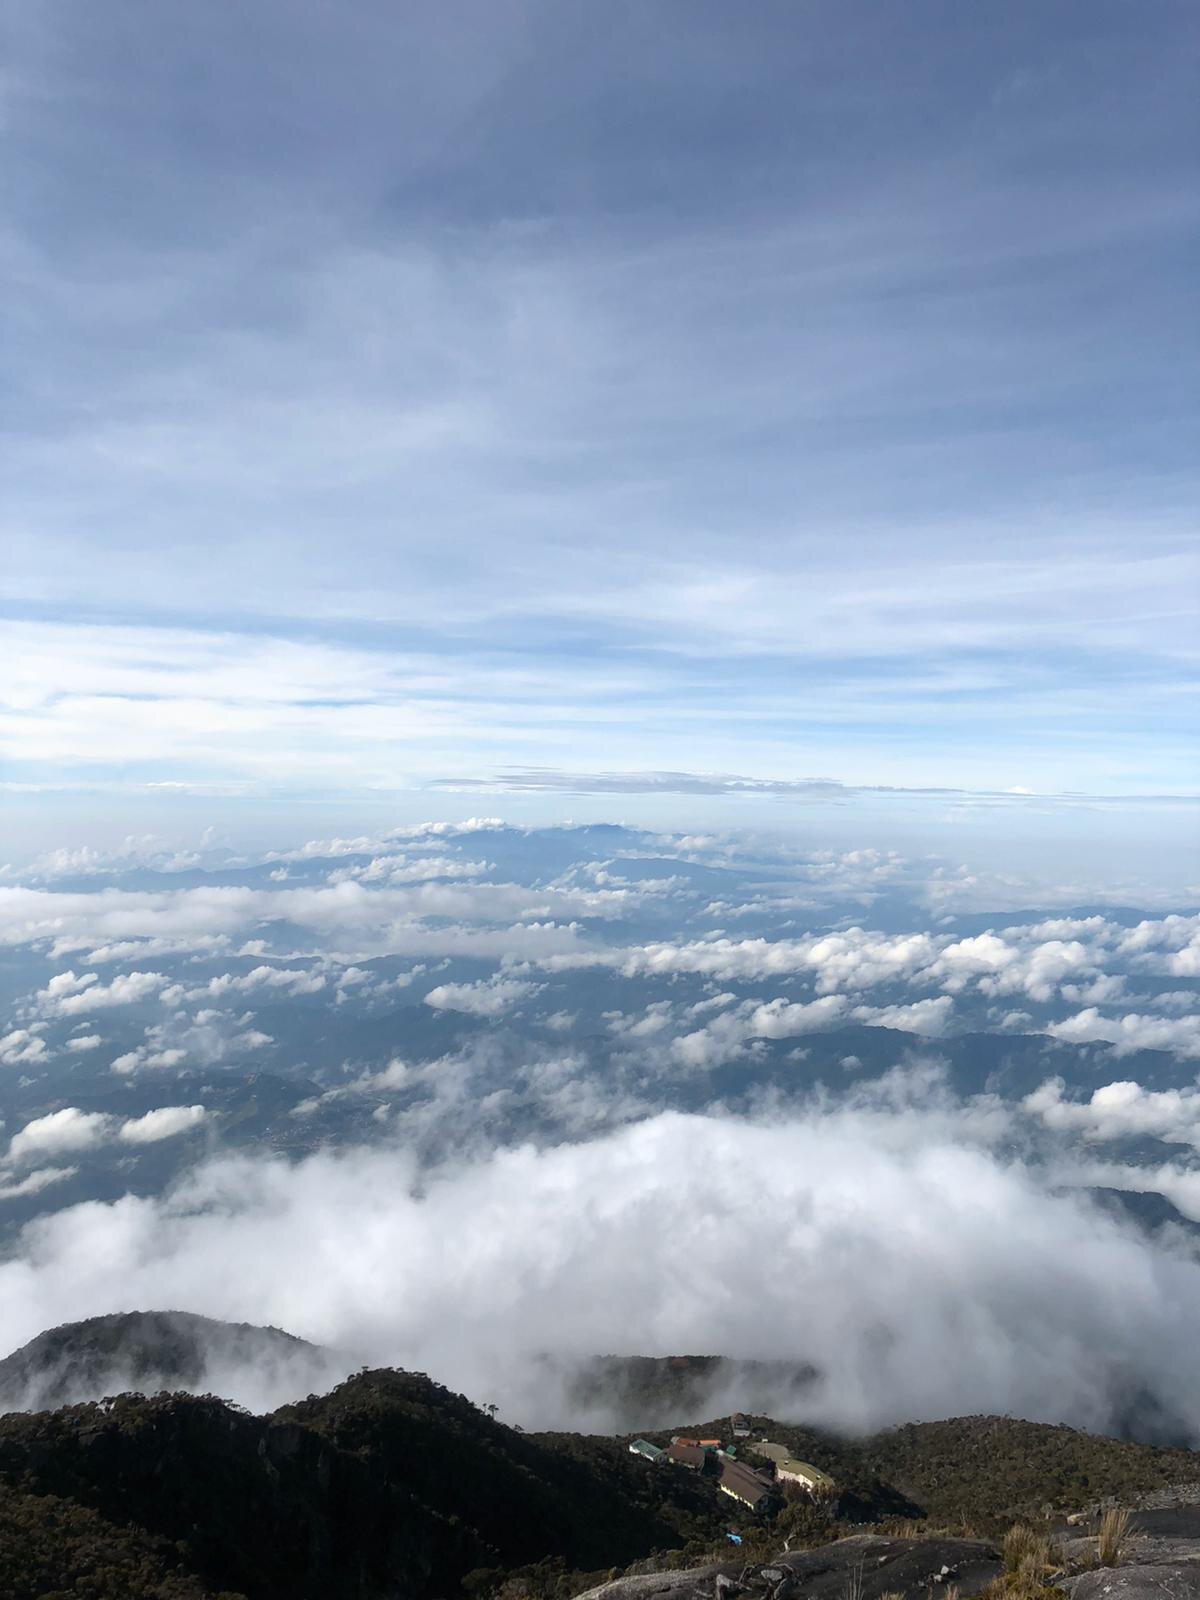
After that exhausting 6km trek, we finally reached the base camp. It was the best thing ever and what an effort. We passed by many people, and they all congratulated us for making it. There are 6-7 huts around Panalaban. However, only two resthouses are available for climbers as some of the cabins had shut down due to damages from the 2015 Sabah Earthquake.
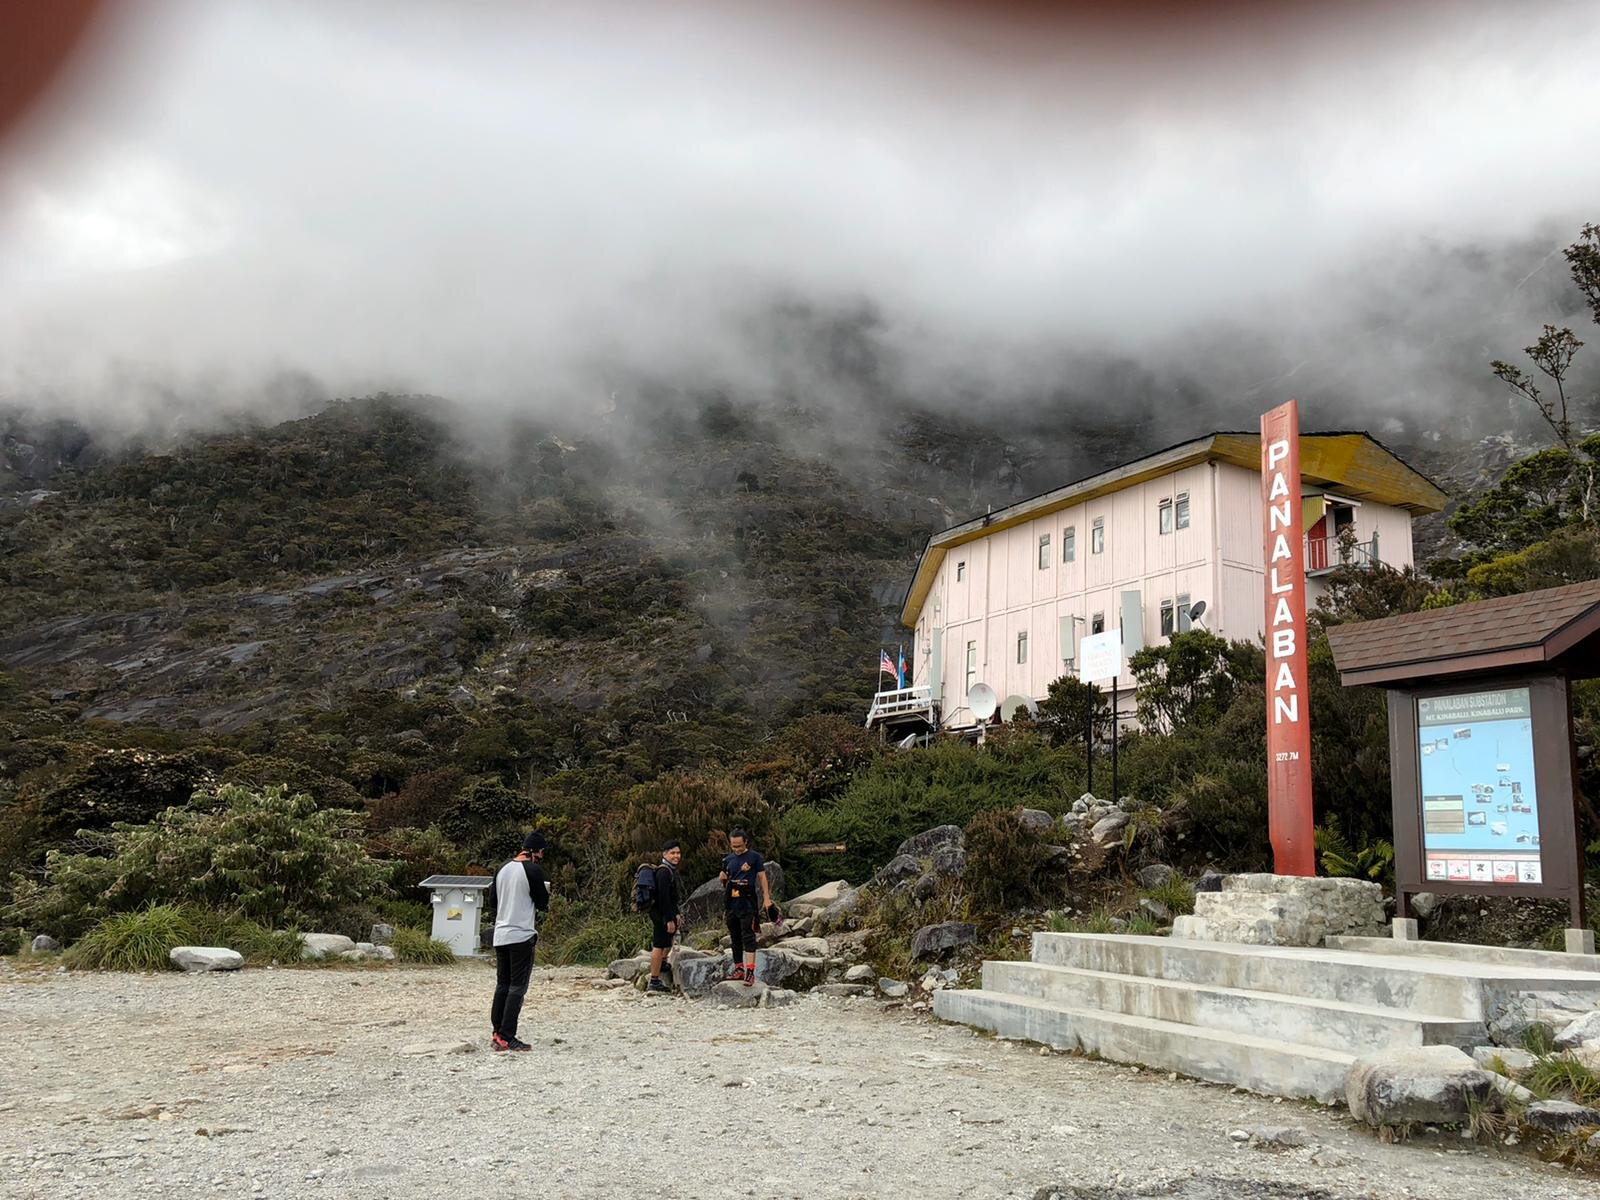
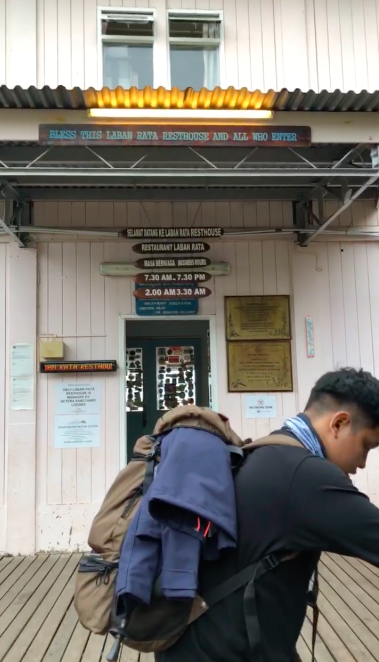
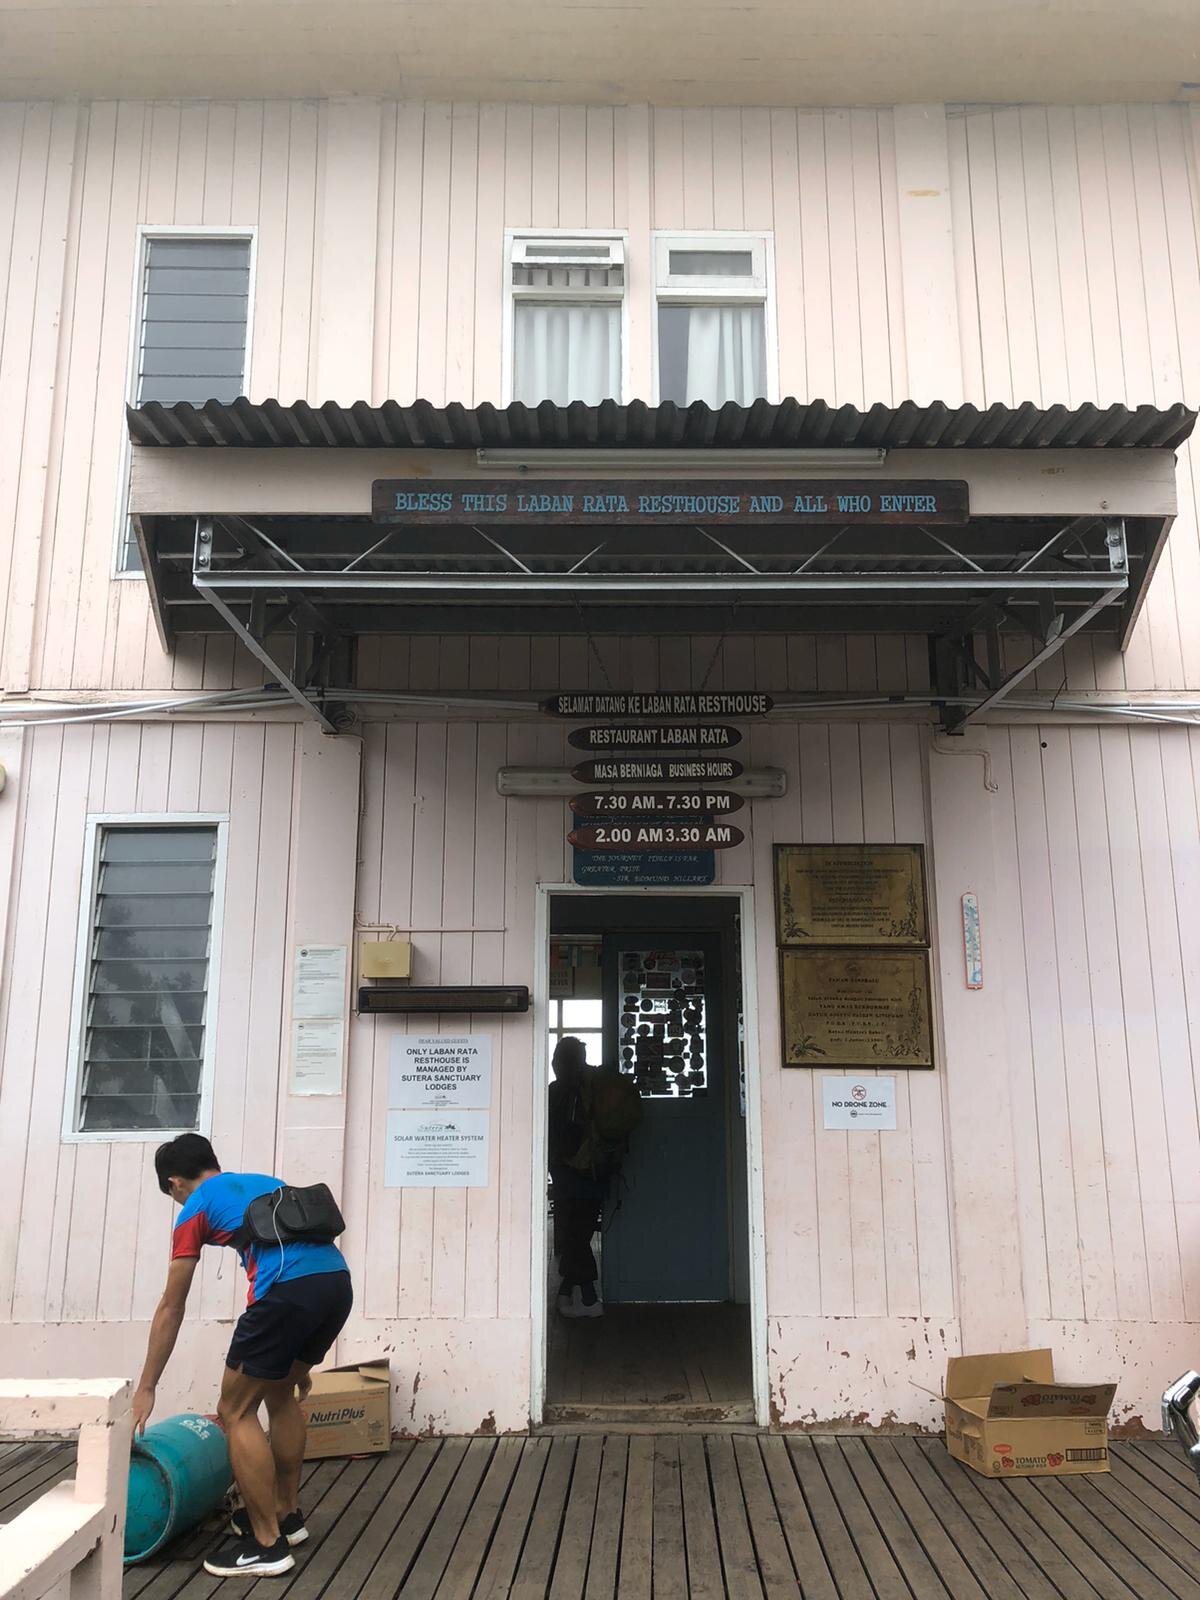
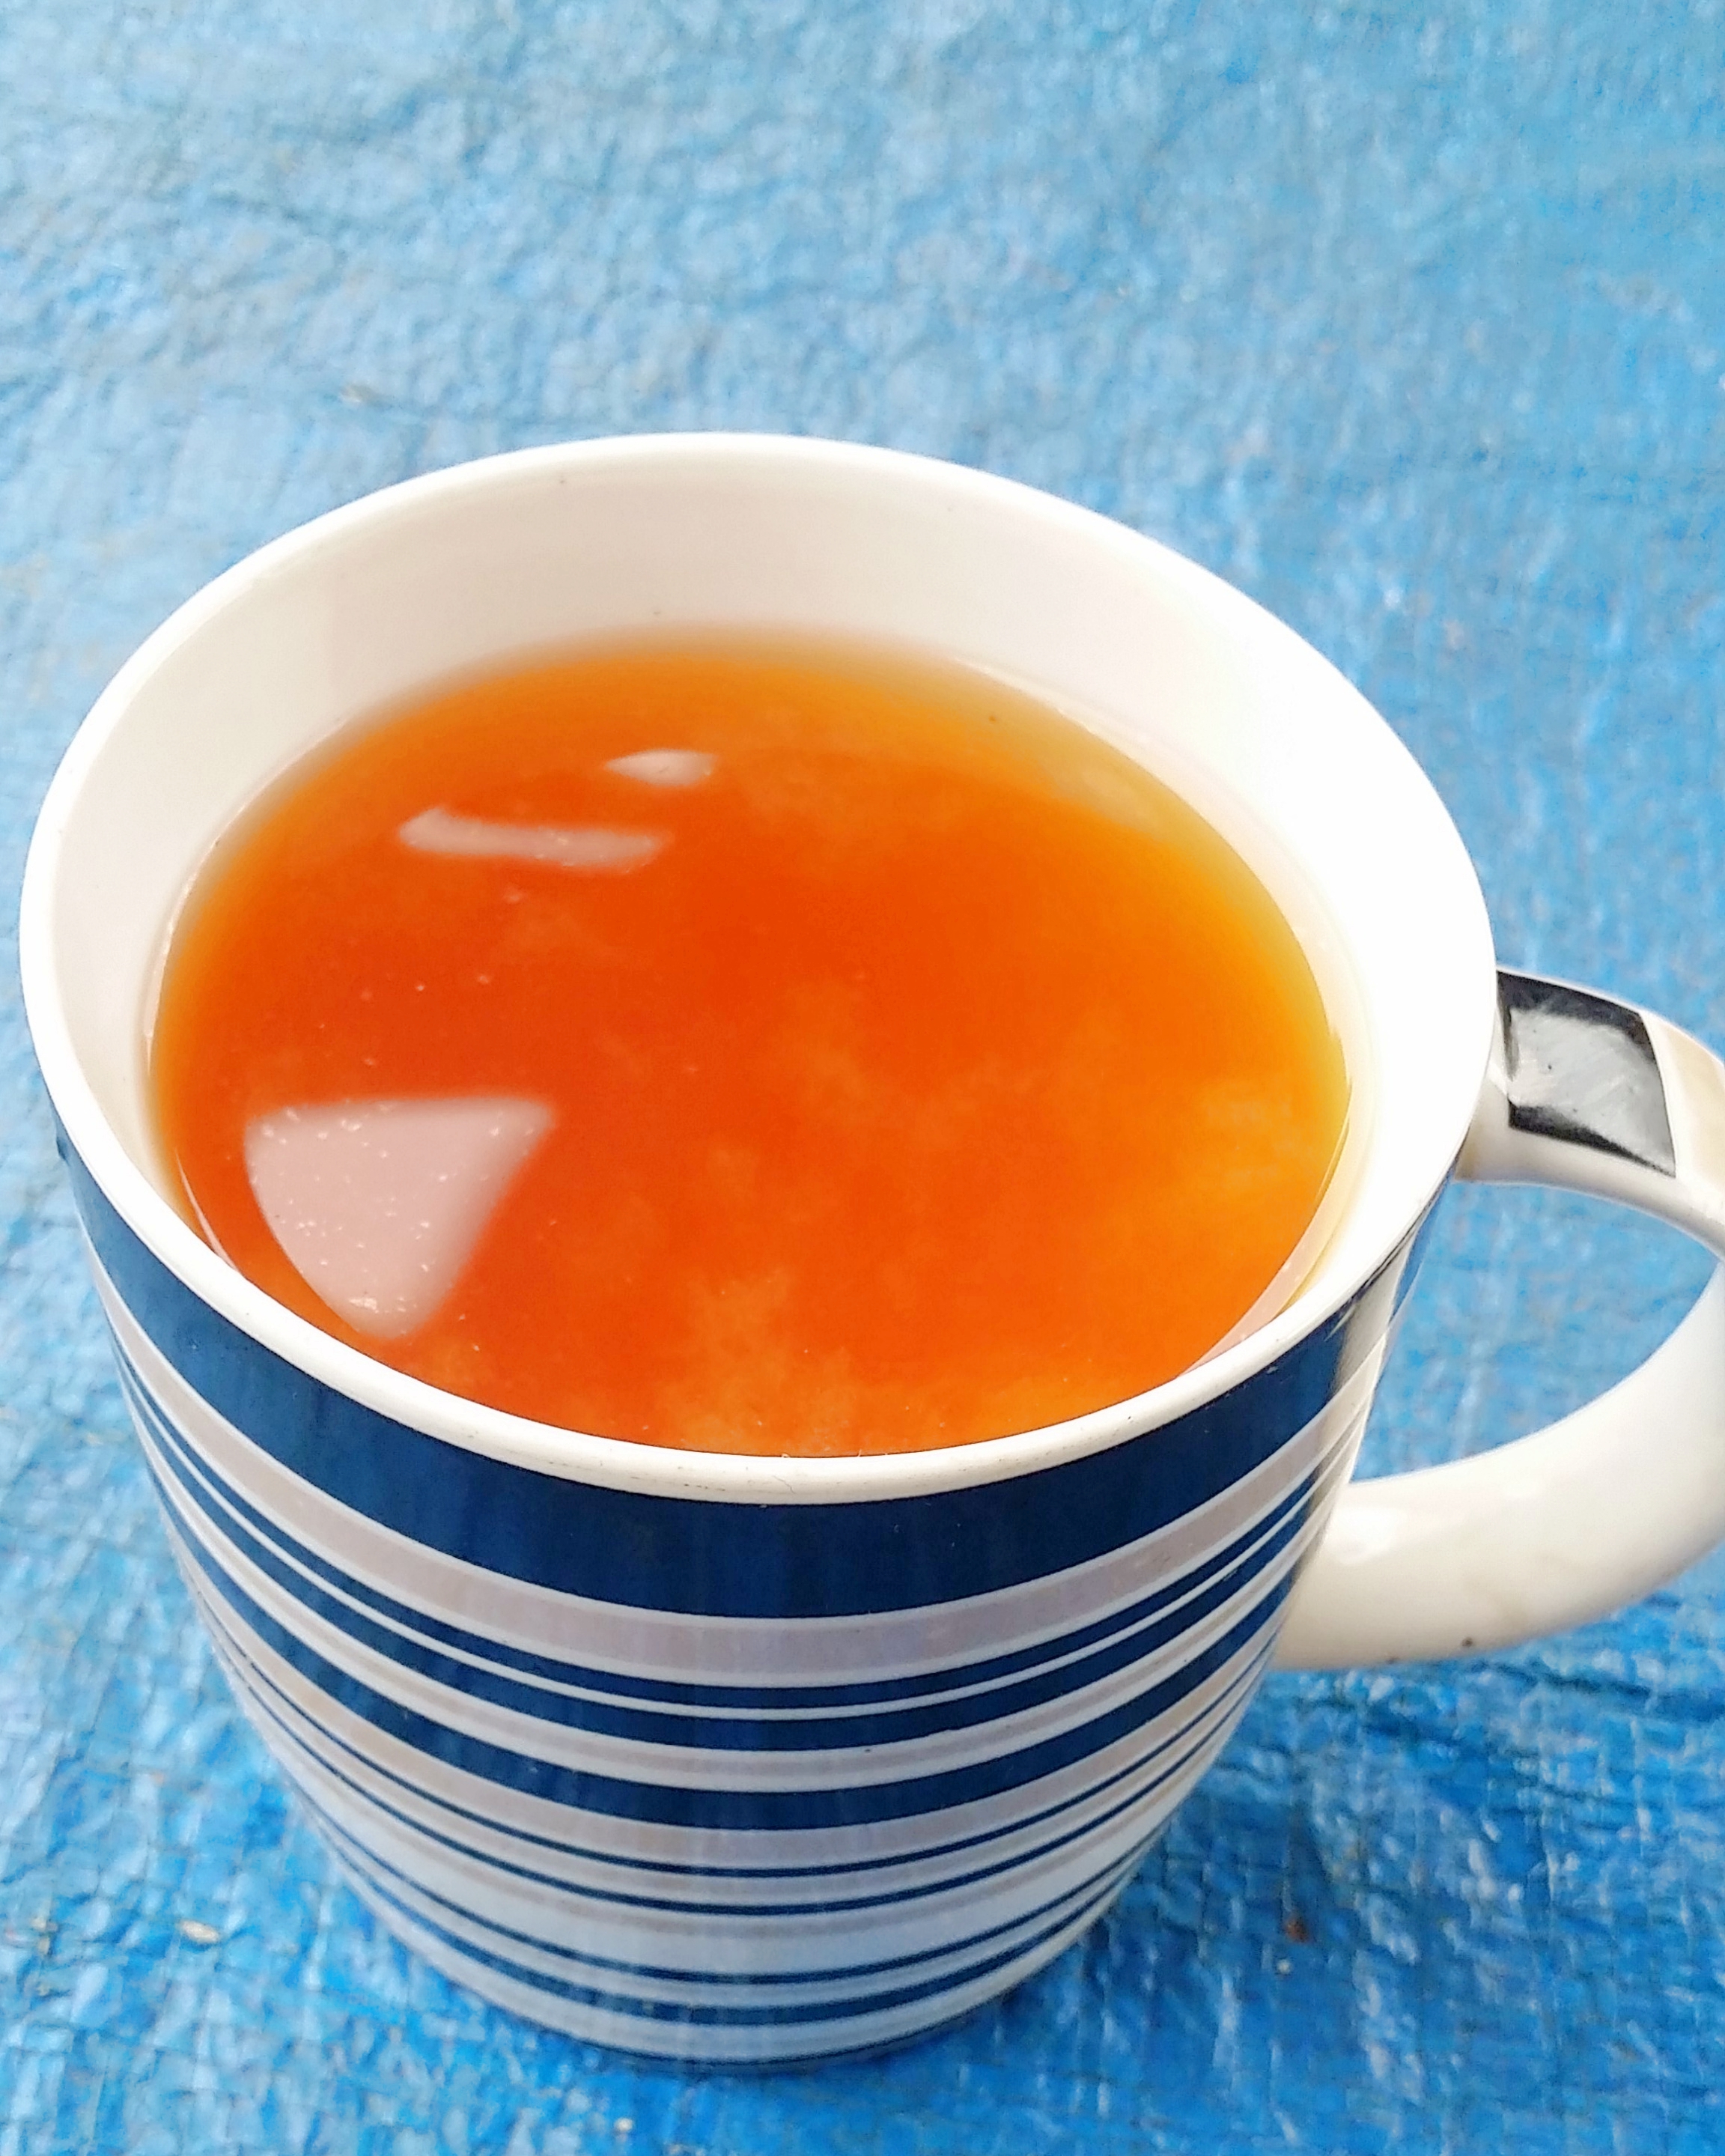
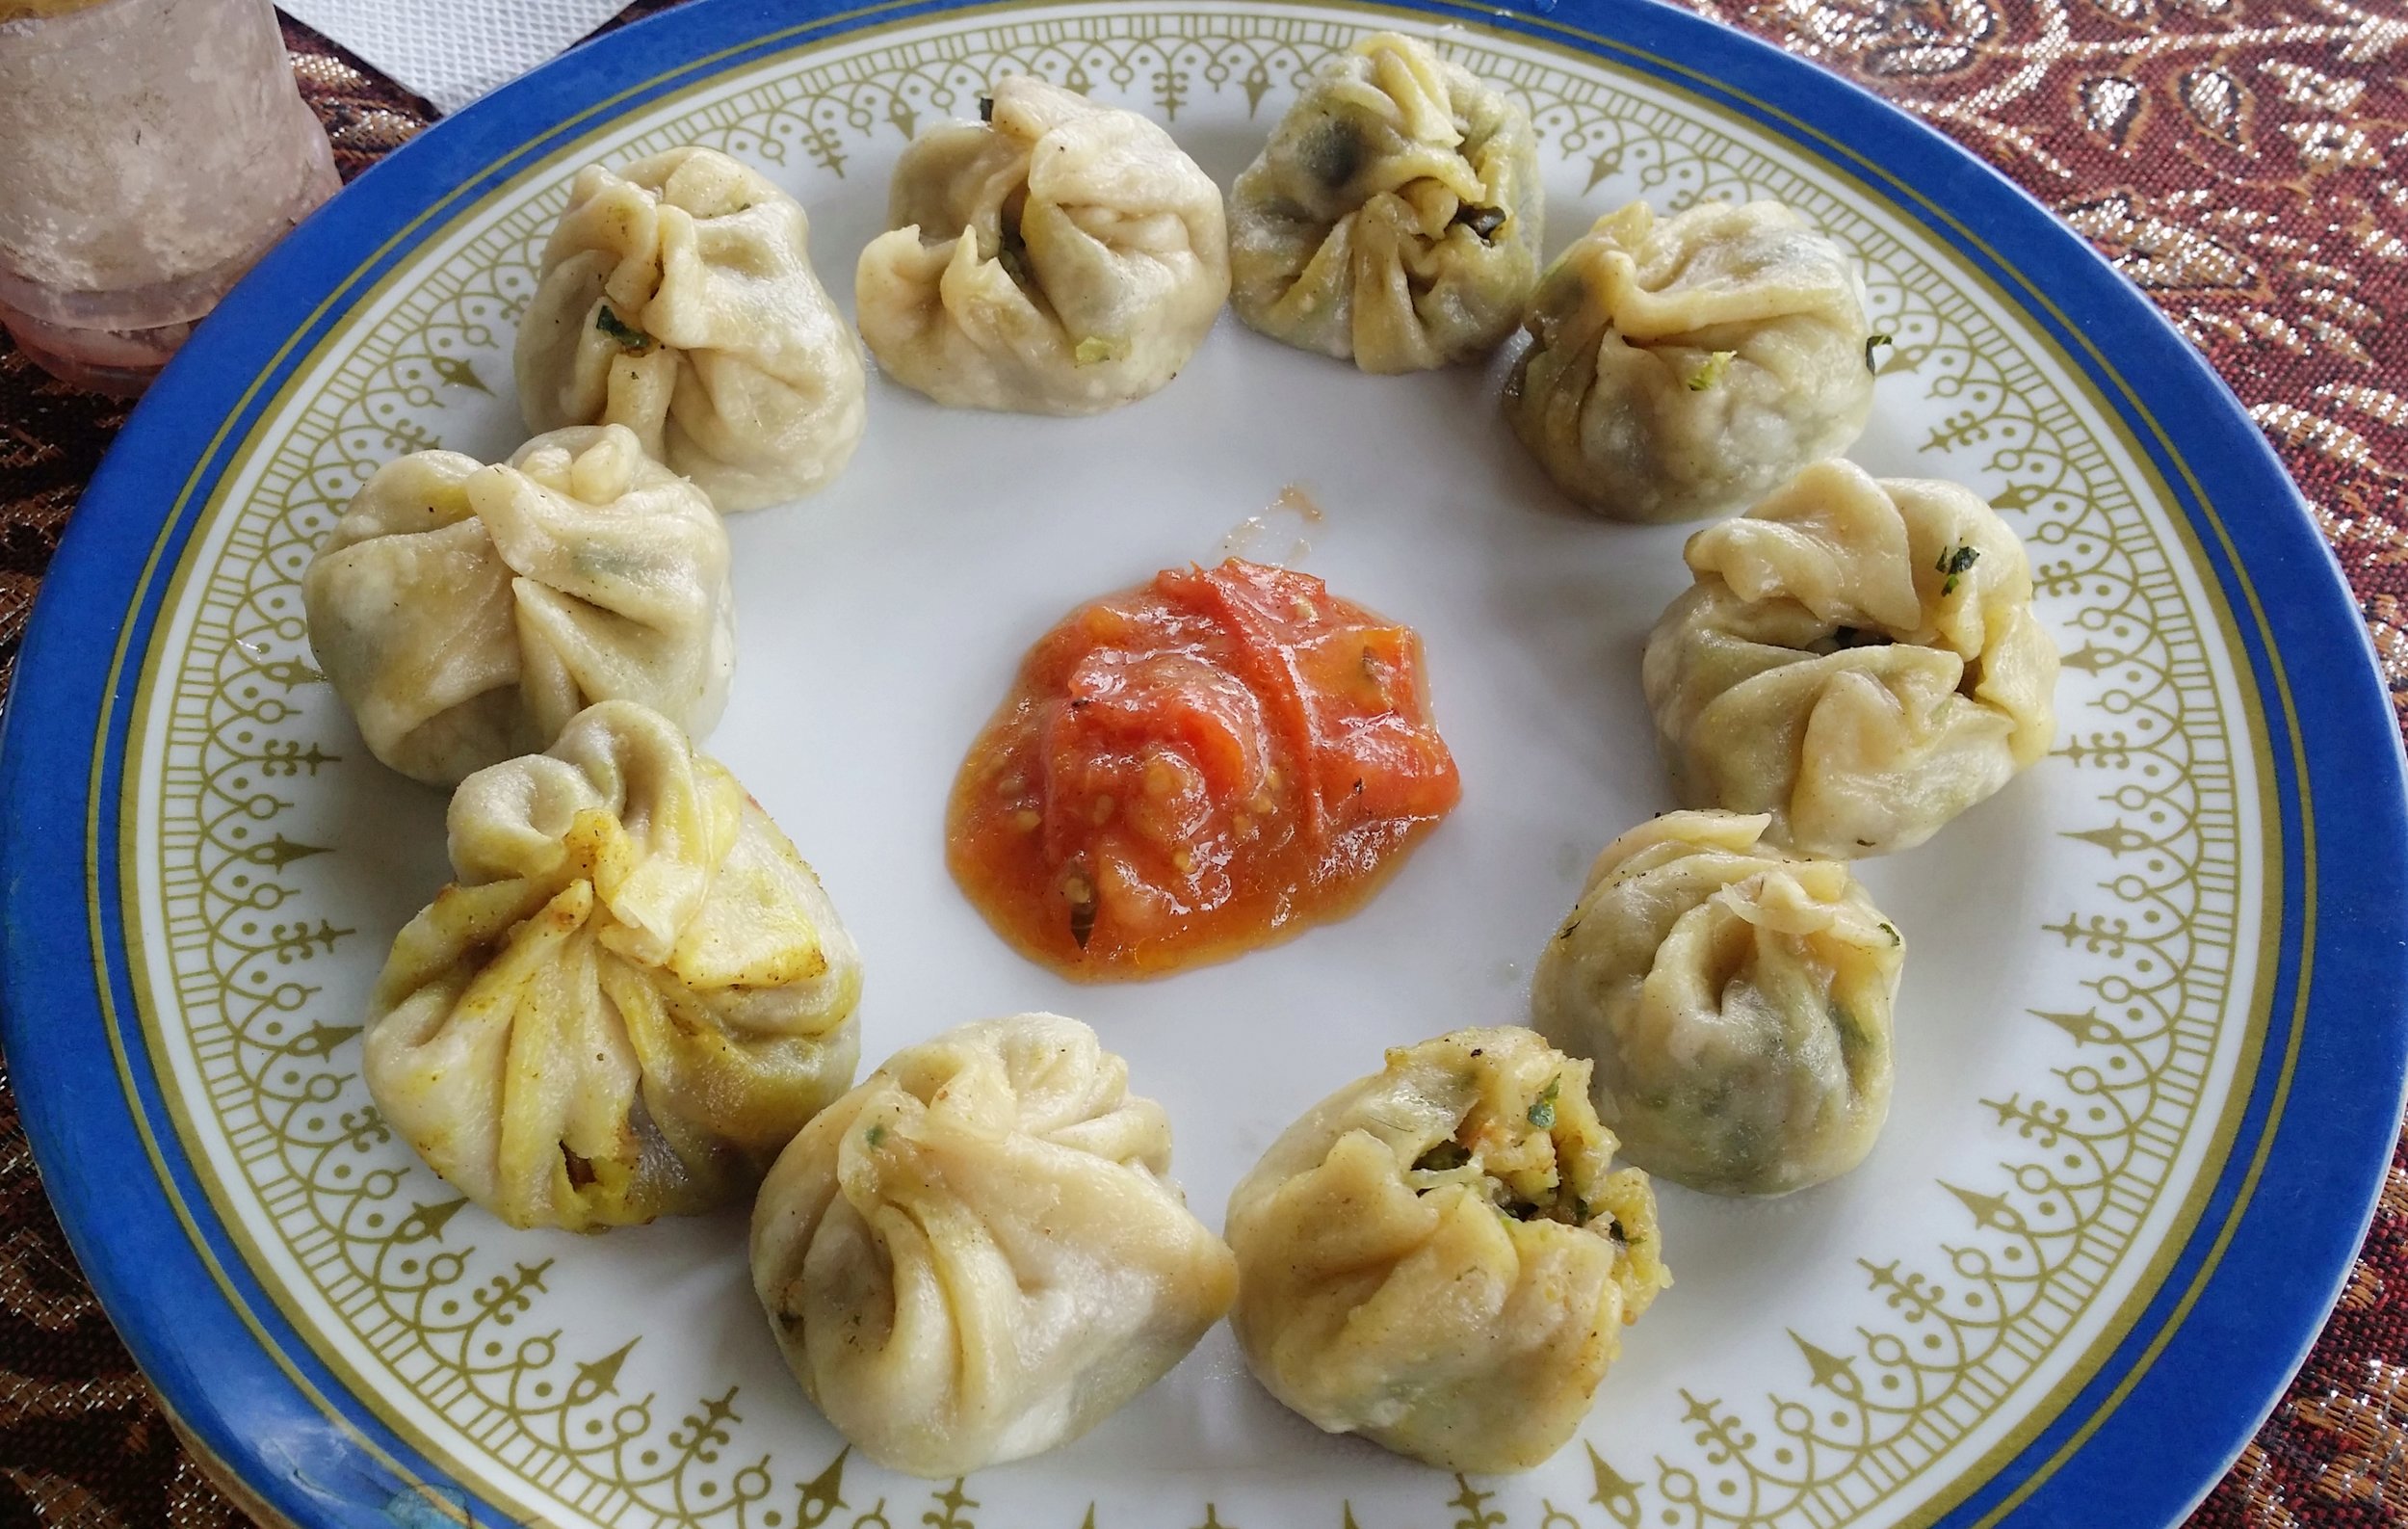
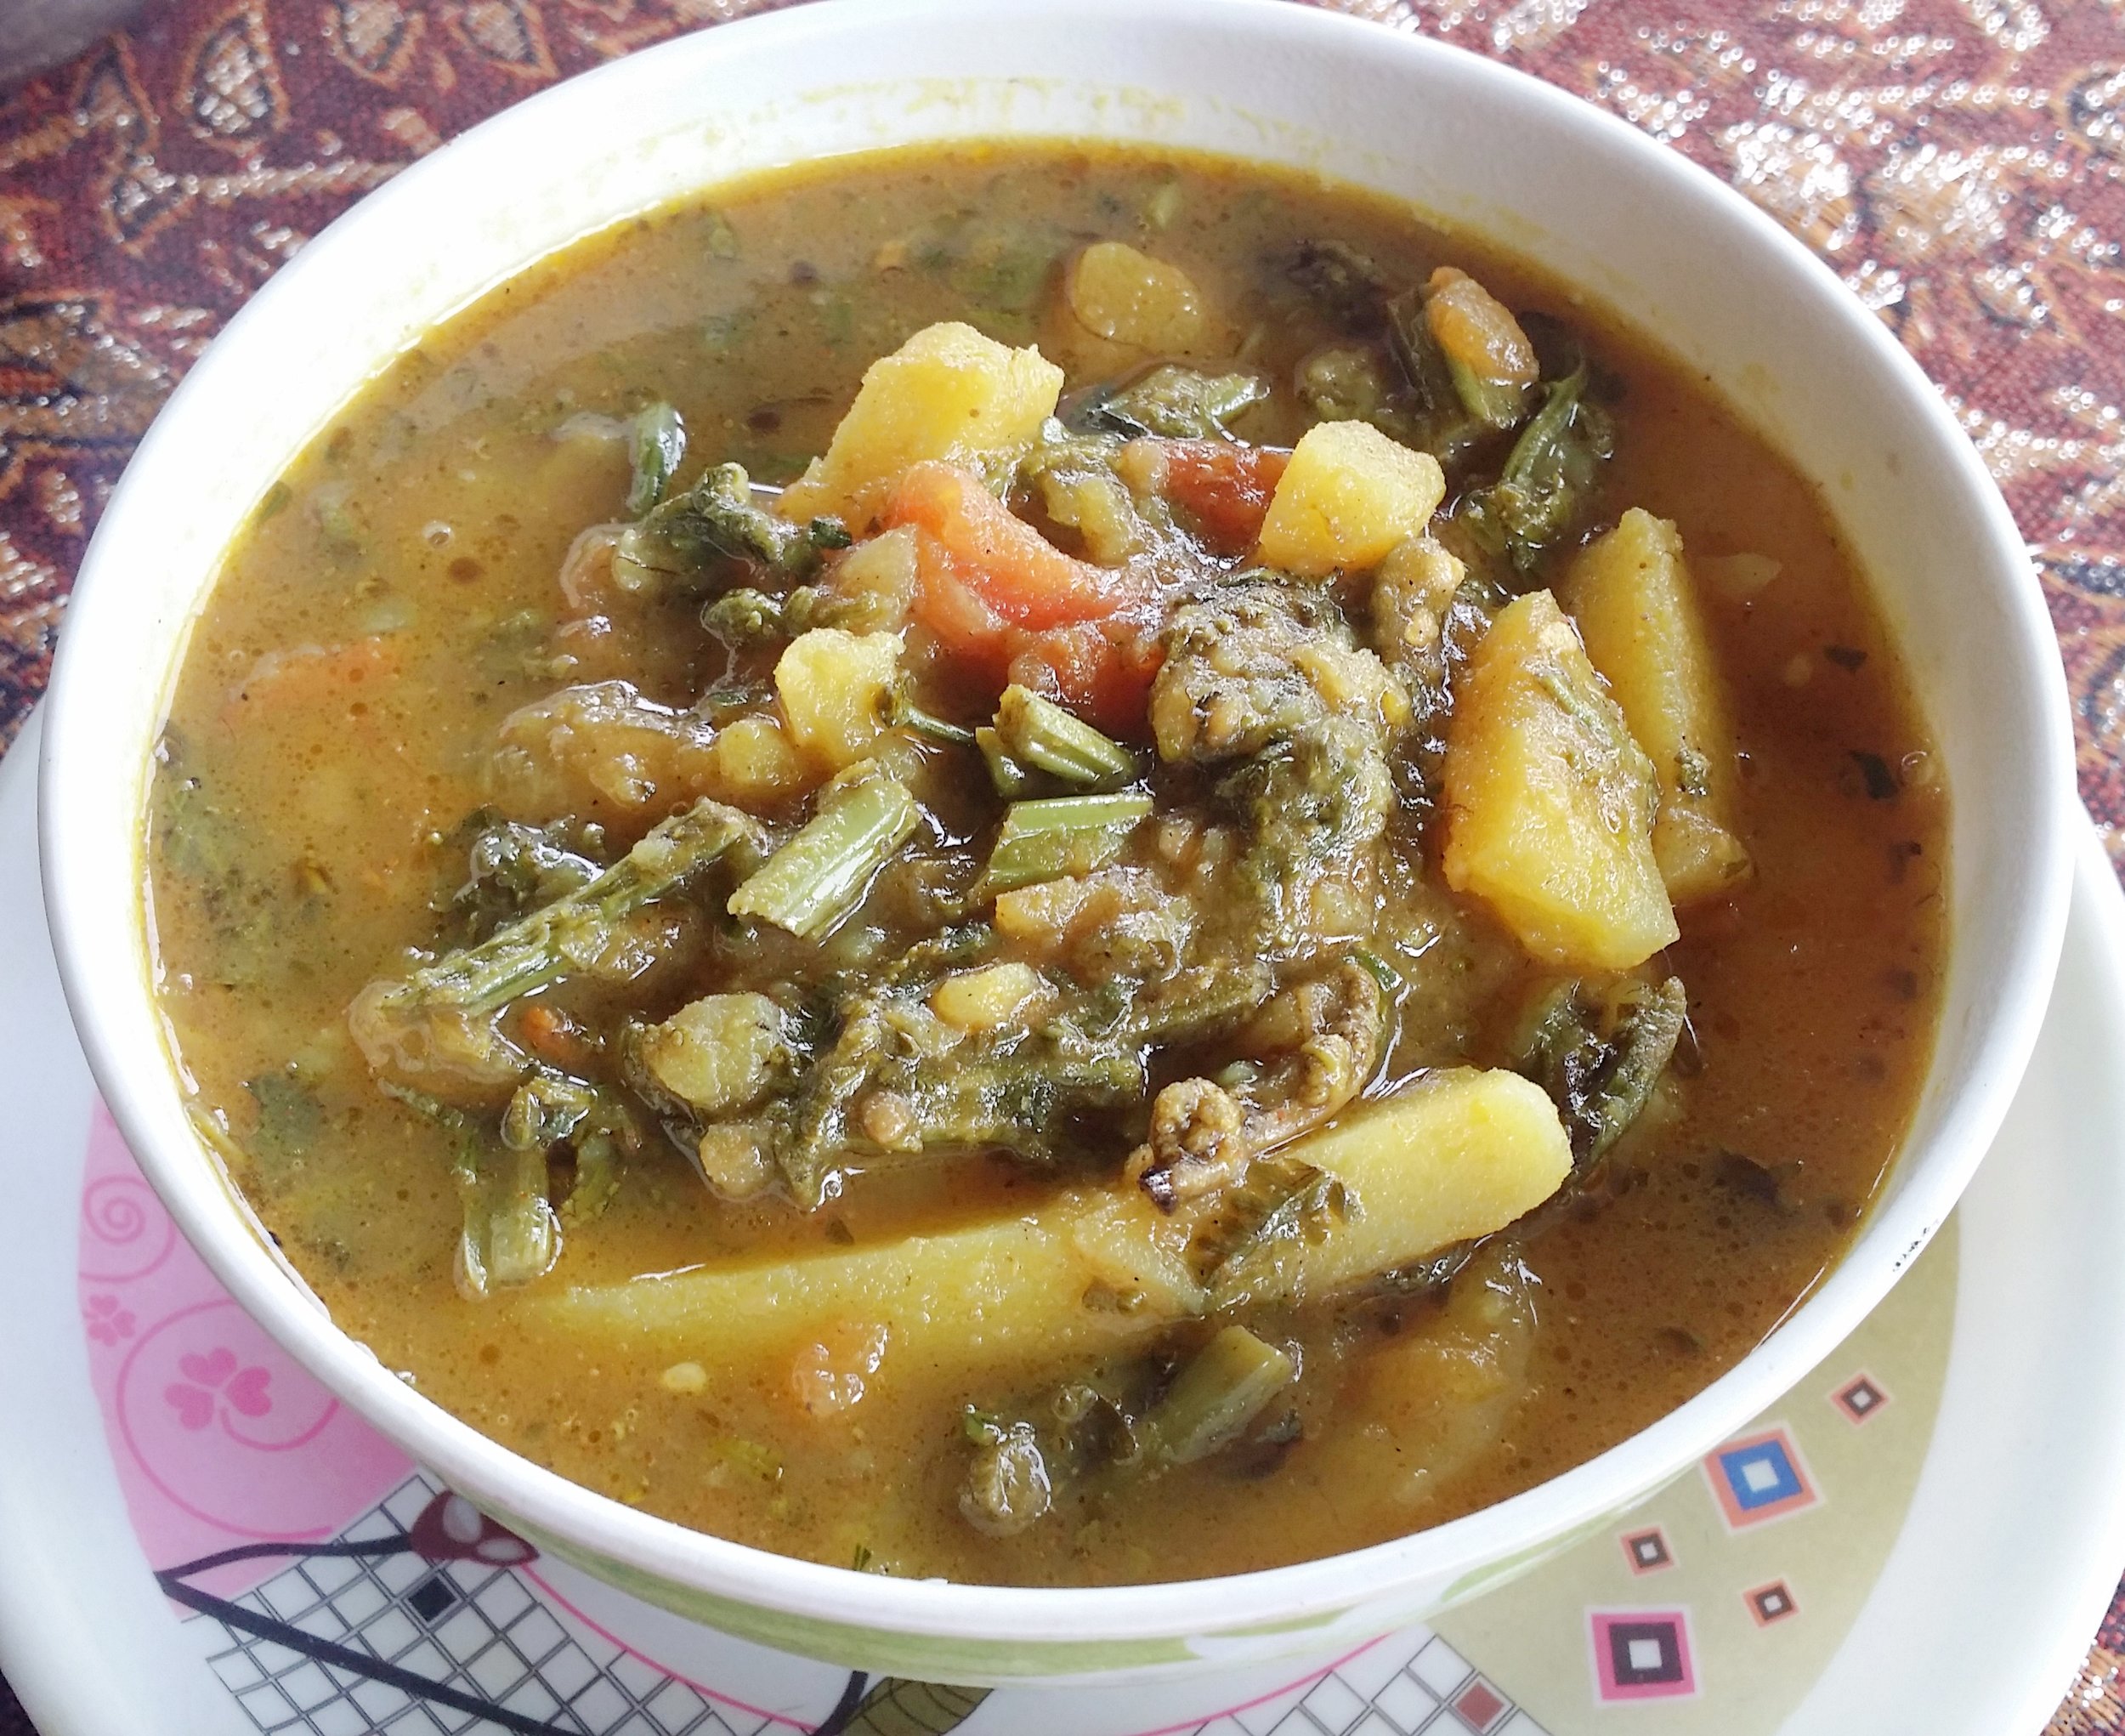
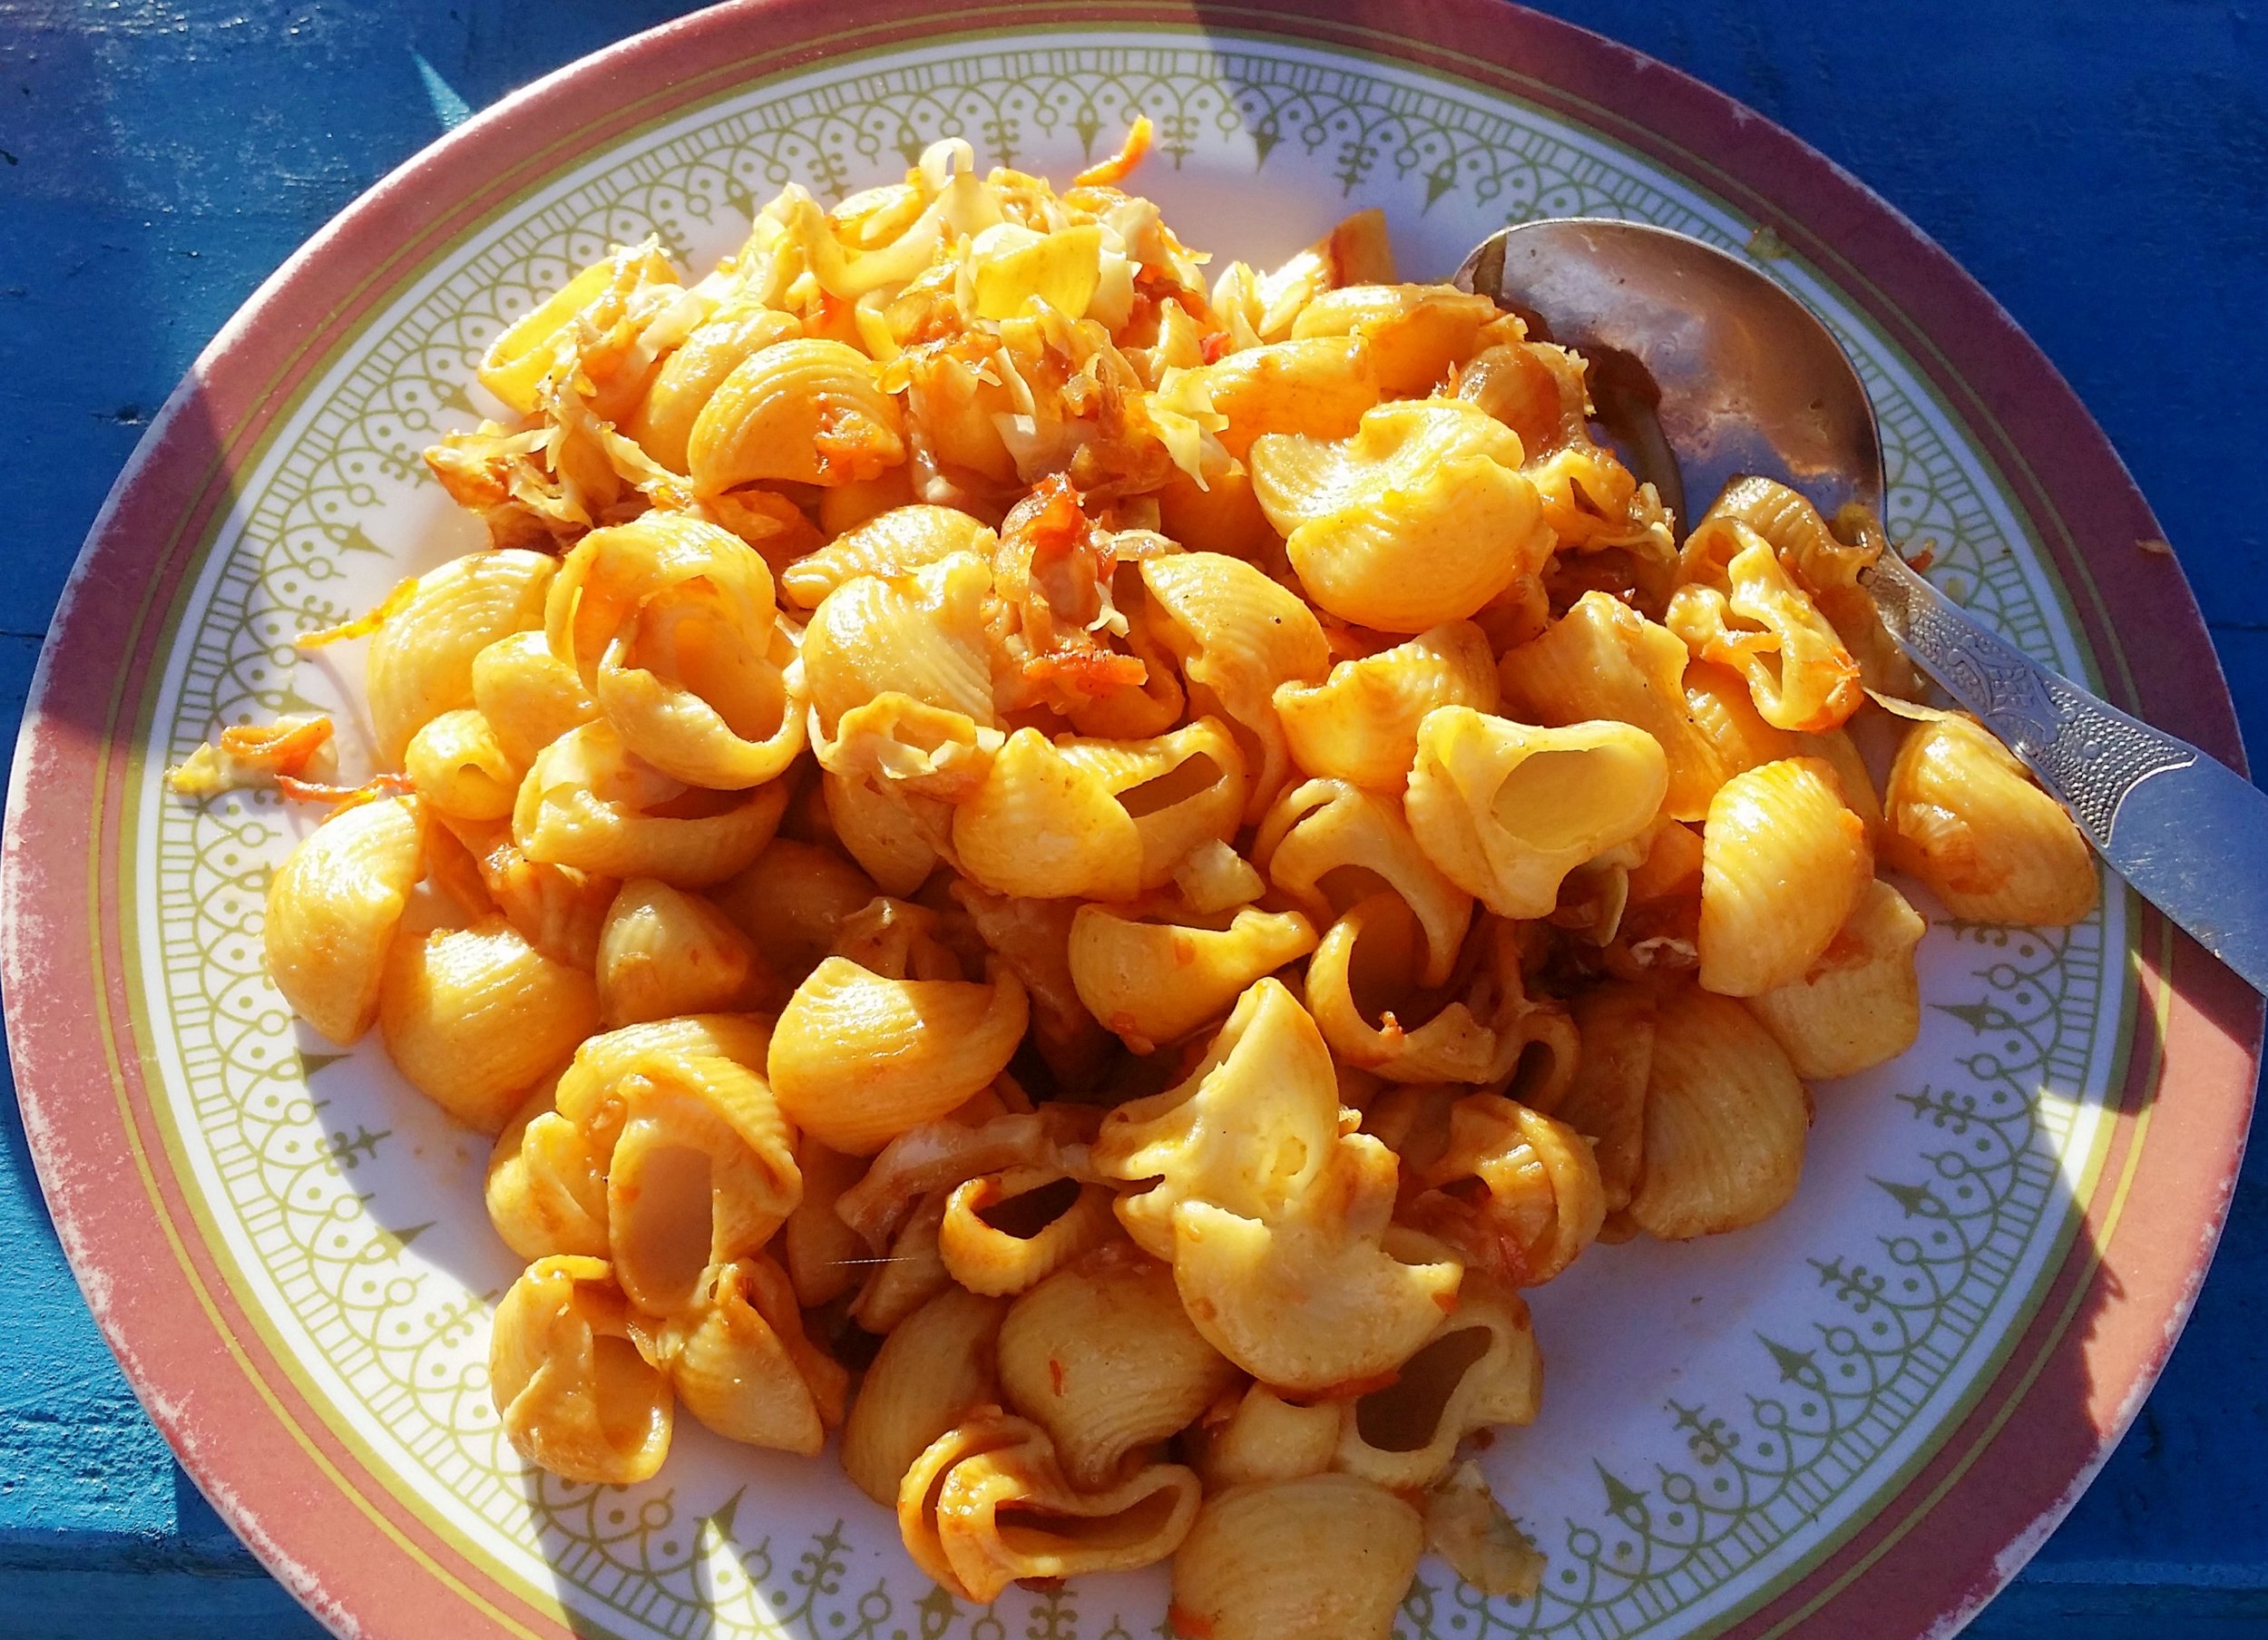
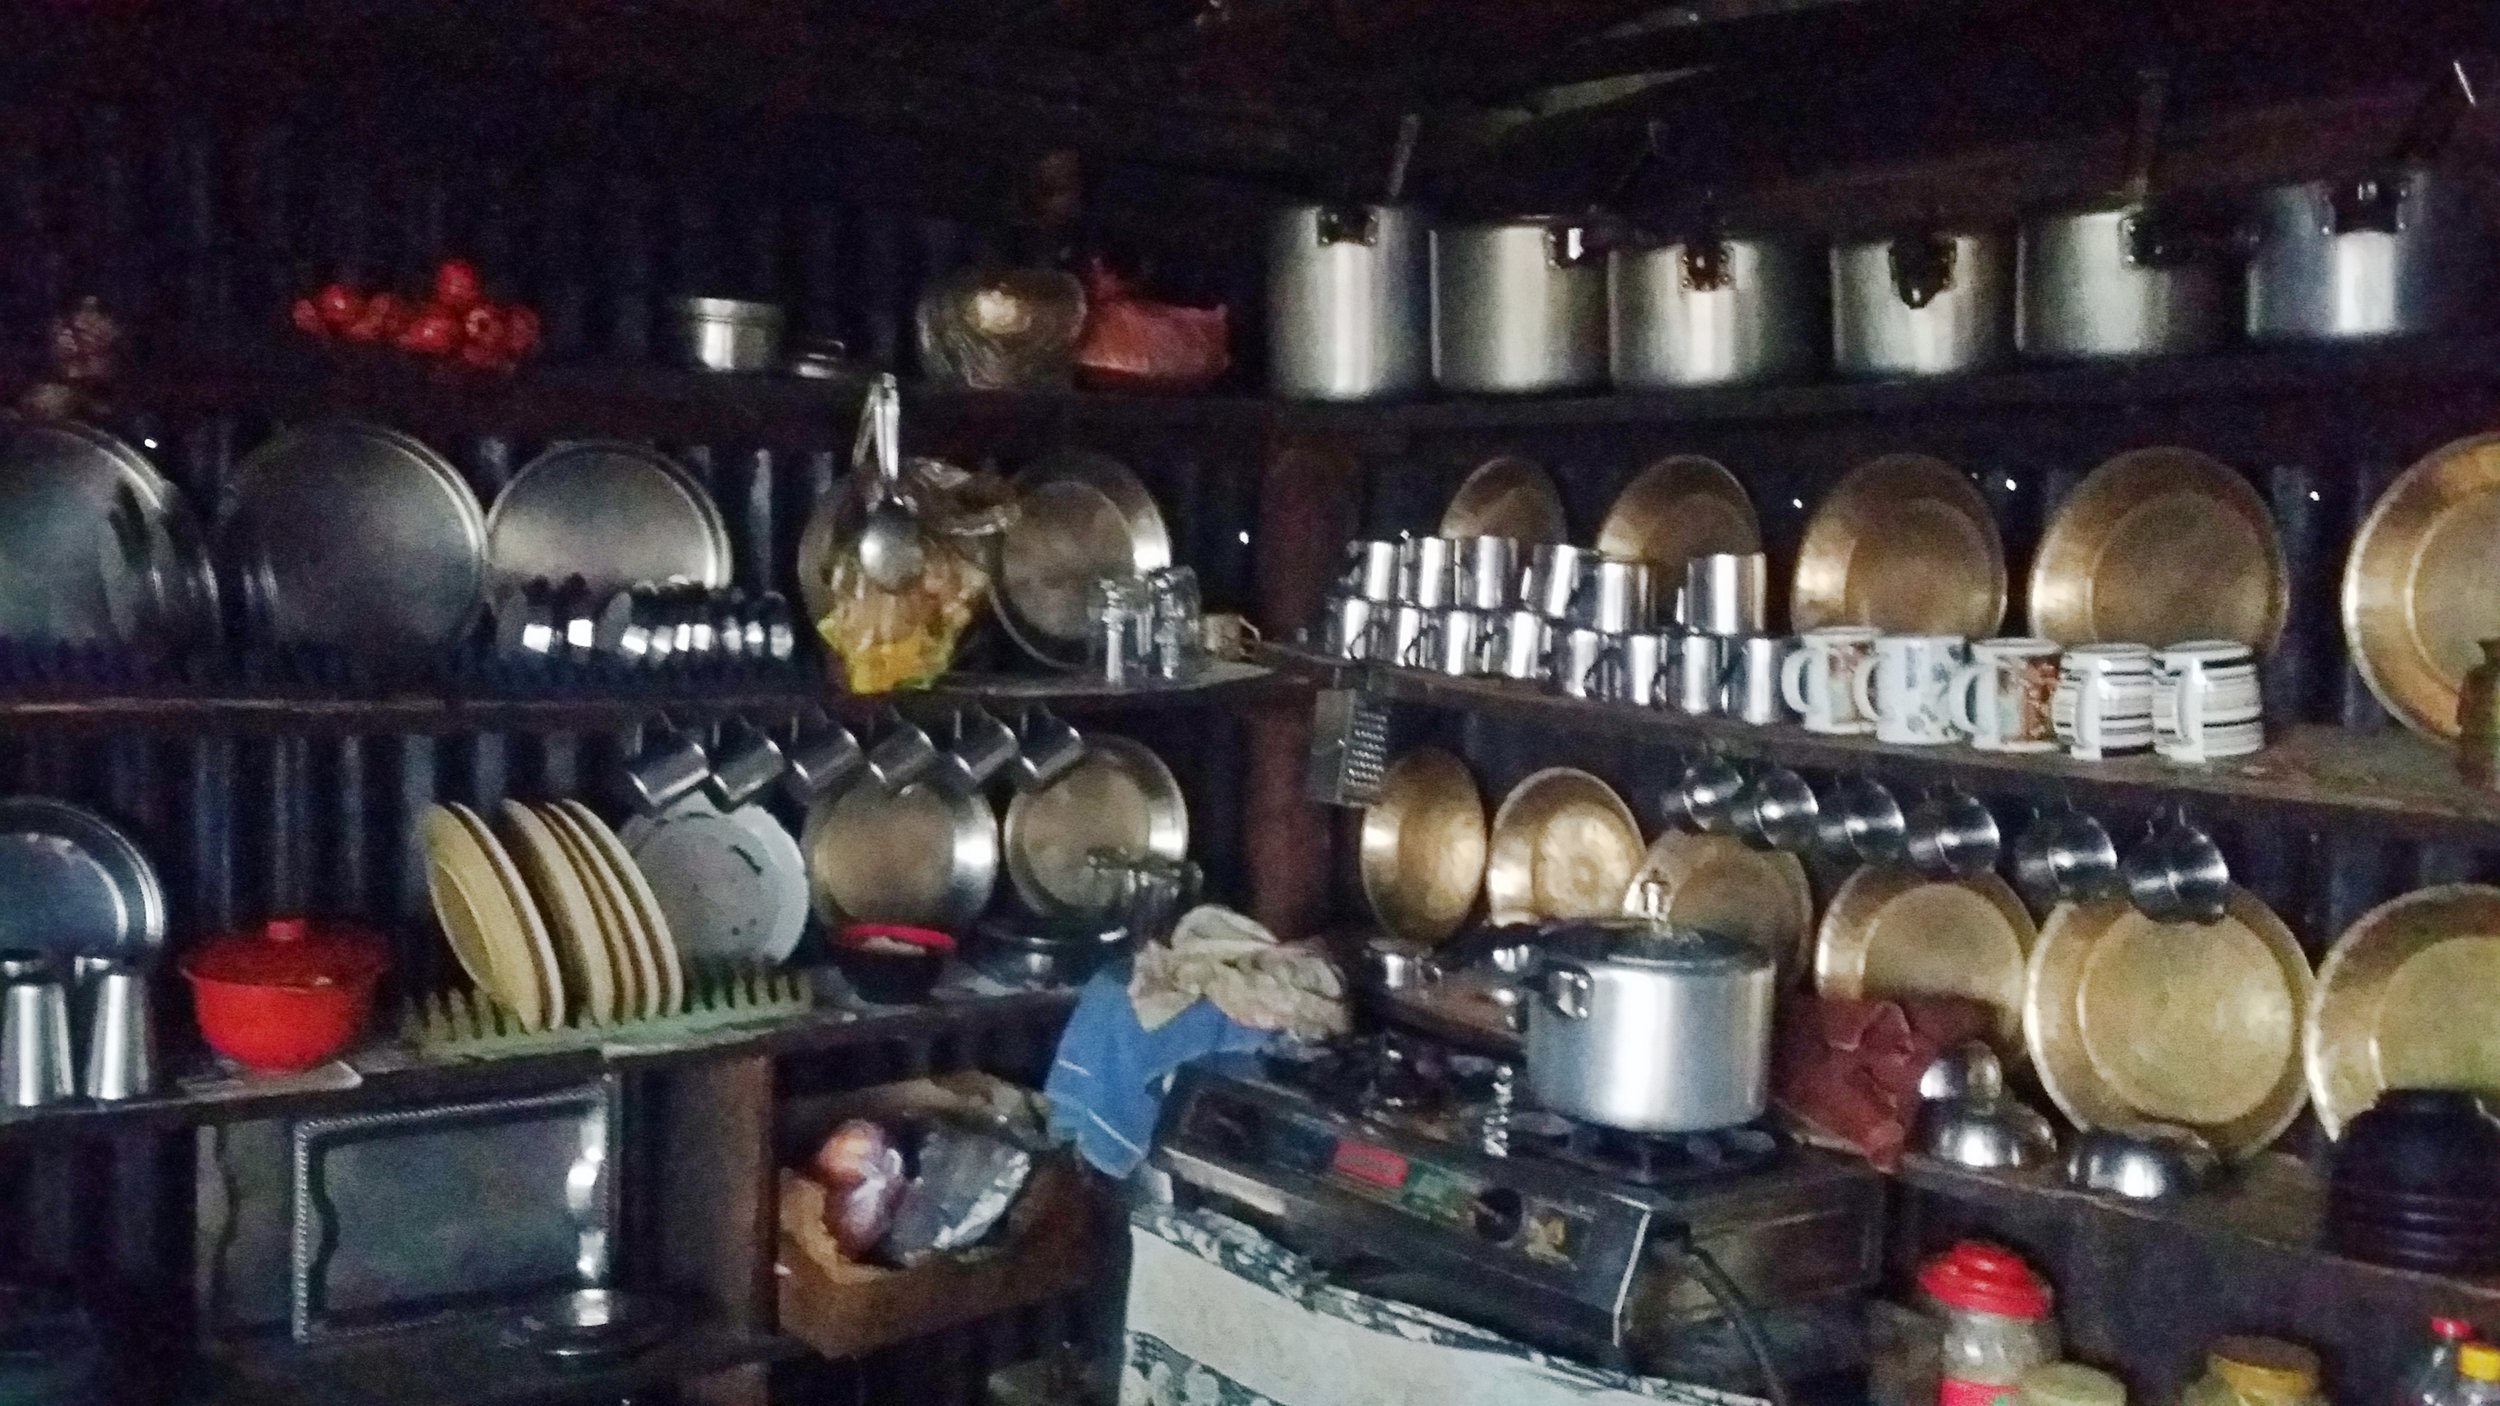
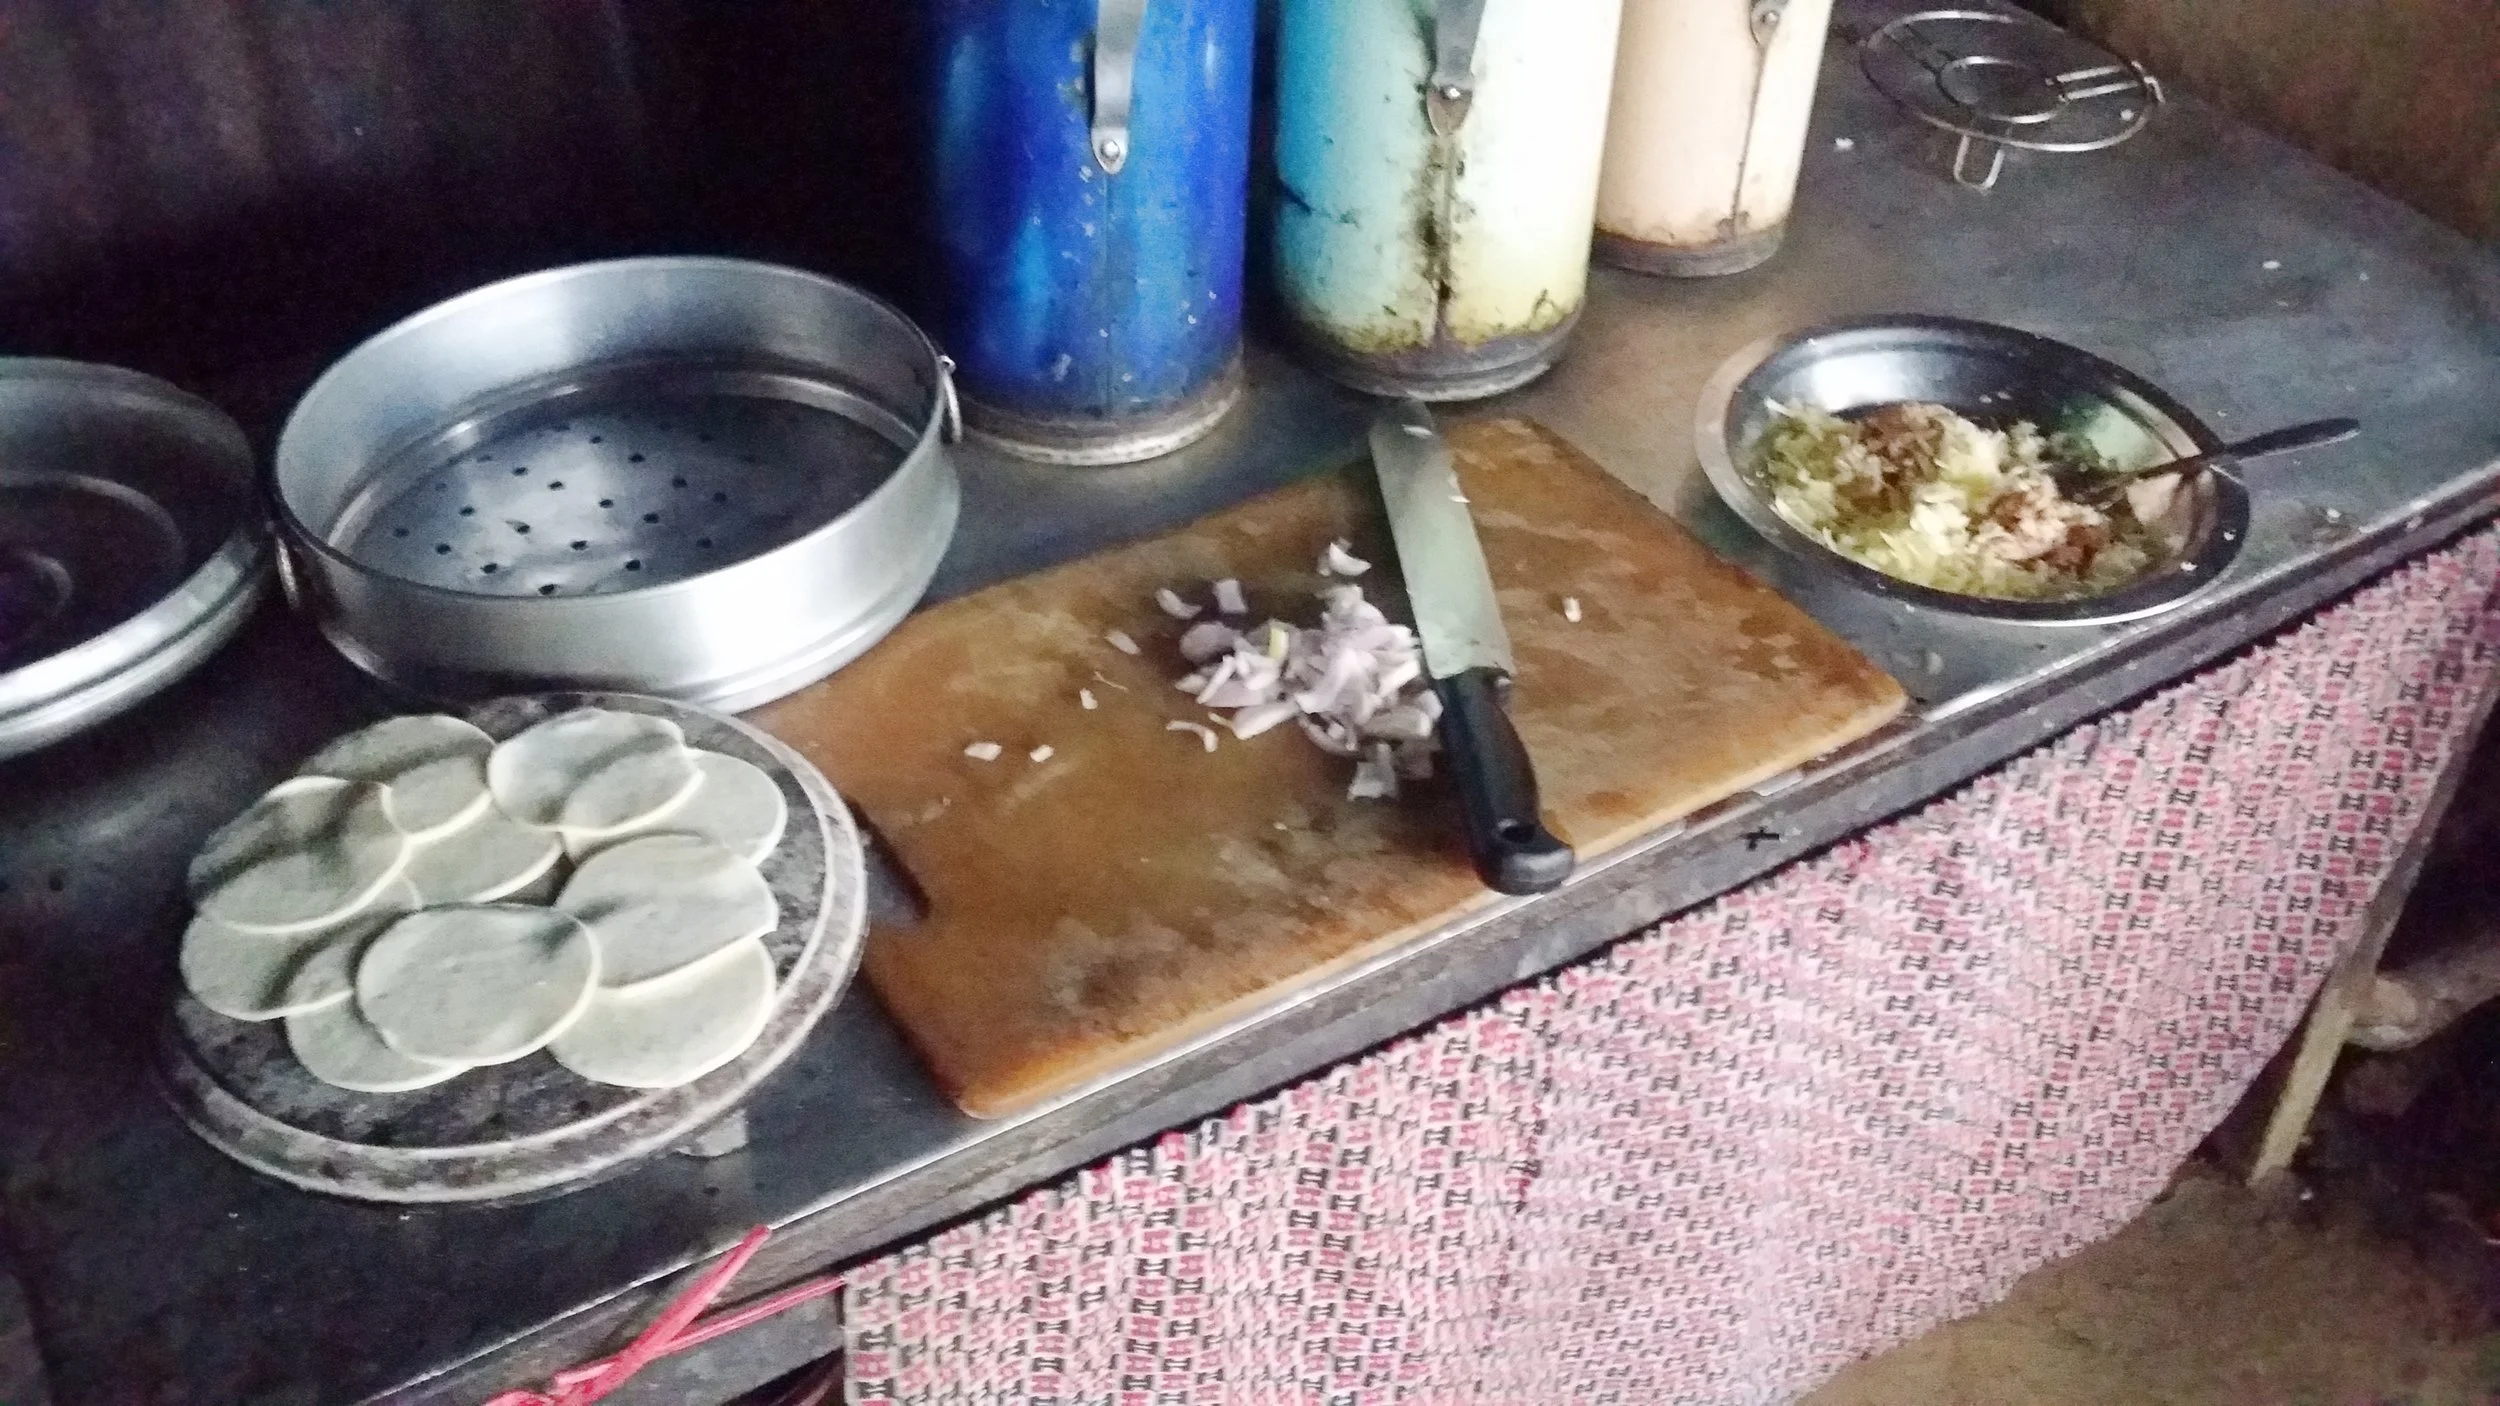
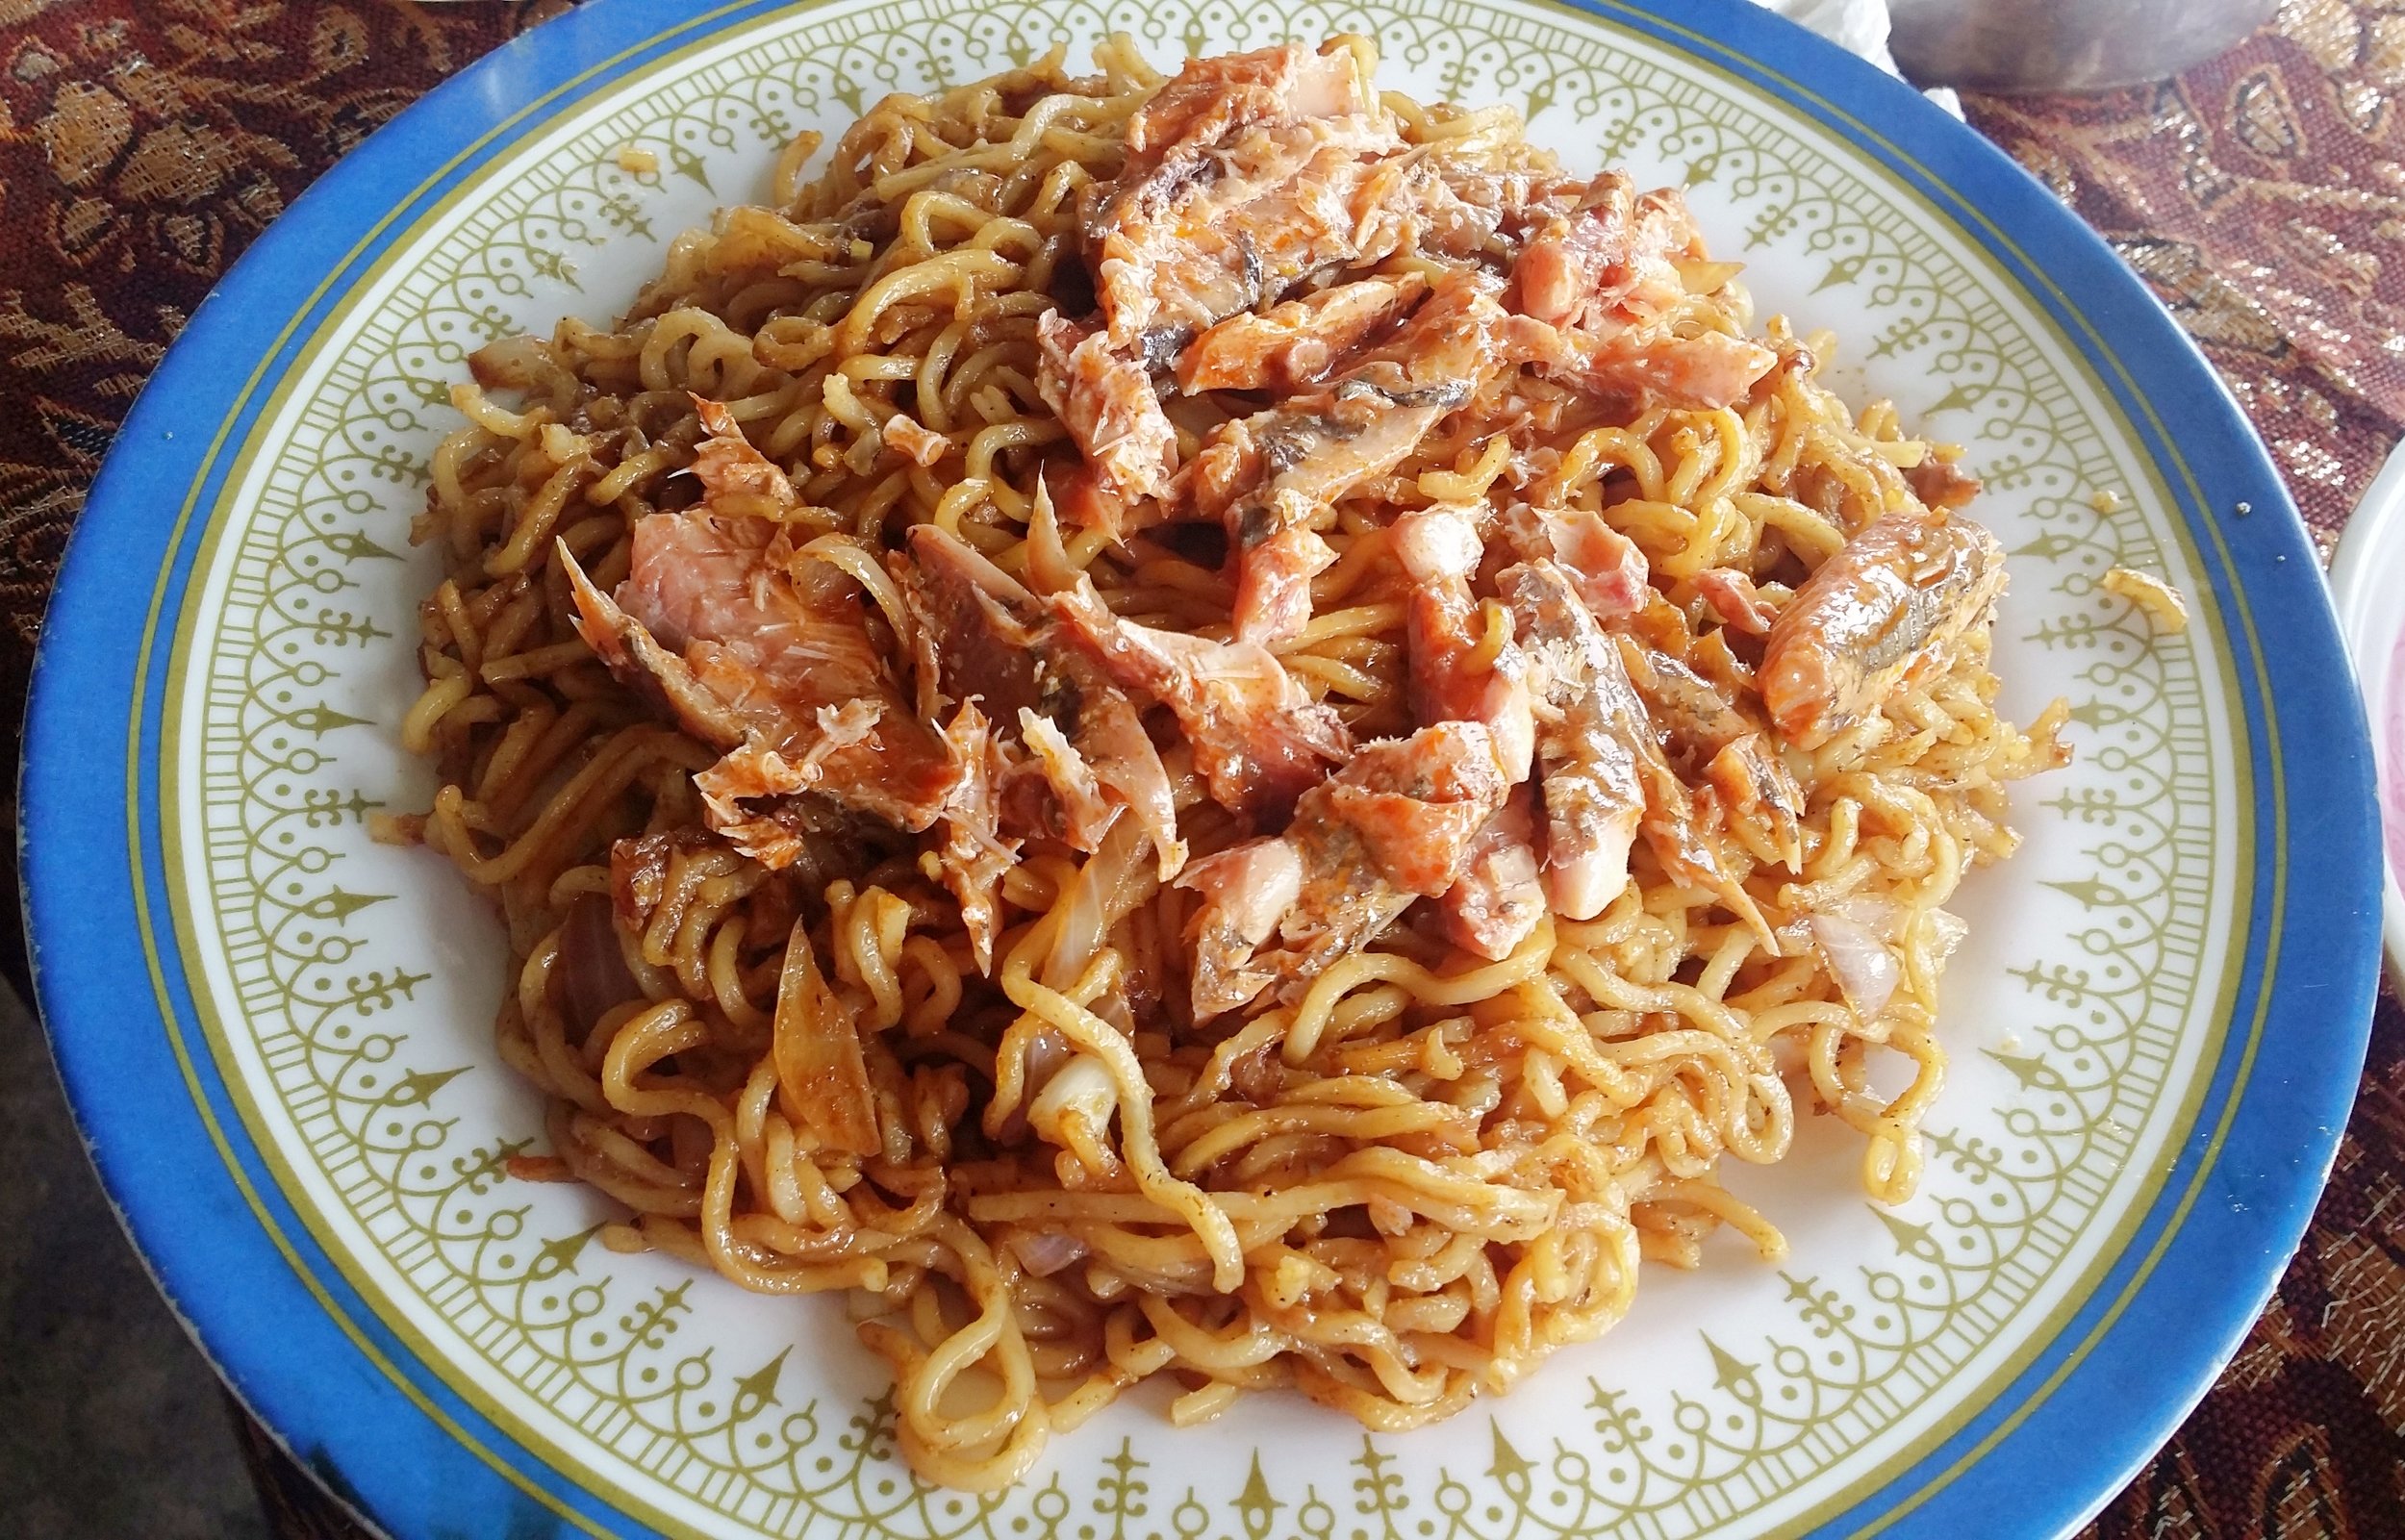
We were booked at Laban Rata Resthouse, so we went ahead to check ourselves in and had our dinner. The restaurant is spacious and full of climbers. It can be pretty loud and chaotic. However, the food was decent and lots of choices - buffet style. I was a little bit disappointed that the restaurant doesn’t serve homemade ginger lemon tea. The restaurant only serves tea with a teabag and a few thin slices of ginger. Luckily, I brought extra ginger tablets to help with acclimatizing.
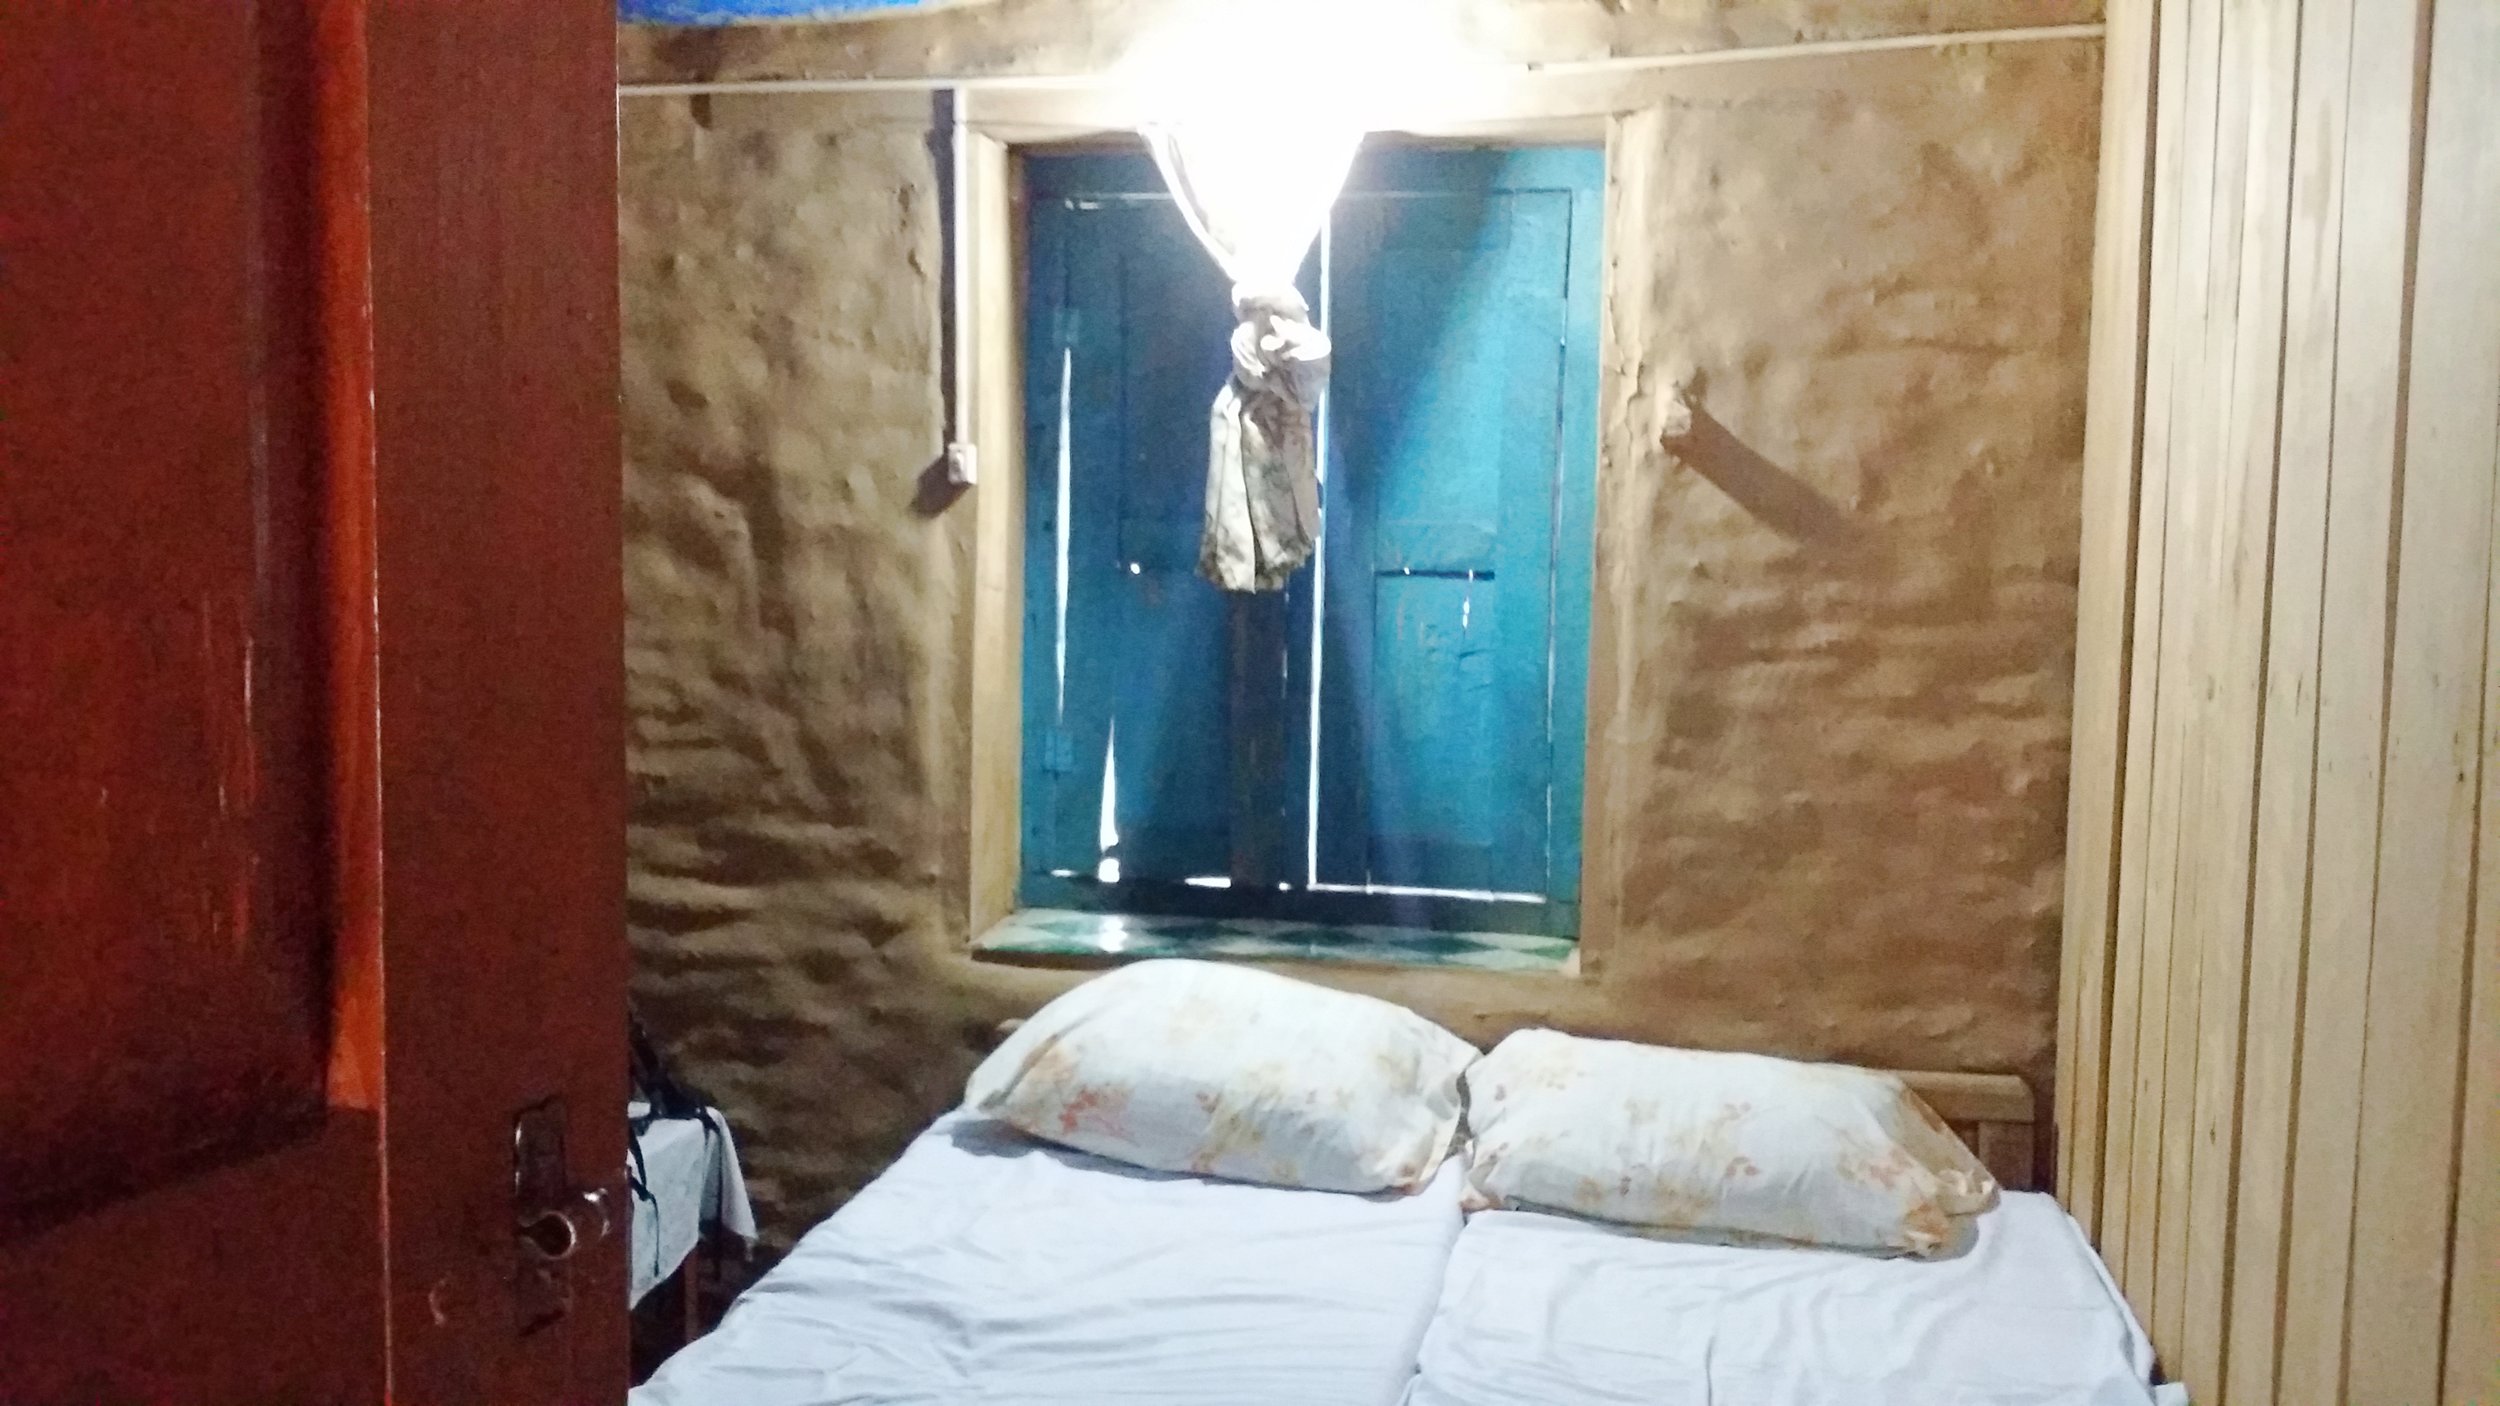
Laban Rata is like a dormitory, so each room is shared. Some rooms are good for 4 people and some for 6-8 people. Toilets are also shared, and there are shower rooms available but no hot shower. The beds are decent, and it got two covers - one thick warm blanket and one cover blanket. The blankets were enough to keep me warm while sleeping.
I went to sleep at about 8 pm. However, I kept waking up from time to time. It’s not easy to sleep whenever I hear some footsteps from the hallways or when my roommates were snoring. Nevertheless, I still managed to get a decent rest. It’s better than not sleeping at all.
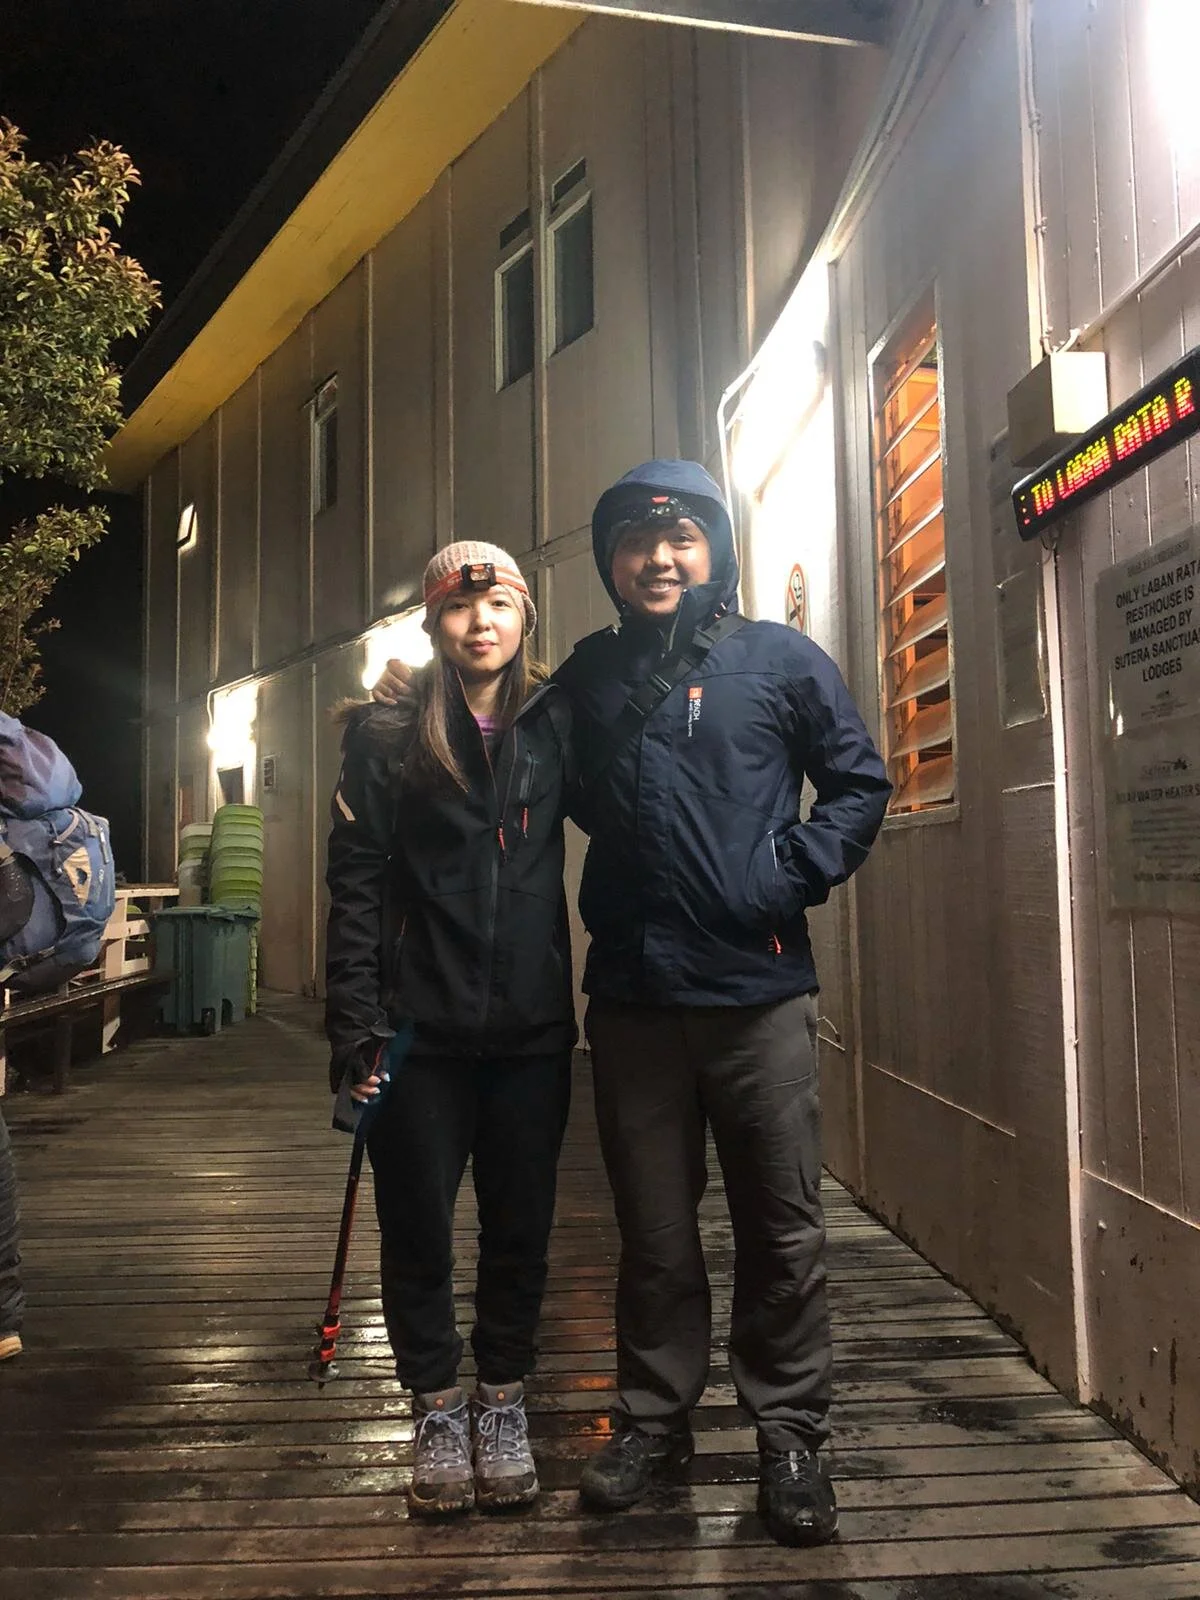
GEARING UP FOR THE SUMMIT
Wake up call time is at 1:30 am. It was already busy in the toilets, and people were starting to get ready for the summit climb. Supper buffet was being served at the time. I didn’t exactly have the appetite to eat anything, but I had to eat something at least, and I had packed some energy bars along with me in case I get hungry on the way.
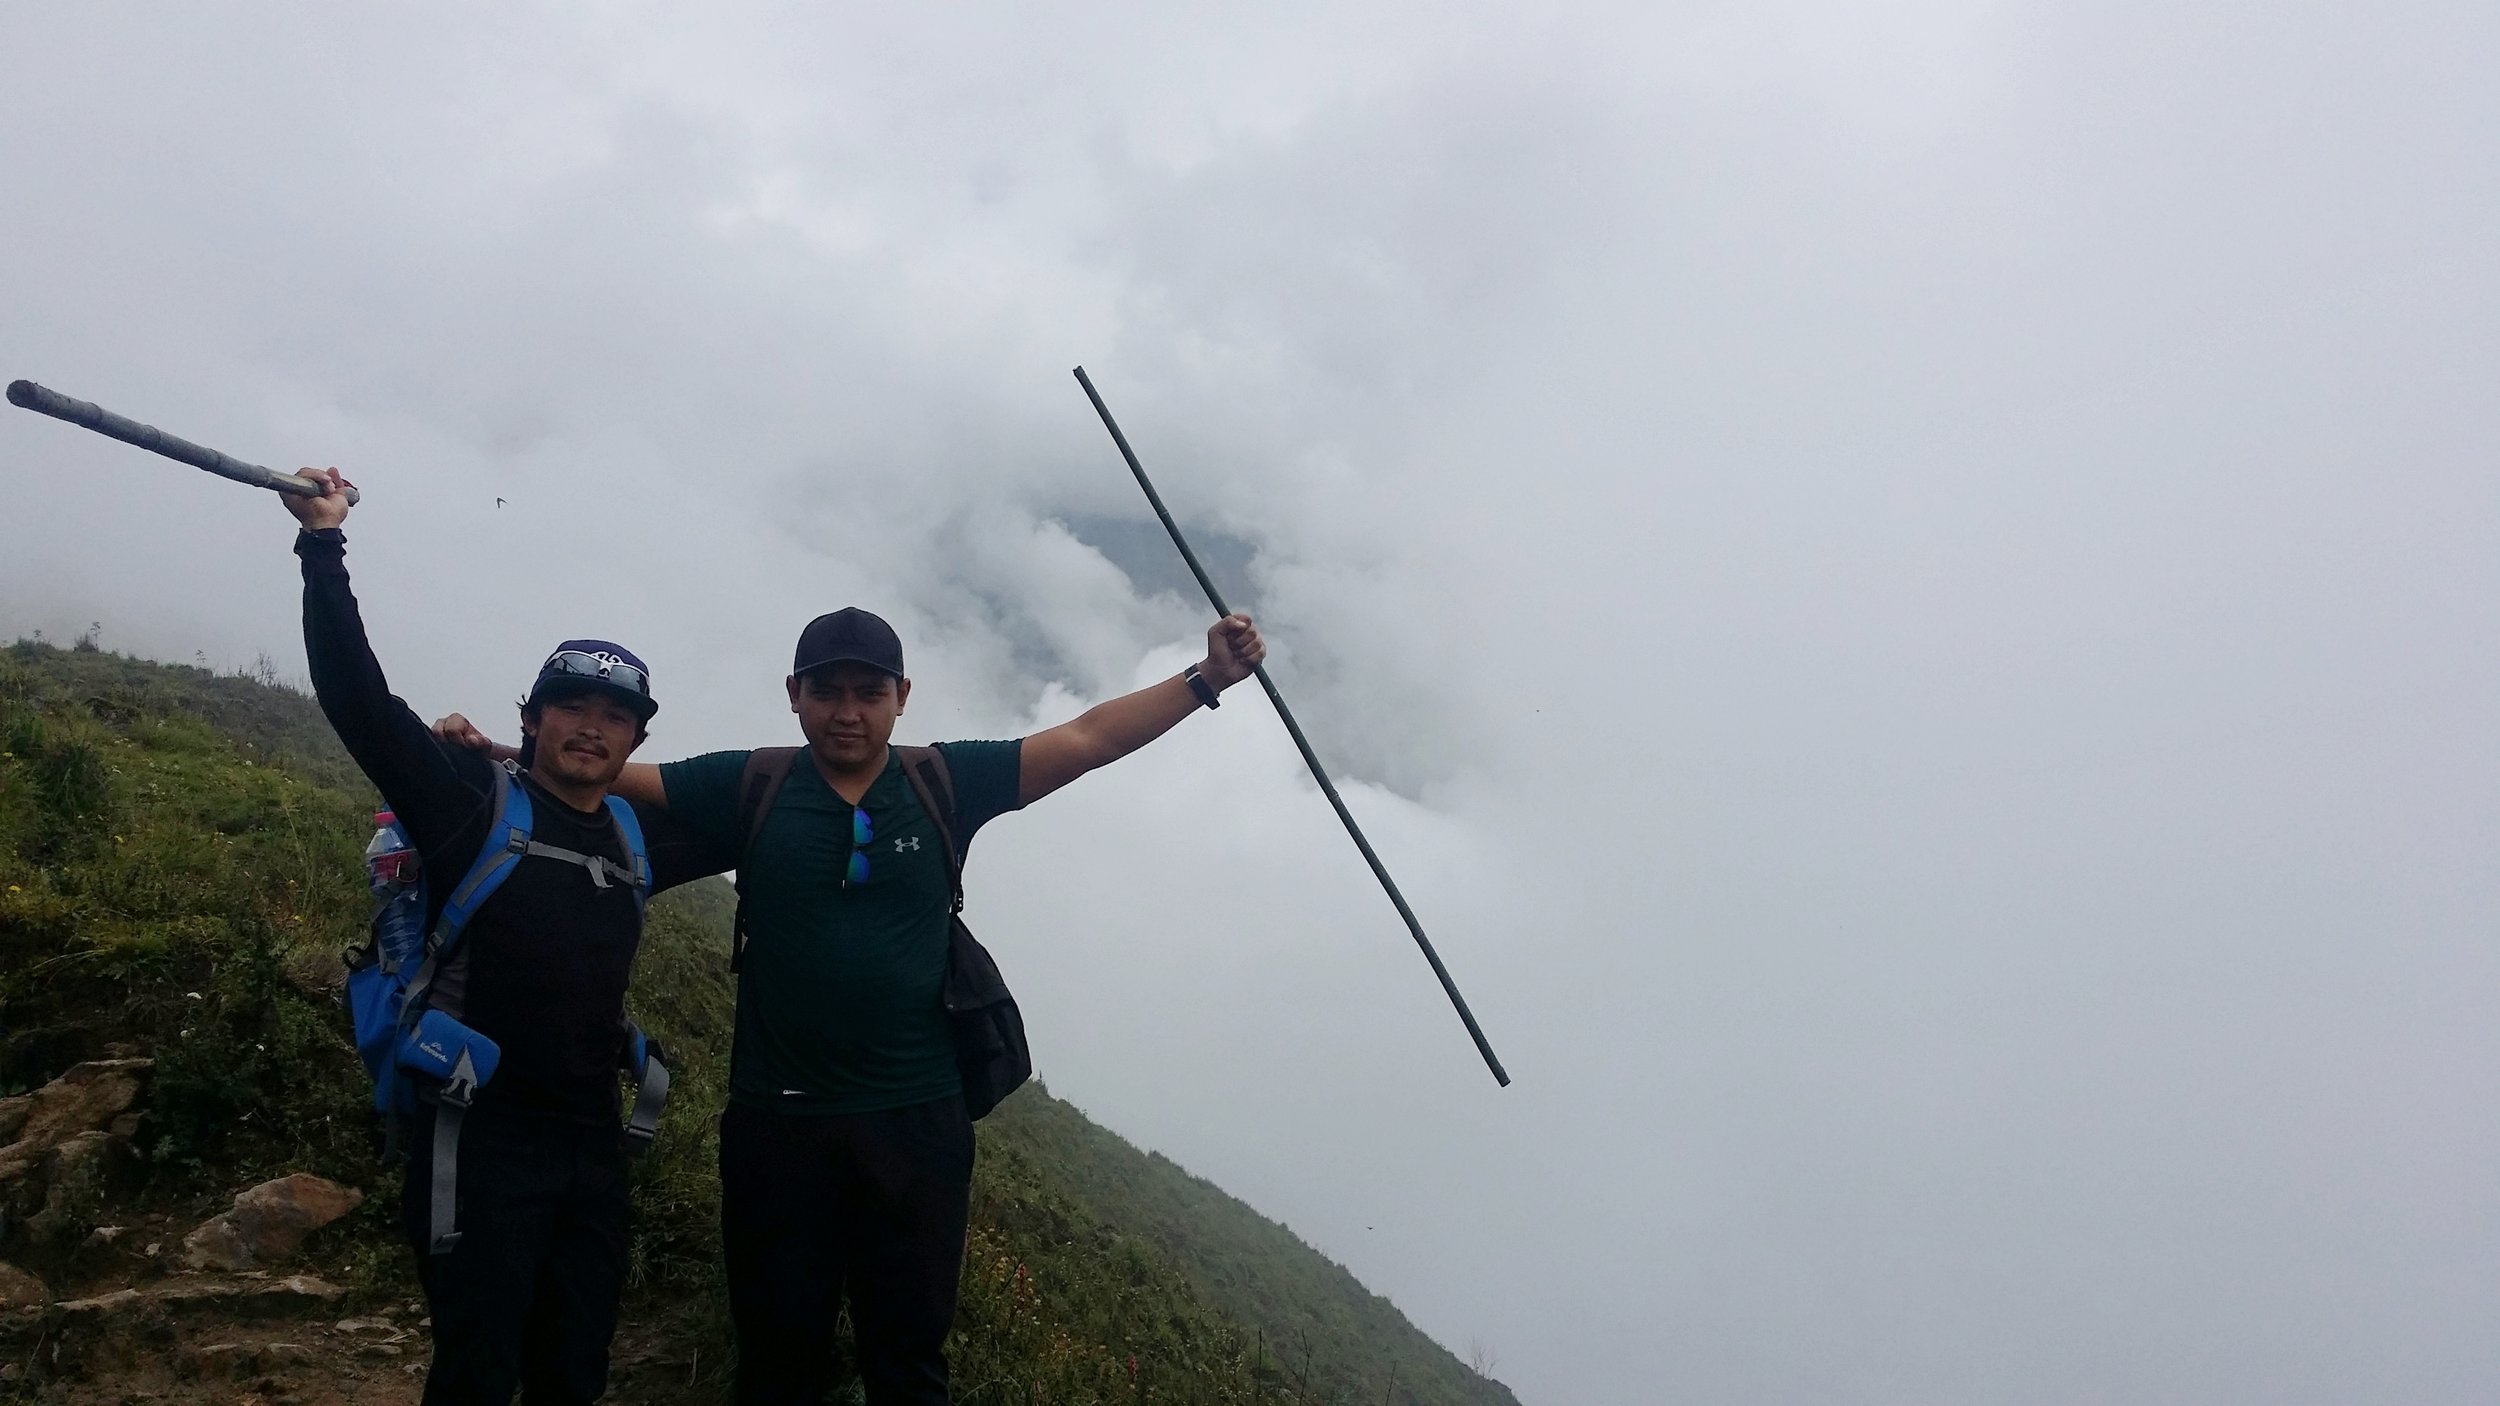
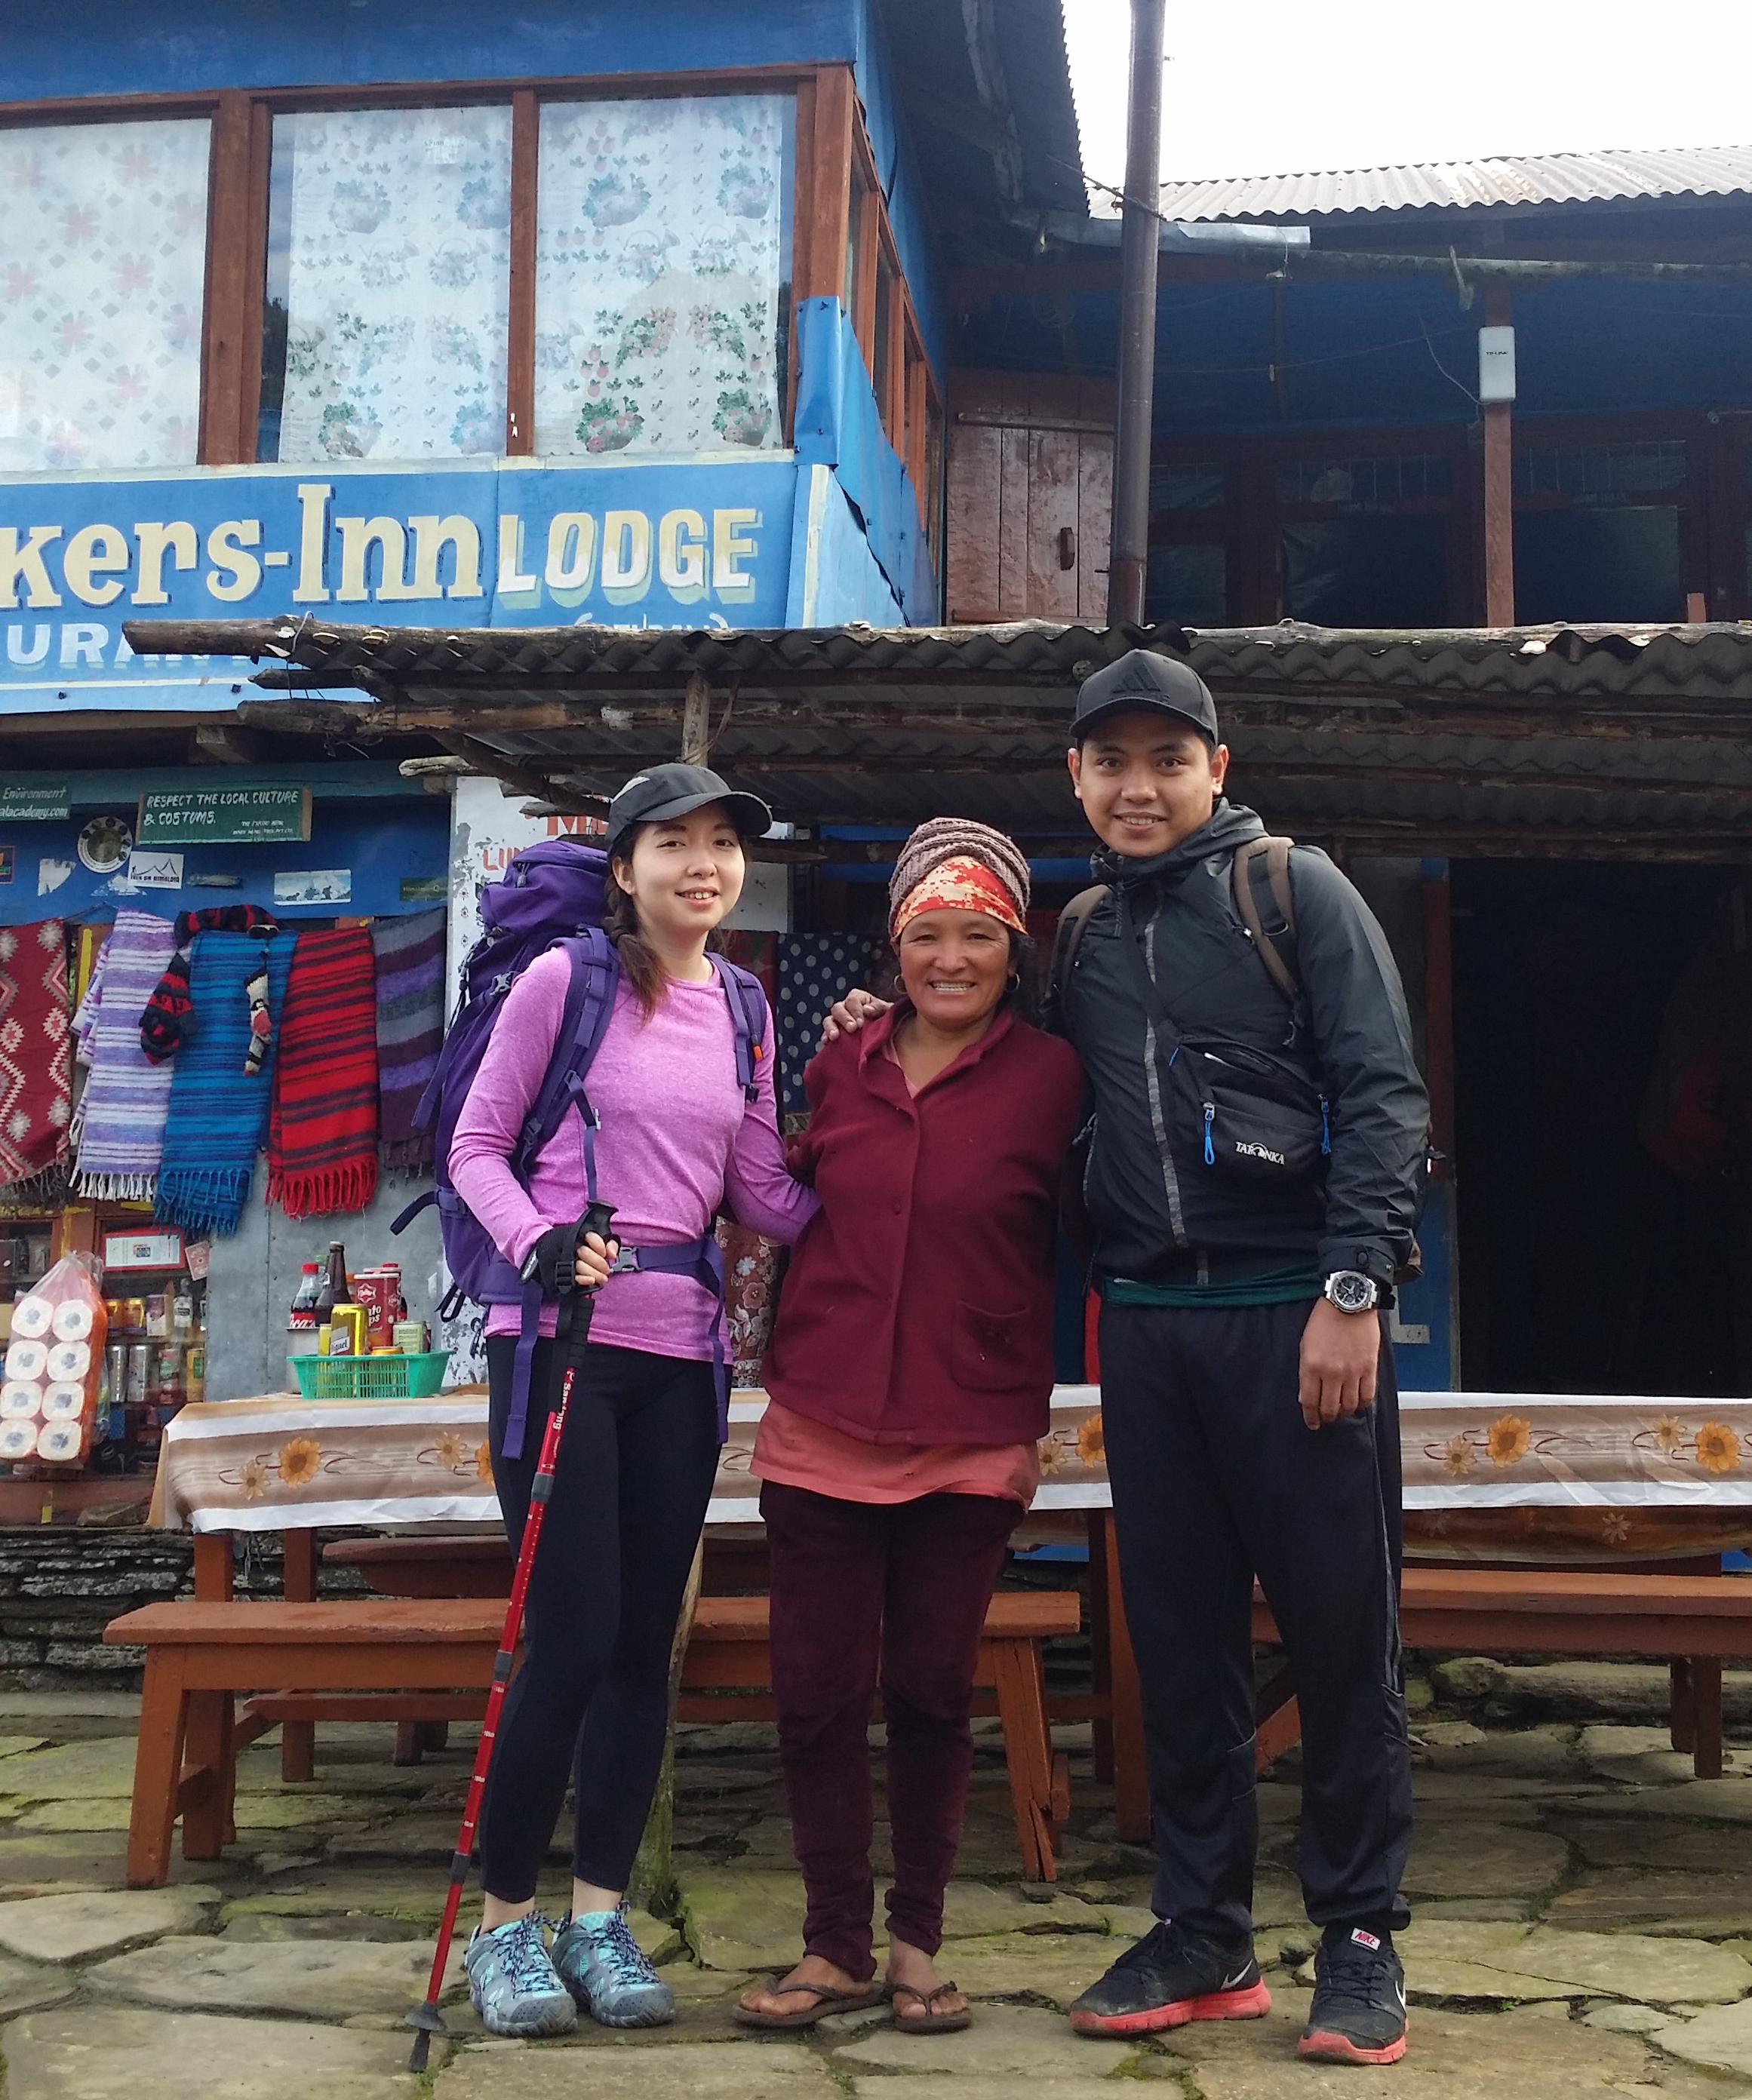
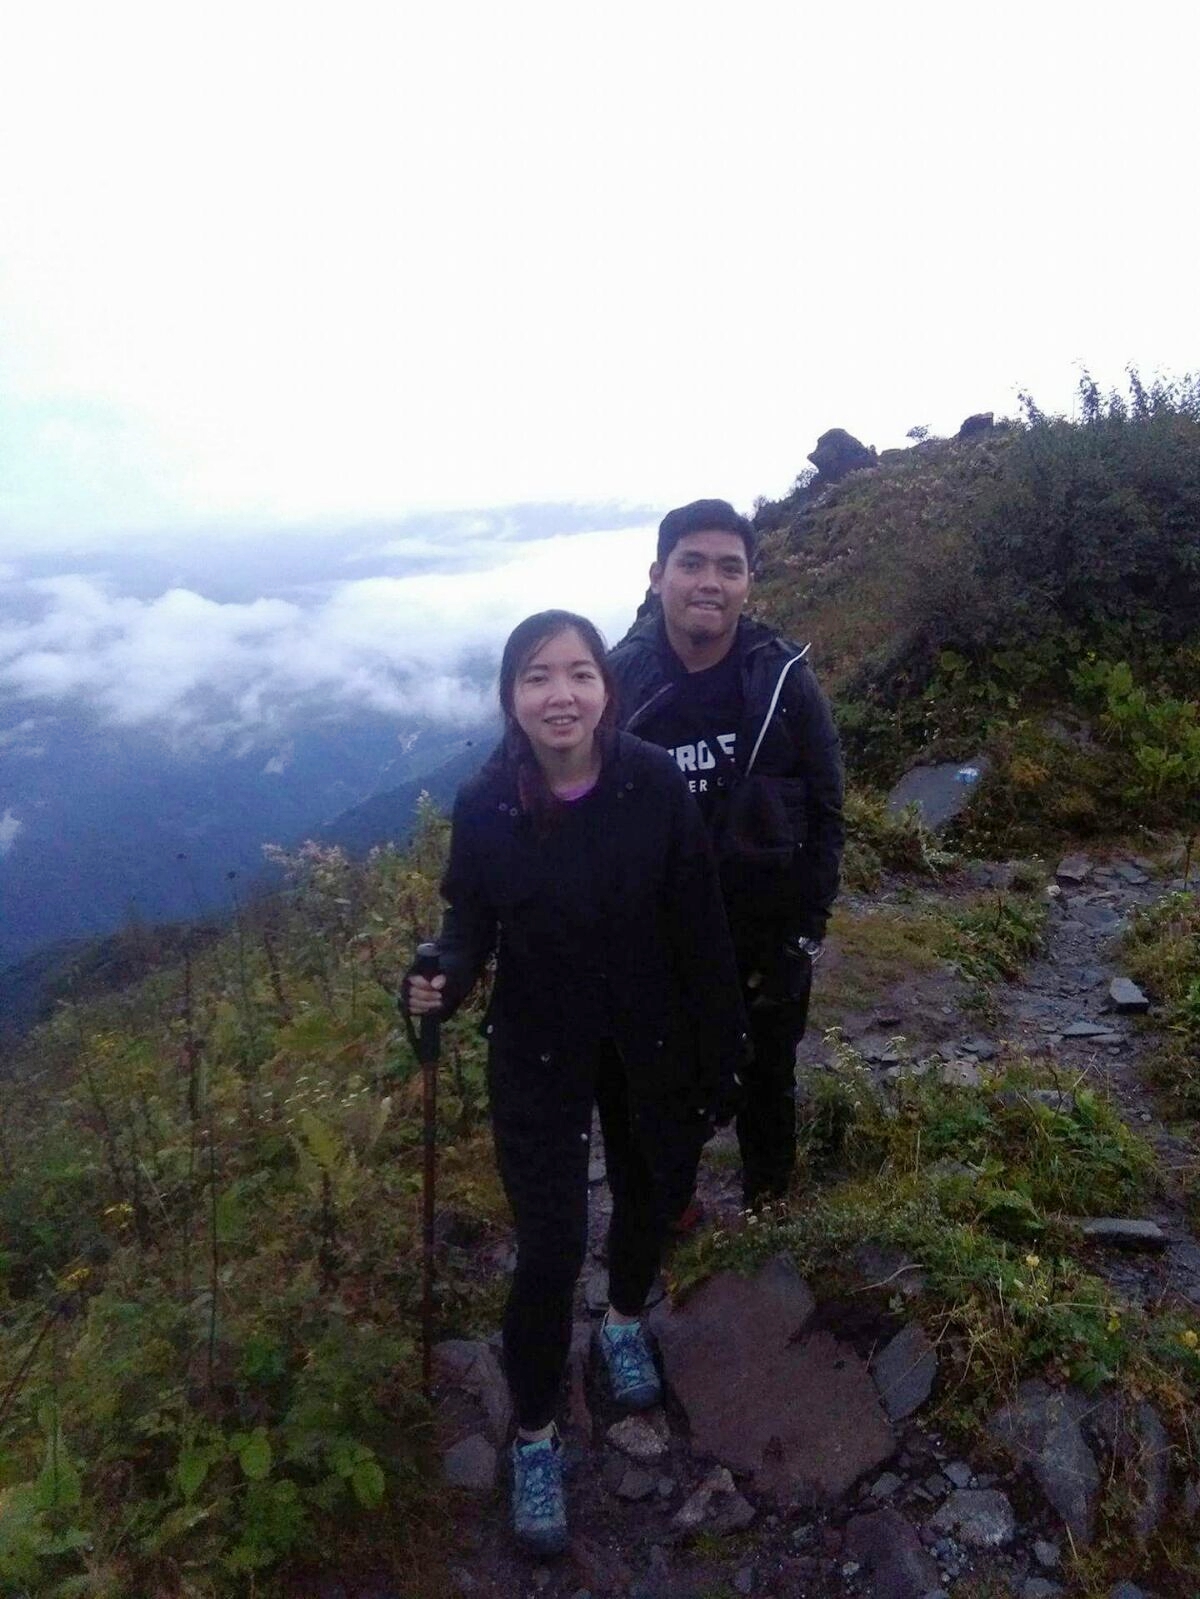
Before leaving the resthouse, our guide helped us to take a photo first and then brief us about the summit climb.
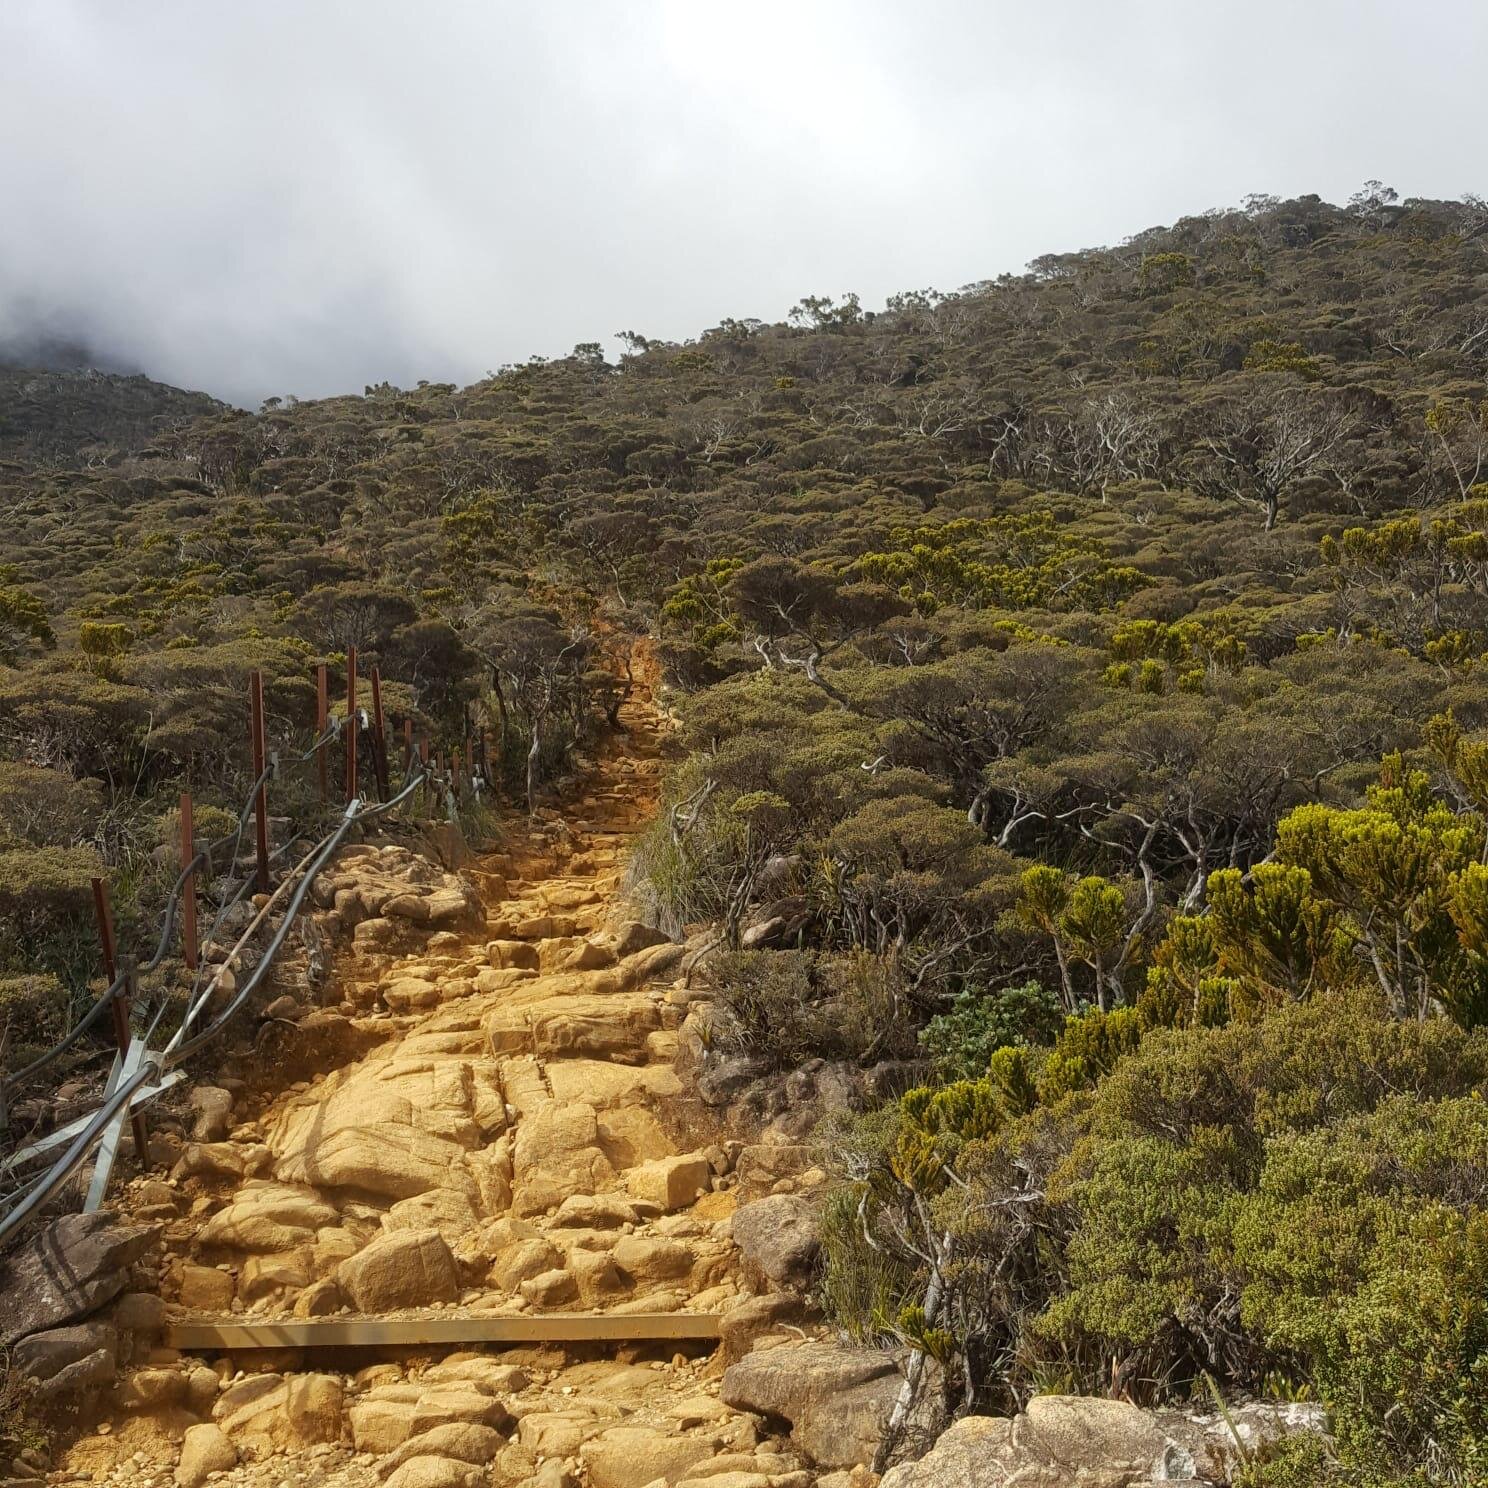
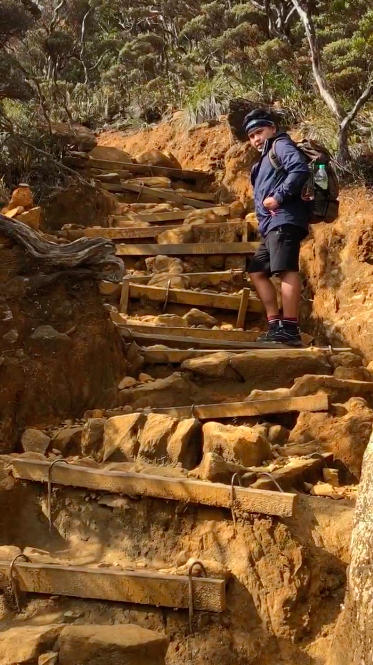
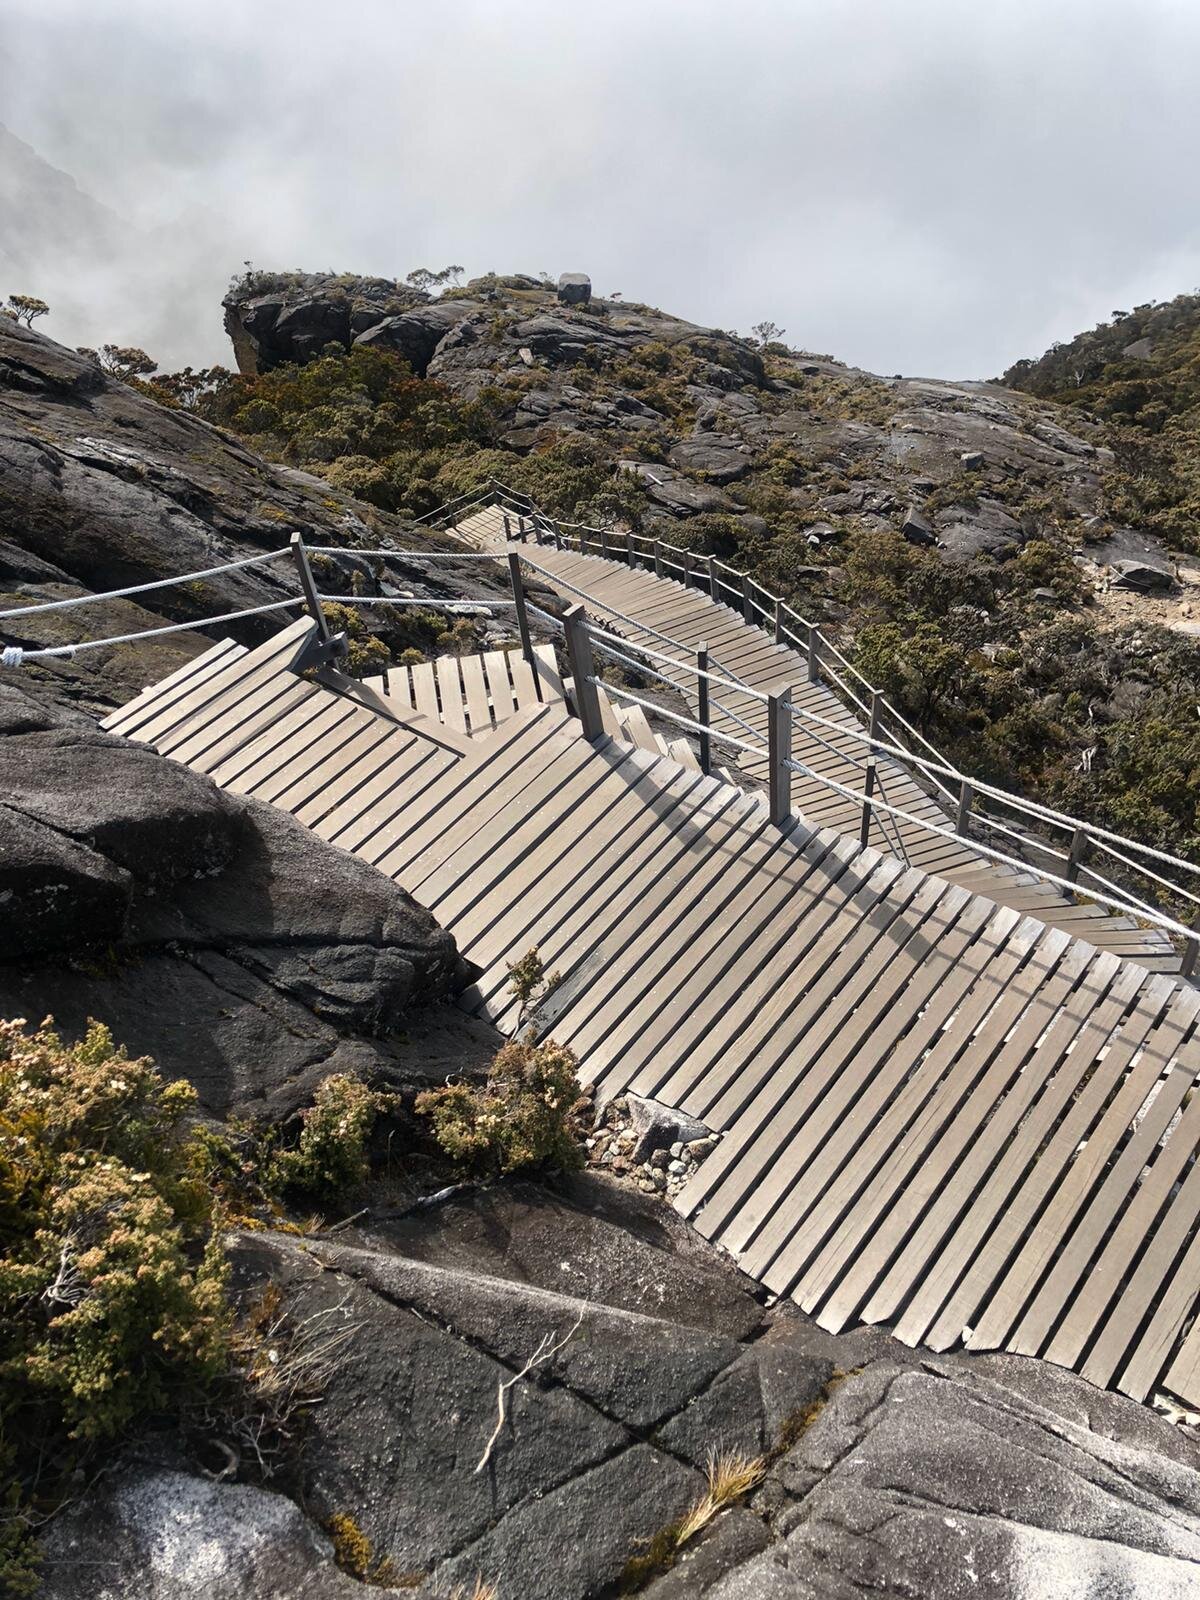
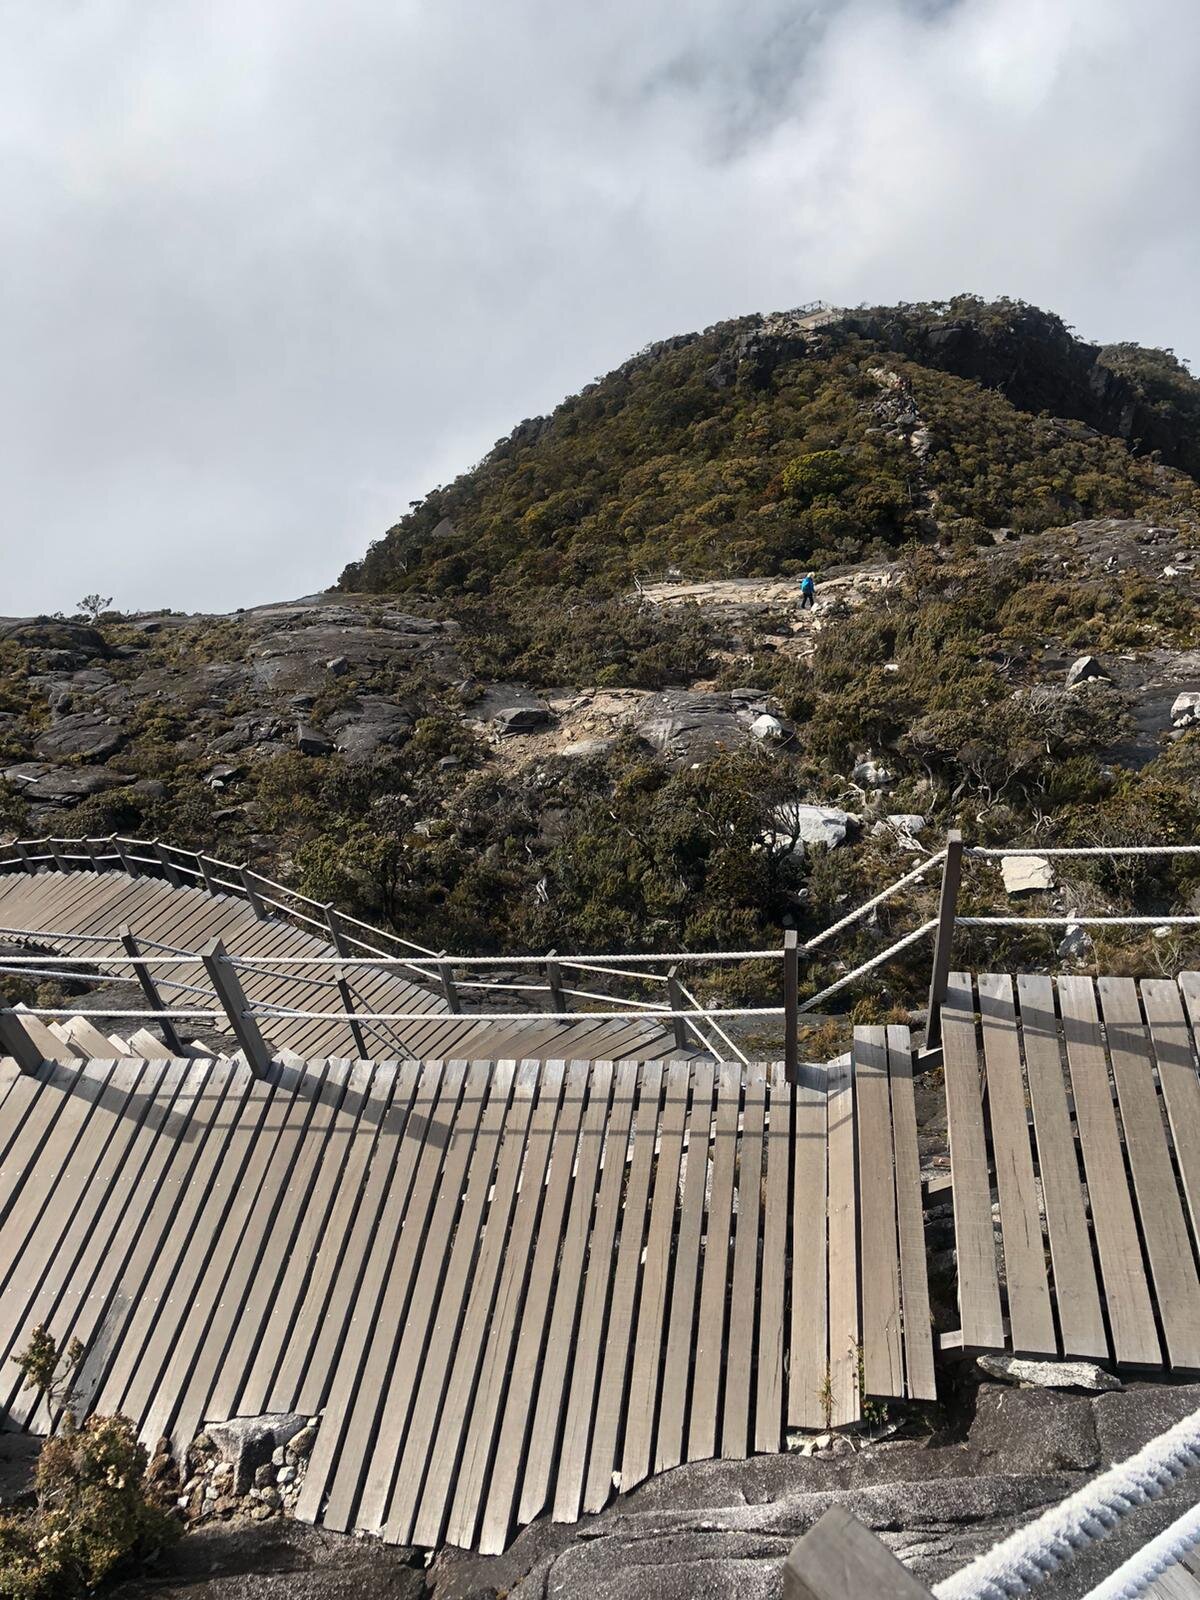
CLIMBING BEFORE DAWN AND MORE STAIRS
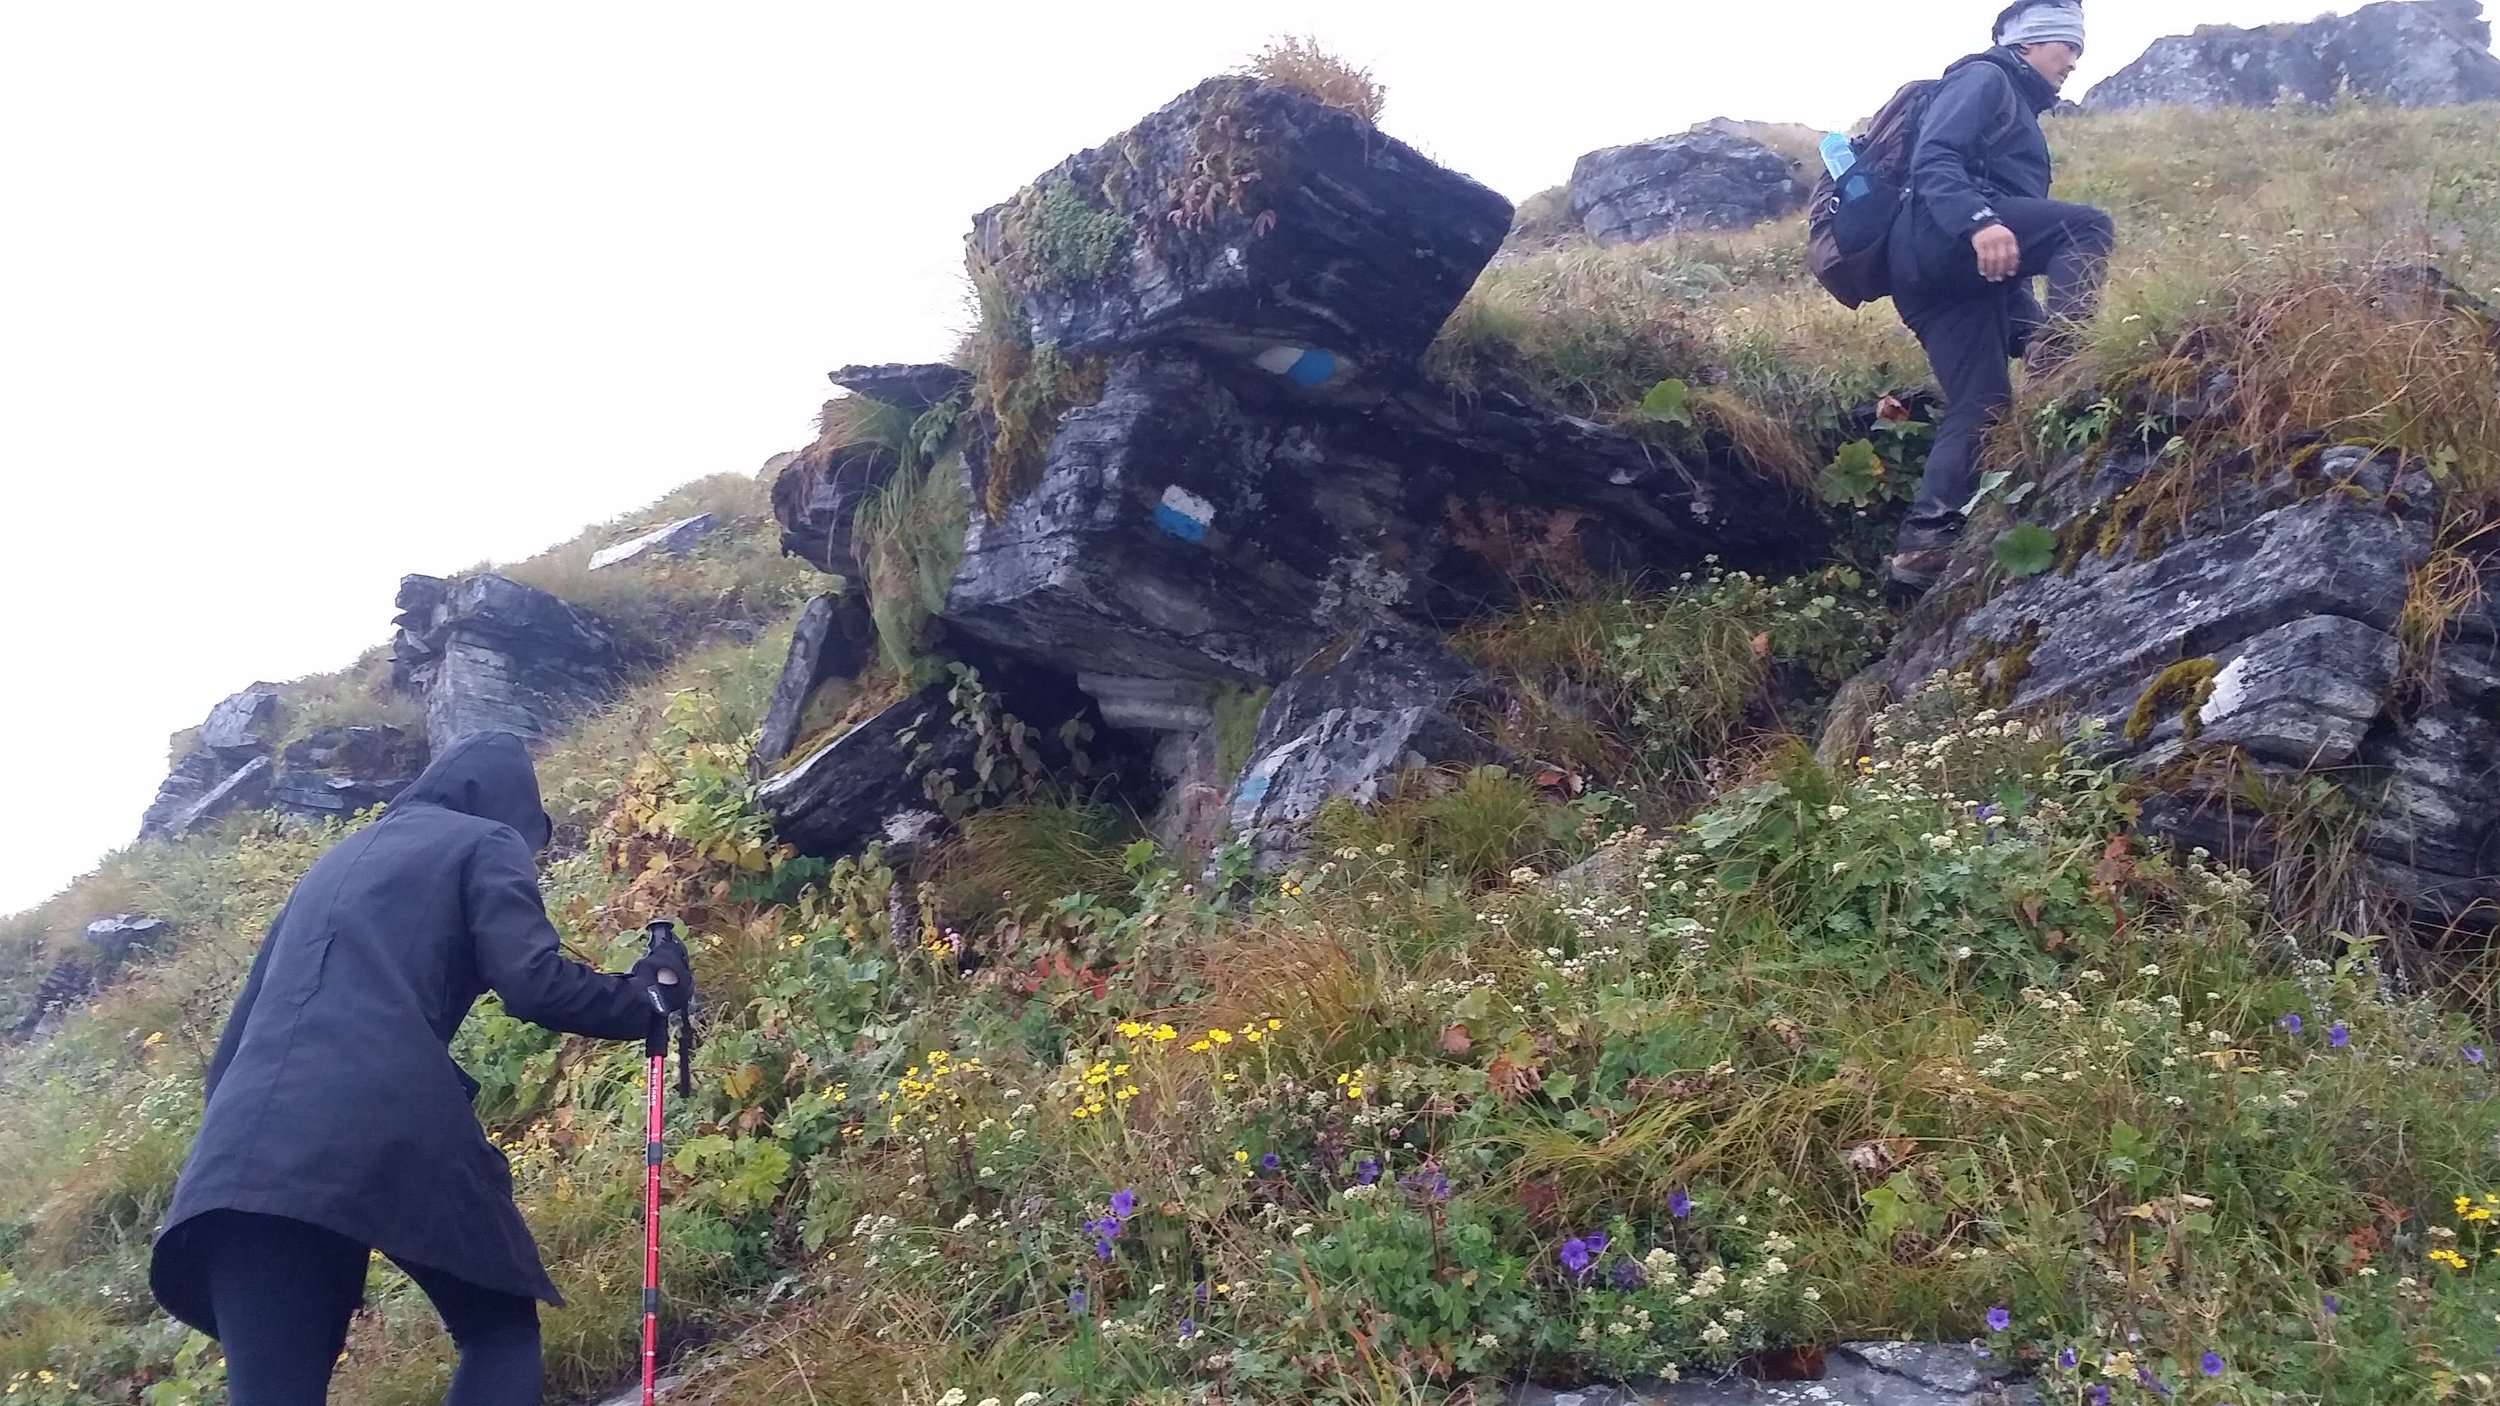
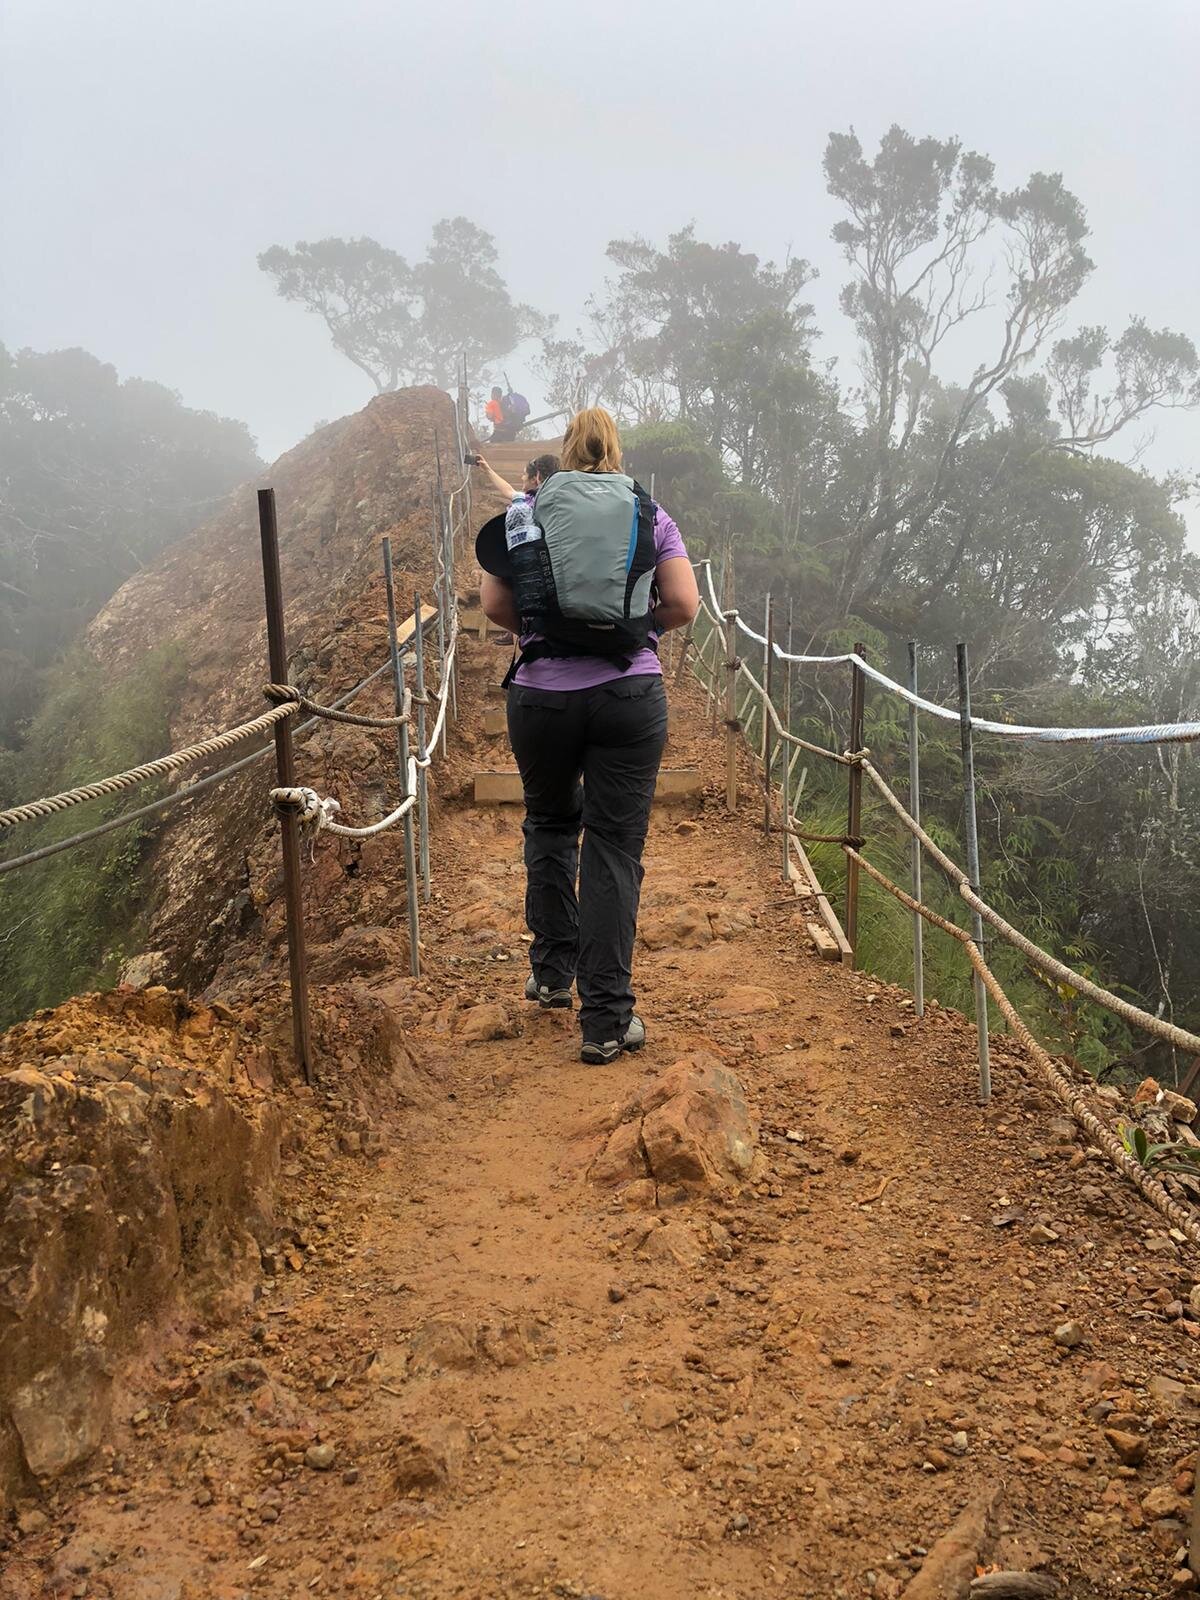
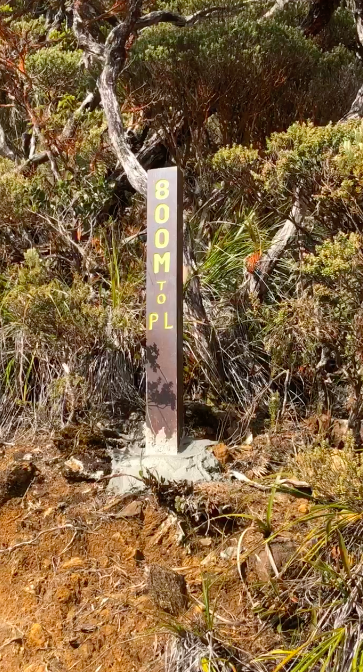
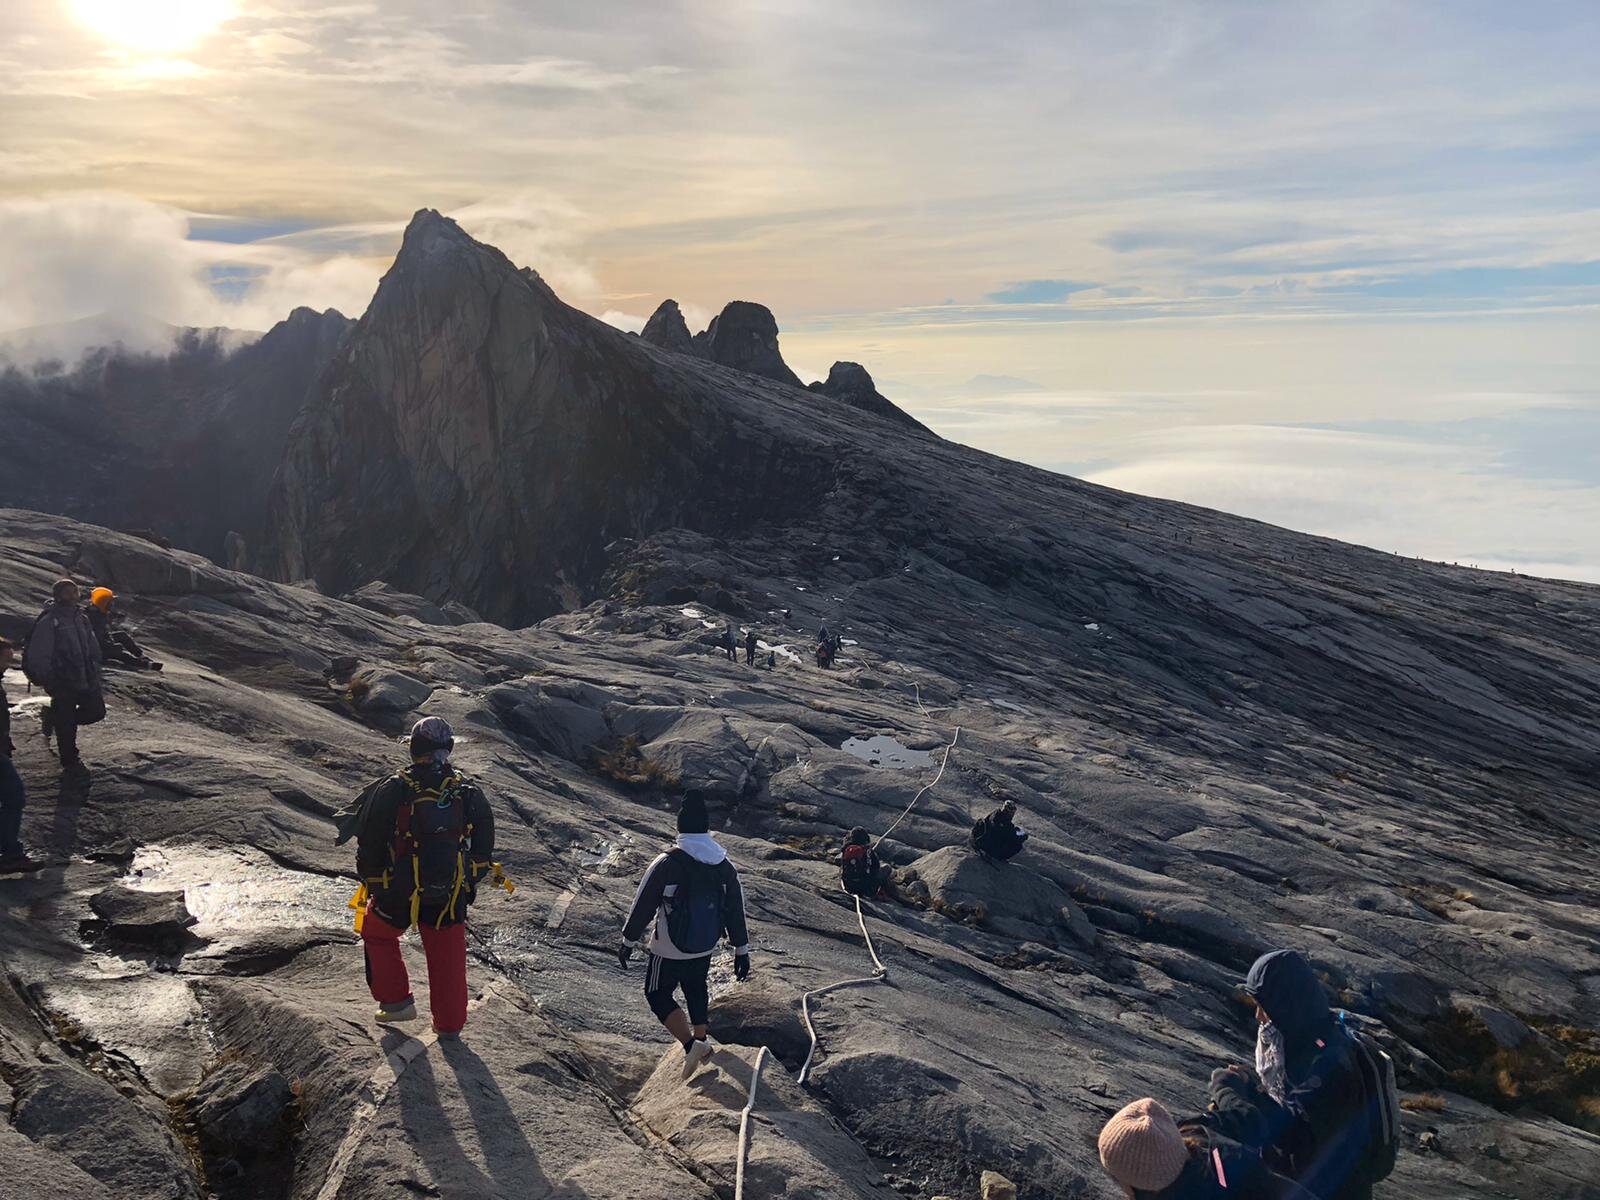
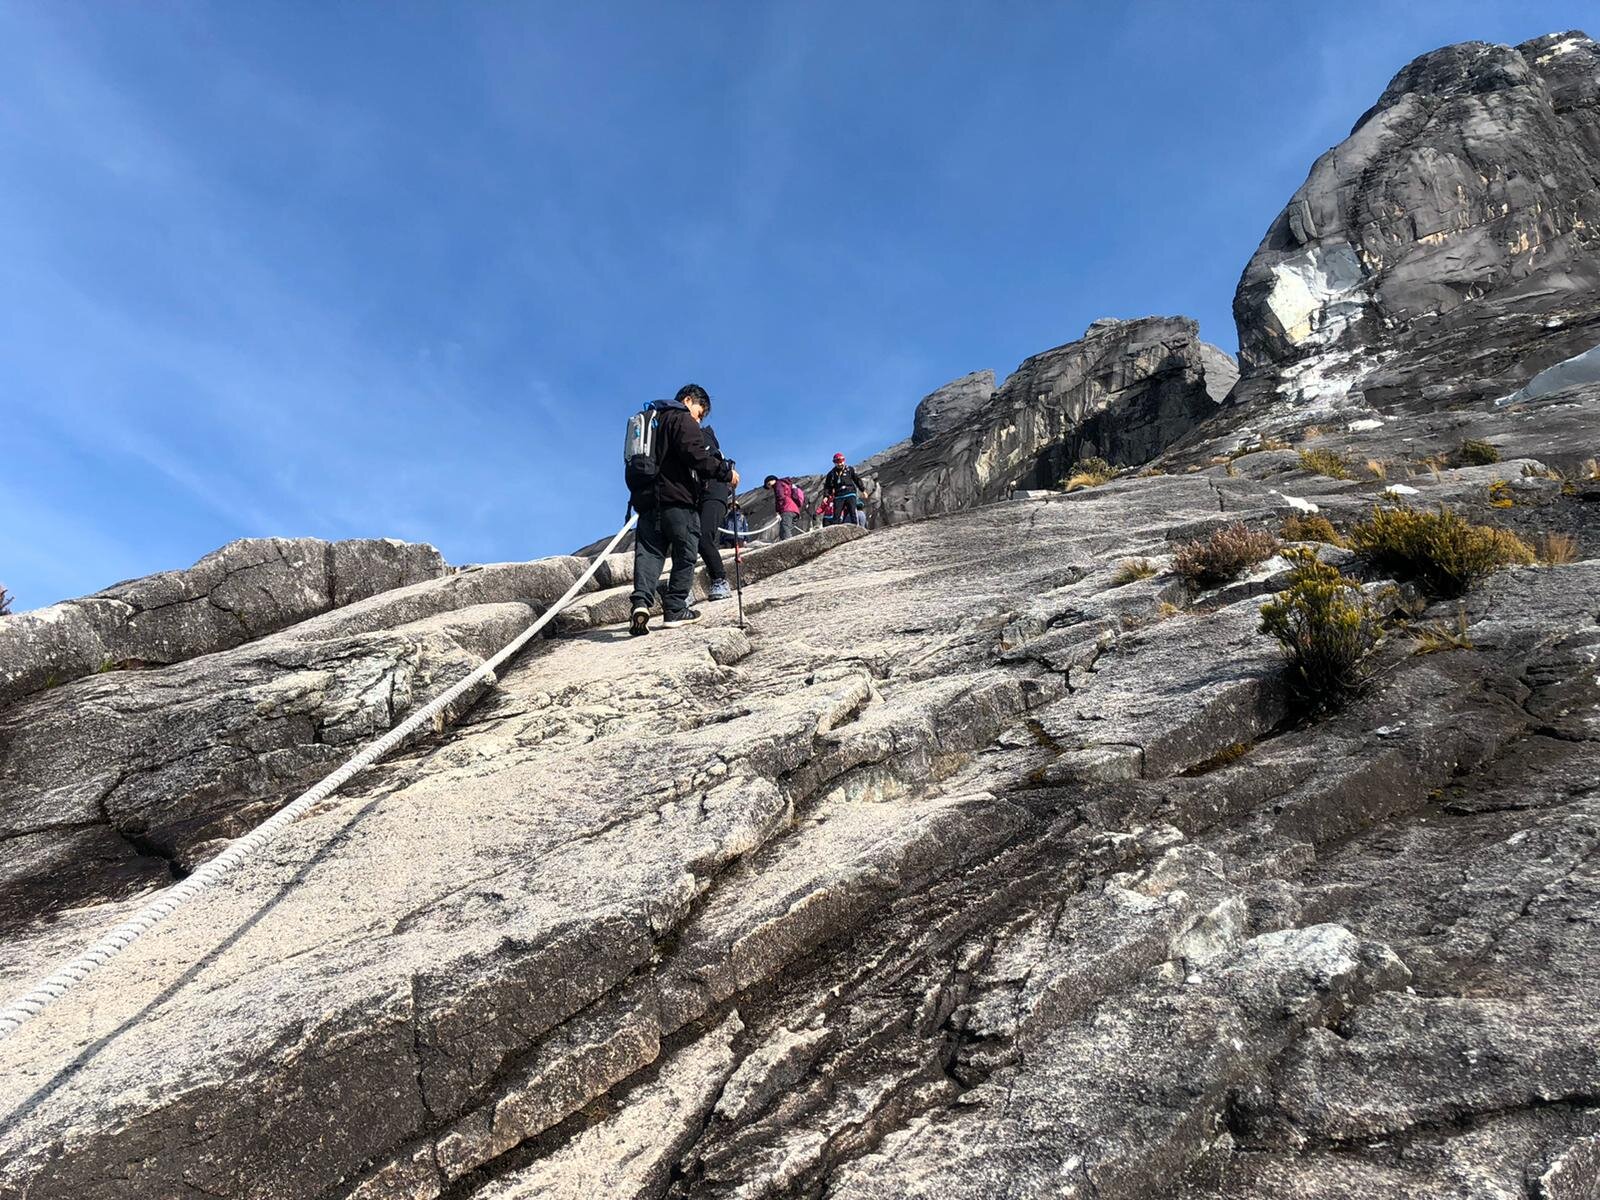
Before moving ahead, climbers must turn on their headlight. The summit climb starts with a short flat trail and later starts ascending the human-made wooden stairs in the forest. Ropes are attached to help support climbers. Its is normal to have a queue and wait for a few seconds from time to time as it is dark. The stairs will continue until reaching 7km.
At 7km, climbers must register themselves at the Sayat-Sayat Checkpoint. They may take a quick break as well and proceed to ascend to the peak. At this time, climbers should be wearing their hand gloves, preferably a pair of waterproof gloves. From there onwards, climbing skills will be put to the test.
TO CLIMB OR NOT TO CLIMB
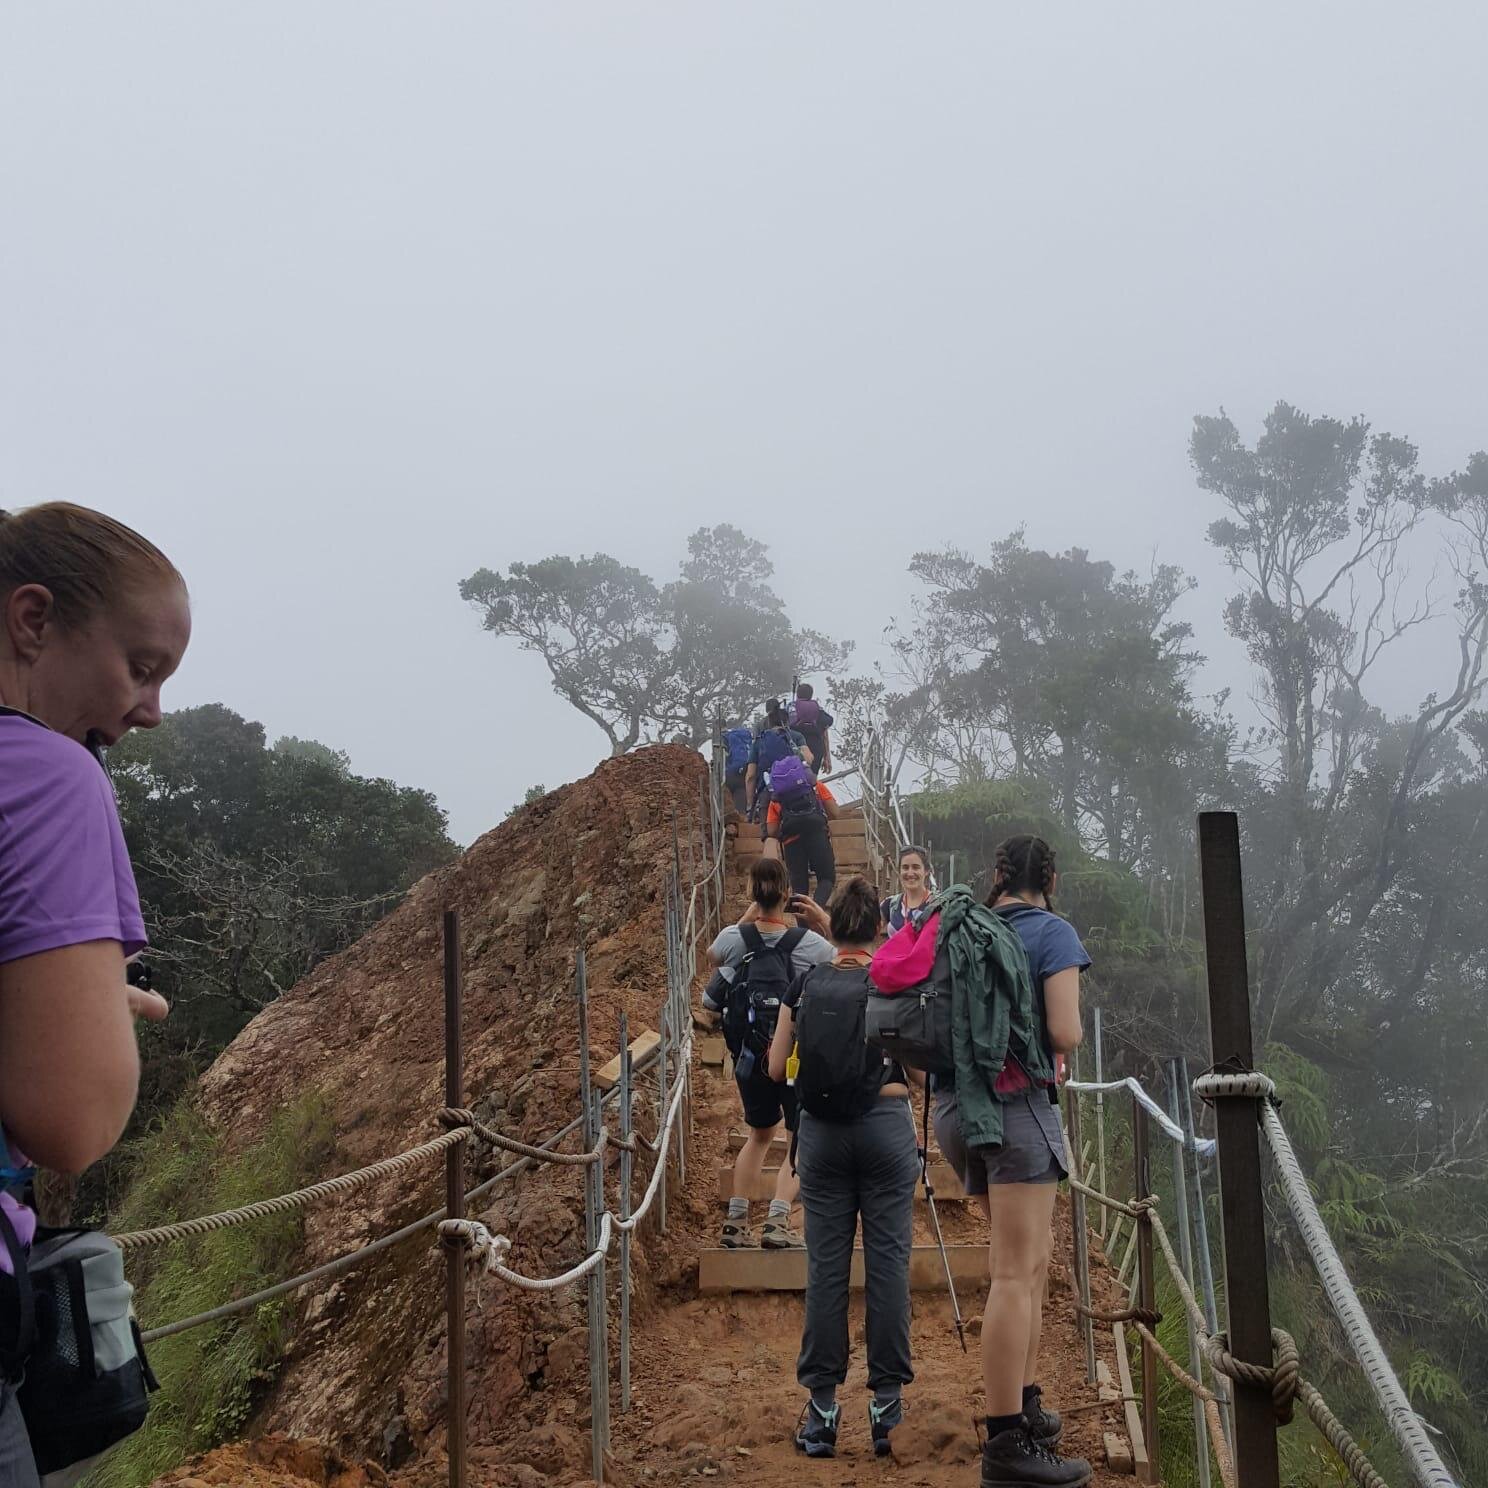
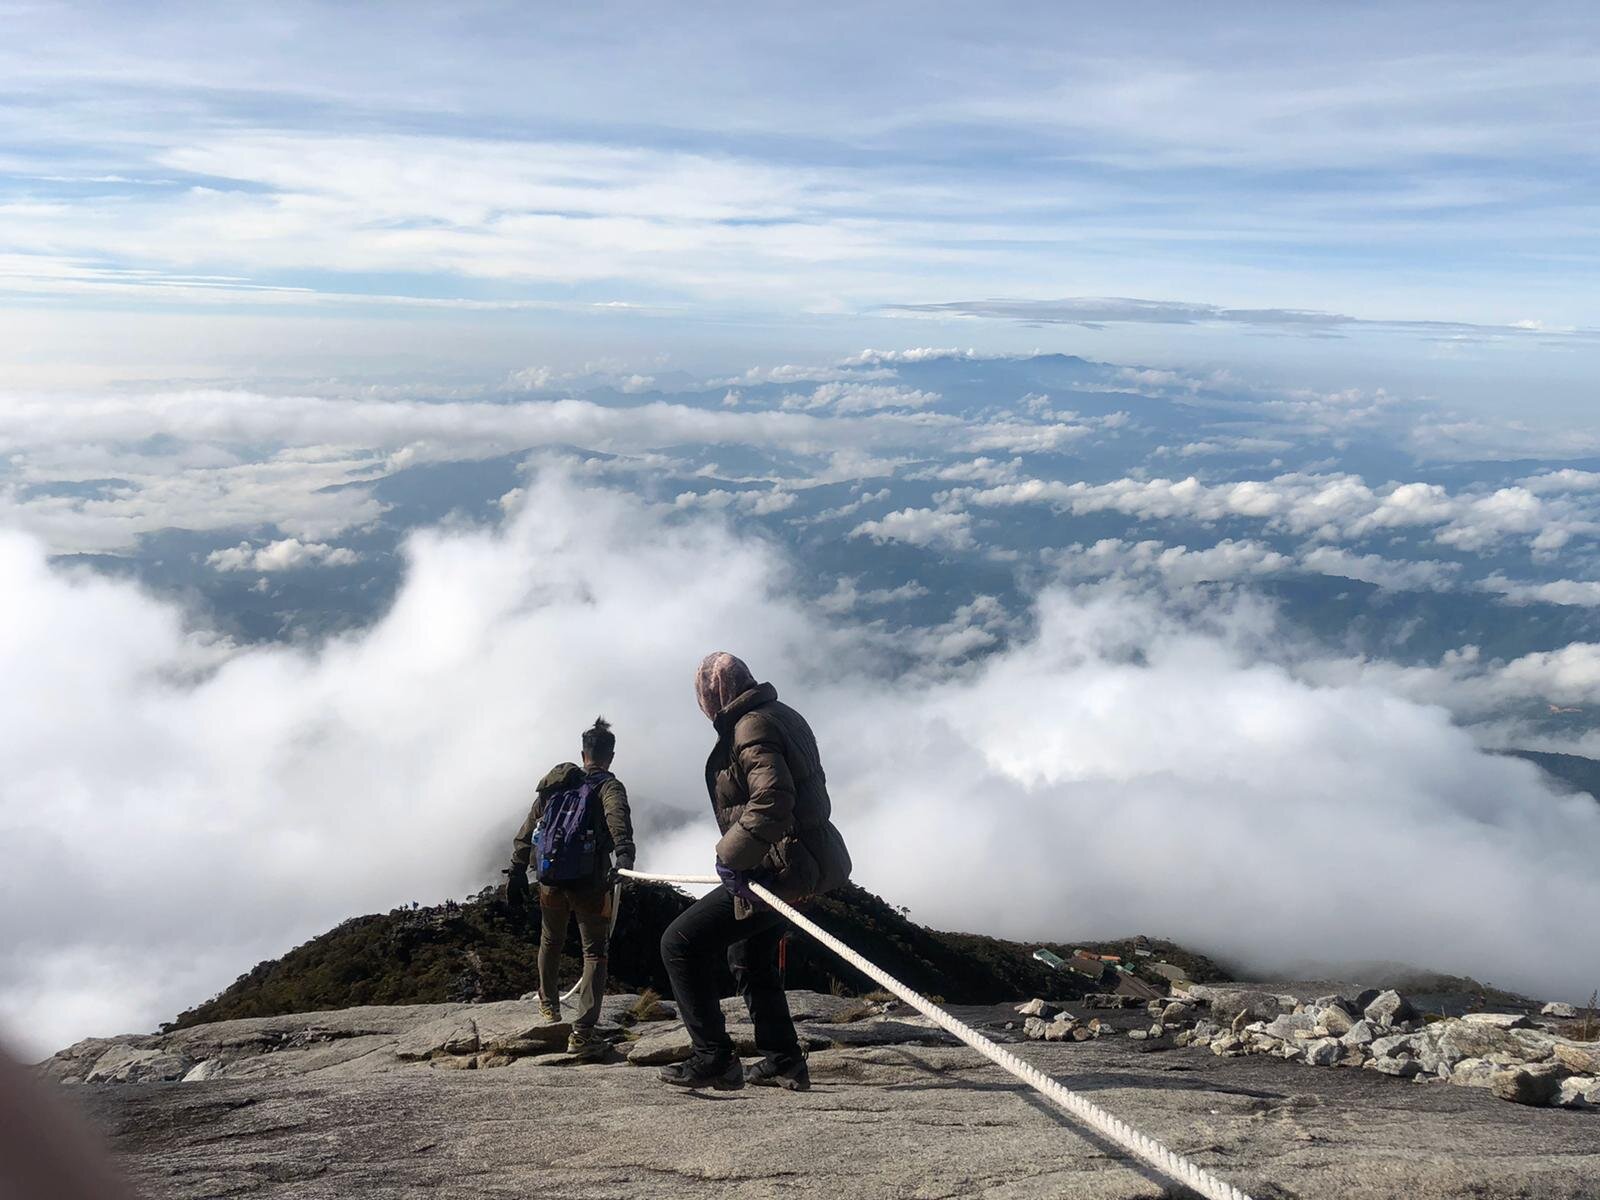
Upon leaving Sayat-Sayat Hut, climbers will then have to climb up some relatively steep summit plateau. A white rope is attached to guide climbers as they head up to the flat surface.
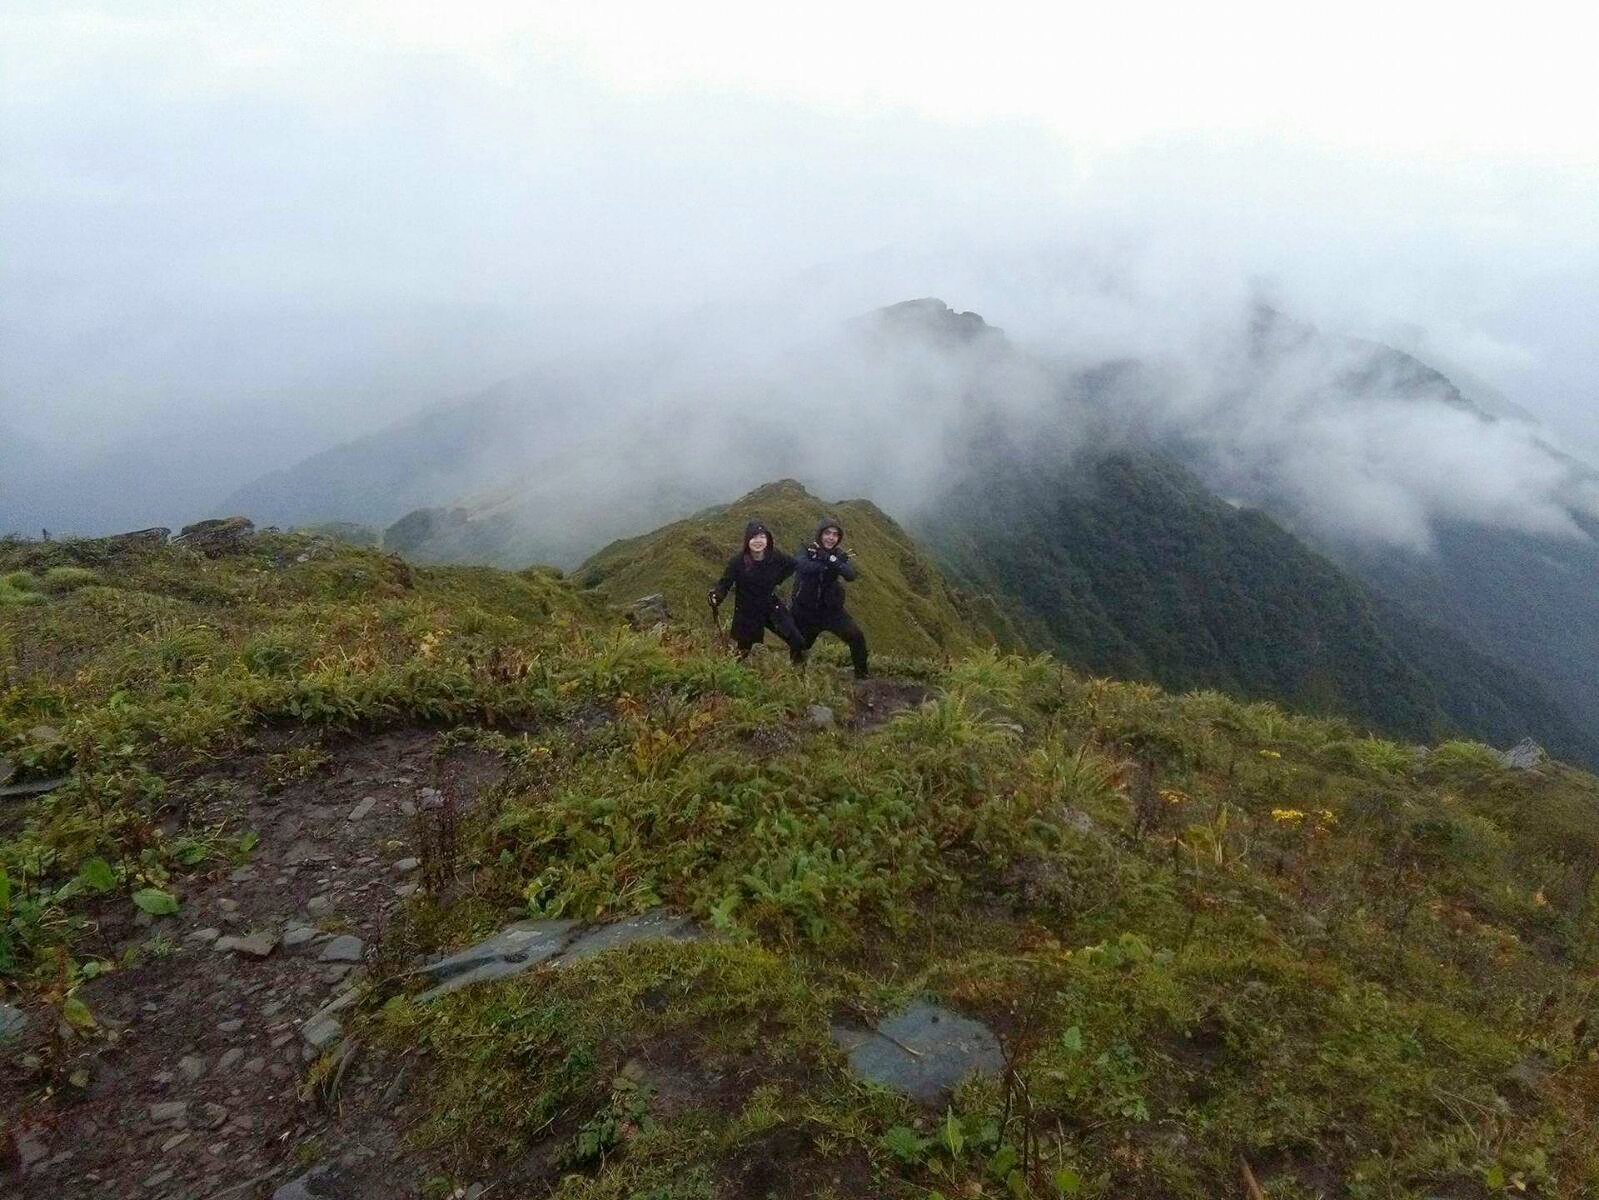
This is my first time doing mountain climbing. It was frightening but exhilarating at the same time. When I first grabbed the white rope and had my first few steps up, I began to have a mild anxiety attack. I could feel my heartbeat so fast that I just wanted to get down. My boyfriend, Ryan, was behind and he was supporting and pushing me to climb up. Honestly, if he wasn’t there, I may have fallen over due to my anxiety.
After the first climb, I thought it was over, but no! There’s another one! Only this time it was slightly shorter than the first one. I have gained a bit of confidence during the second climb, but I was still scared.
While queueing up to climb the summit plateau, we have encountered some very impatient climbers. A group of climbers didn’t want to queue up and went ahead and cut the line in the middle. This kind of action is dangerous and irresponsible as it can cause a serious accident. I get that they are eager to reach the summit before dawn, but I feel they should be more considerate and not be self-centred. I overheard a woman said to them, “Guys, we cannot climb like this”. I couldn’t agree more.
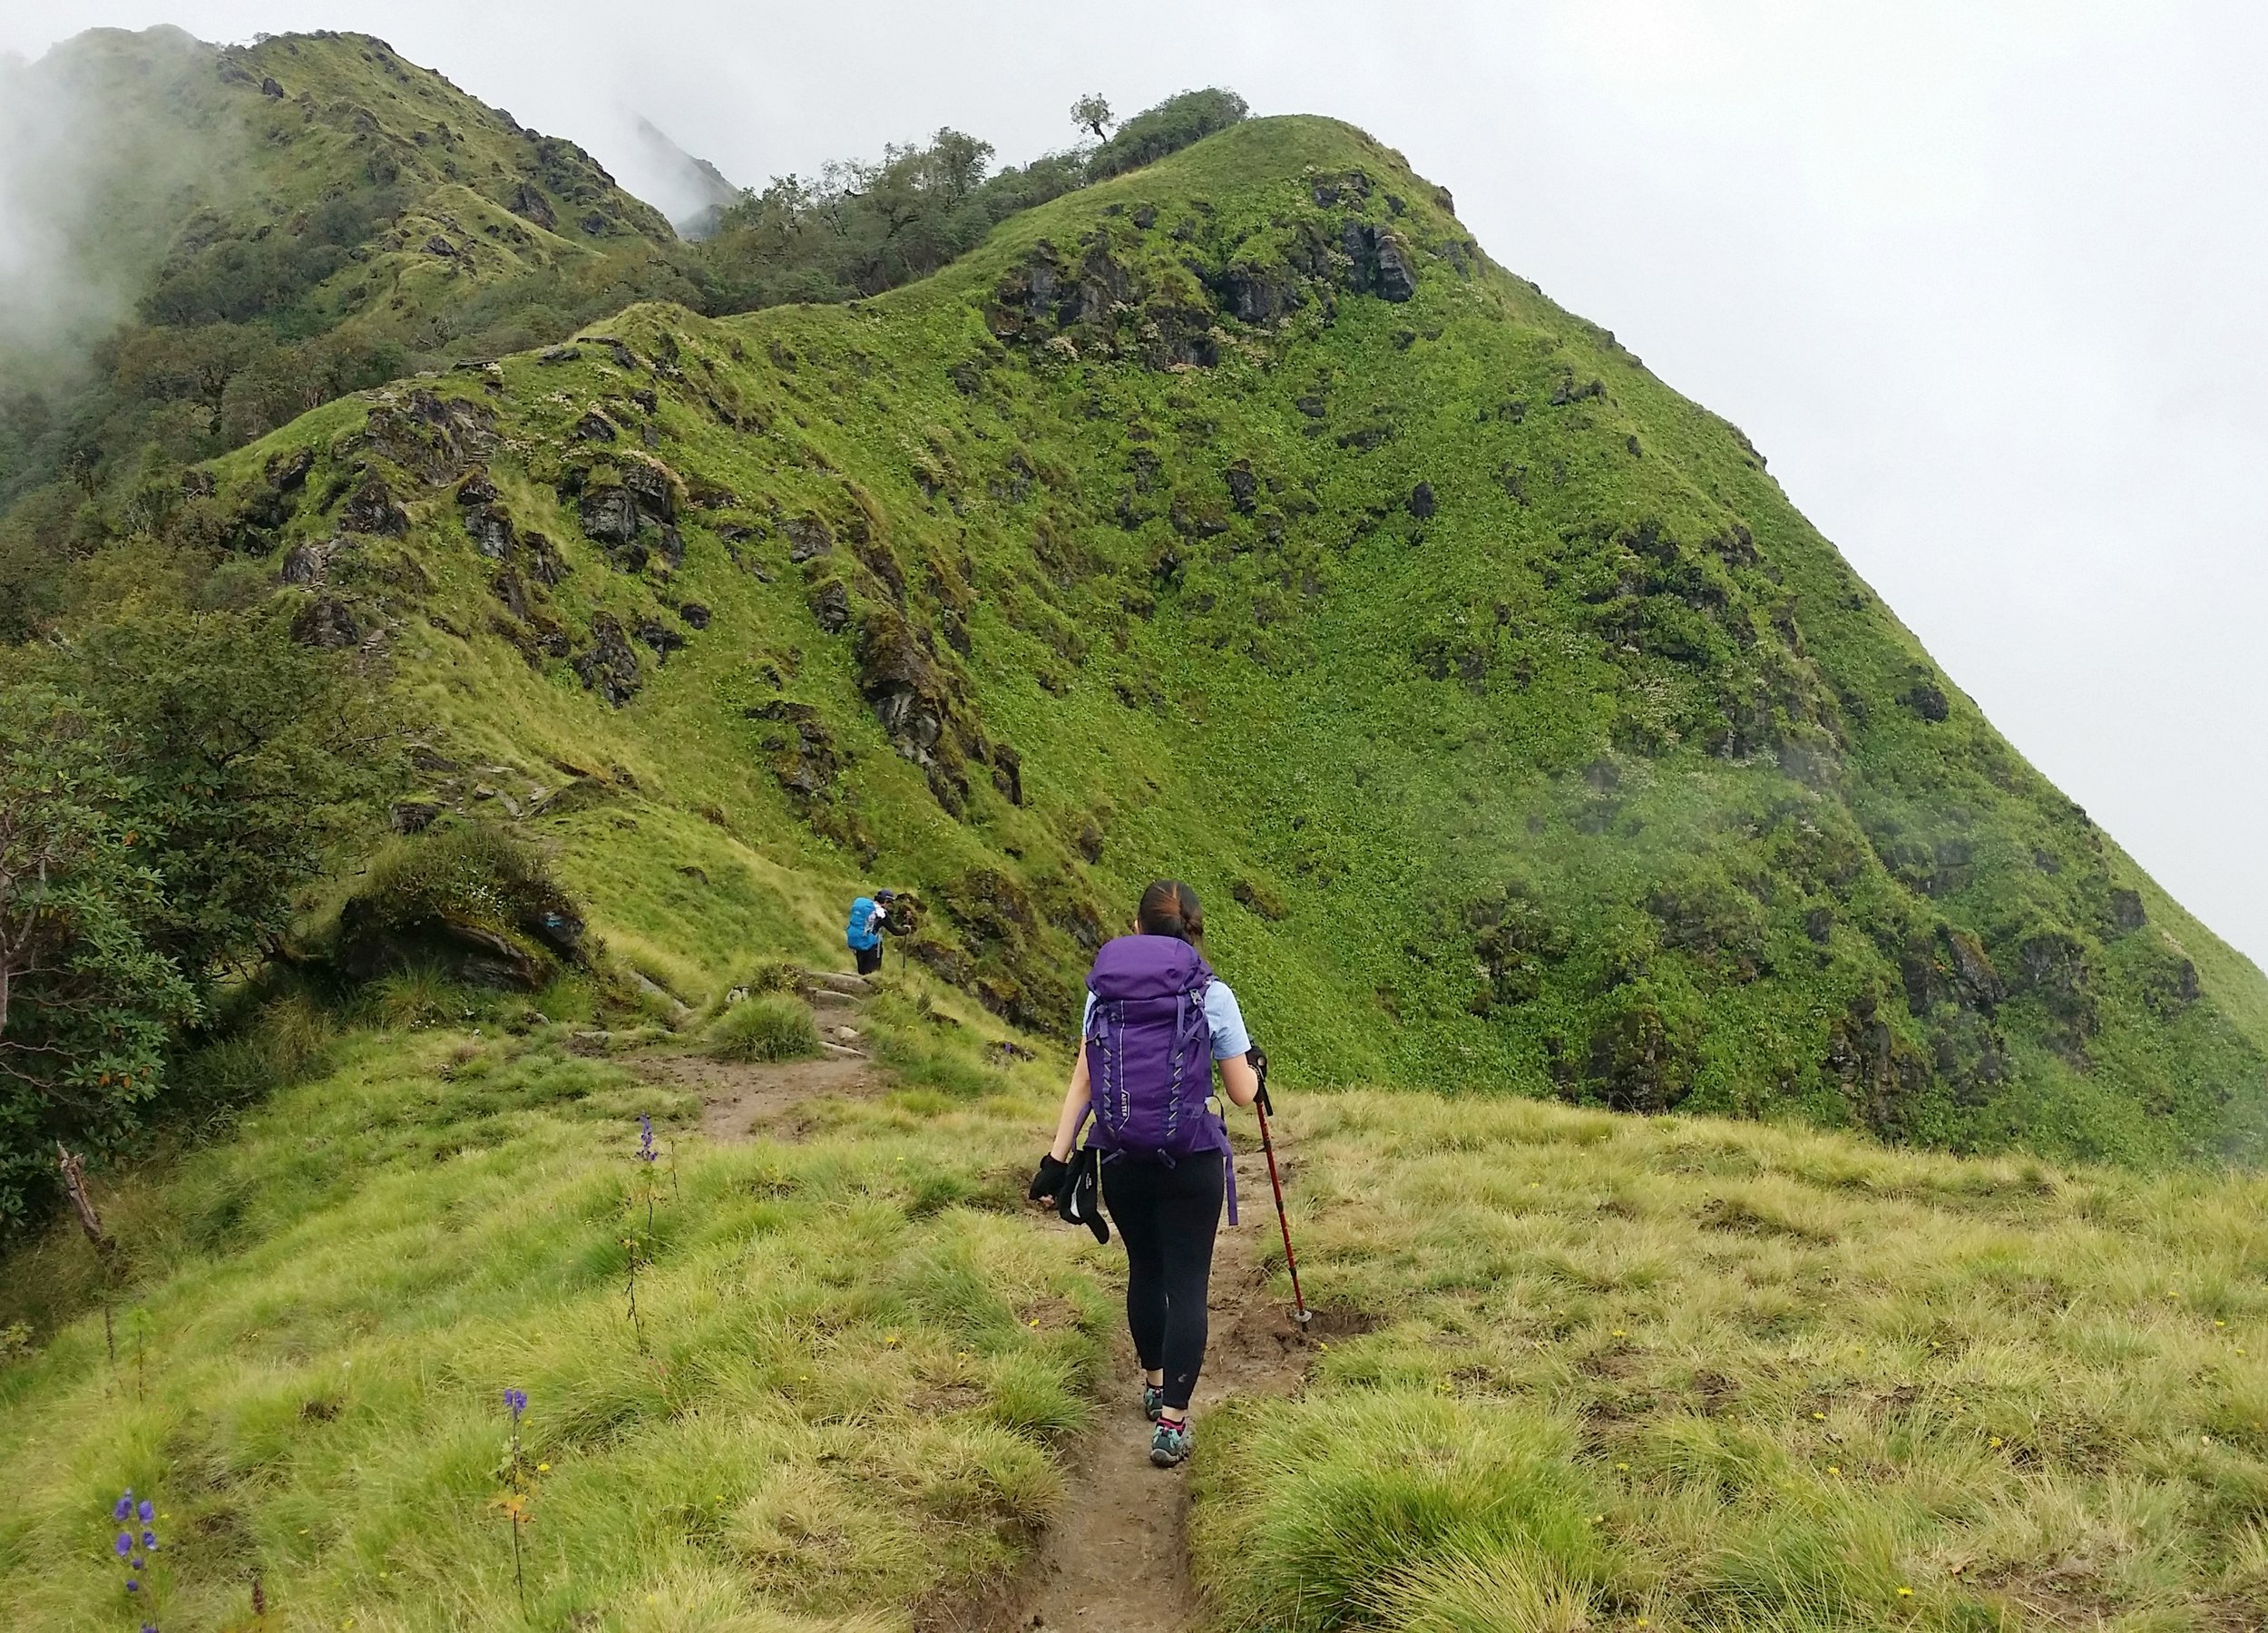
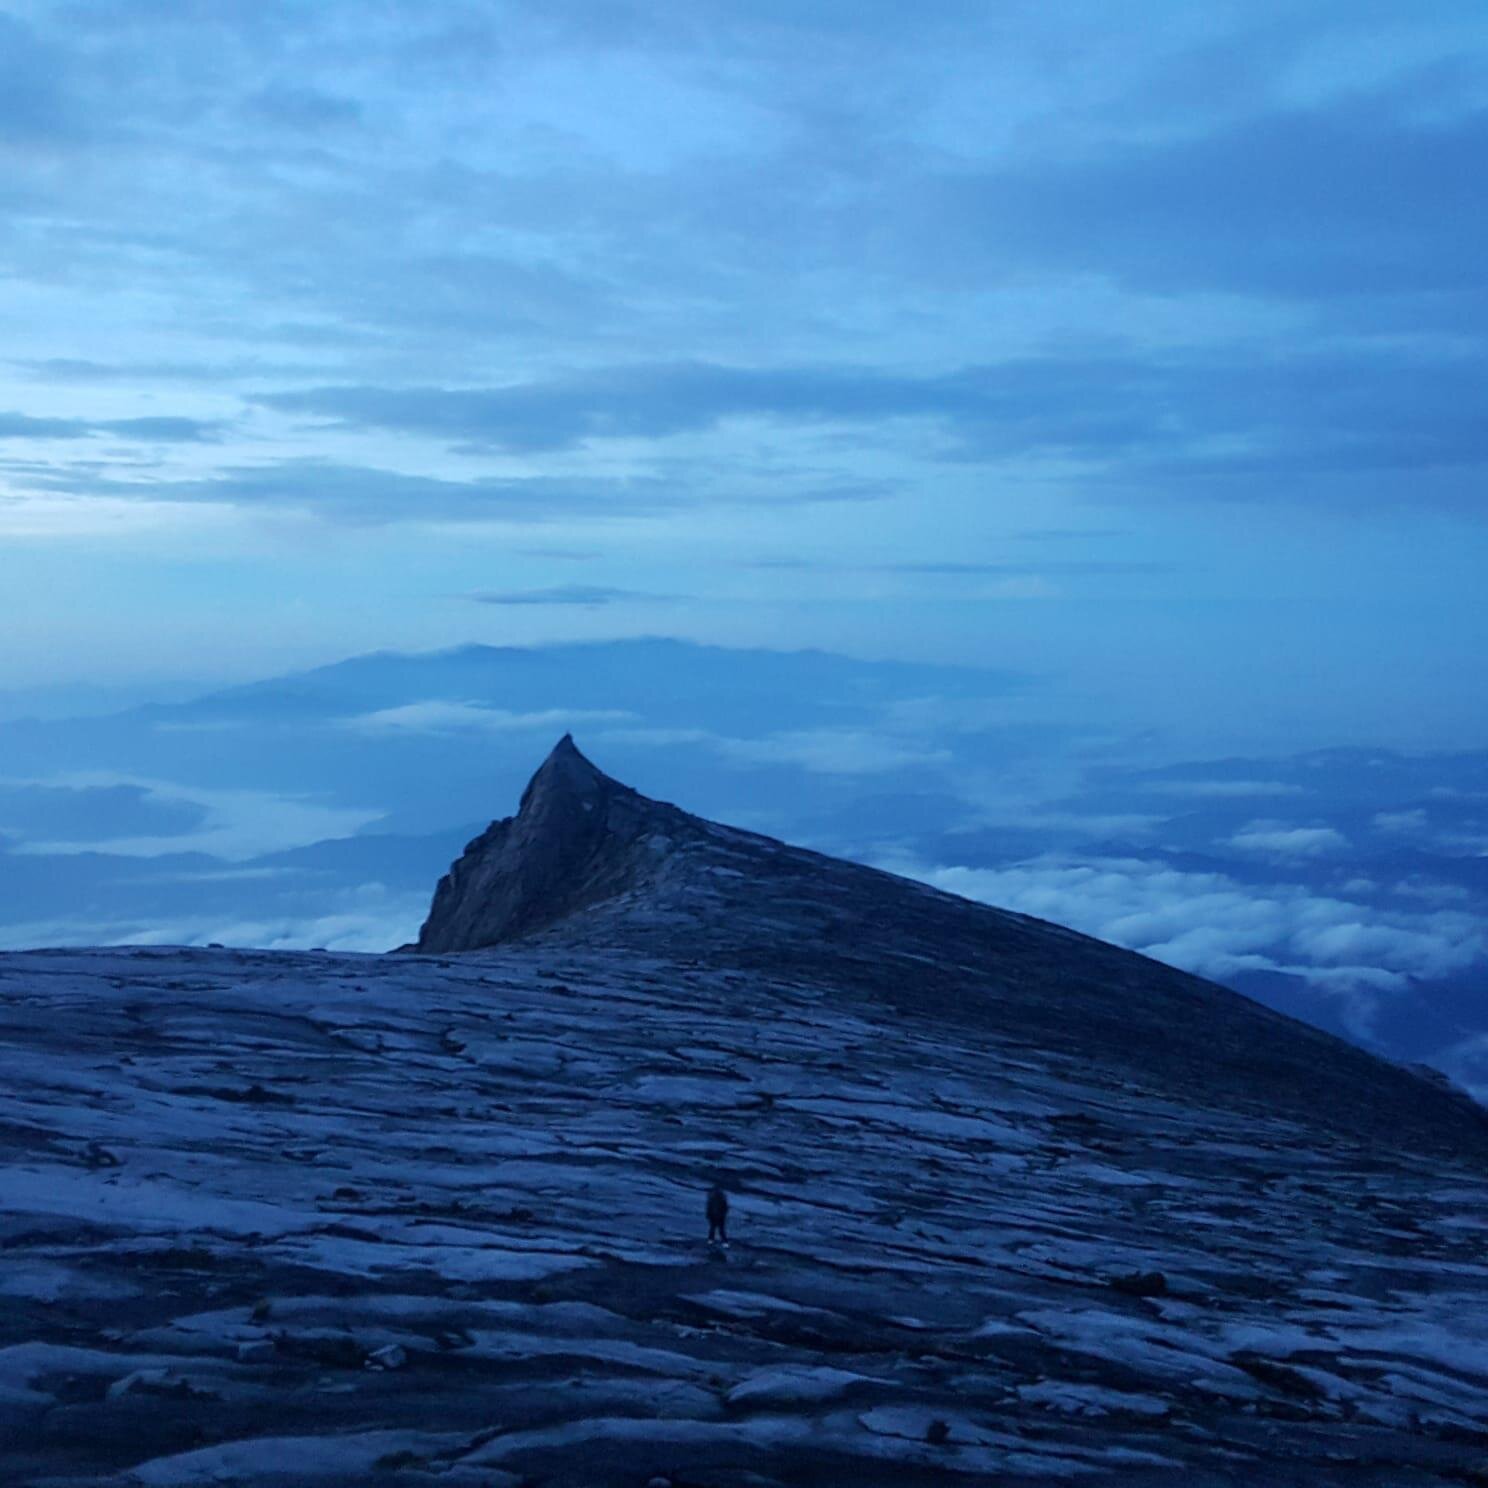
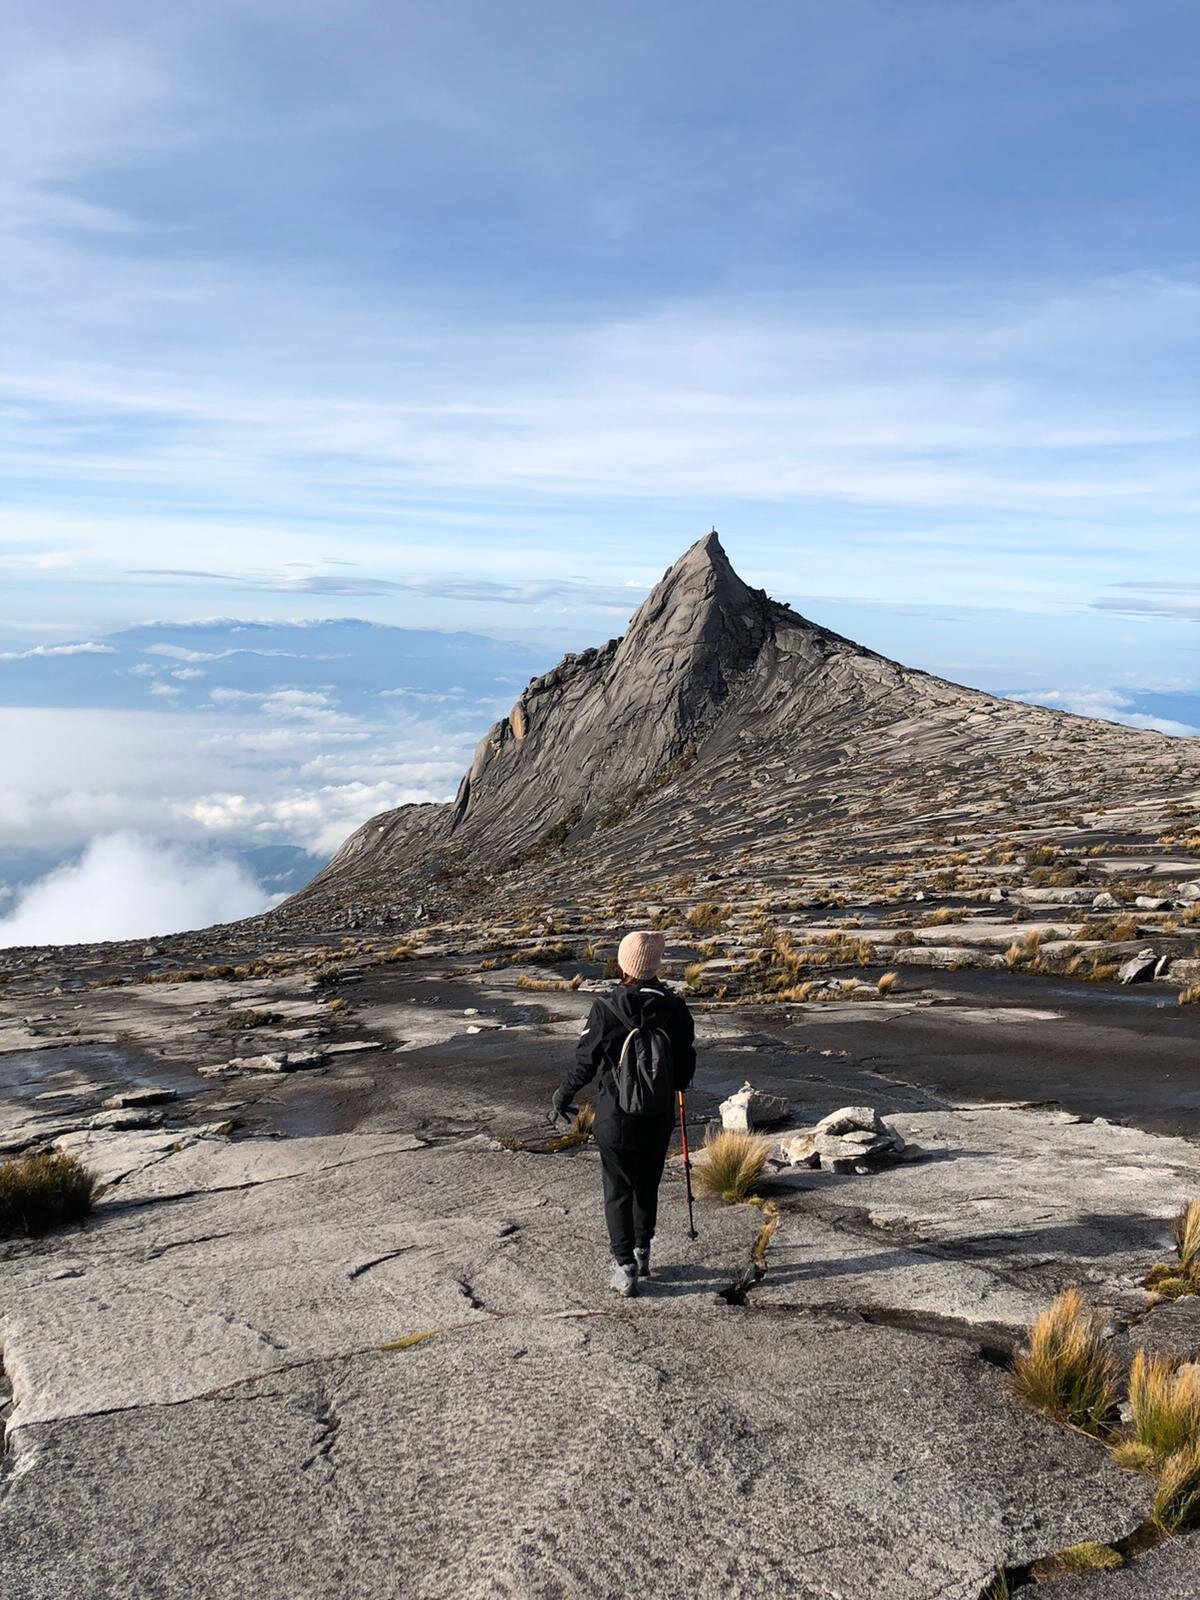
REACHING THE FLAT SURFACE AND THE LONG WALK
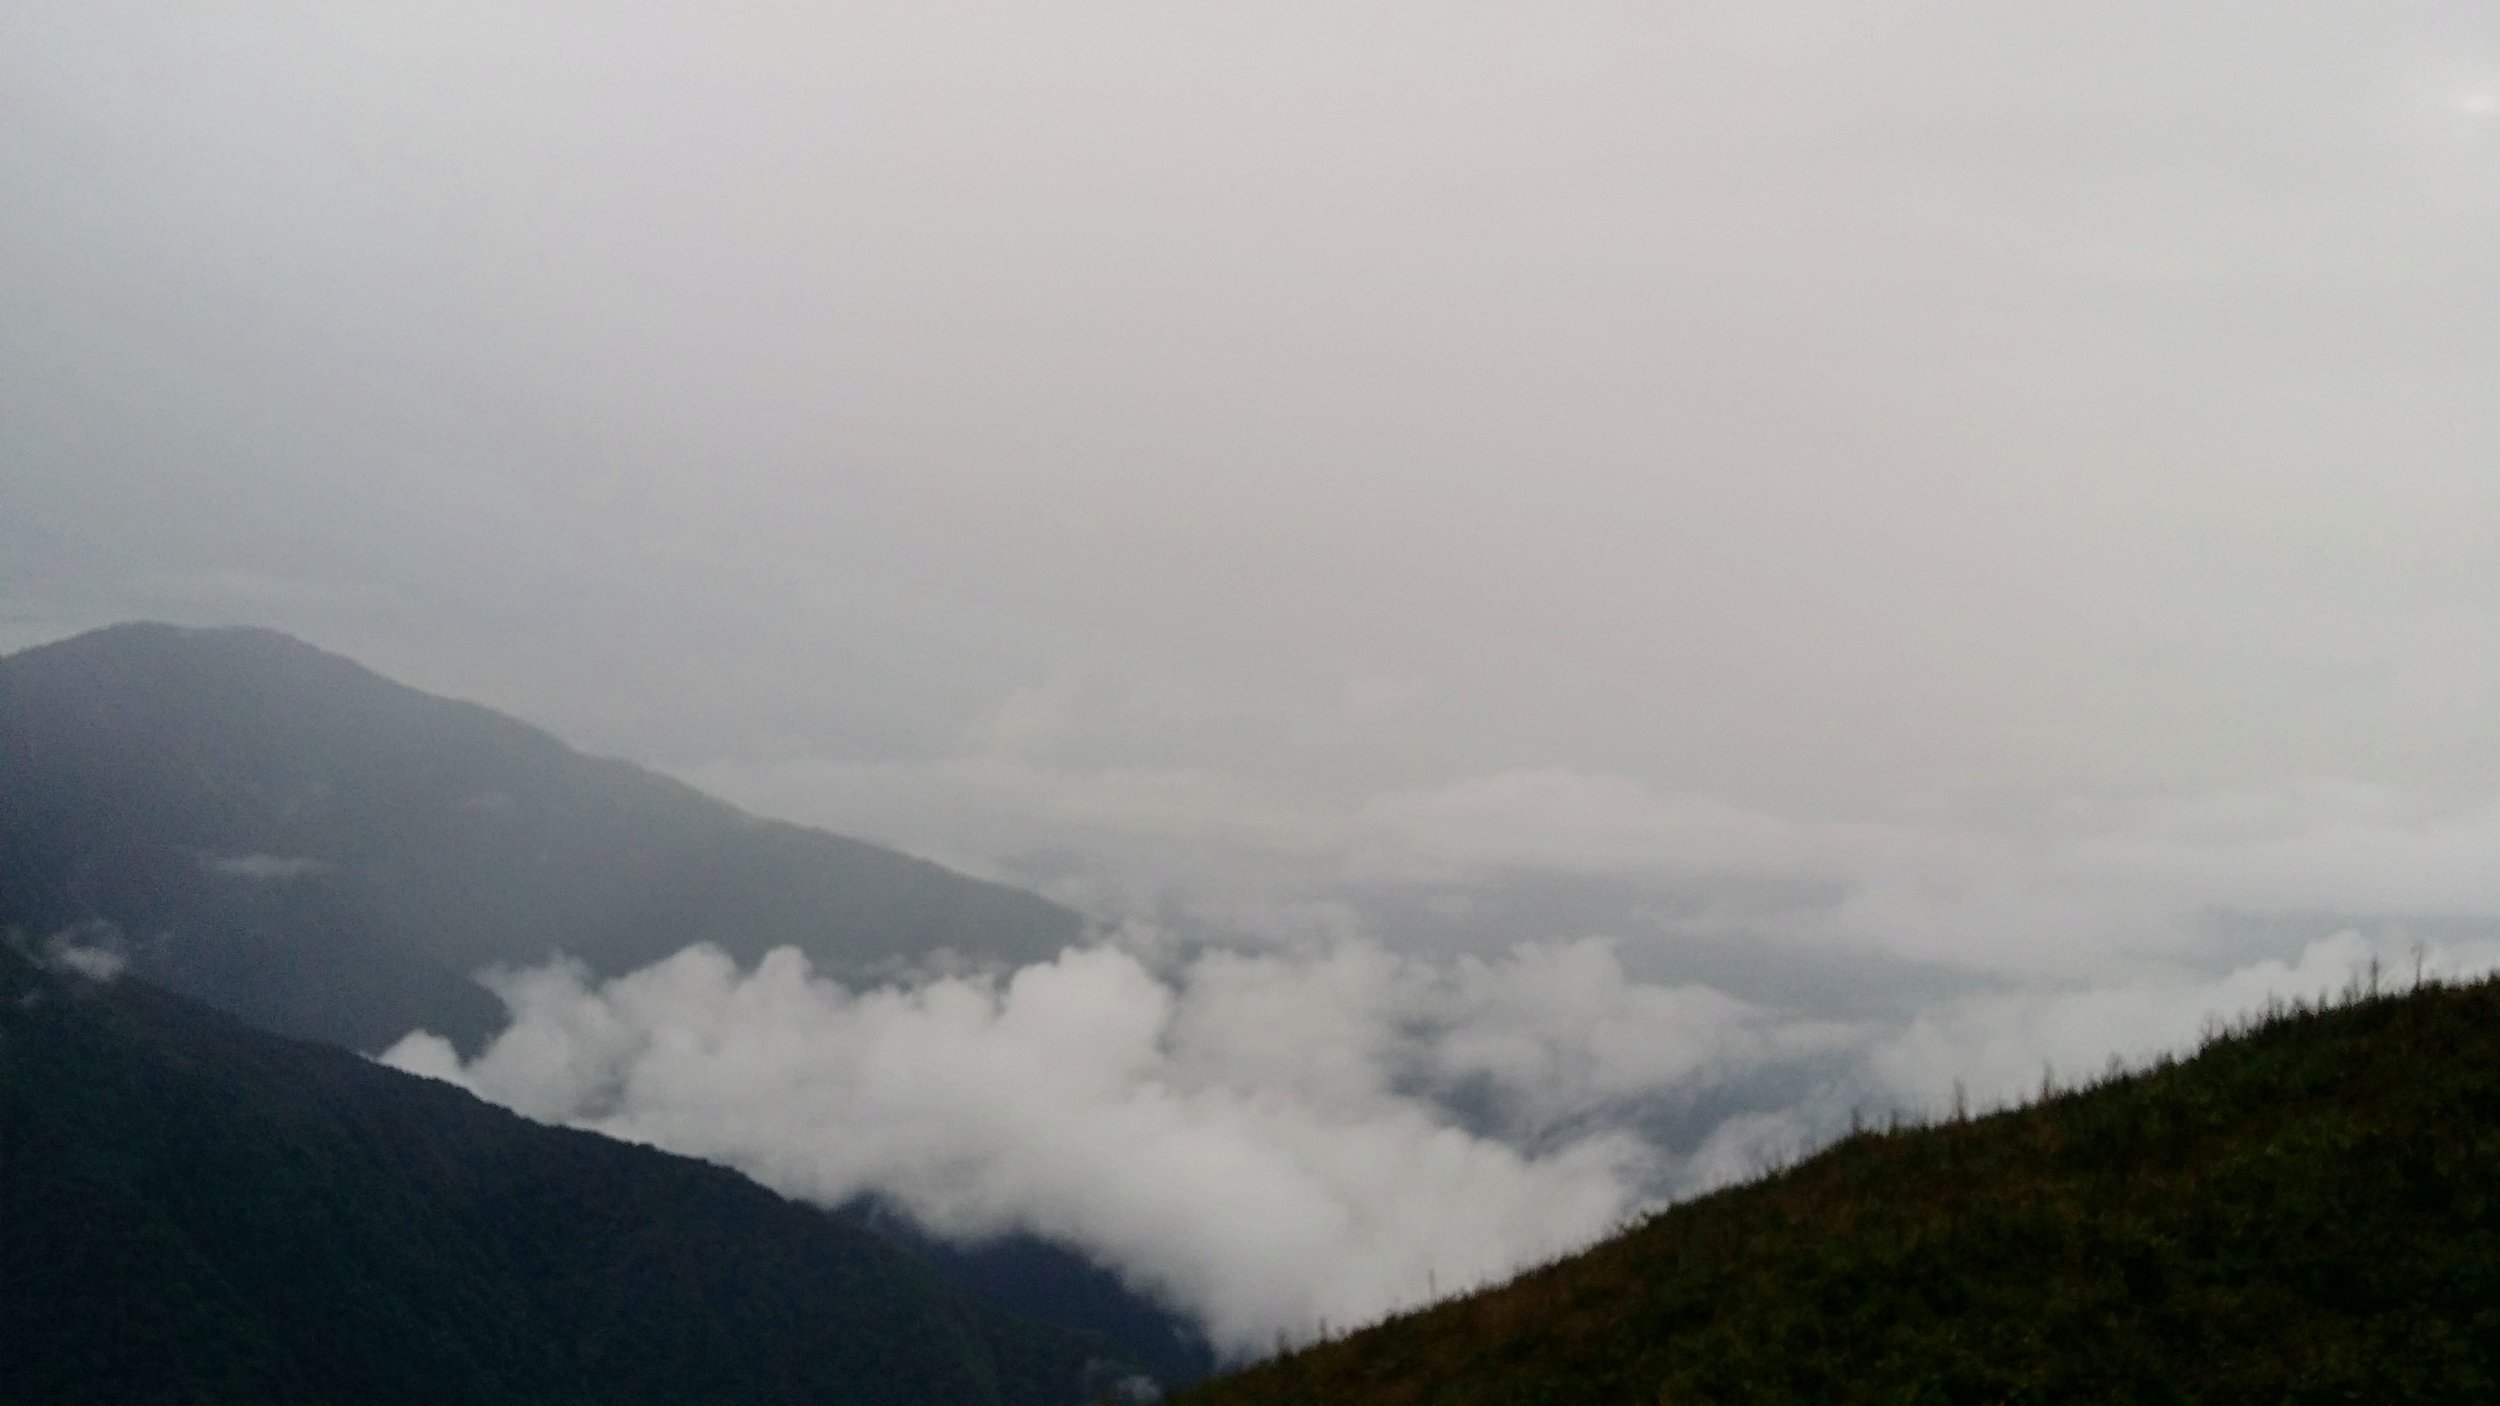
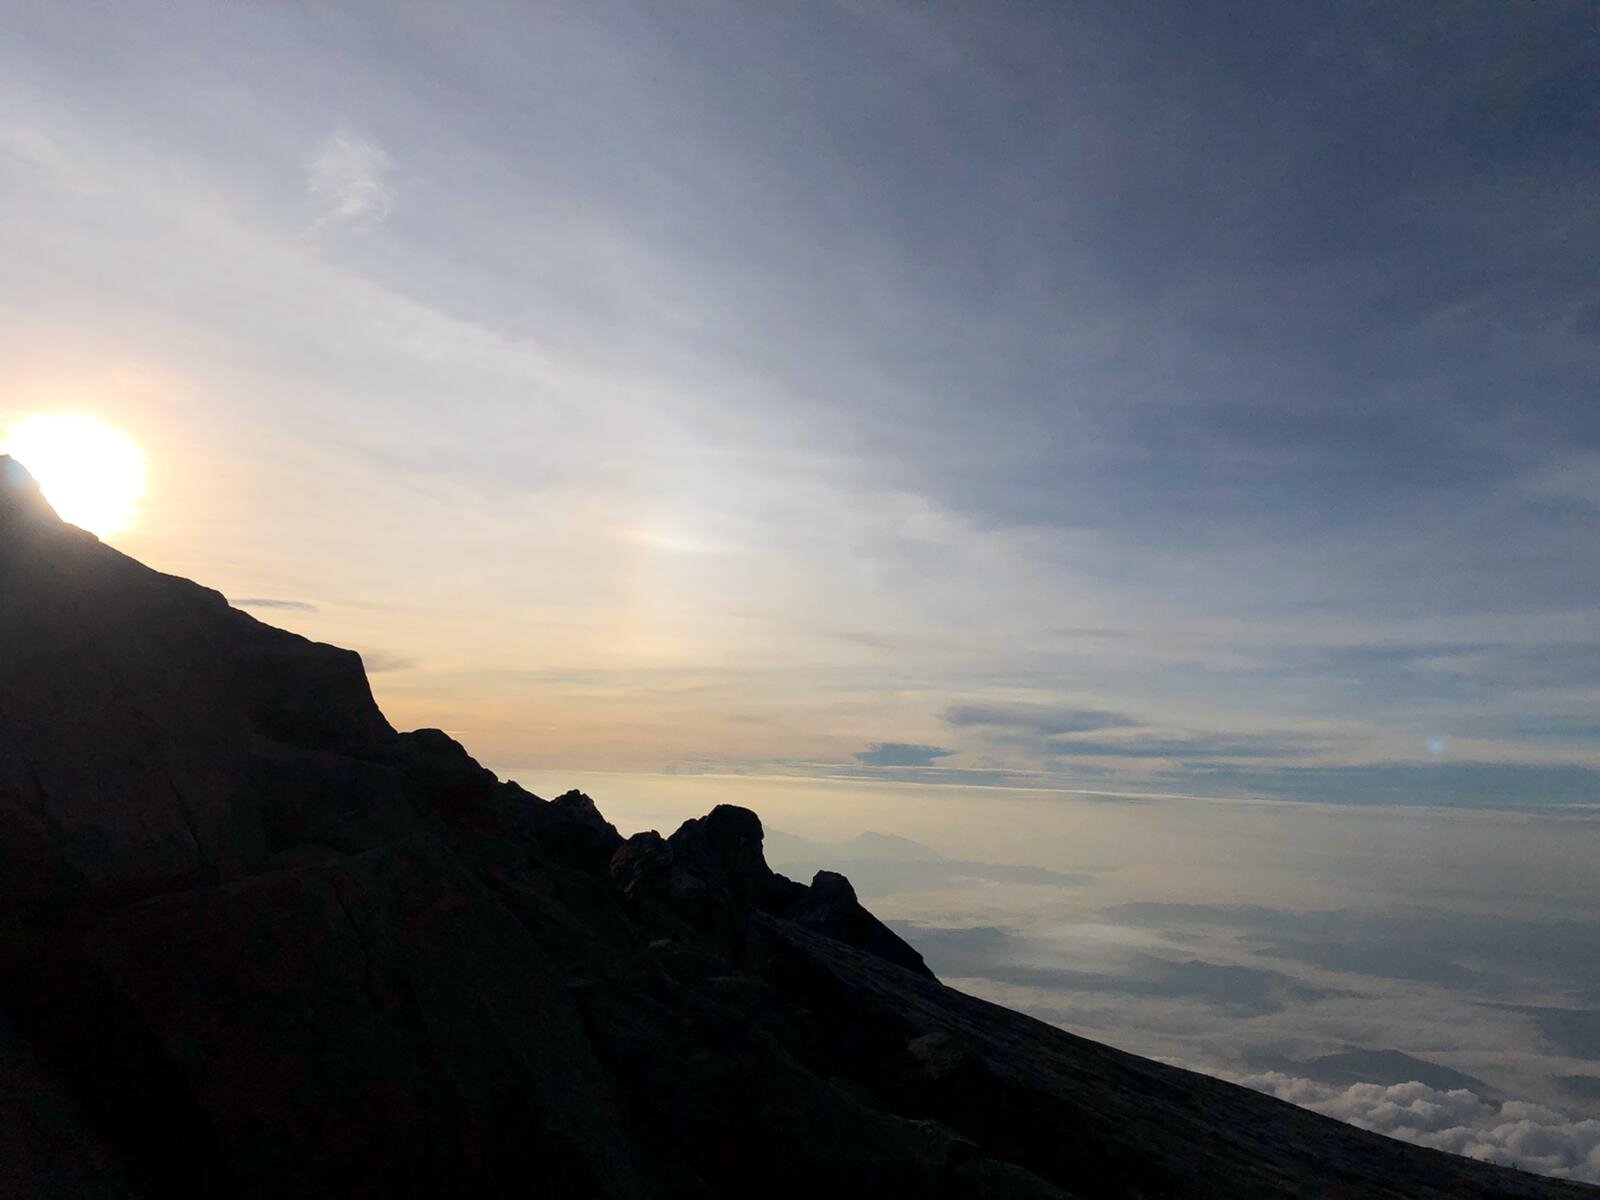
After climbing the summit plateau, the long walk on the flat surface begins. At this time, climbers can enjoy the before dawn view, and soon the first official light will appear.

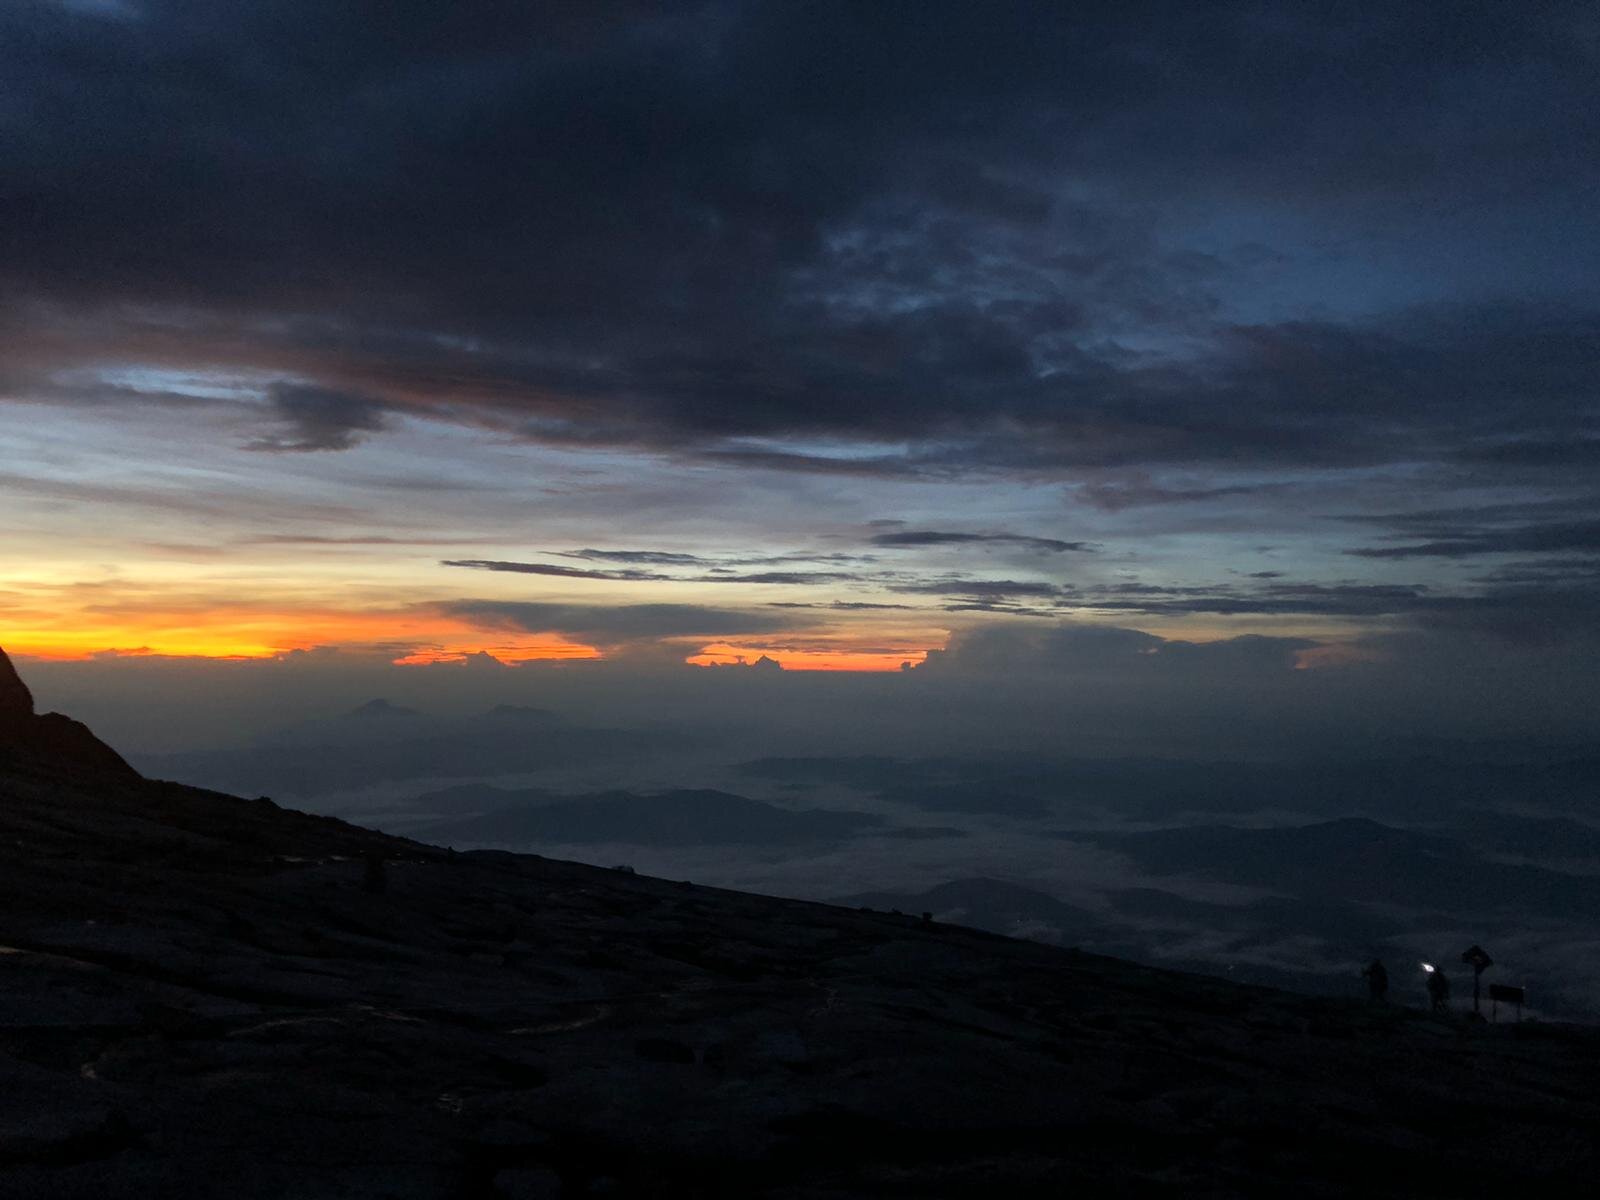
When I say, long, it means it’s really long, and just when you thought you are near, you’re actually not. Don’t be deceived by what you see. The main focus should just keep going, take small steps and do not stop. The moment you stop, it’s when you will start to feel cold and tired.
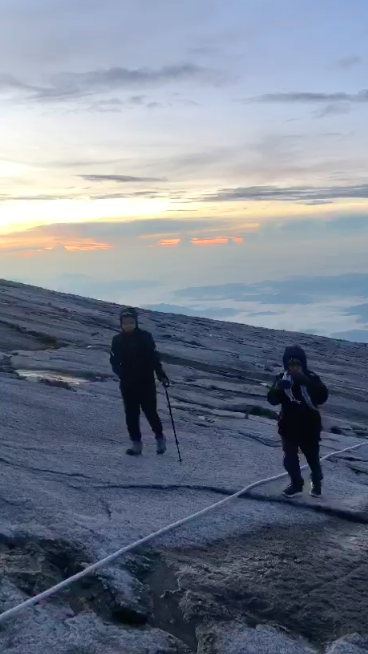
I was overjoyed when I reach the flat surface, and I was delighted by the view, from pictures to reality. I still couldn’t believe it, and I was all smiley also because we’re finally walking in a flat path. However, it is getting too long, and I thought that I could walk to the summit starting point in 20 minutes, but it took me longer than expected.
THE SUMMIT
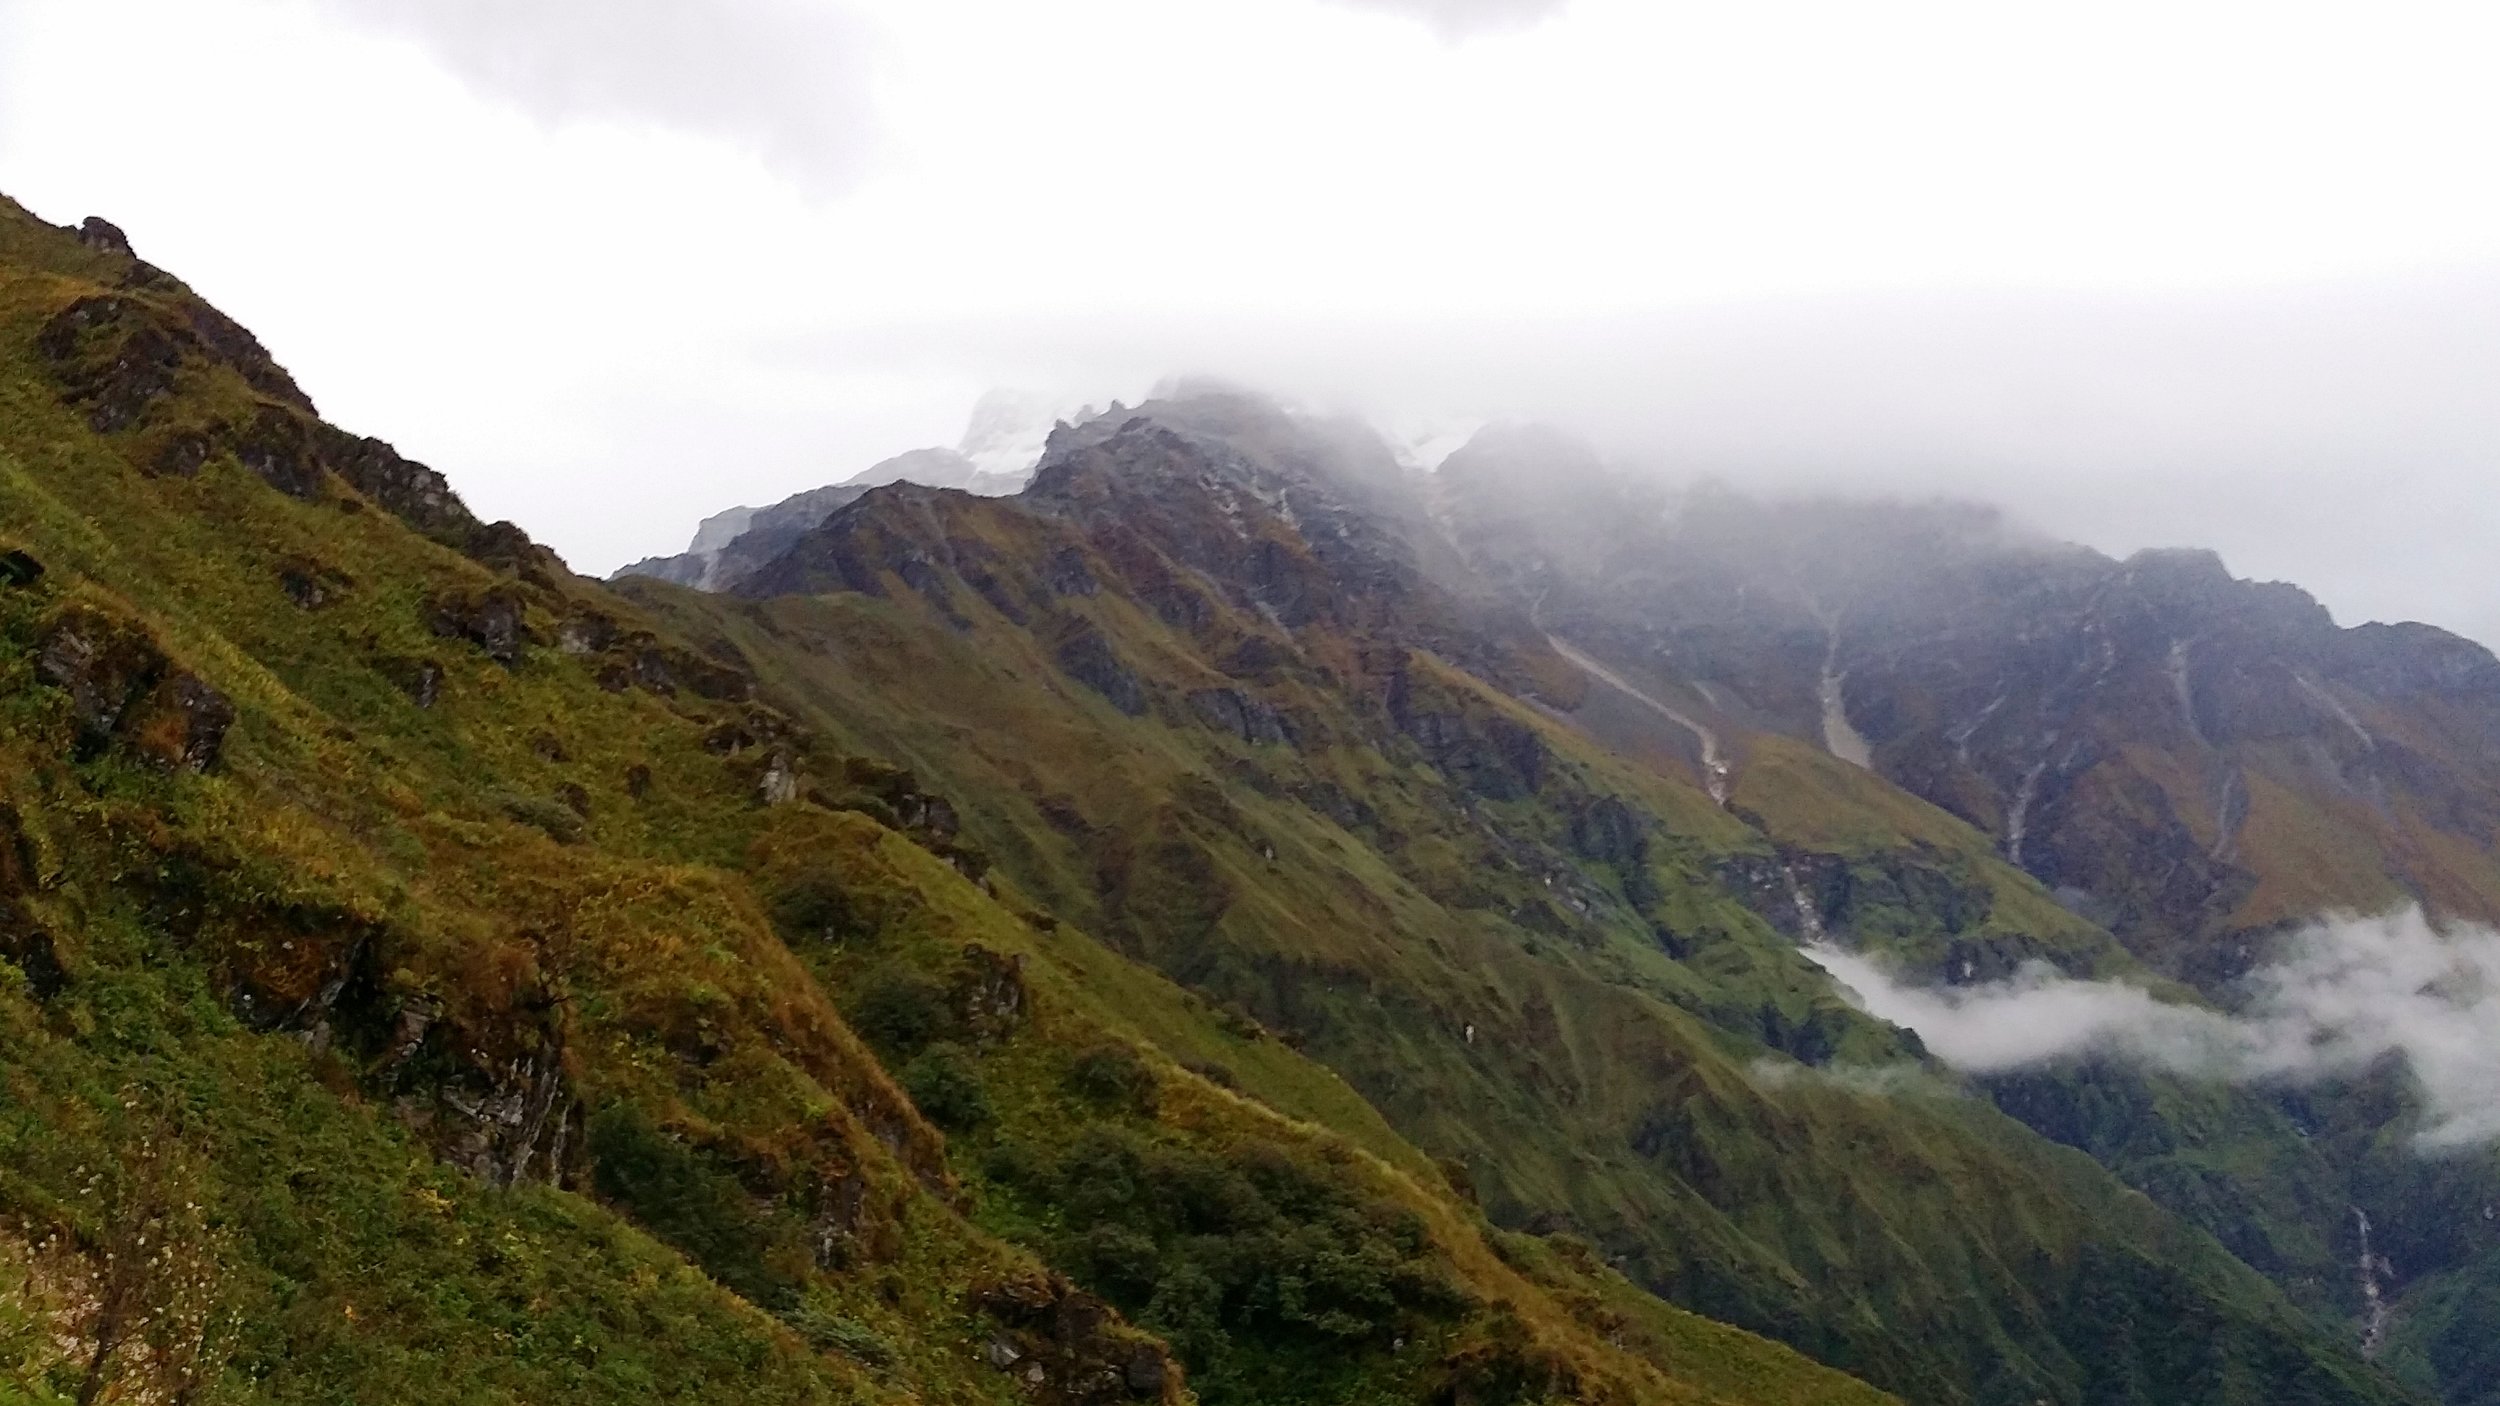
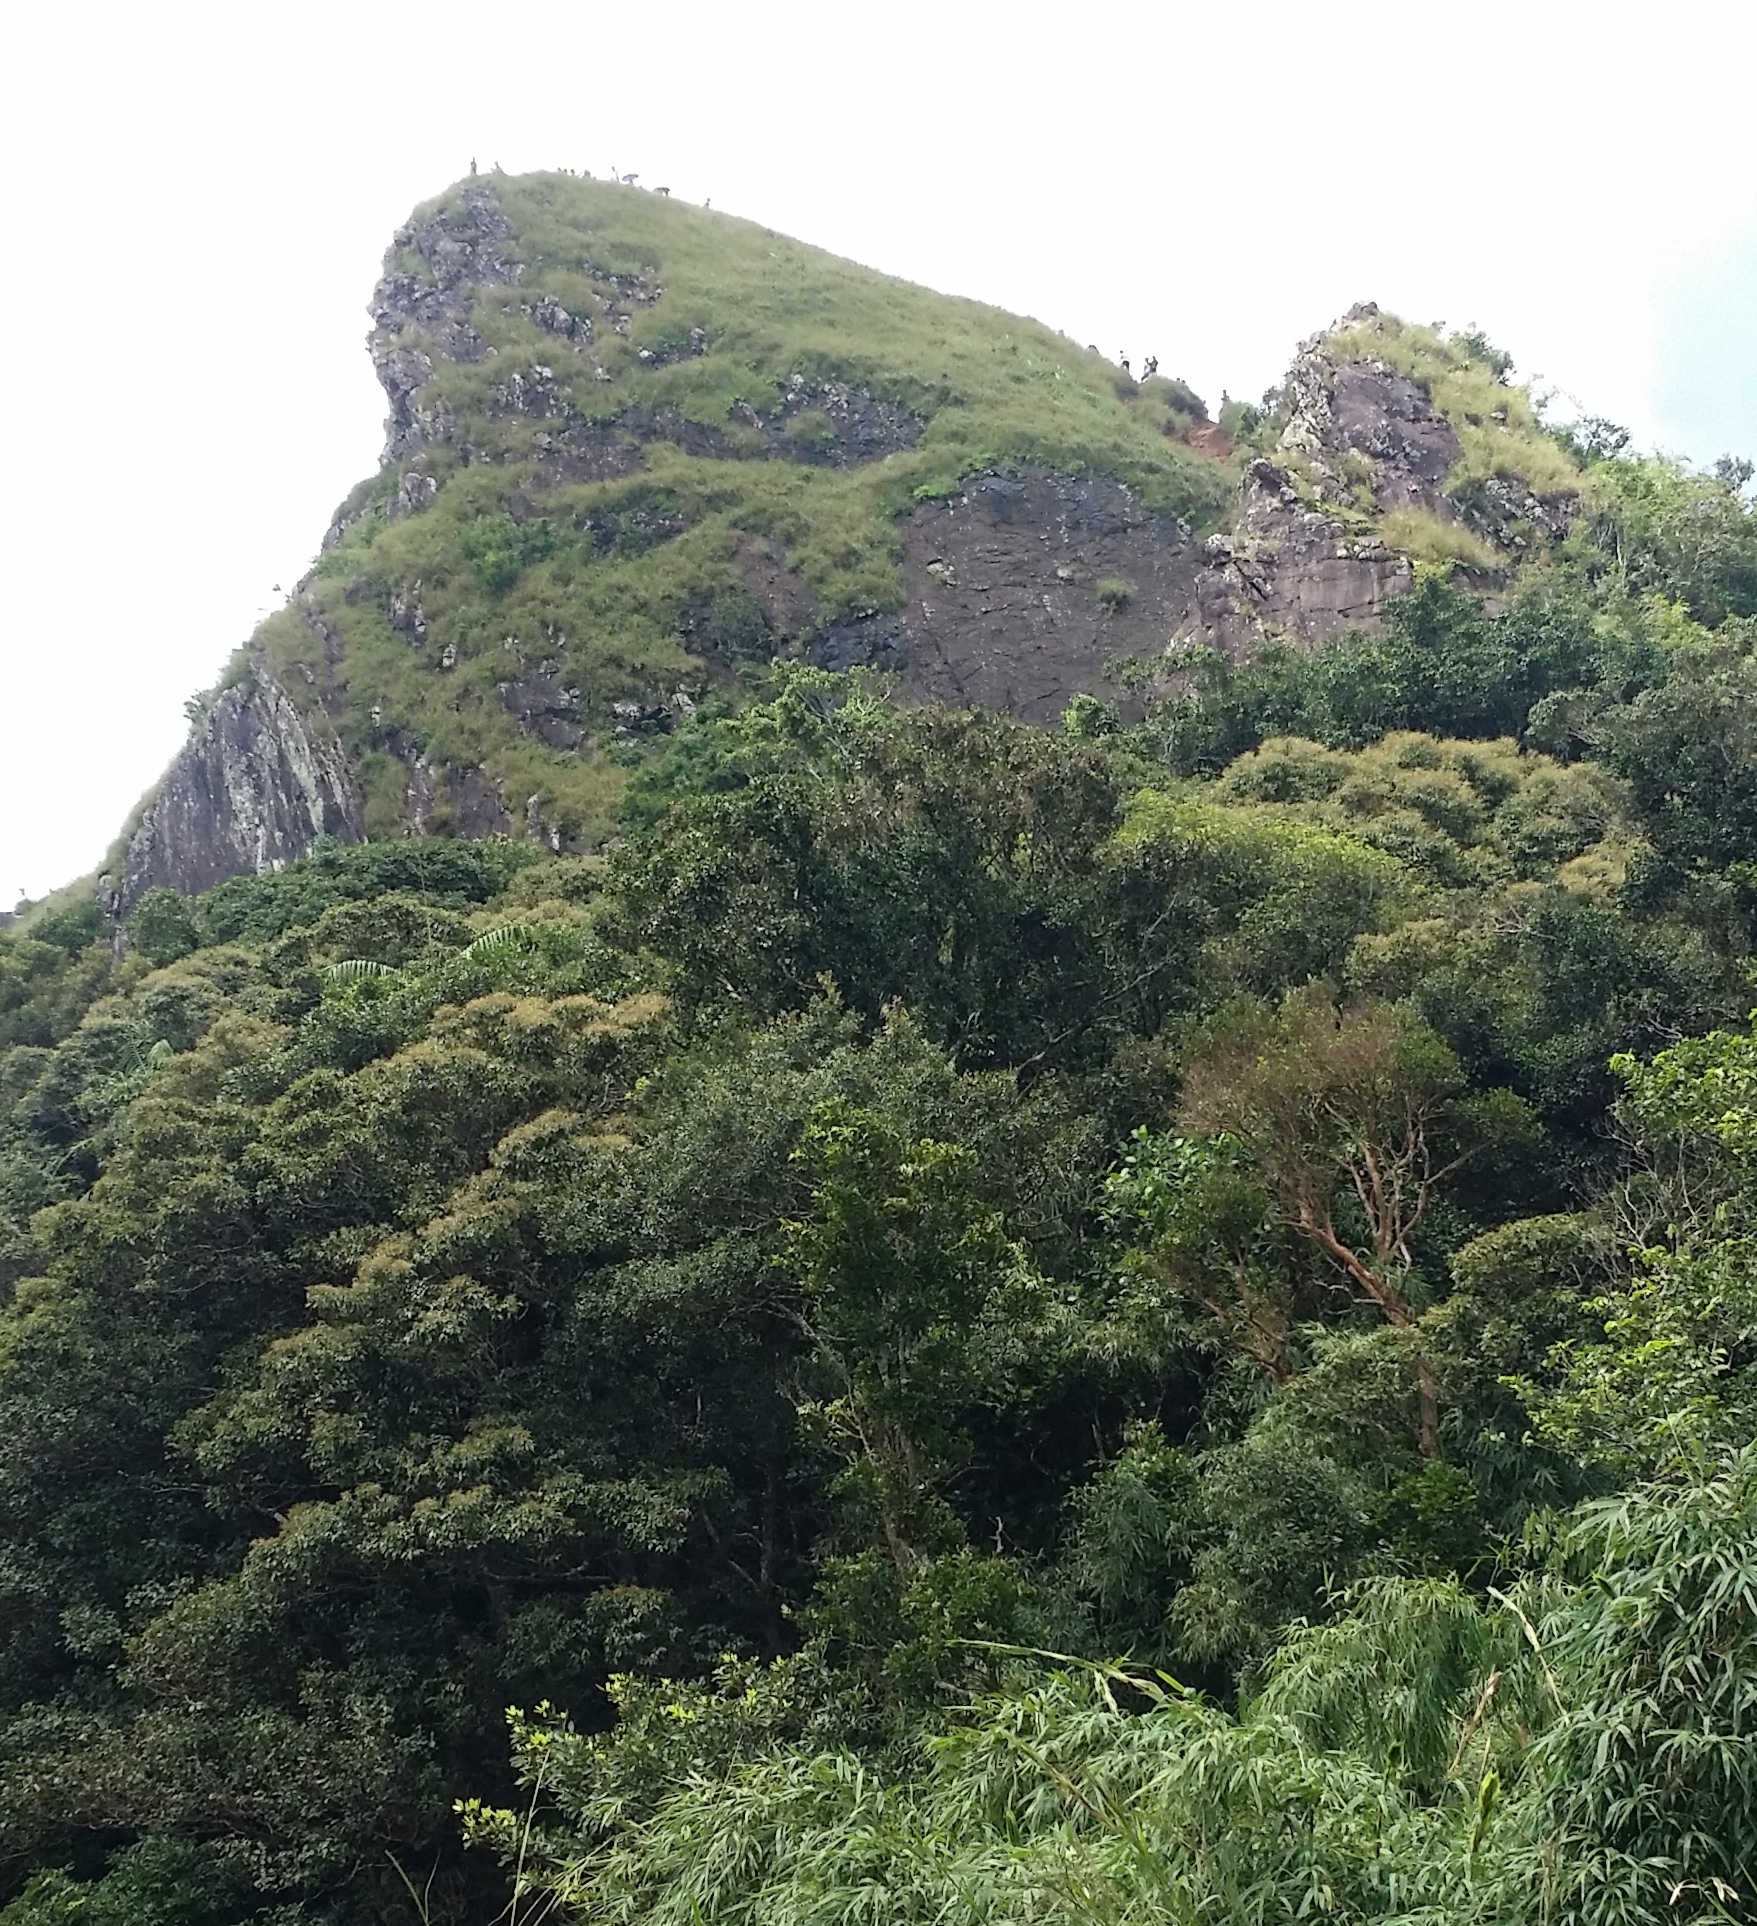
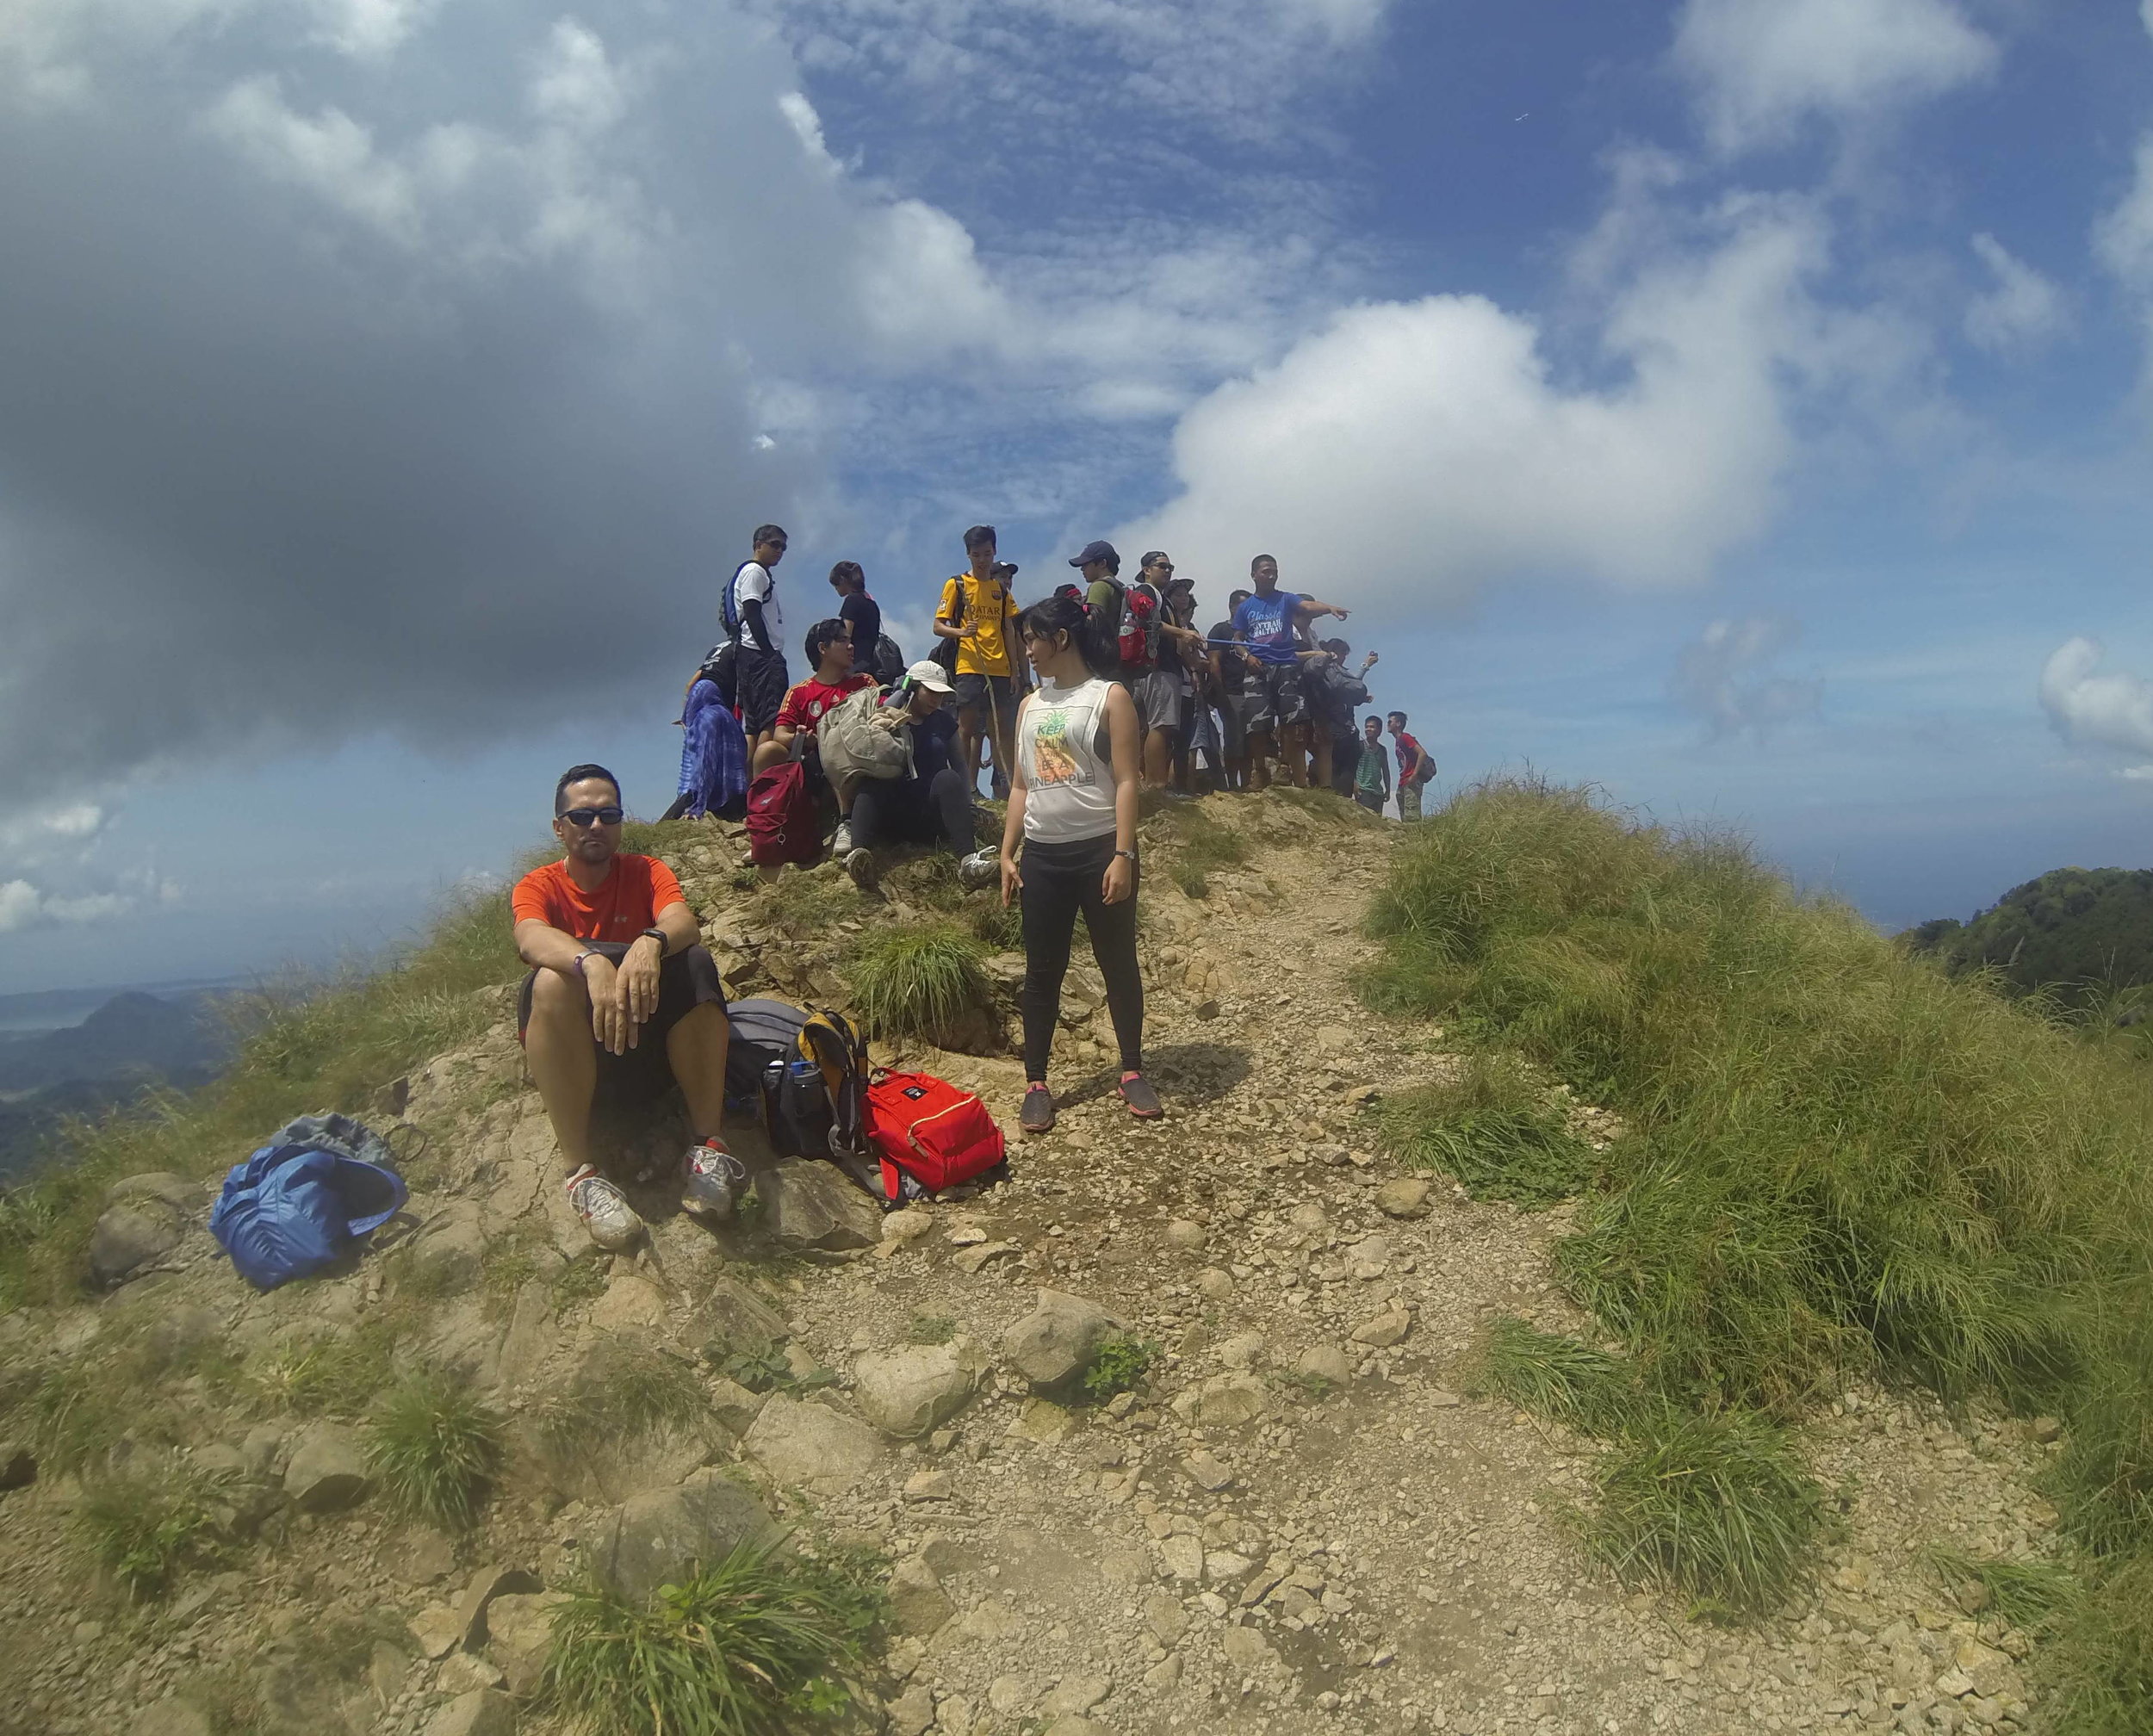
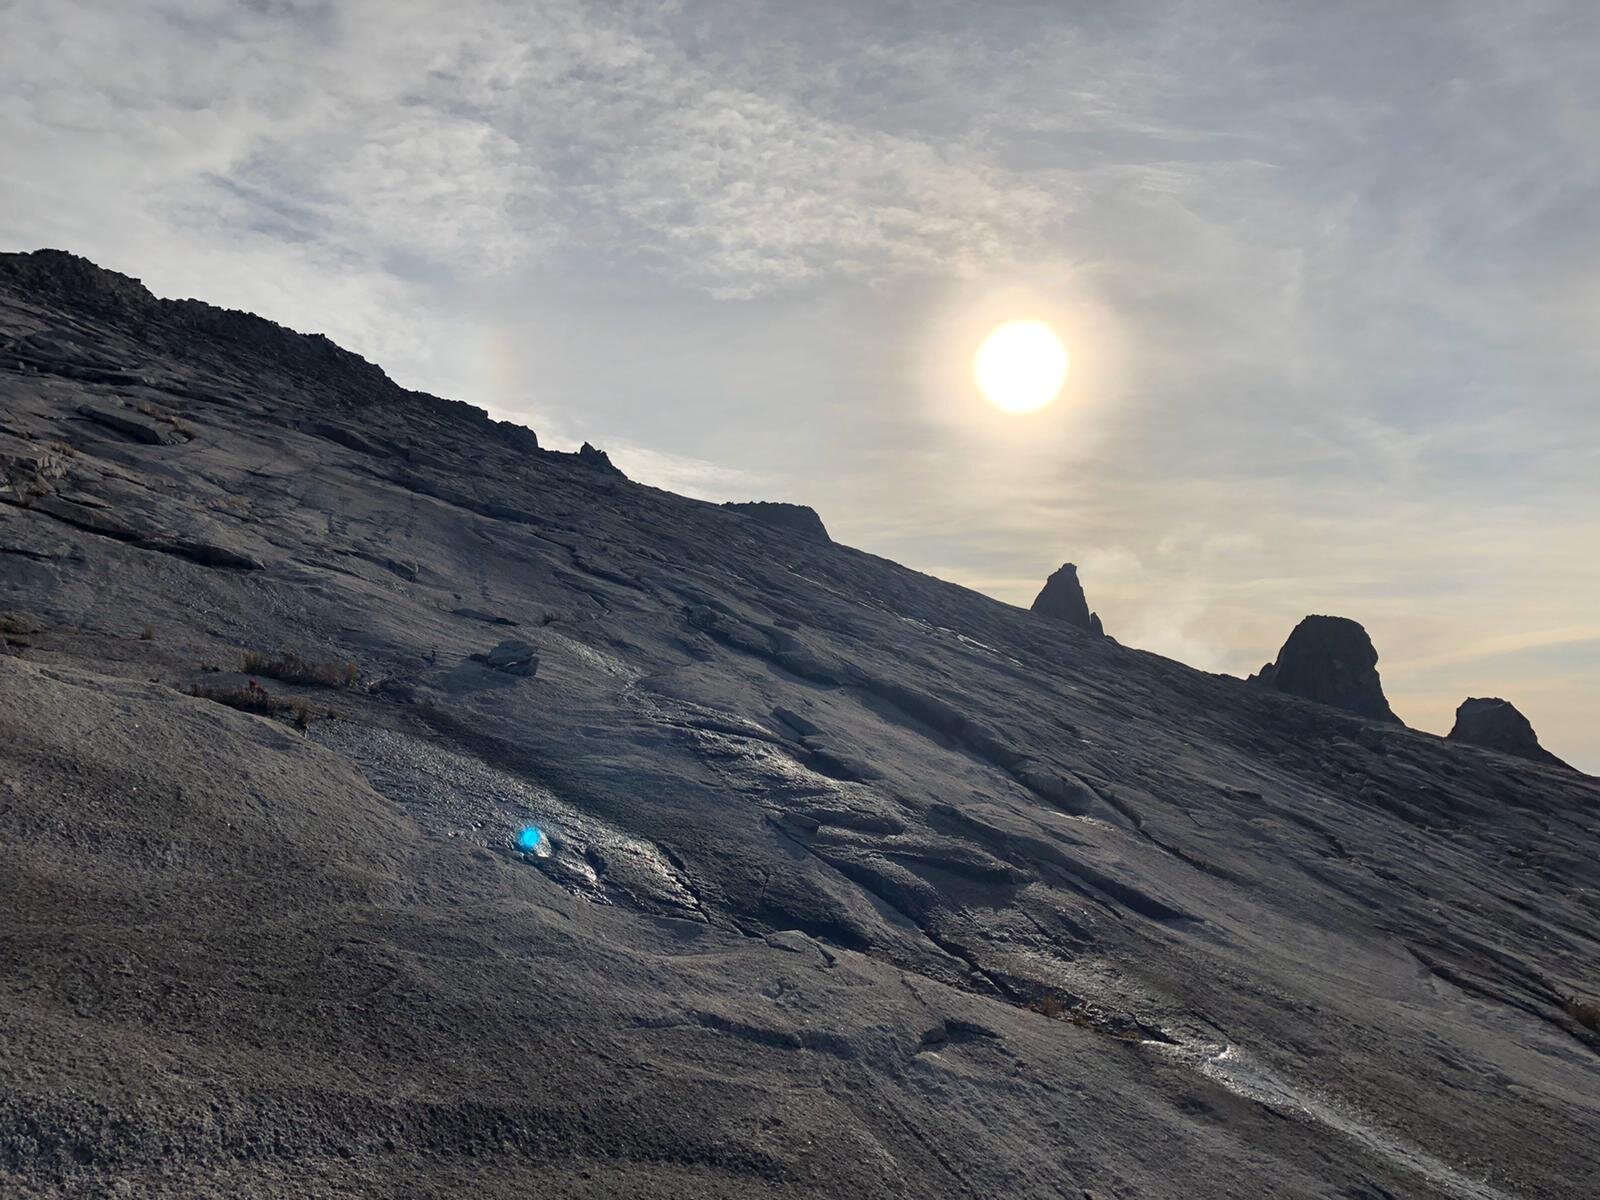
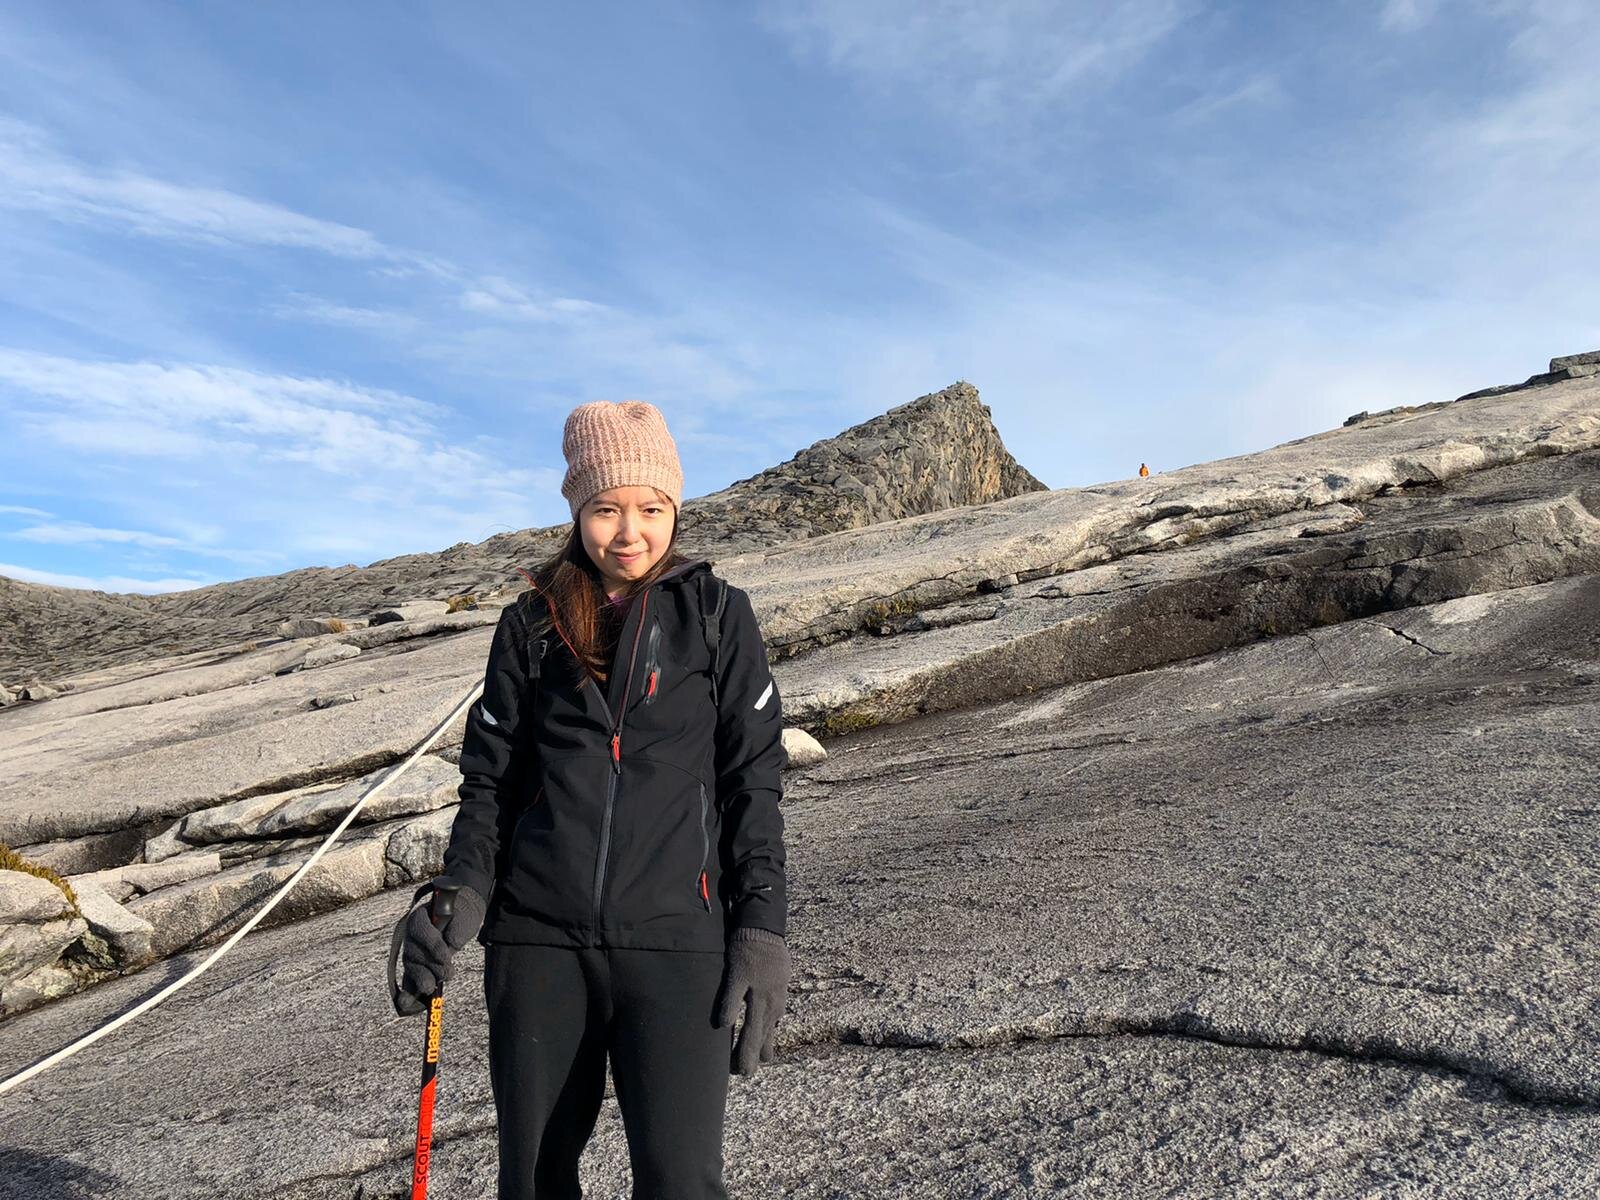
Before reaching the summit starting point, climbers will face some obstacles. It requires them to step on big rocks and uneven pathways. It’s like scavenging where climbers have to move places to places. The final ascent begins with climbing over boulders and loose rocks. It takes 90m to reach the top. The climb is relatively technical, and one must have sufficient energy to do it. The thin air will make it harder to breathe.
There are some ropes attached to the mountain, but they are quite useless if I’m being honest. Climbers have to find their path. One wrong step or move will not possibly end well. It can be tough for people who have never done mountain climbing before.
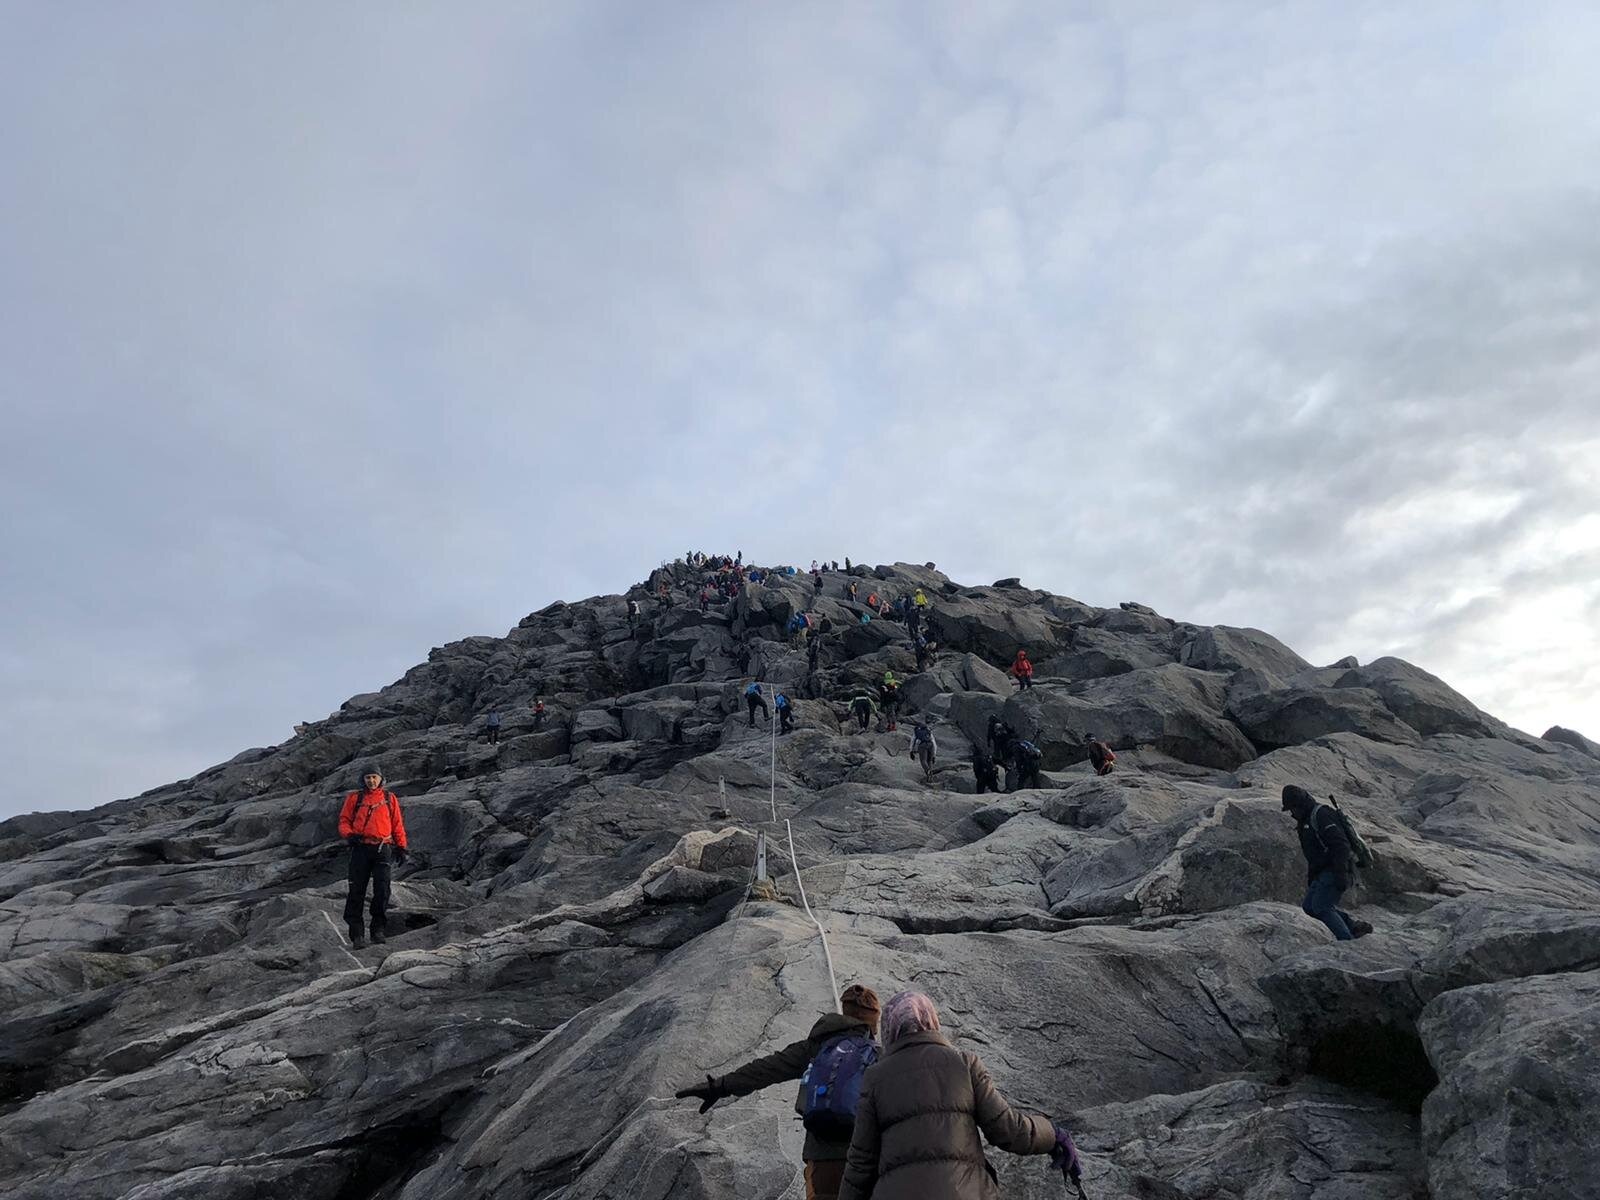

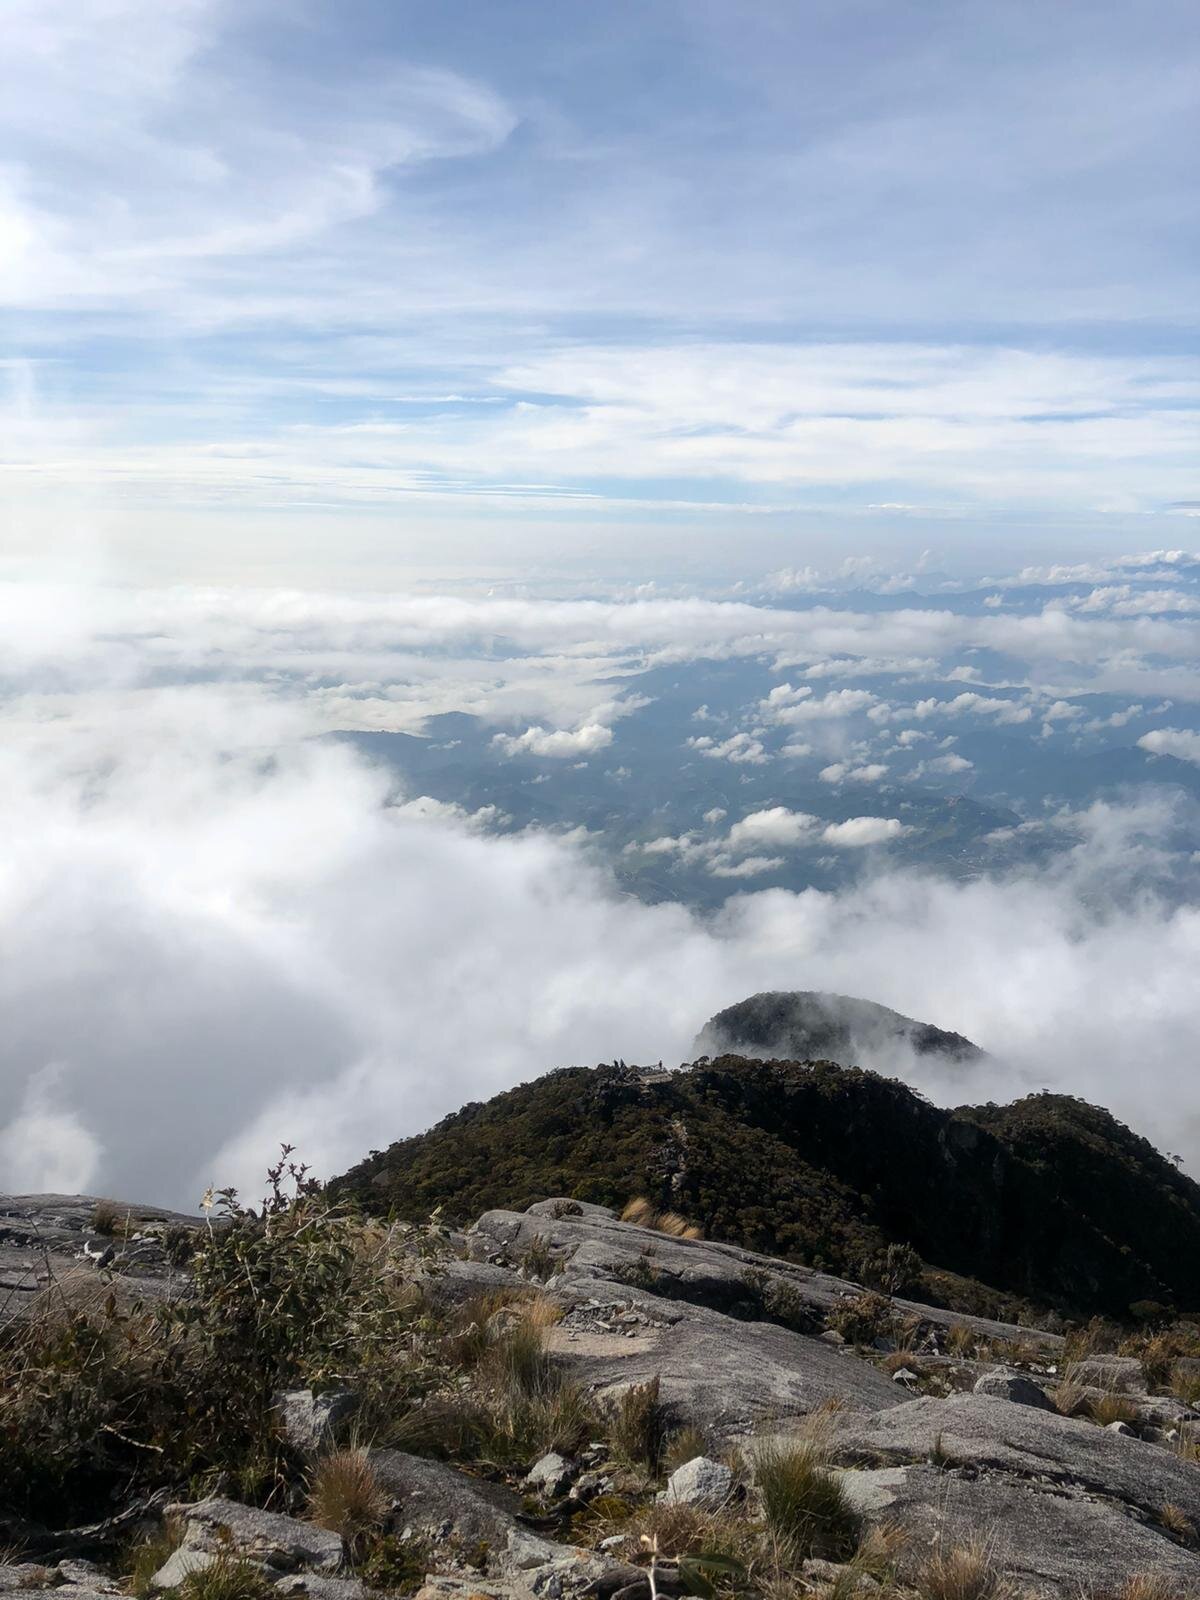

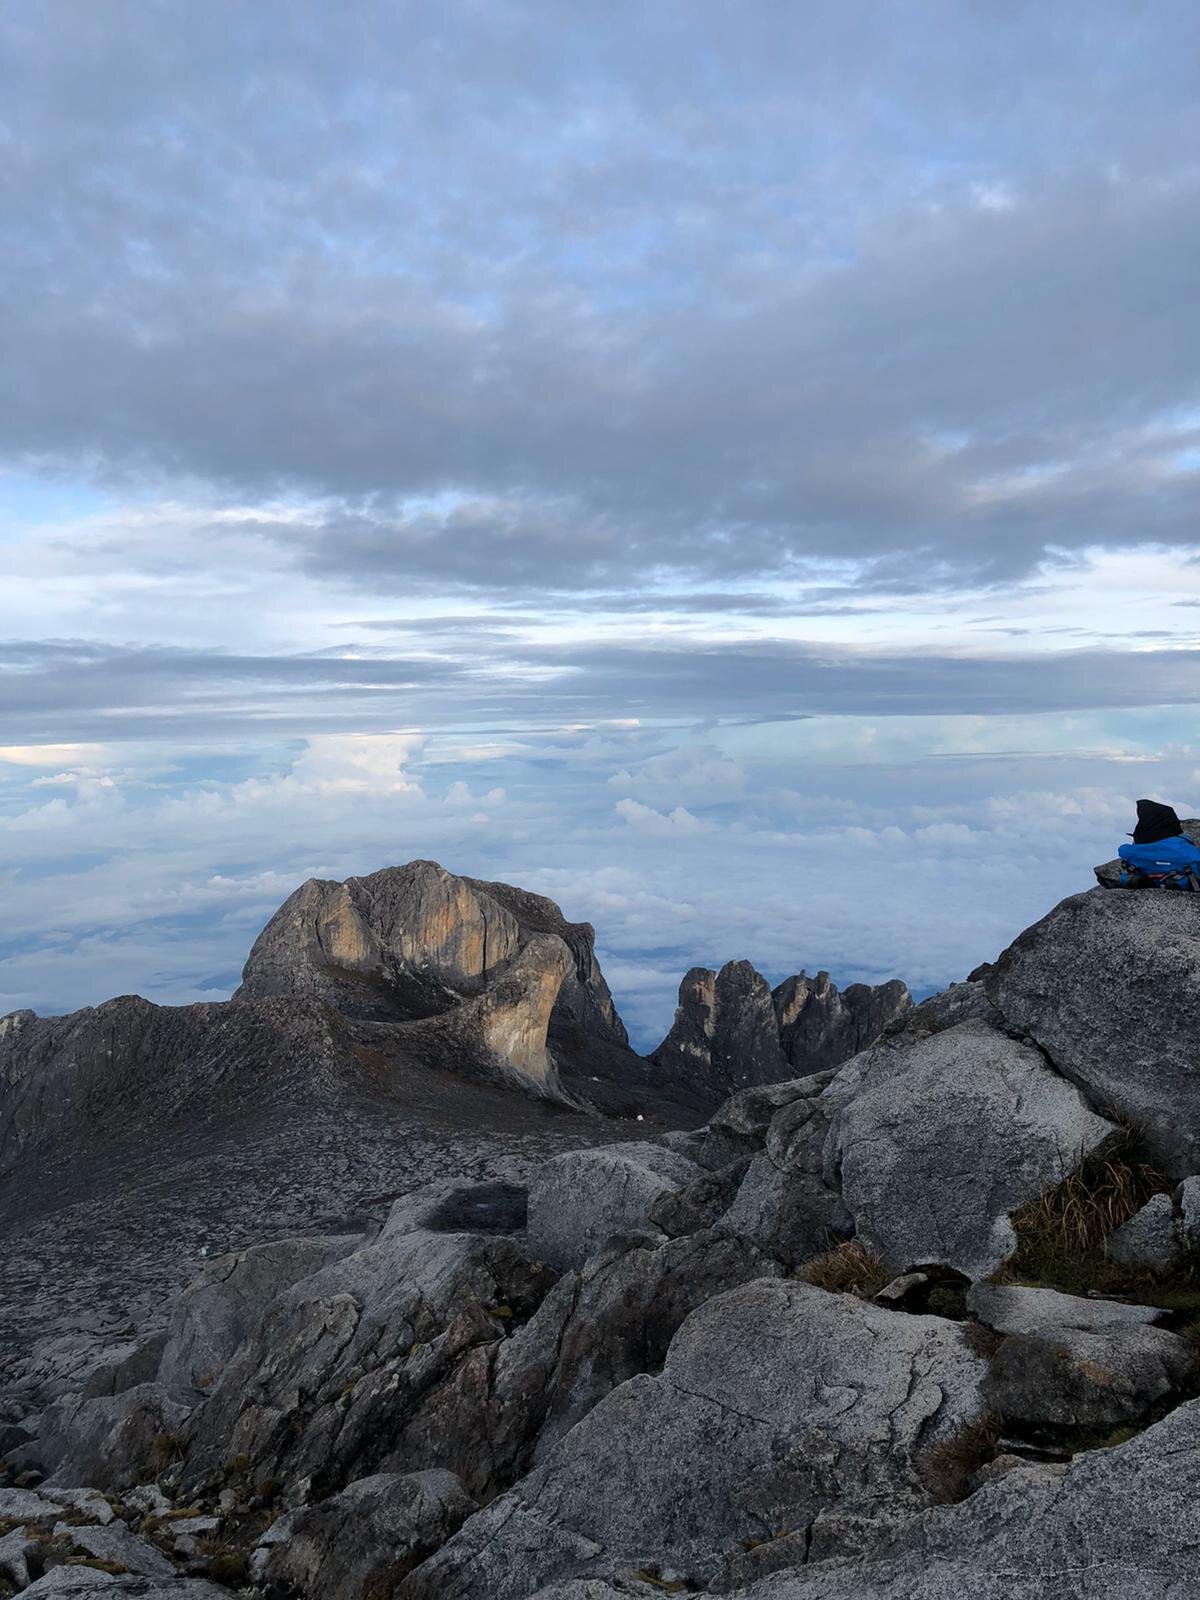
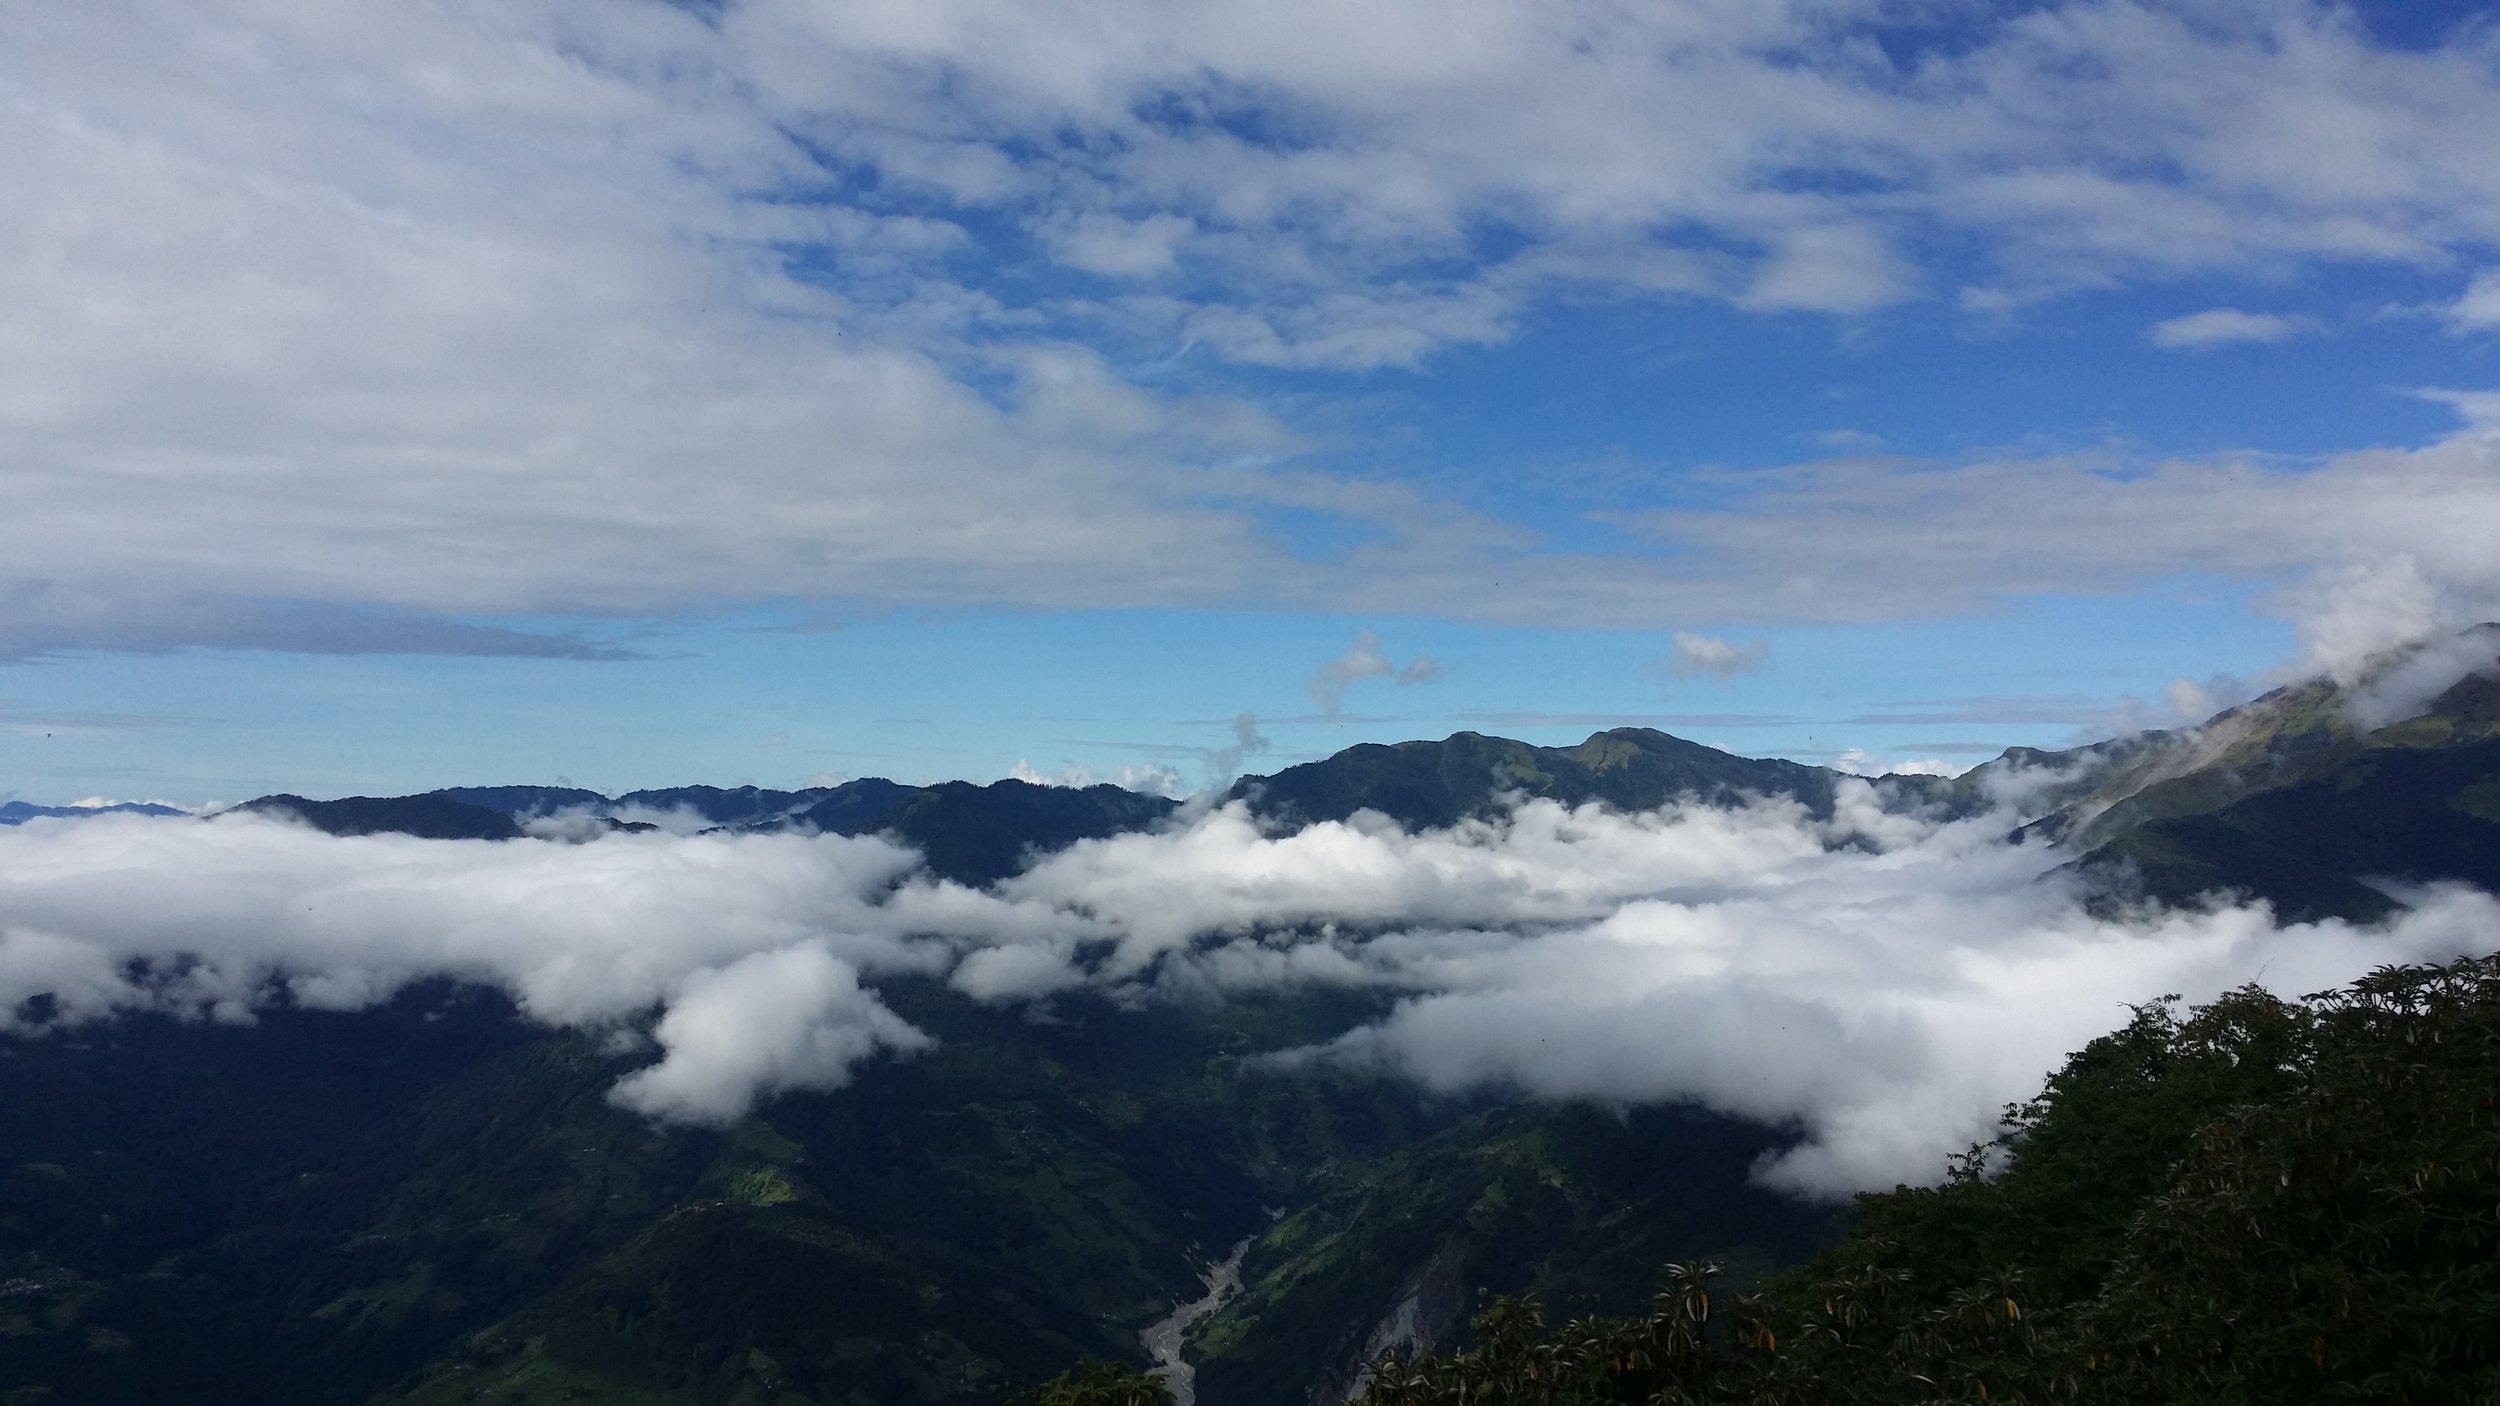
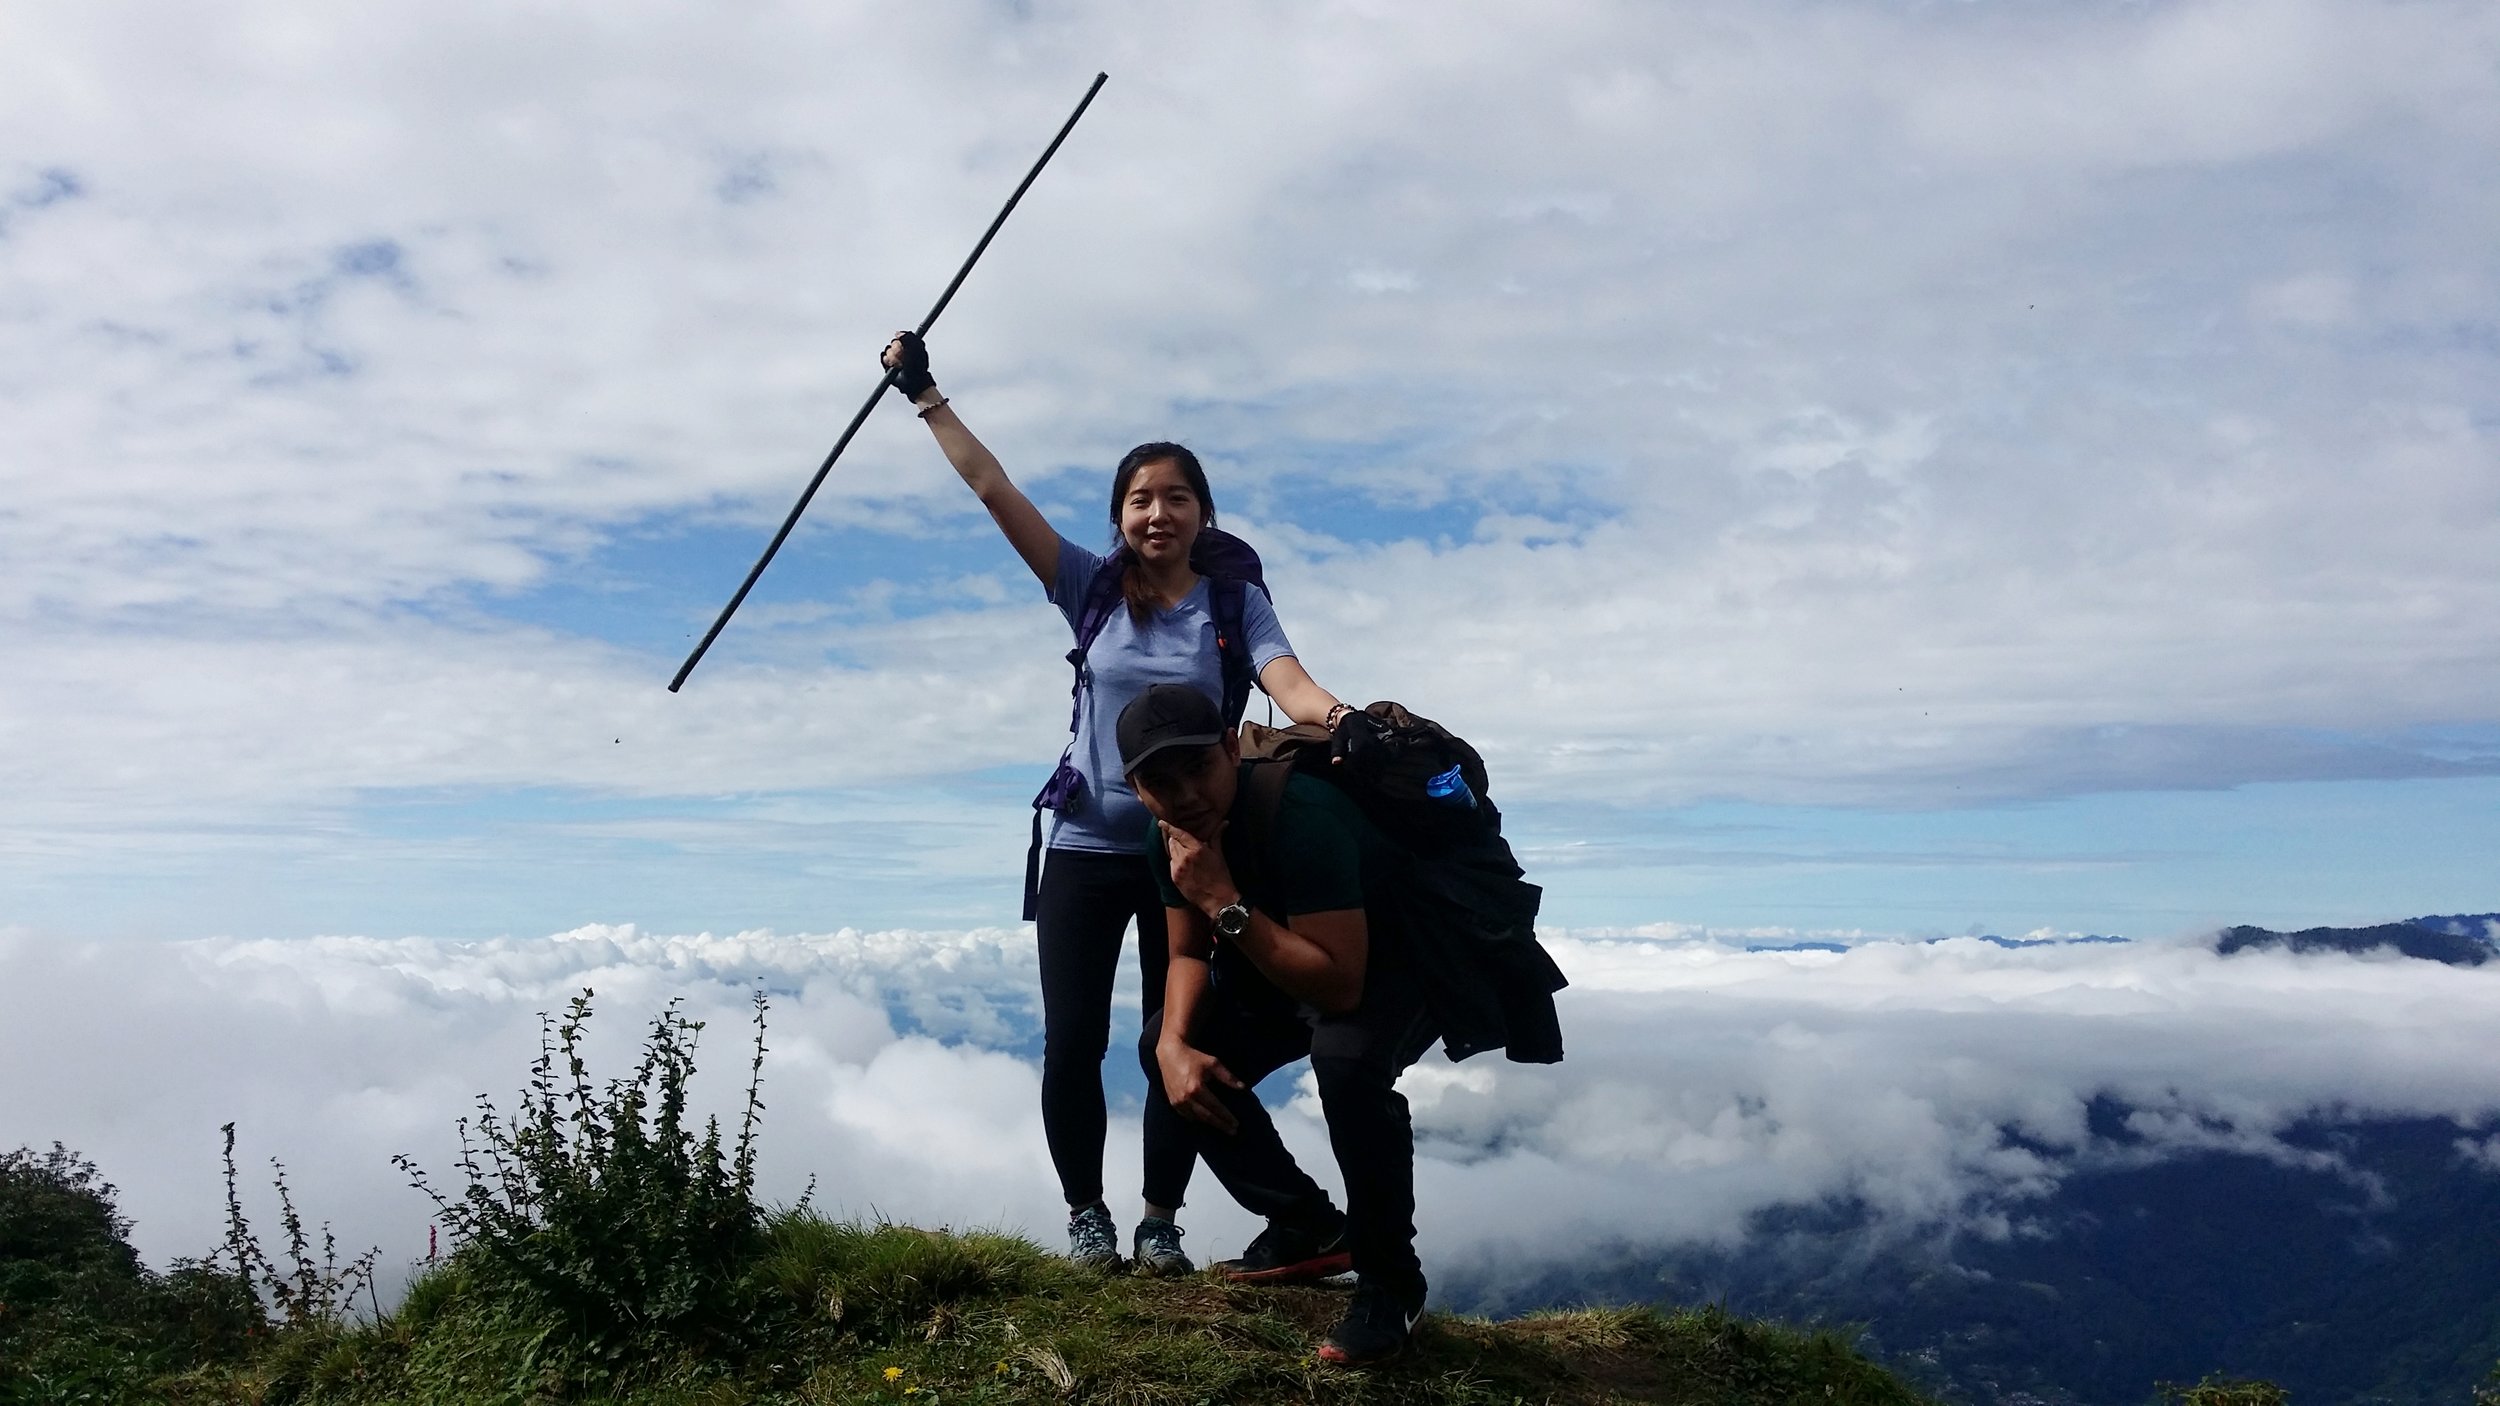
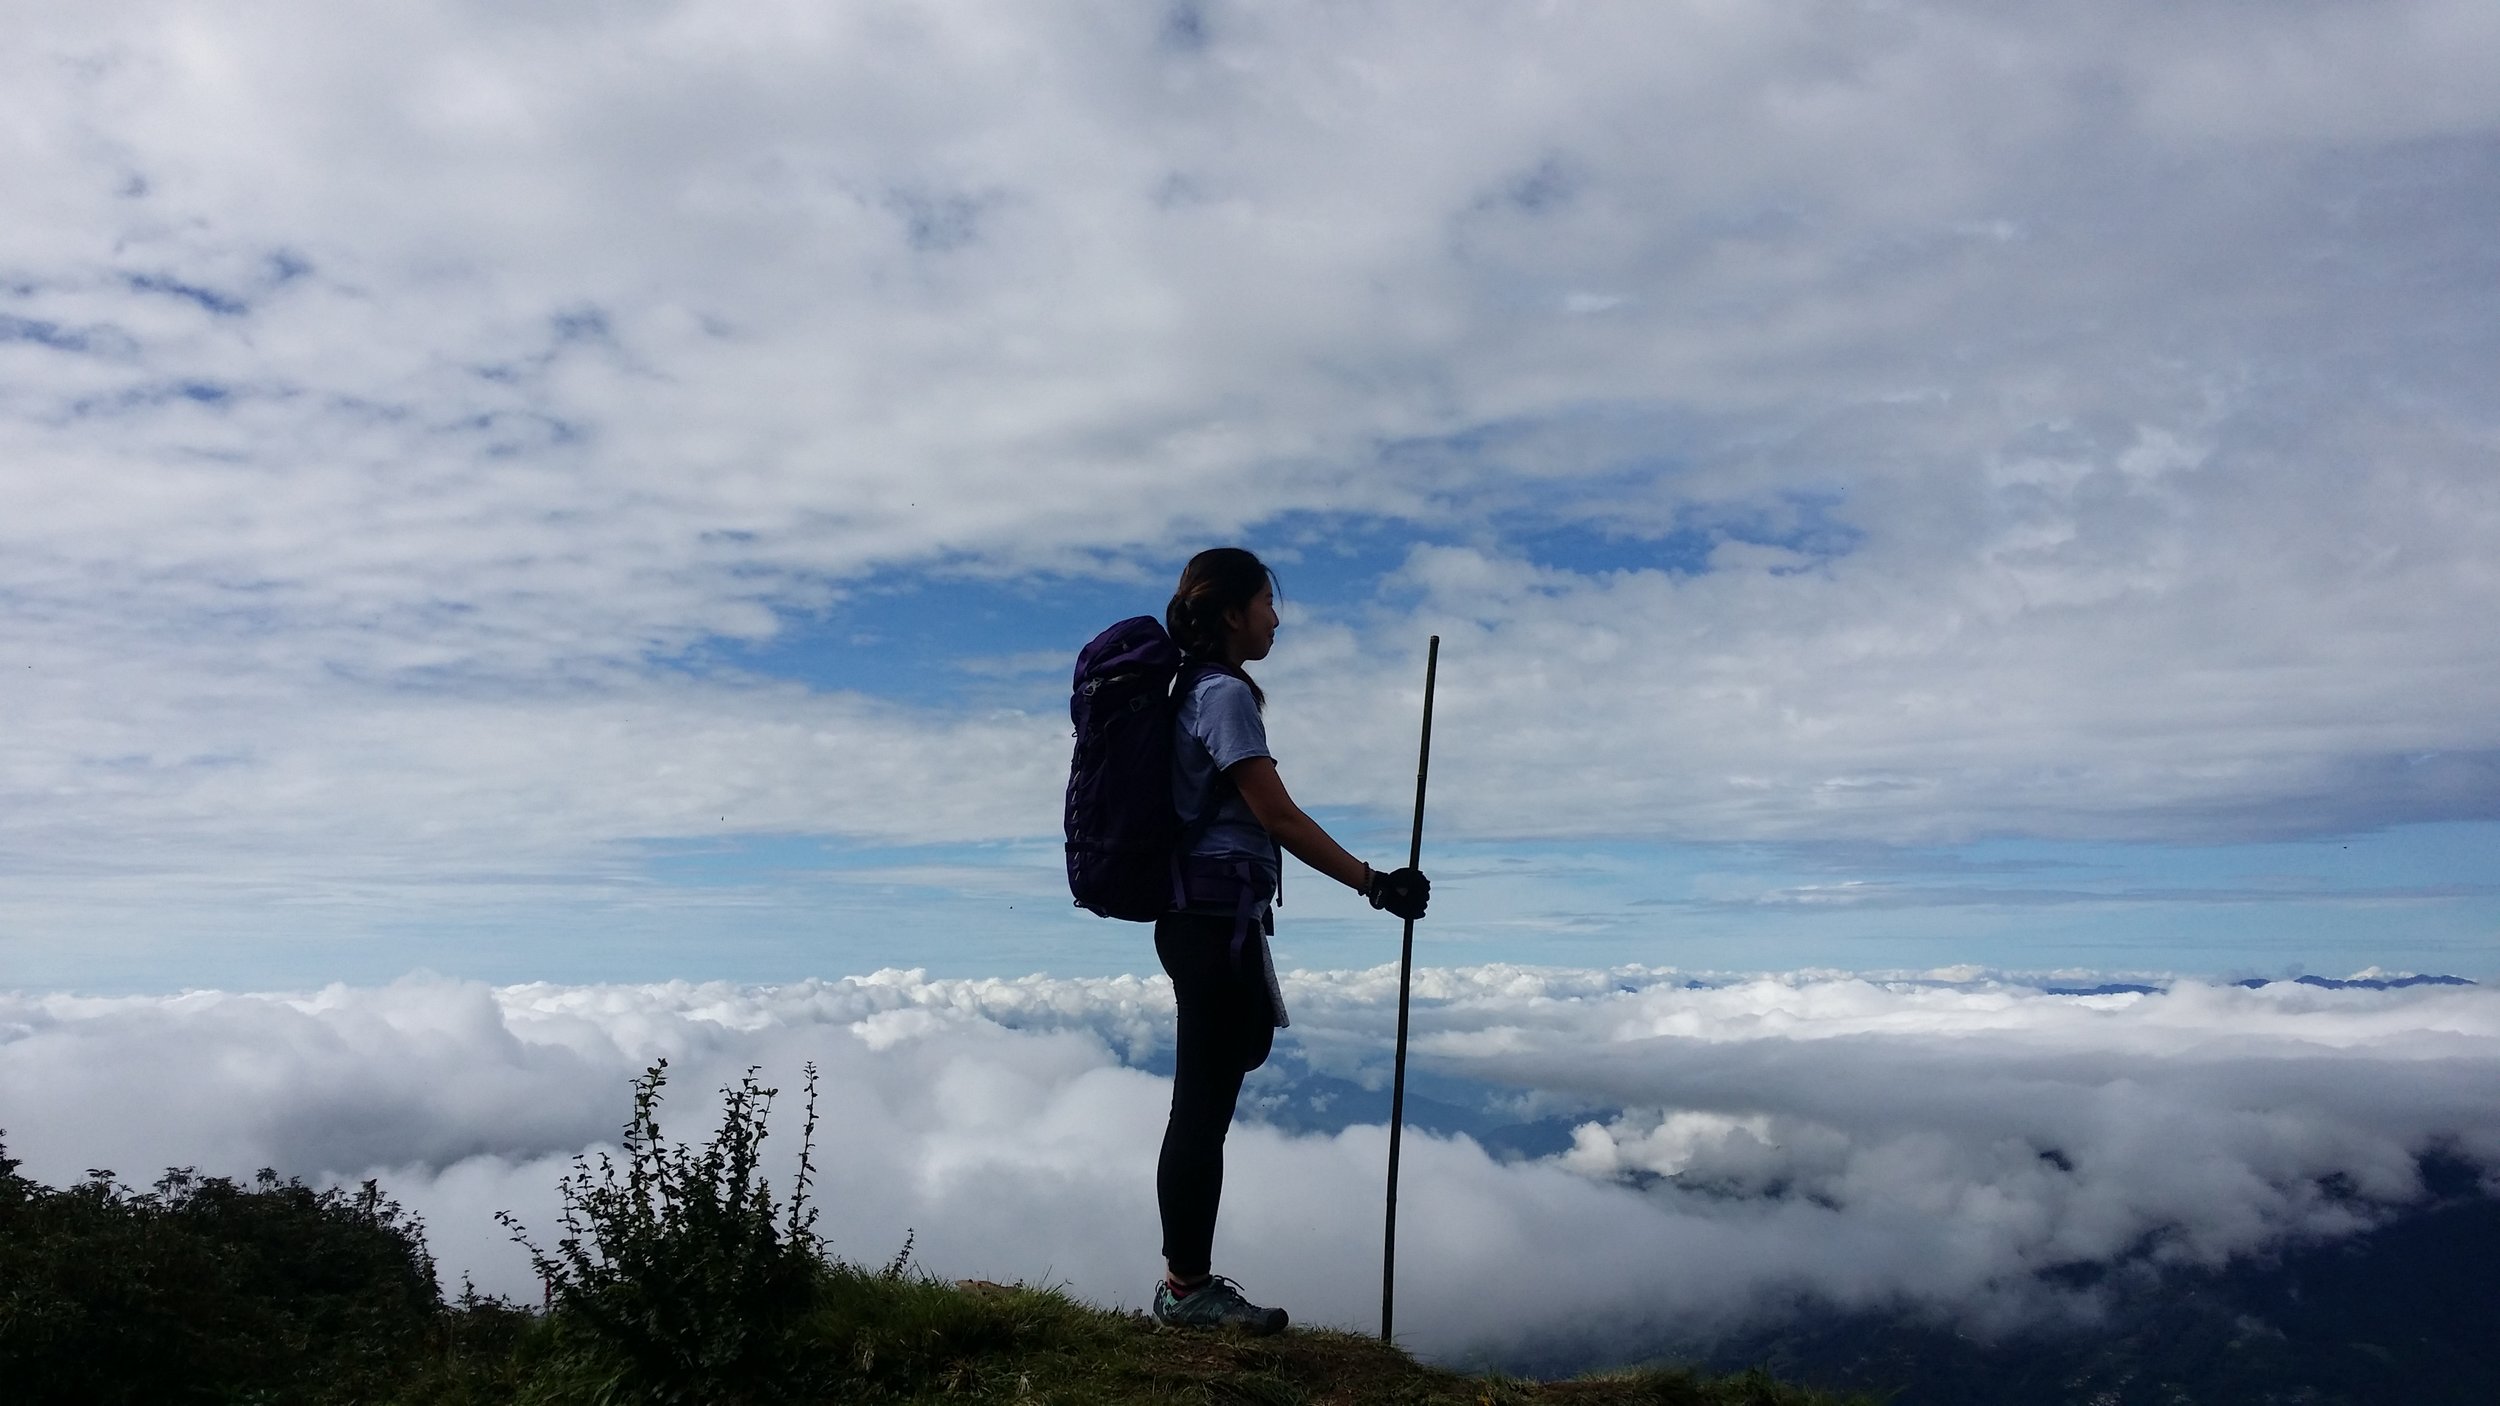
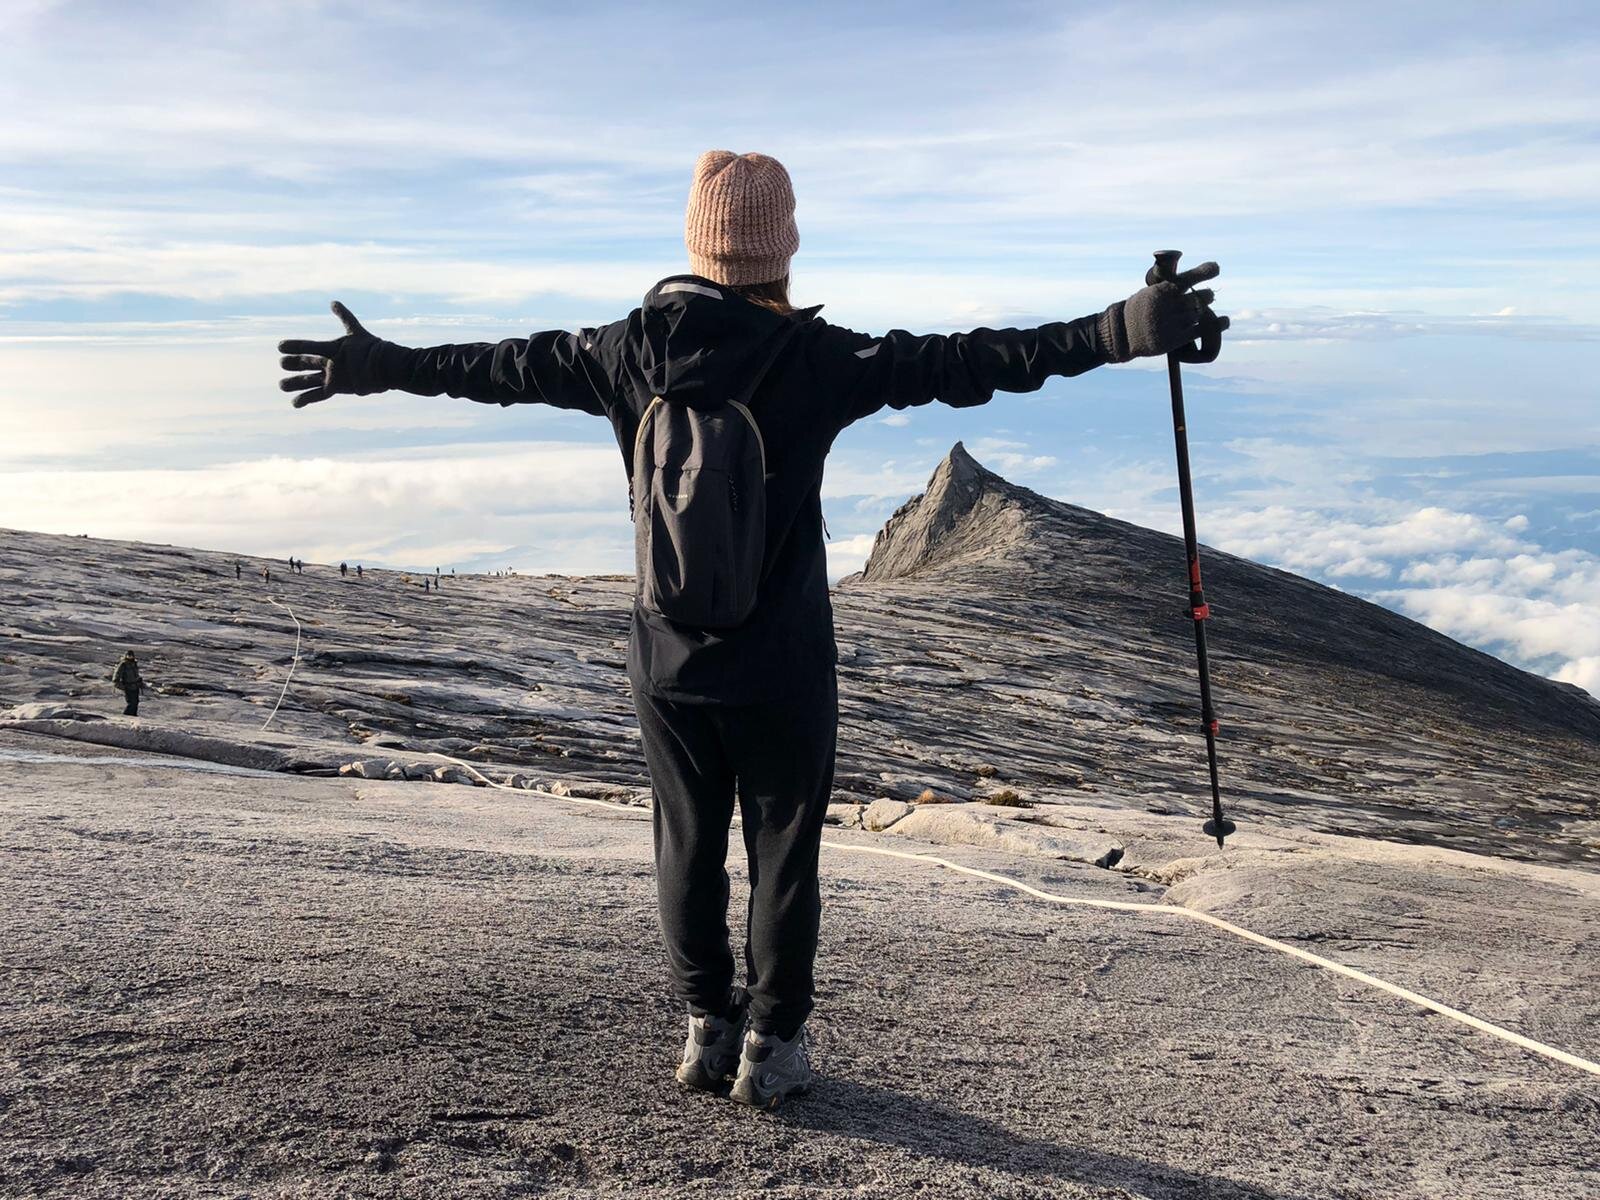
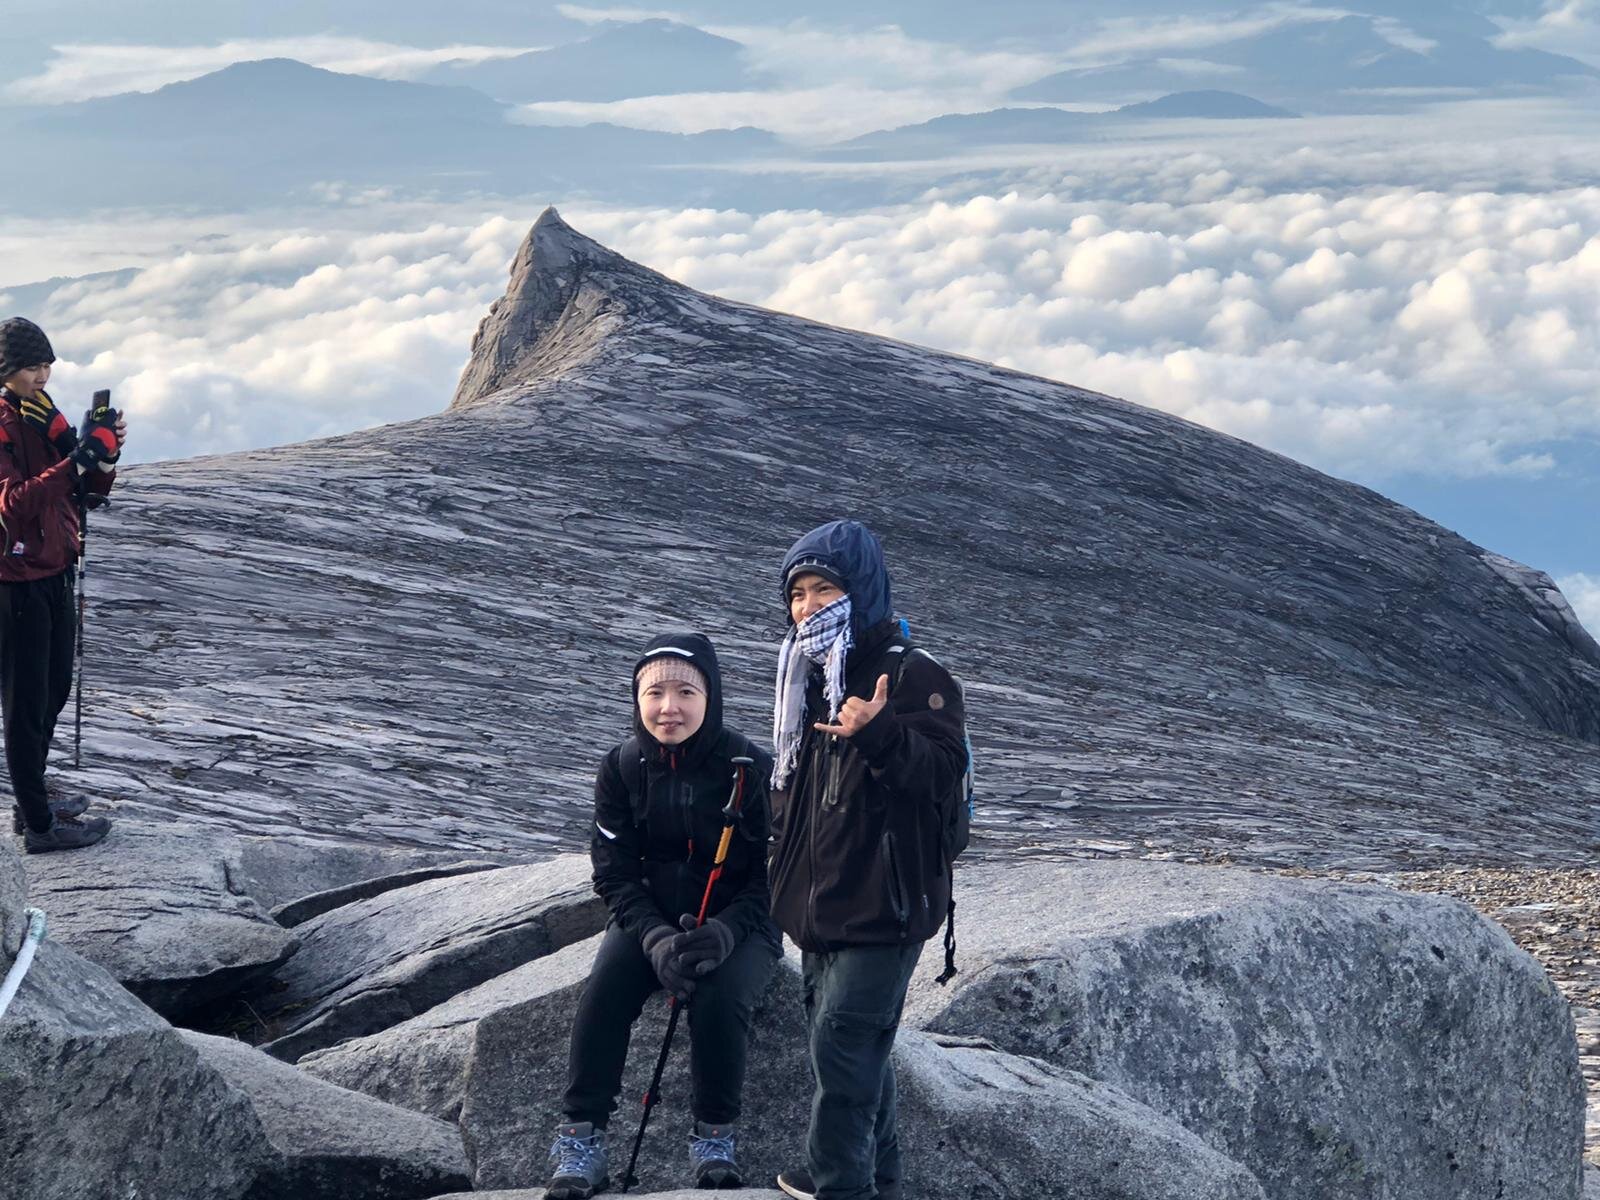
Once you reach the Low’s Peak, you will be greeted with a stunning view, and if you are lucky and quick, you may also watch the sunrise. It is frigid up there. Therefore, it is not recommended to stay there any longer than 30 minutes. People would typically roam around to take pictures and enjoy the view and head back down. However, some climbers tend to stay there. I get that they want to enjoy the view, but they should also be considerate not to overcrowd the place and give way to other newcomers who would also like to enjoy their time up there.
HEADING BACK TO THE BASE CAMP
Climbers are advised not to stay too long up there. Climbers usually start to descend before 7:30 am as it can be dangerous due to unpredictable weather. Heading back to the base camp usually takes around 2-3 hours.
Since we were not allowed to stay longer up there, so we started heading down around 7 am. Climbing down those ropes were life-changing for me. I have never done mountain climbing before. I have only done wall climbing with a harness. In this climb, there is no harness, but there are ropes for climbers to hold. I was terrified, and I was looking for alternative ways to head down like sitting down and slide myself through down, but that’s very risky. I followed my guide, and soon I gain some confidence, and I felt less scared when I finally learn to do it. It’s fun and exciting. I could do this again, but maybe I would take up some climbing classes beforehand so I won’t freak out again.
SAYING GOODBYE TO THE MOUNTAIN
After our late breakfast, we started heading down at 11 am. It is a long way down, so I wore my kneepad to protect my right kneecap as I do get a bit of irritation on my right knee when I do any hiking or running. I used my trekking pole to help me while going down.

Checking out
I have to say, going down is not my most favourite thing. I prefer ascending compared to going down because I am clumsy, and for some reason, my feet seem to have their own mind, and it doesn’t cooperate with what my mind what to do. Having that trekking pole had helped me a lot.
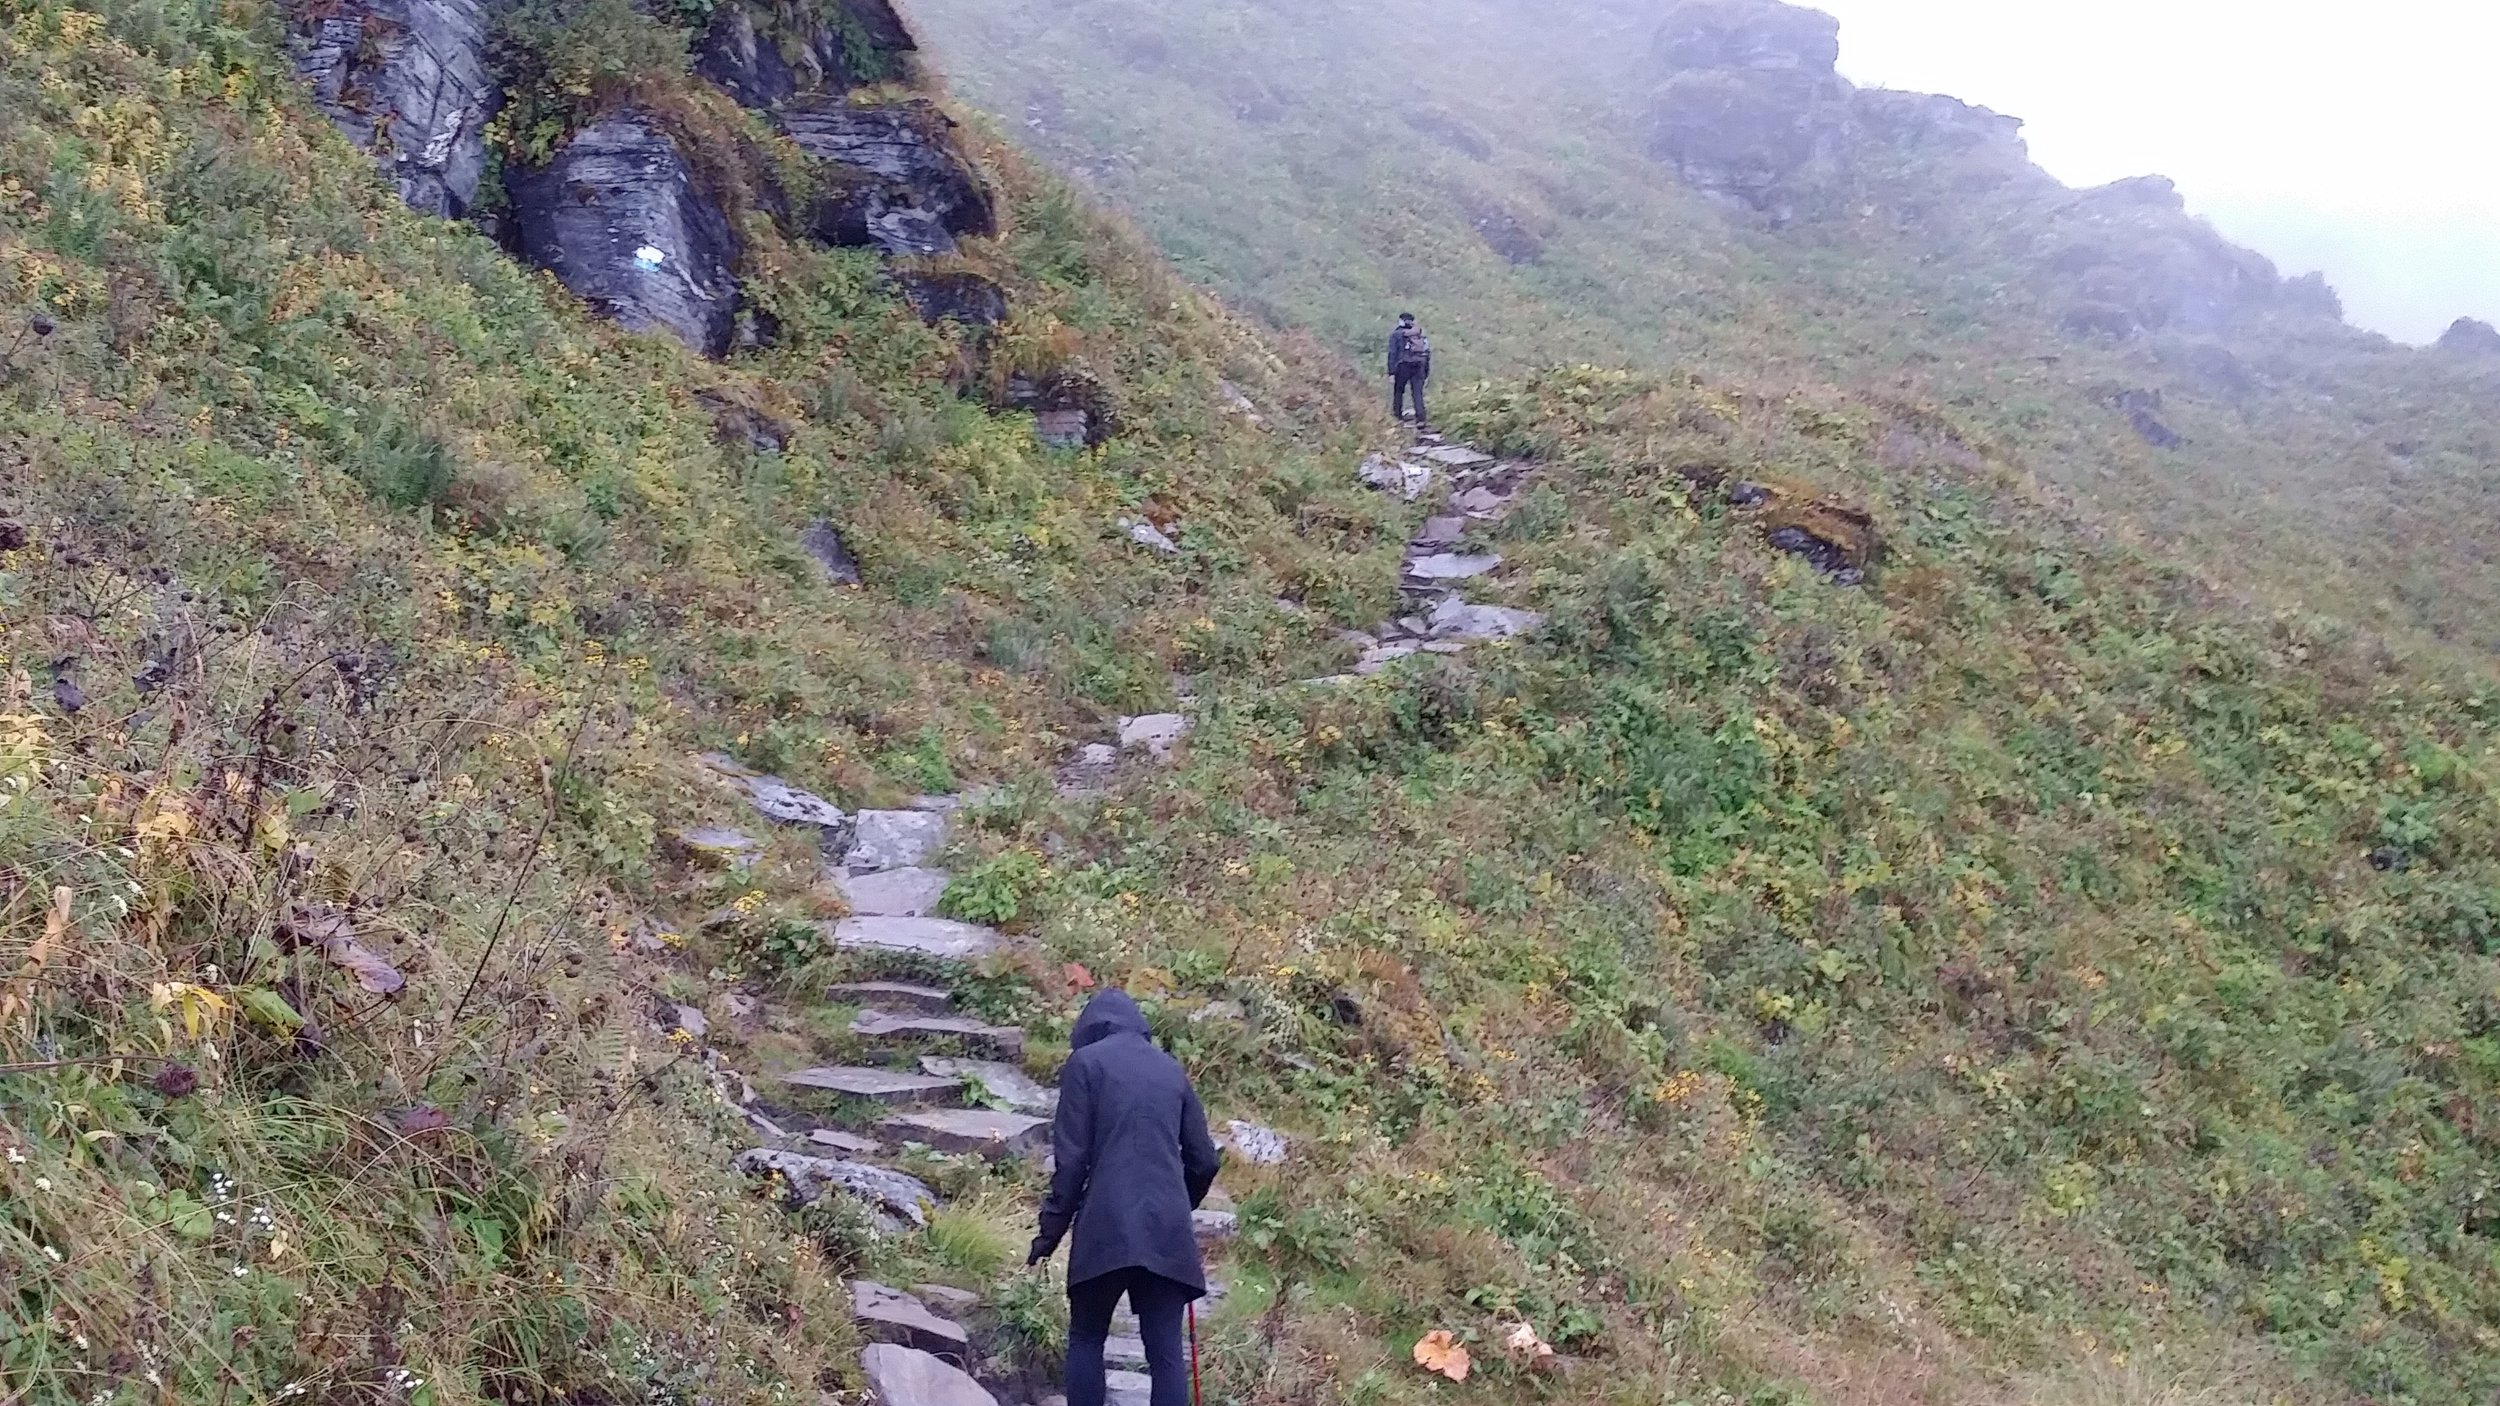
IT SUDDENLY RAINED AT 4KM
Upon descending from Layang Layang Shelter, it rained all of a sudden out of nowhere. There was no warning at all. Rain just started pouring down. I didn’t put on my raincoat at first thinking that the rain may stop soon, but it didn’t, and it never did. I can’t believe it, can this trek get any worse? We were so exhausted, and the rain just had to come. It’s like we are experiencing the whole package. Well, on the brighter side, at least I get to share this experience. Although it’s not a very good experience, but I consider this as an opportunity to say “Been there, done that”.
As the rain was getting heavier, the paths are even harder to step. I came to the point where I didn’t care about getting my shoes wet anymore. I just wanted it to be over. I was stepping on streams, and I almost slipped at least once or twice.
We also came across some of the climbers we met stranded in one of the shelter points. Two of them were injured, and it’s not ideal for them to descend under this circumstance, so they had to call on the rescue team to bring them down. God bless them. I hope they were fine.
ENDING THE ADVENTURE WITH MIX EMOTIONS
We ended our trek at Timpohon Gate, back to where everyone started. It was an excellent feeling being able to come back in one piece. No injury nor feeling sick. However, I do feel drained. My legs are cold from the rain, and my feet are numb. My clothes are wet. I can’t wait to get back to the headquarter and get change and have a good satisfying and celebratory dinner after a job well done.
On our way in the van back to Kota Kinabalu City, I was imaging everything all over my head, and it still hasn’t fully sunk in my mind that I have finally done this fantastic climb. It was my biggest climb ever and quite frankly, it’s overwhelming. There were many times when I would doubt myself, but I am so proud that I did not give up.
OVERALL EXPERIENCE
Climbing Mount Kinabalu is beyond my imagination. I am not born with a natural physique body nor fit to do intense physical activities. It was ambitious of me to think of doing this. I always crave for a new adventure, and I don’t let my shortcomings stop me from doing what I love. I always find a way to make things happen. I adjust myself when I have to. Just like doing this climb, I trained myself to be fit enough to do this. I did a lot of preparation before the climb. However, I still feel that it is still not enough, no matter what I did. I still struggled a lot, but like they say, ‘No pain, no gain’.
This adventure has been a life-changing to me. My knowledge has broadened, and I can say that I have gotten to know nature even better. The price that I paid to do this climb is nothing compared to what I have experienced. My mother used to tell me before the climb, “Why do you punish yourself?” I wouldn’t say that climbing a mountain is a punishment. It’s more like knowing myself even better and see how far I can go on.
Lastly, I am super grateful to my boyfriend, Ryan, for always being my rock and pushing me to my limits. I wouldn't have done it and come back in one piece without him by my side.


I hope this blog has been helpful. If you have any questions about the climb, feel free to leave a comment below. I will be more than happy to help.
Yours Truly,
Michelle Chan