Hiking

The Violet Hill & The Twins Hike

coverpsage.jpg

During the festive season of this year's Chinese New Year, there are many things to do and to visit in Hong Kong. It is very busy and joyful everywhere, even in the countryside areas. Hiking is probably one of the most famous activities to do around this time. 

There are many good hiking spots in Hong Kong and almost every hike has different elements and experience for each hiker. In the meantime, this blog is about my experience hiking the Violet Hill and The Twins. 


A HIKE WITH THOUSANDS OF STEPS

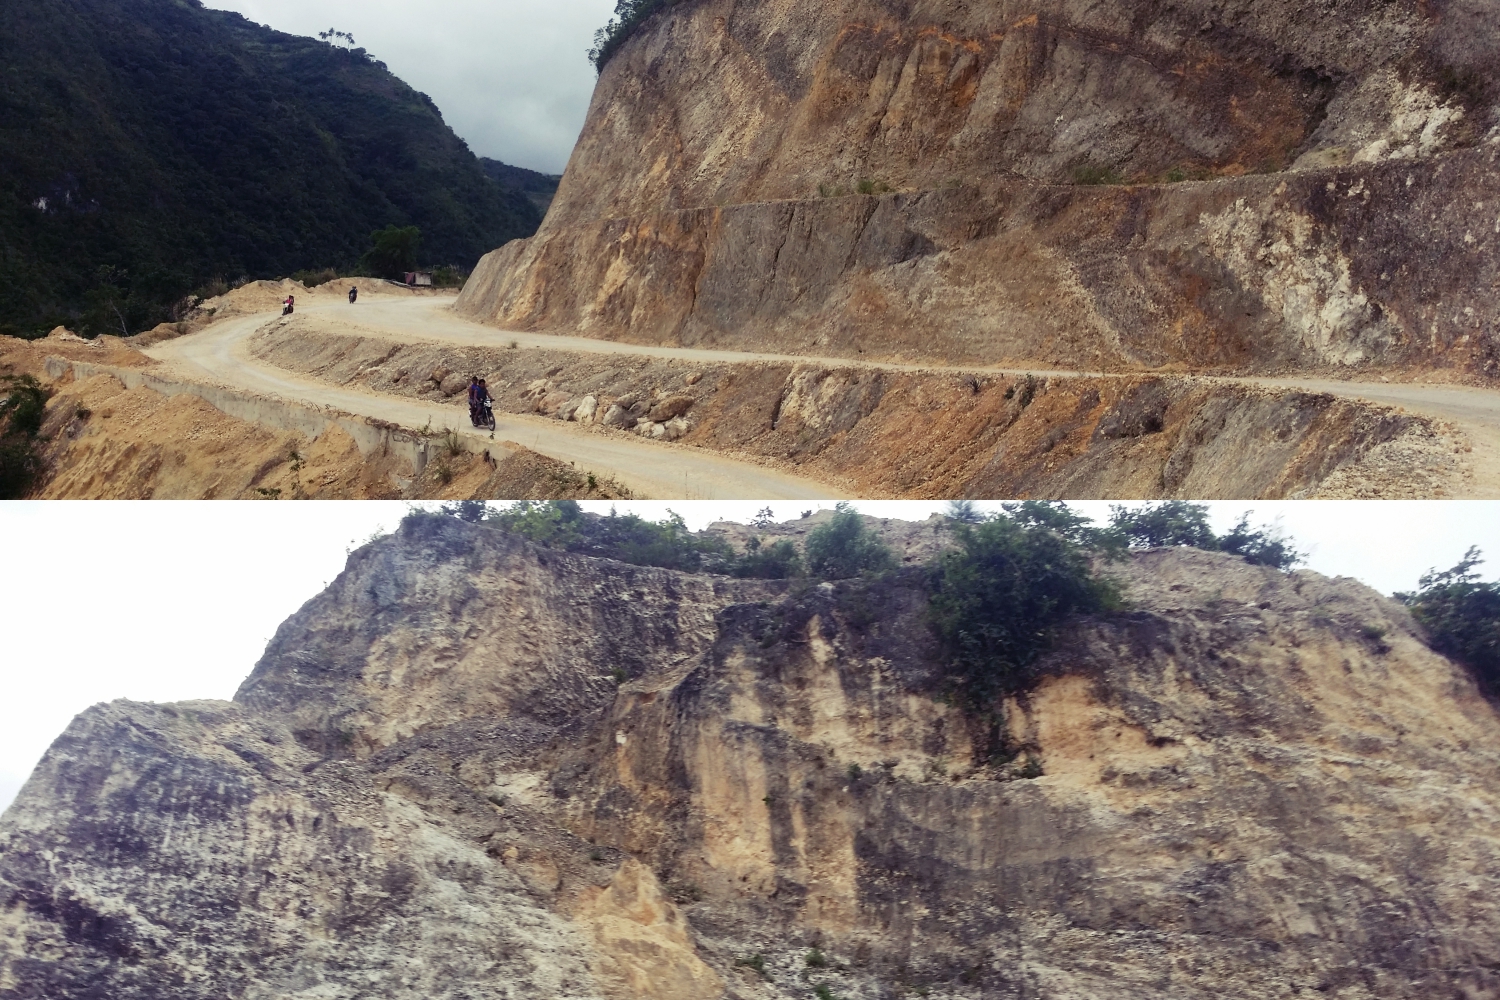
Have you ever heard of such thing? Well, there are plenty of places to hike that consists of thousands of steps in Hong Kong. However, thousands of steps in Hong Kong means stepping on some endless flight of stairs. This could be a turn off to many people as stairs are often regarded as annoying and overwhelming, especially to the lazy bums. In my opinion, the stairs aren't that bad when hiking The Twins. Normally I would find stairs very annoying as I prefer climbing up steep rocks and steep paths rather than stairs. The only time I truly enjoy stairs is when going down. Fortunately, this hike was my favorite to my deepest surprise. 


THE VIOLET HILL

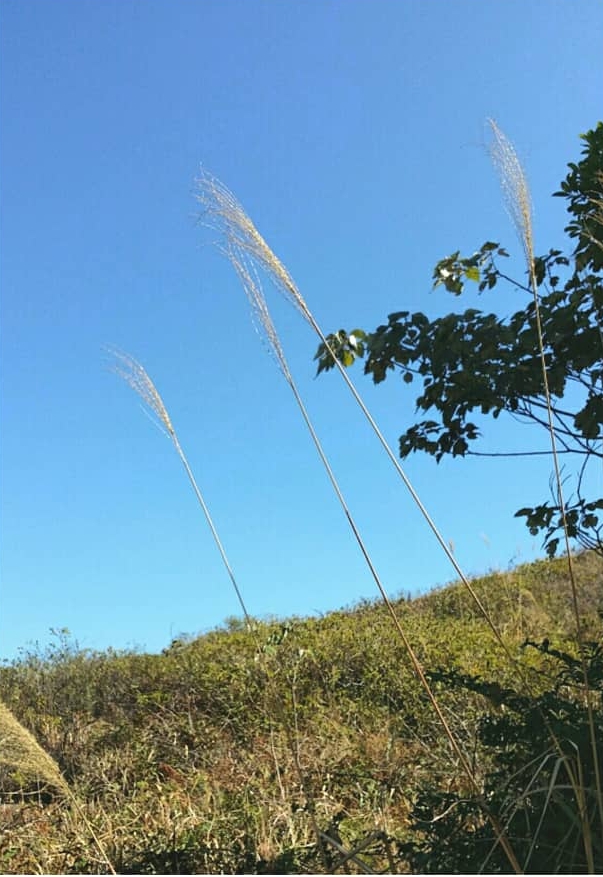
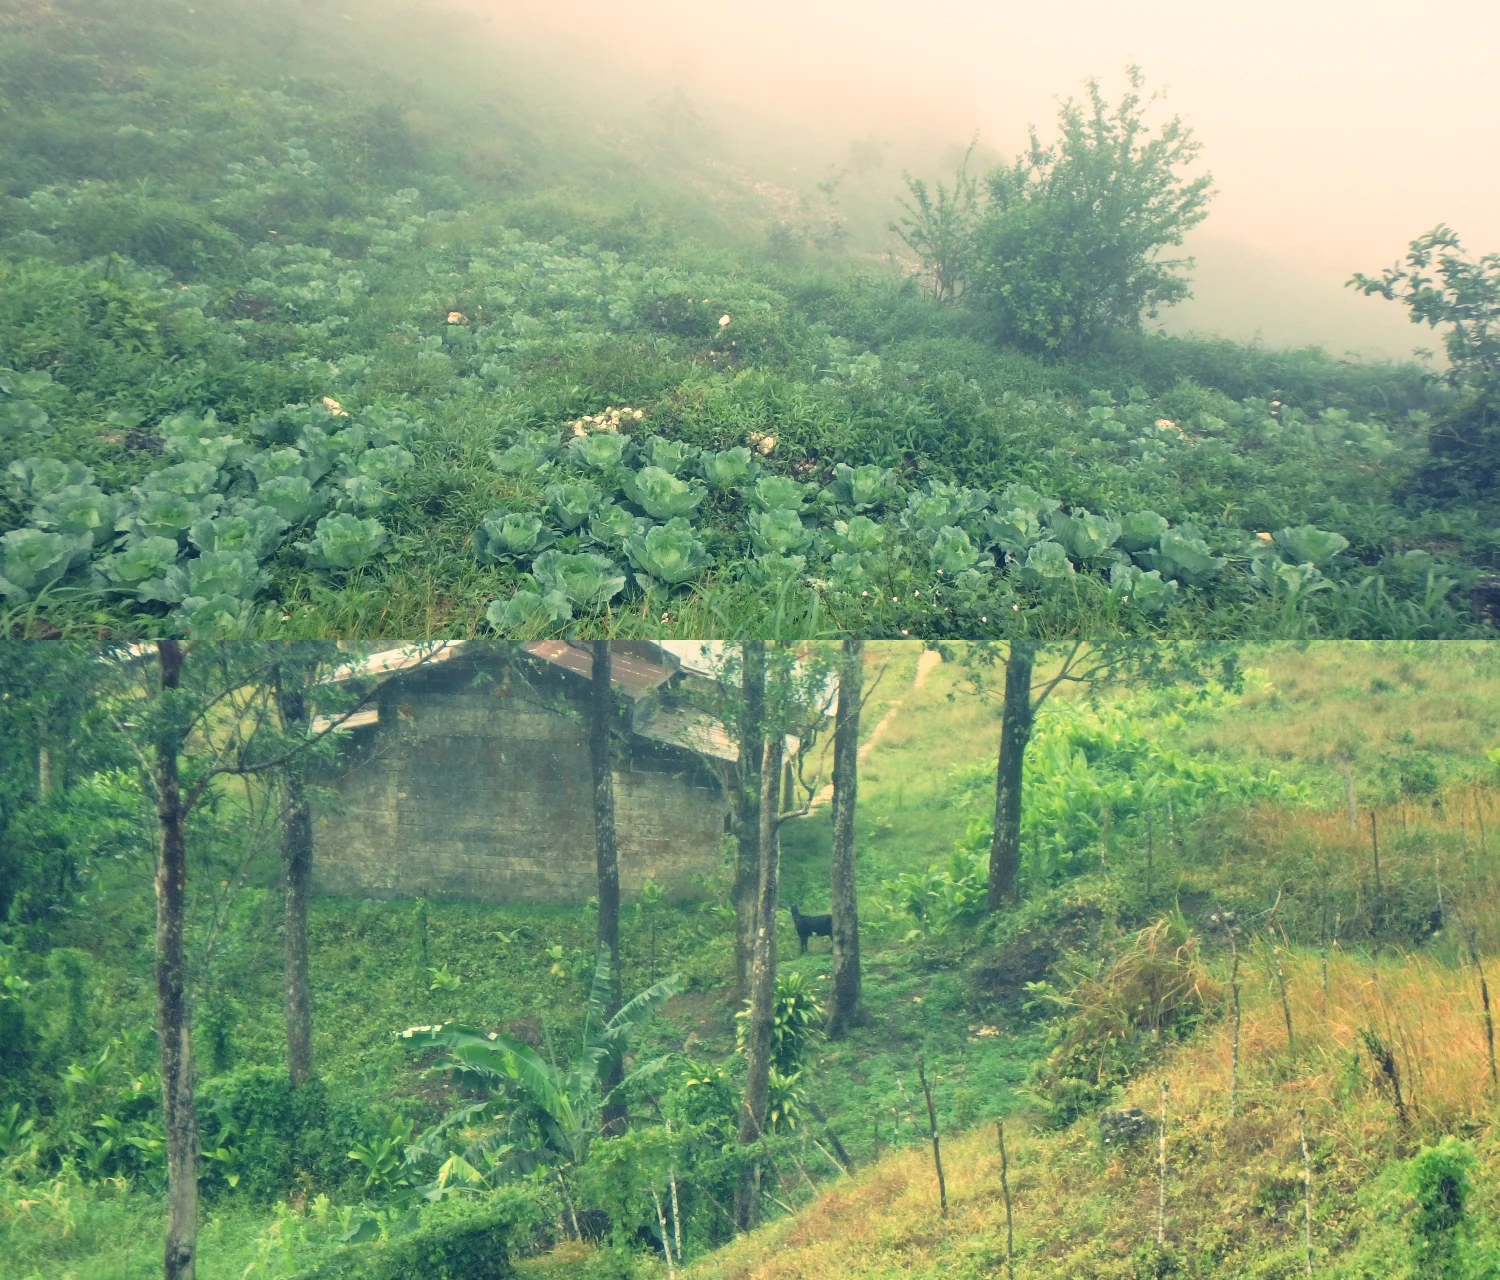
There are plenty of beautiful flowers including the violet-colored flowers and some butterflies and dragonflies species around the hill. This is how this hill got its name. Hiking the Violet Hill offers nice panoramic views of Jardine's Lookout, Mount Parker and as well as Tai Tam Reservoir. You may see why it is named after Violet Hill whilst climbing up The Twins. One has to look back to see it of course. 


THE TWINS

There are 2 twins to climb up and down. The first twin is probably the longest one to ascend and it is steeper than the second twin. Each twin should take about 30 minutes (depending on speed and resting time). Climbing The Twins can be slightly difficult, most especially for those who do not hike a lot or exercise regularly. The reward for conquering it though is very satisfying. The negative side of hiking The Twins is that there isn't any shade or resting place for you to properly rest. You must climb up the two twins in order for you to reach the Compass station and finally rest there before descending. 


BASIC INFORMATION OF THE HIKE

DURATION - 3-4 hours (depending on speed and resting time)

DISTANCE - About 6km (depending on routes) 

DIFFICULTY LEVEL - Medium (but can be challenging and tiring when climbing up The Twins)

CELLPHONE/ INTERNET COVERAGE - Everywhere

BEST TIME TO HIKE - Autumn, Winter or Spring (Definitely not during the summer as there are no shades or resting point in the hiking route)

STARTING POINT - Wong Nai Chung Reserviour

FINISHING POINT - Stanley Gap Road


HOW TO GET THERE AND WHAT TO TAKE

CONVENIENT AND EASIEST WAY TO START THE HIKE

Take MTR to Central or Wanchai Station, from there take the bus no. 6 via Stanley Prison (Exchange Square bus terminus in Central and Wanchai Market in Wanchai). Get off at "Wong Nai Chung Reservoir Park, Wong Nai Chung Gap Road". The bus will stop by the Petrol station and find the signpost on the right to Tai Tam Road. It's about 10 minutes walk to Wong Nai Chung Reservoir Park. Once you reach the park, you may take some time to look around at the reservoir and this is also the last stop for any proper toilet breaks. 

Also, make sure that you find the hiking map post and walk straight up to the left until you see a signpost to Hong Kong Parkview. This is where you start the hike to Violet Hills then to The Twins. 

REACHING STANLEY GAP ROAD AFTER THE HIKE

The hike will end at Stanley Gap Road. From there, there are buses to take to go back to the low land (Central, Aberdeen, Causeway Bay or Wanchai). However, if you wish to visit Stanley and if you have plenty of time to do so, you may take bus no. 6, 6A, 260 or 73 to Stanley. The bus stops in Stanley Market, Stanley Beach, Stanley Prison and many others. You may also choose to walk over to Stanley. It will take around 20-30 minutes. However, there is no footpath, so you must be very careful when walking to Stanley. 

You may also take a taxi to leave Stanley Gap Road but it may take some time to hop into one. 


HIKE DIARY

BUS RIDE TO WONG NAI CHUNG ROAD

As mention above in "How to get there and what to take", the easiest way to get to Wong Nai Chung Road is by taking bus no. 6 (via Stanley Prison). The bus ride normally takes around 15-20 minutes. Beware though as the bus ride may be bumpy and wobbly since you are going uphill. 

TAI TAM ROAD TO WONG NAI CHUNG RESERVOIR PARK

After getting off at Wong Nai Chung Road, find the signpost to Tai Tam Road on the right side beside the petrol station. It is about 10 minutes walk up to reach the Wong Nai Chung Reservoir Park. From there, you may take some quick tour around the park and this is also the last source for a toilet break. 

HONG KONG PARKVIEW VIA STANLEY TRAIL

This is where you start the hike. Be sure to find the signpost for Stanley Trail by walking straight uphill from the entrance of Wong Nai Chung Reservoir Park. The hike starts up with a few stairs up and followed by a ridge. Over there, you will see plenty of beautiful flowers and a glimpse of Wanchai and Kowloon views from a distance. 

THE VIOLET HILL

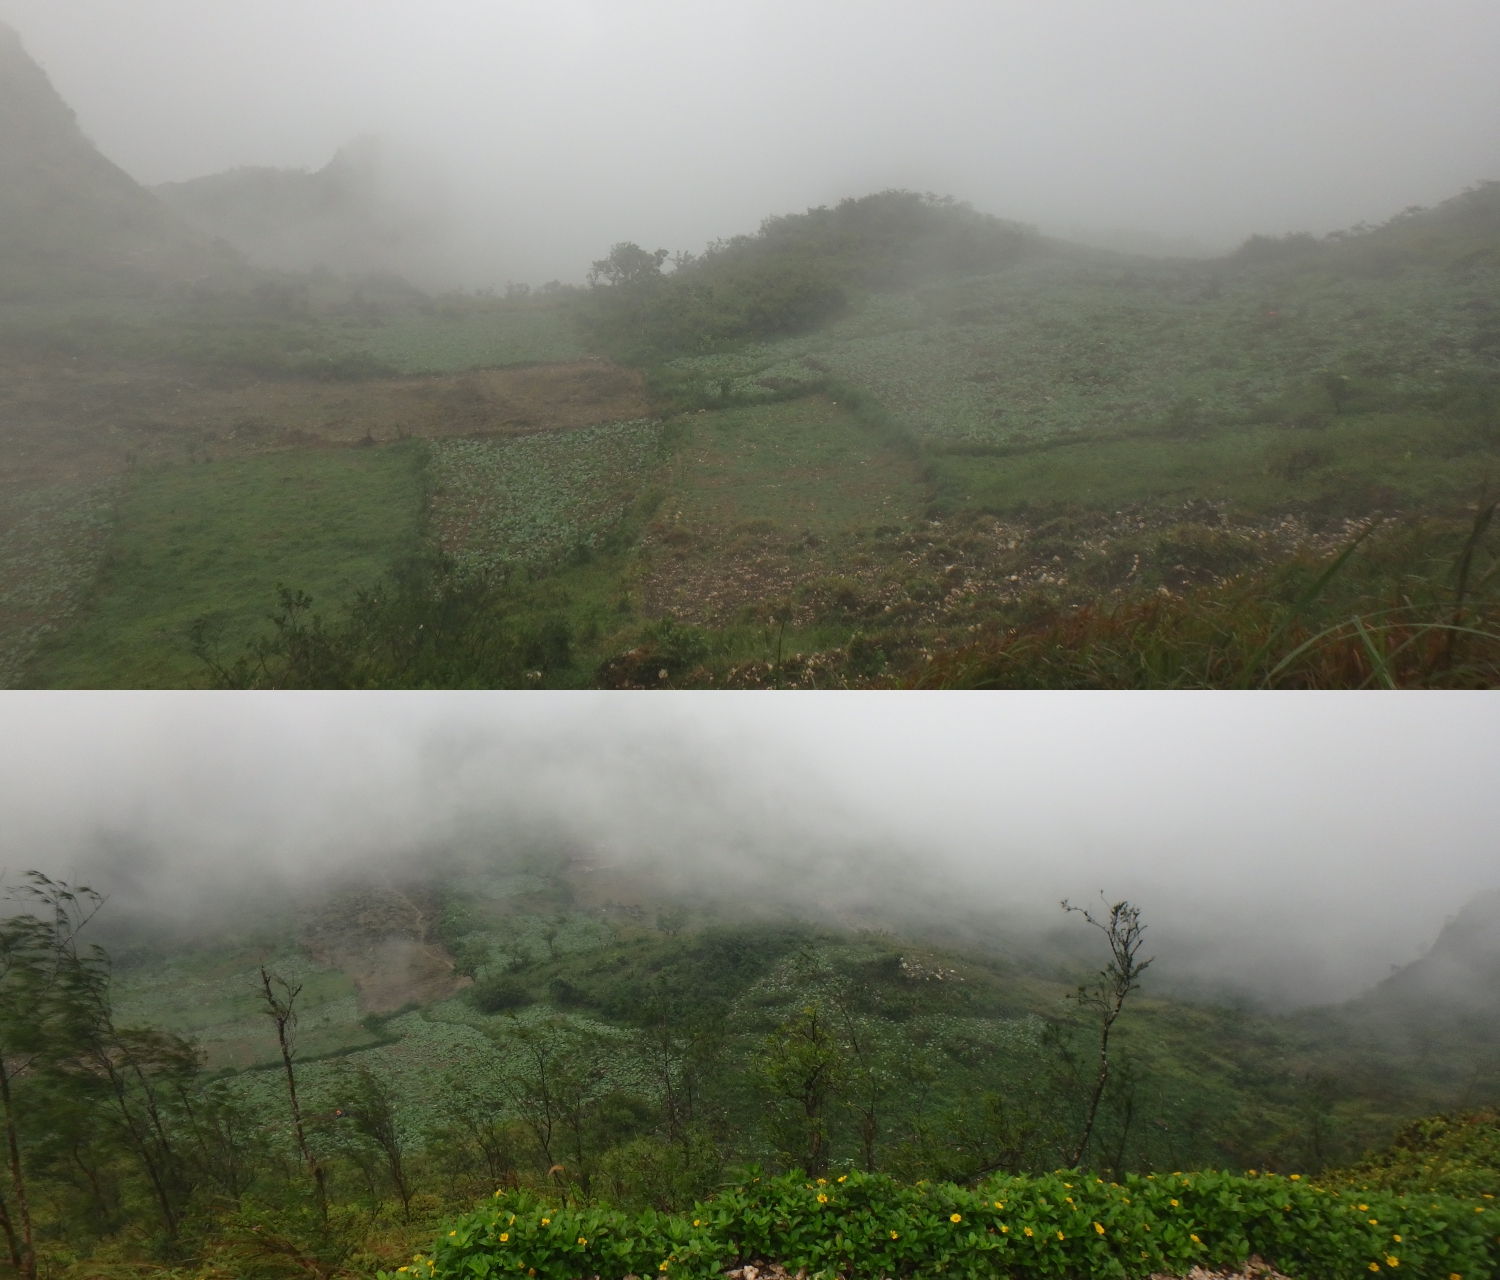
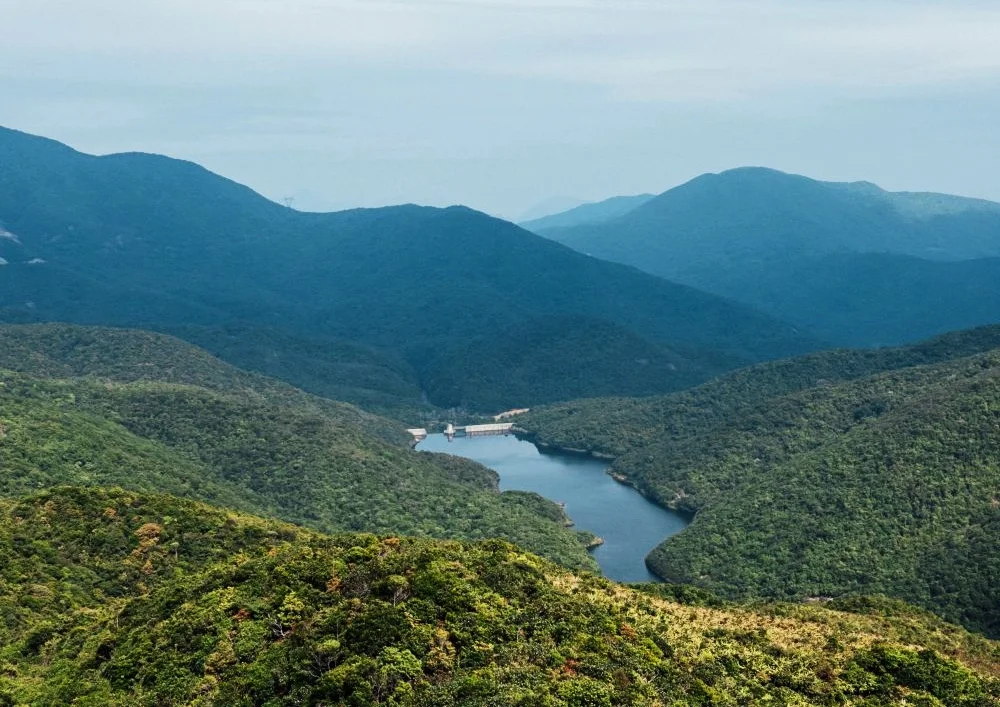
Hiking up the Violet Hill takes around an hour if you are taking a steady and relaxing hike. You will enjoy the panoramic views of Jardine's Lookout and Mount Parker once you've reached the hilltop. The south side of the Tai Tam Reservoir can also be seen whilst in Violet Hill. I must say that this is a peaceful hike. 

TSZ KONG BRIDGE (TSIN TSUI WAN AU)

The hike will take you directly to Tsz Kong Bridge also known as Tsin Tsui Wan Au. From here, there are 2 different paths - To Repulse Bay on the right side from the catchwater or you may go straight to climb The Twins and end the hike at Stanley Gap Road. Before you start climbing, make sure to take a quick rest and have a light meal and a good stretch to prepare yourself before climbing for what its known, the thousands of steps. 
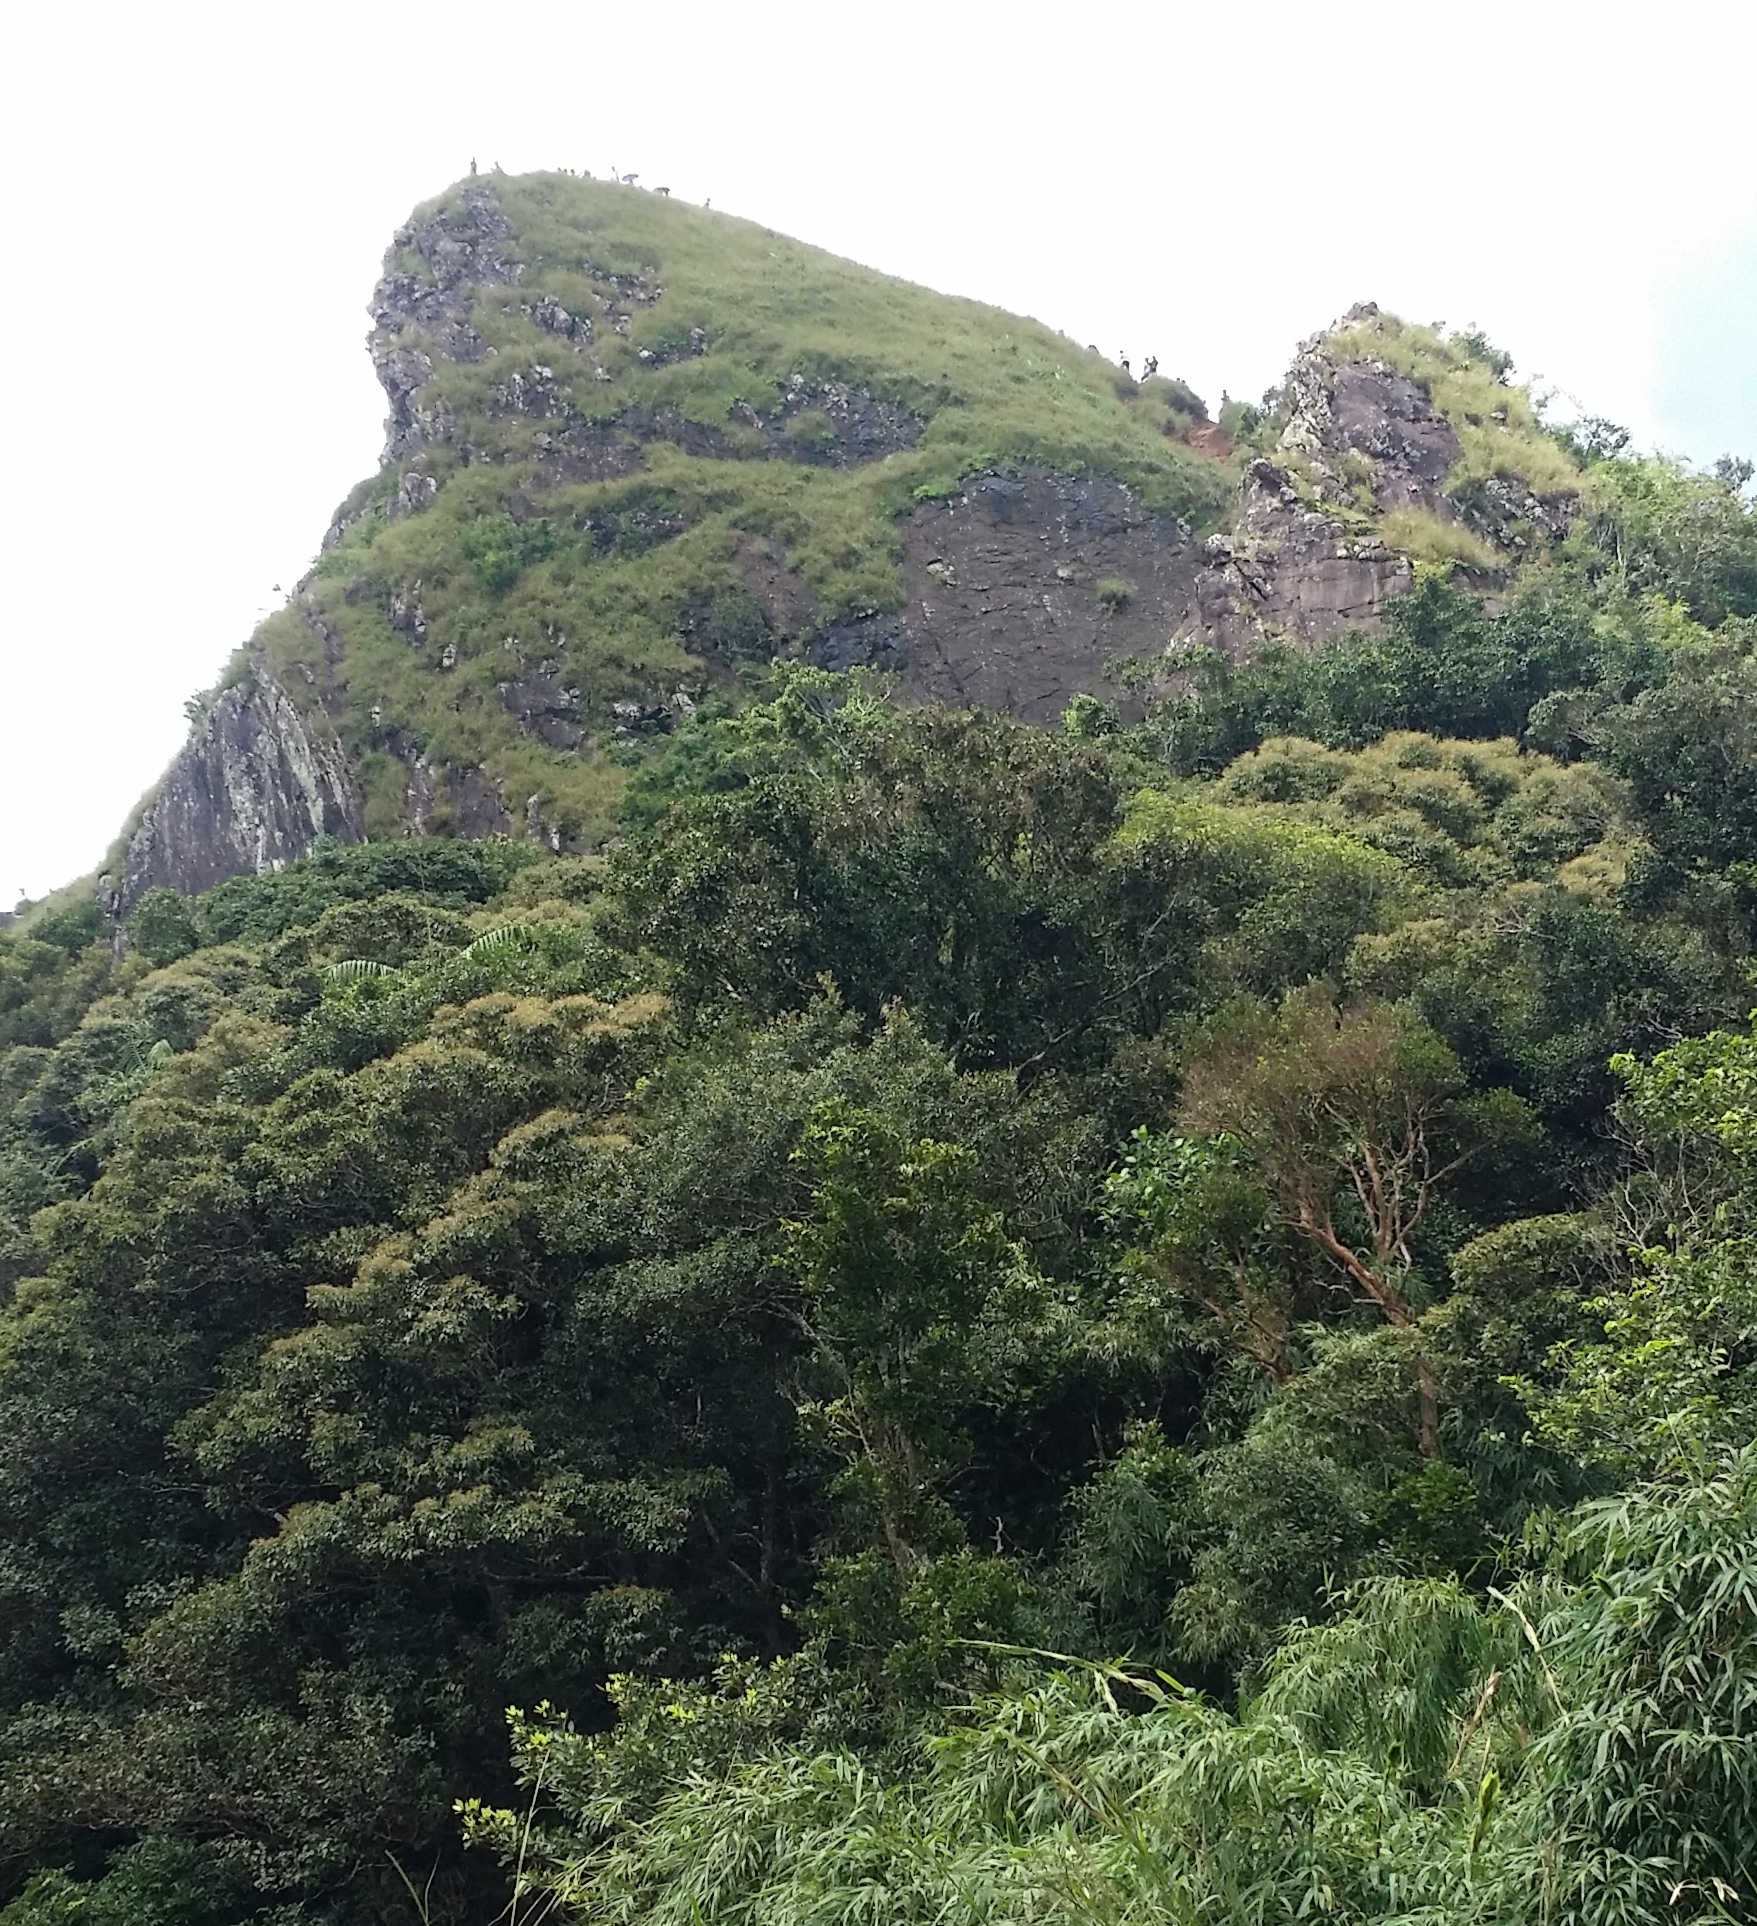
FIRST TWIN

So this where your struggle begins, the first twin approximately takes around 20-30 minutes to finish. Well, it really depends on your speed, however, there are no proper spots for you to properly rest and the stairs are good for 2 people to fit in, so you may probably have to move aside whenever someone is passing whilst you are resting. The first twin consists of 1000 steps. After you're done ascending the first twin, you will pass by a ridge for a good 5 minutes and start to descend down to meet the other twin. 

On another note, you may take a look back at Violet Hill and witness the beauty of it and to understand better why it is named after Violet Hill. 

SECOND TWIN

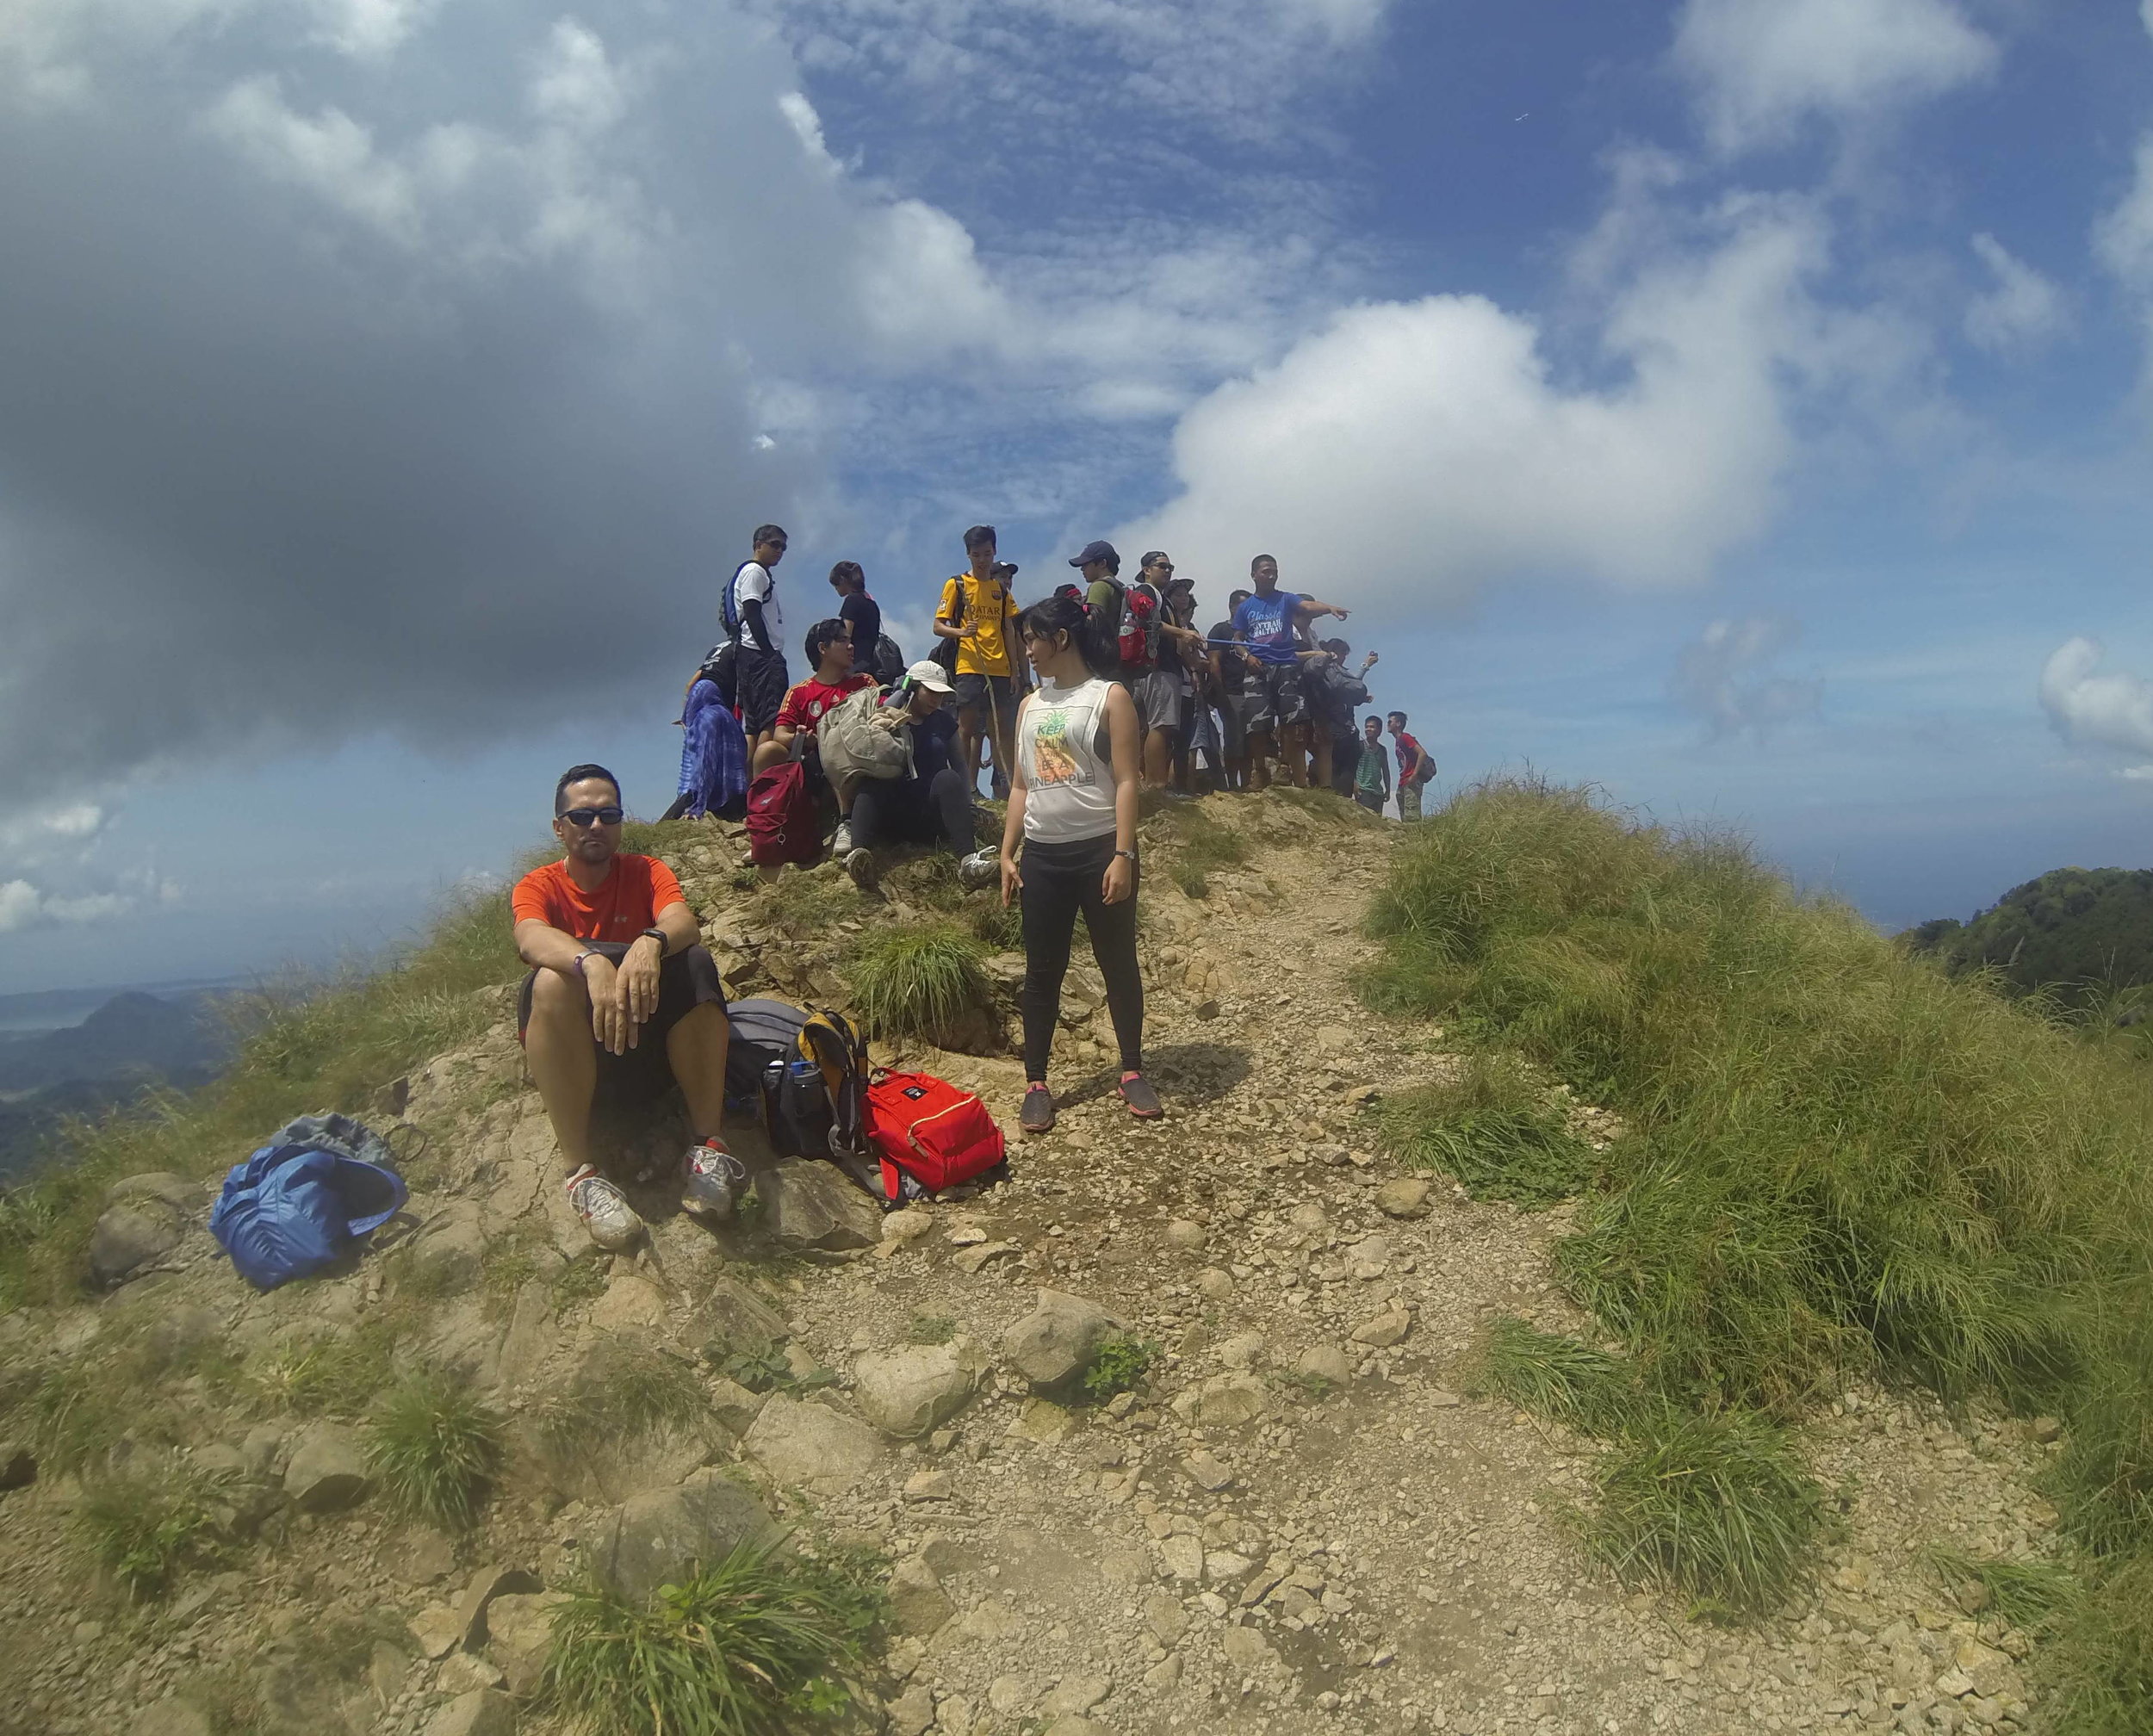
Climbing up the second twin is actually a lot faster than the first twin. It is also a 1000 stairs for the second twin. There are some numbers drafted on the concrete stairs such as 100, 300, 500, 700, 900, 959 and 1000. Whoever did this is probably a genius. It helps motivate the hikers to keep going until they've completed the 1000 steps. Climbing the second twin took around 20 minutes. 

THE MOST REWARDING VIEW

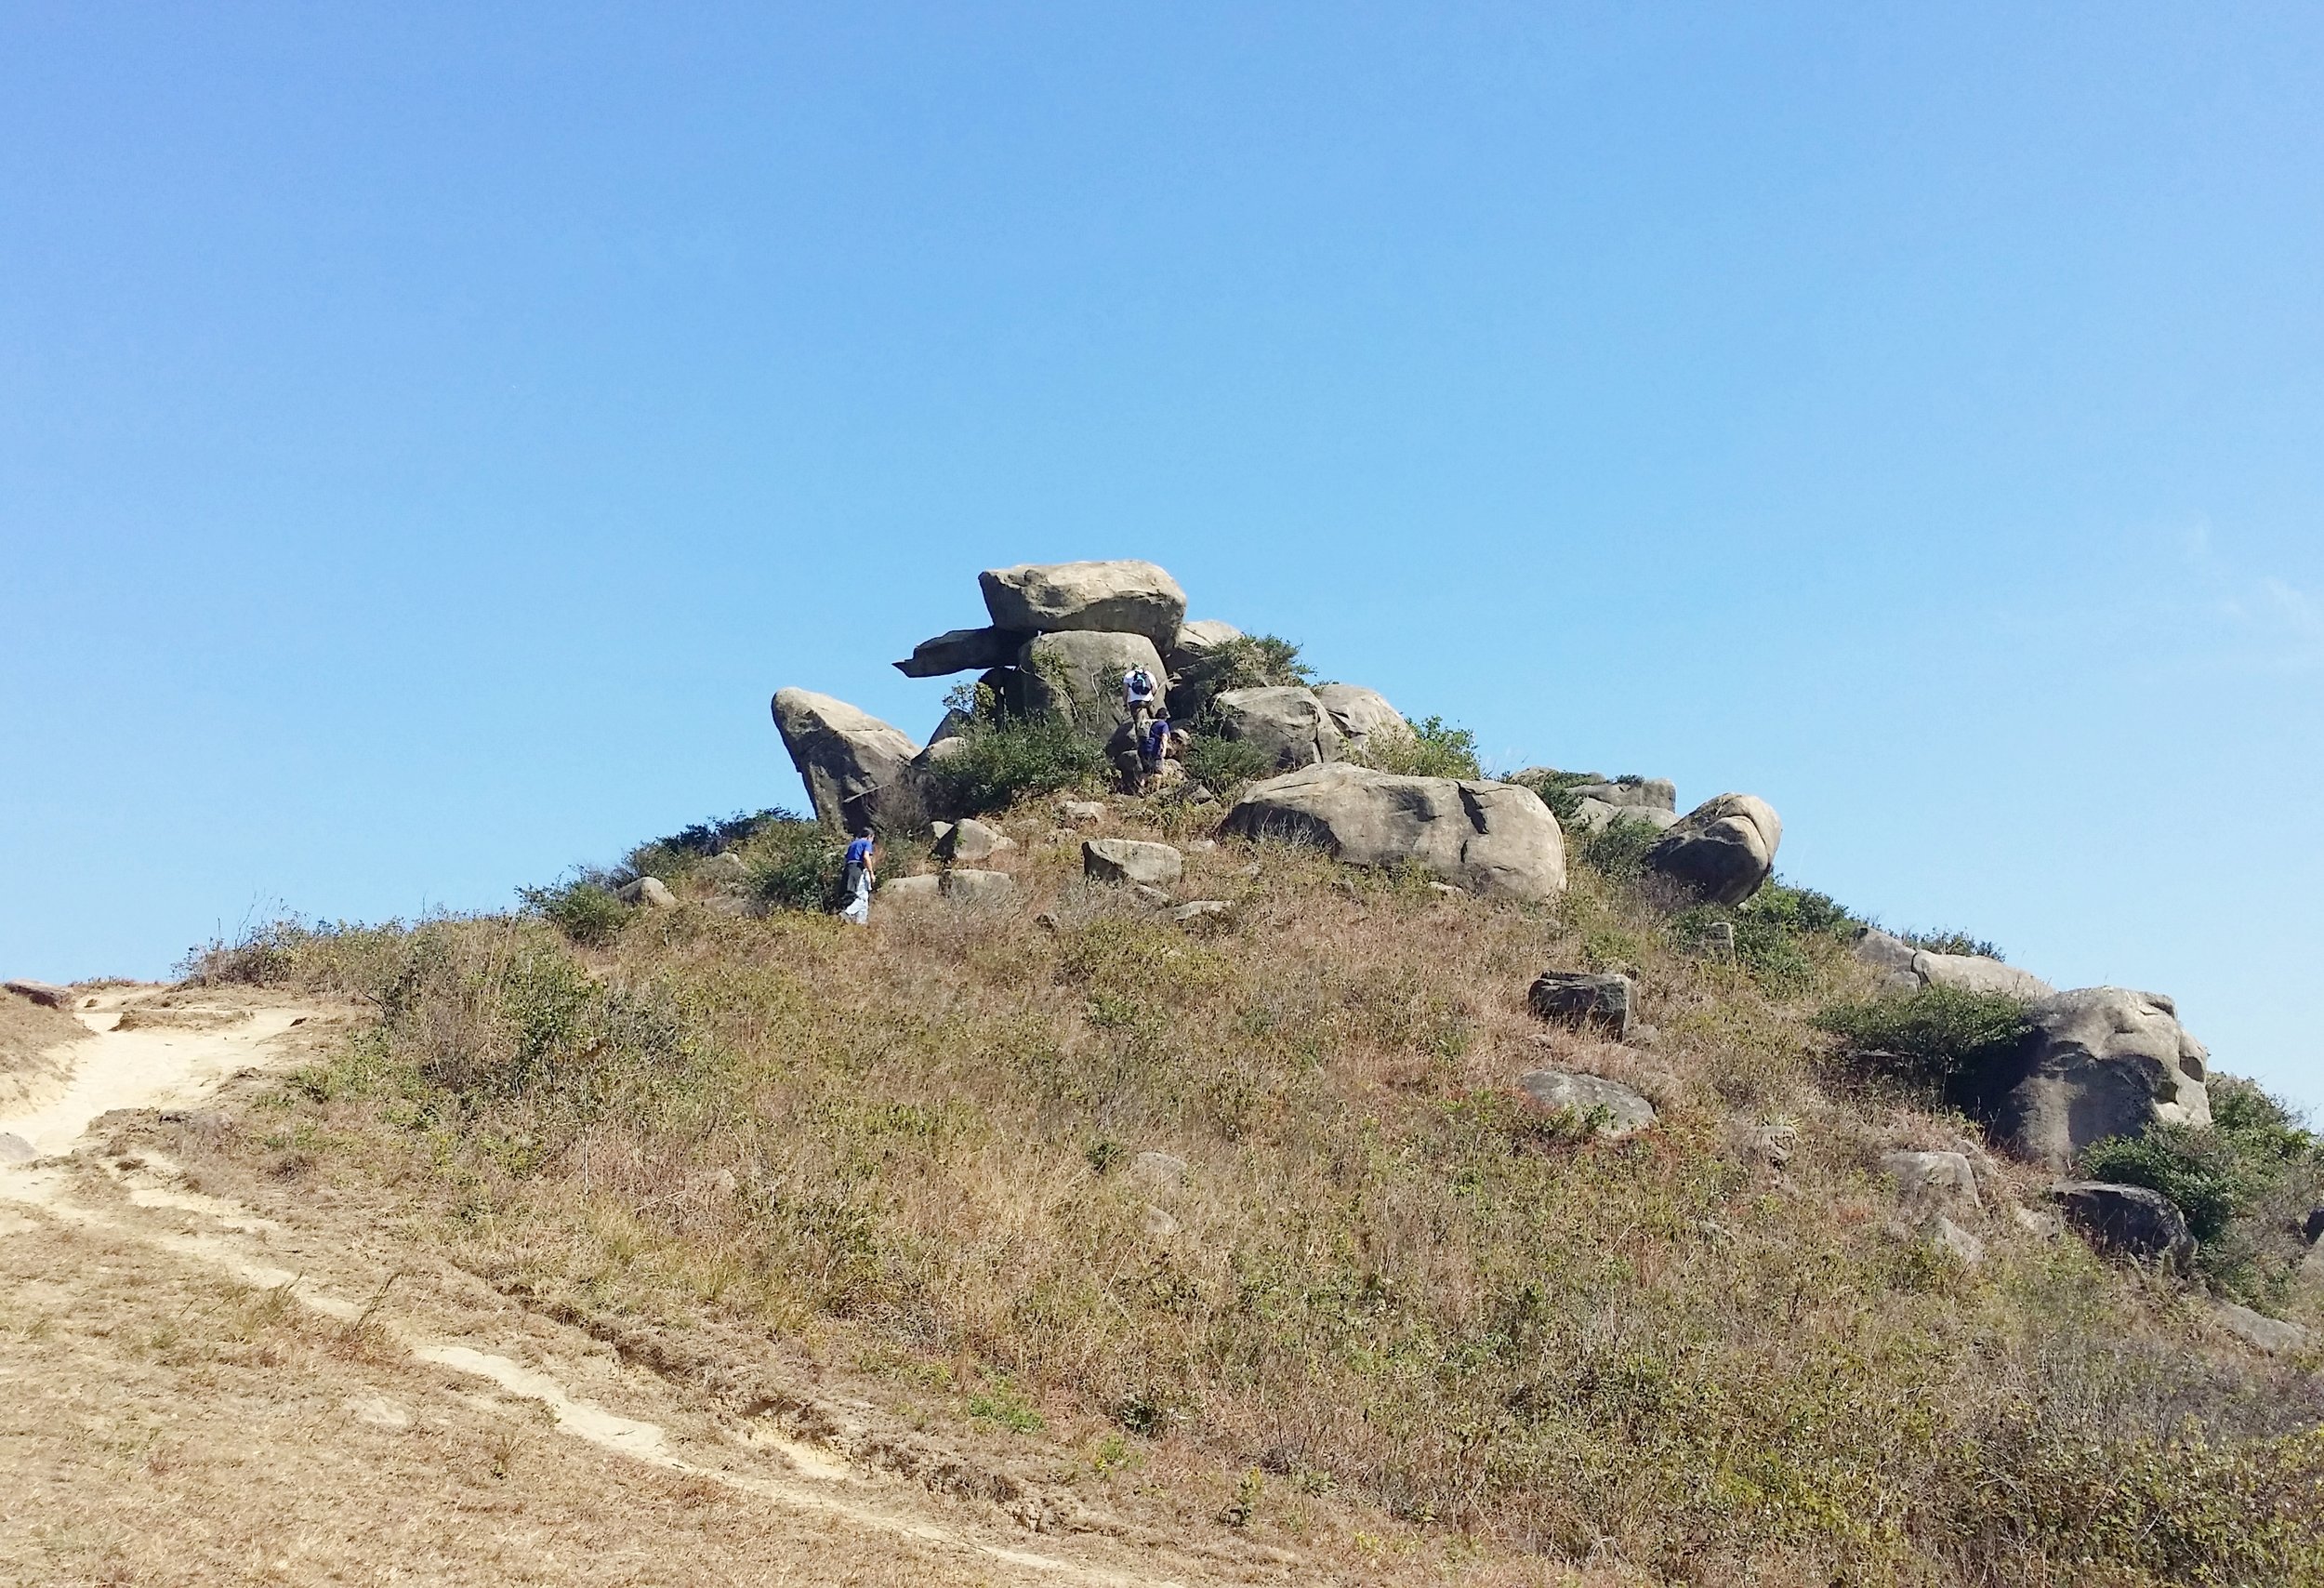
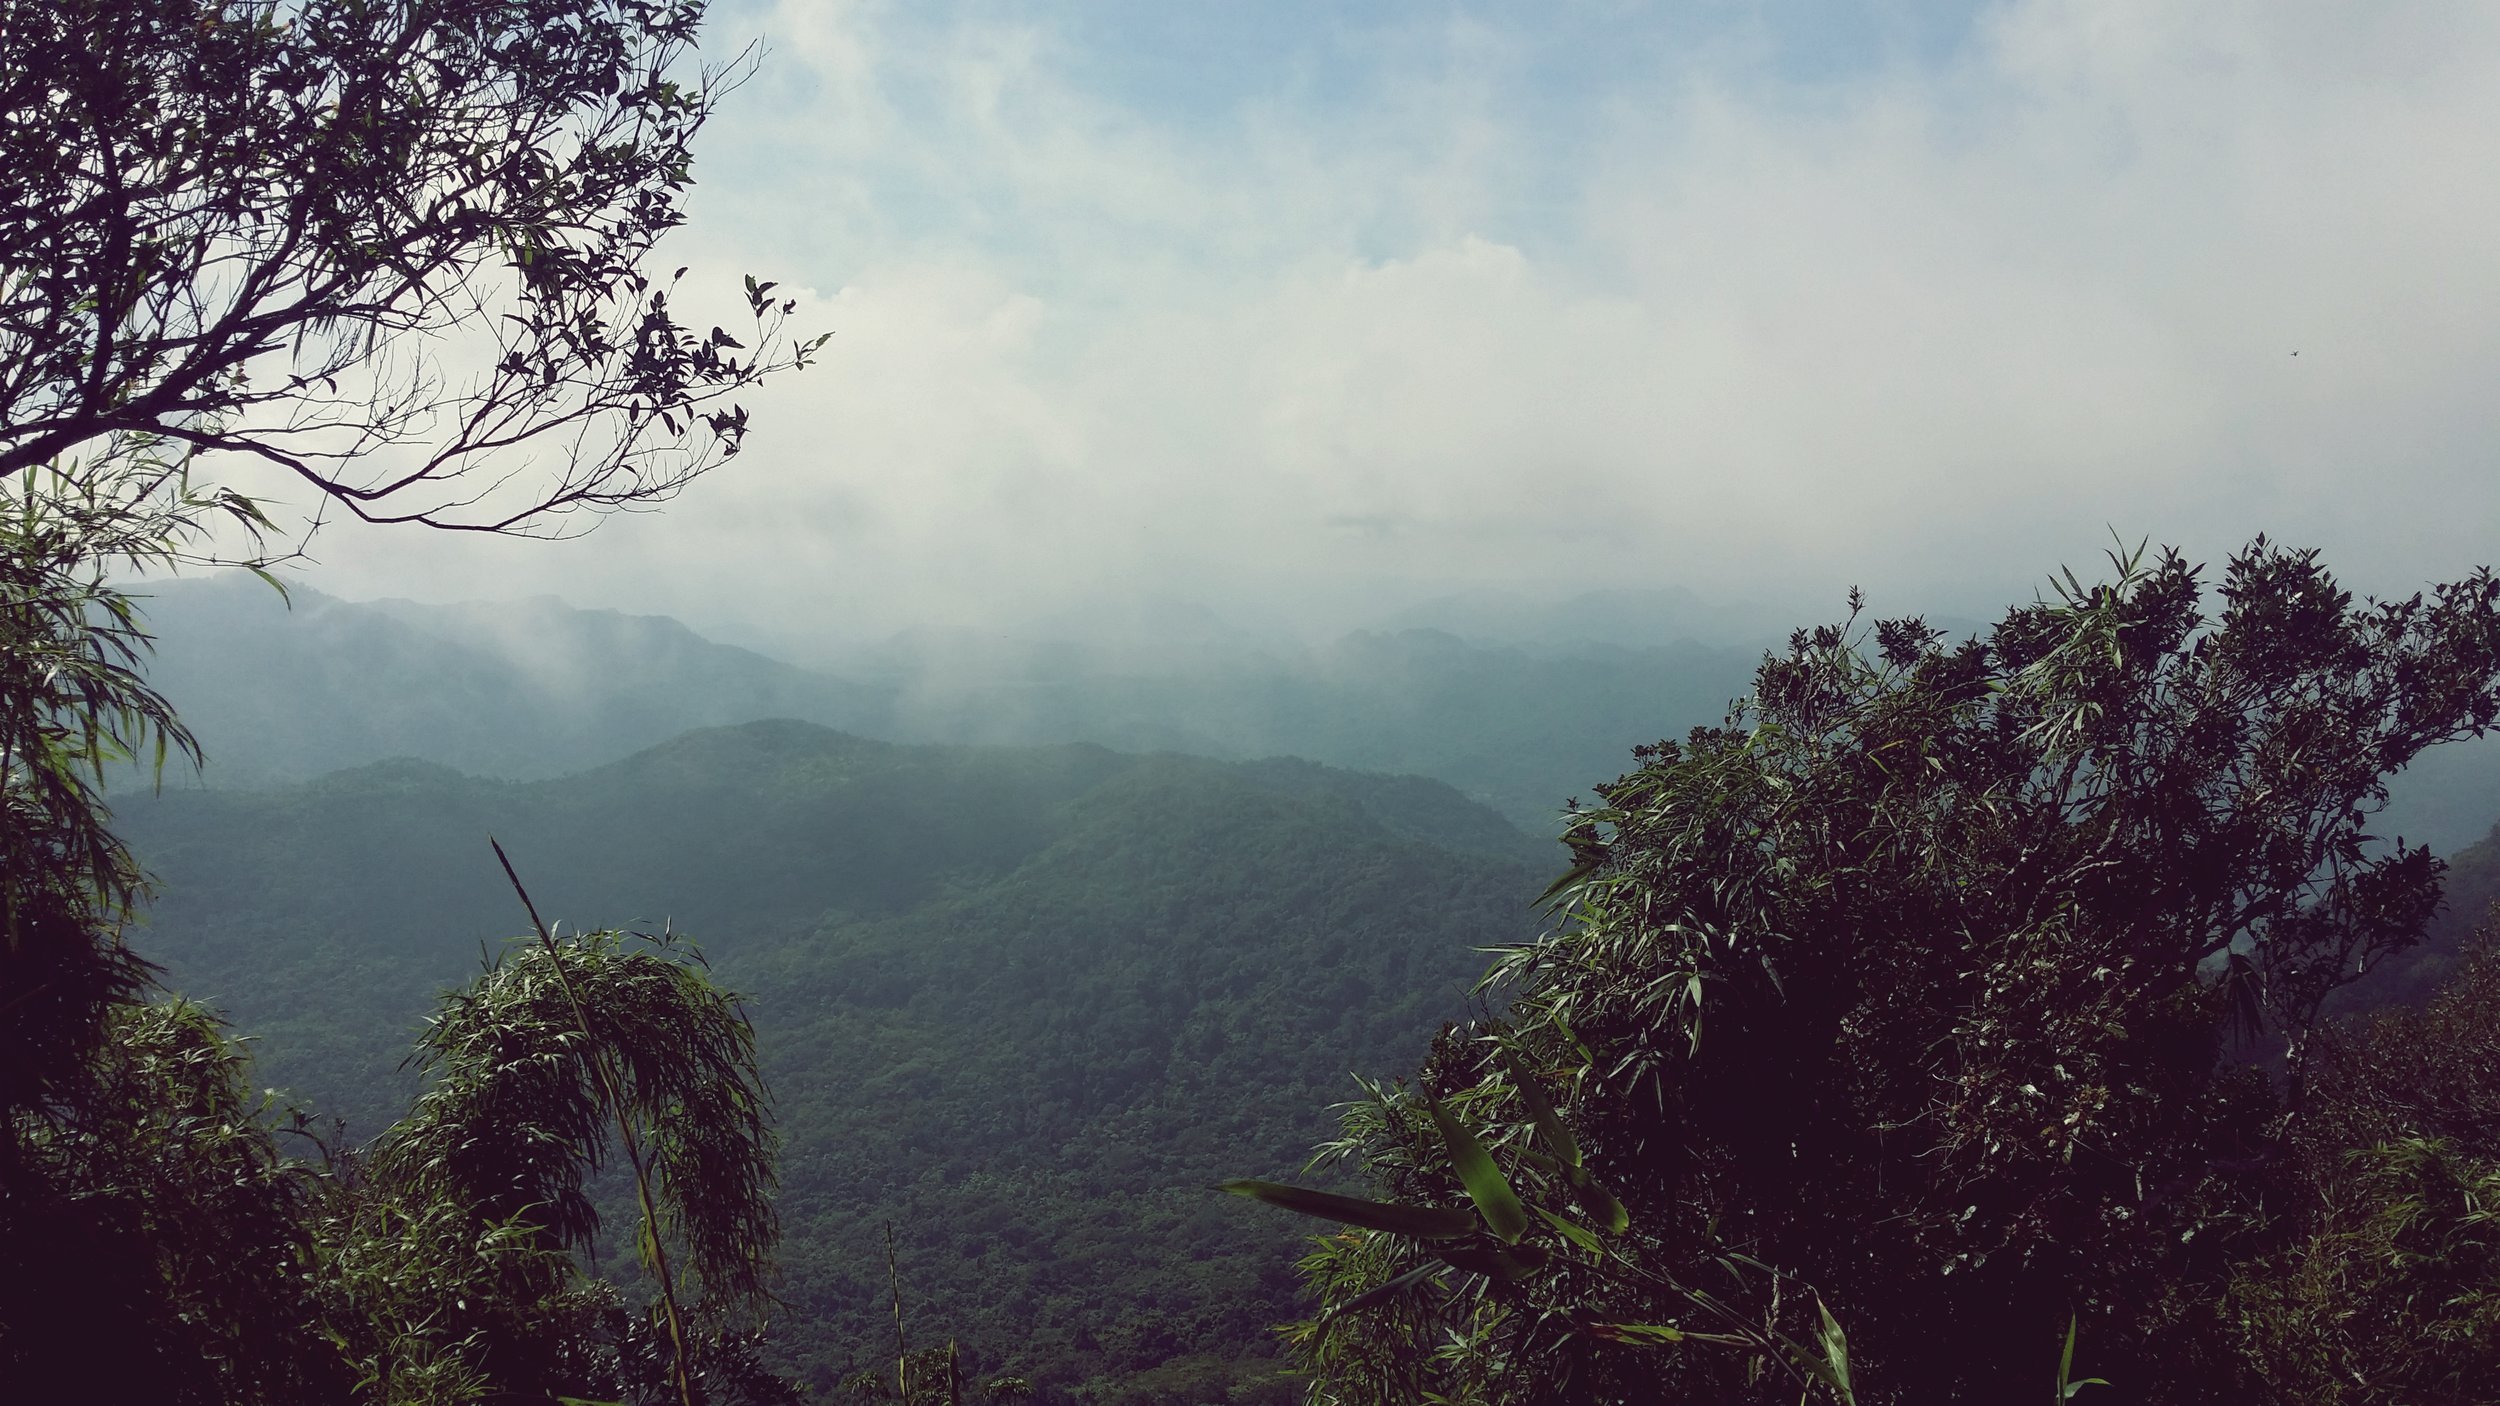
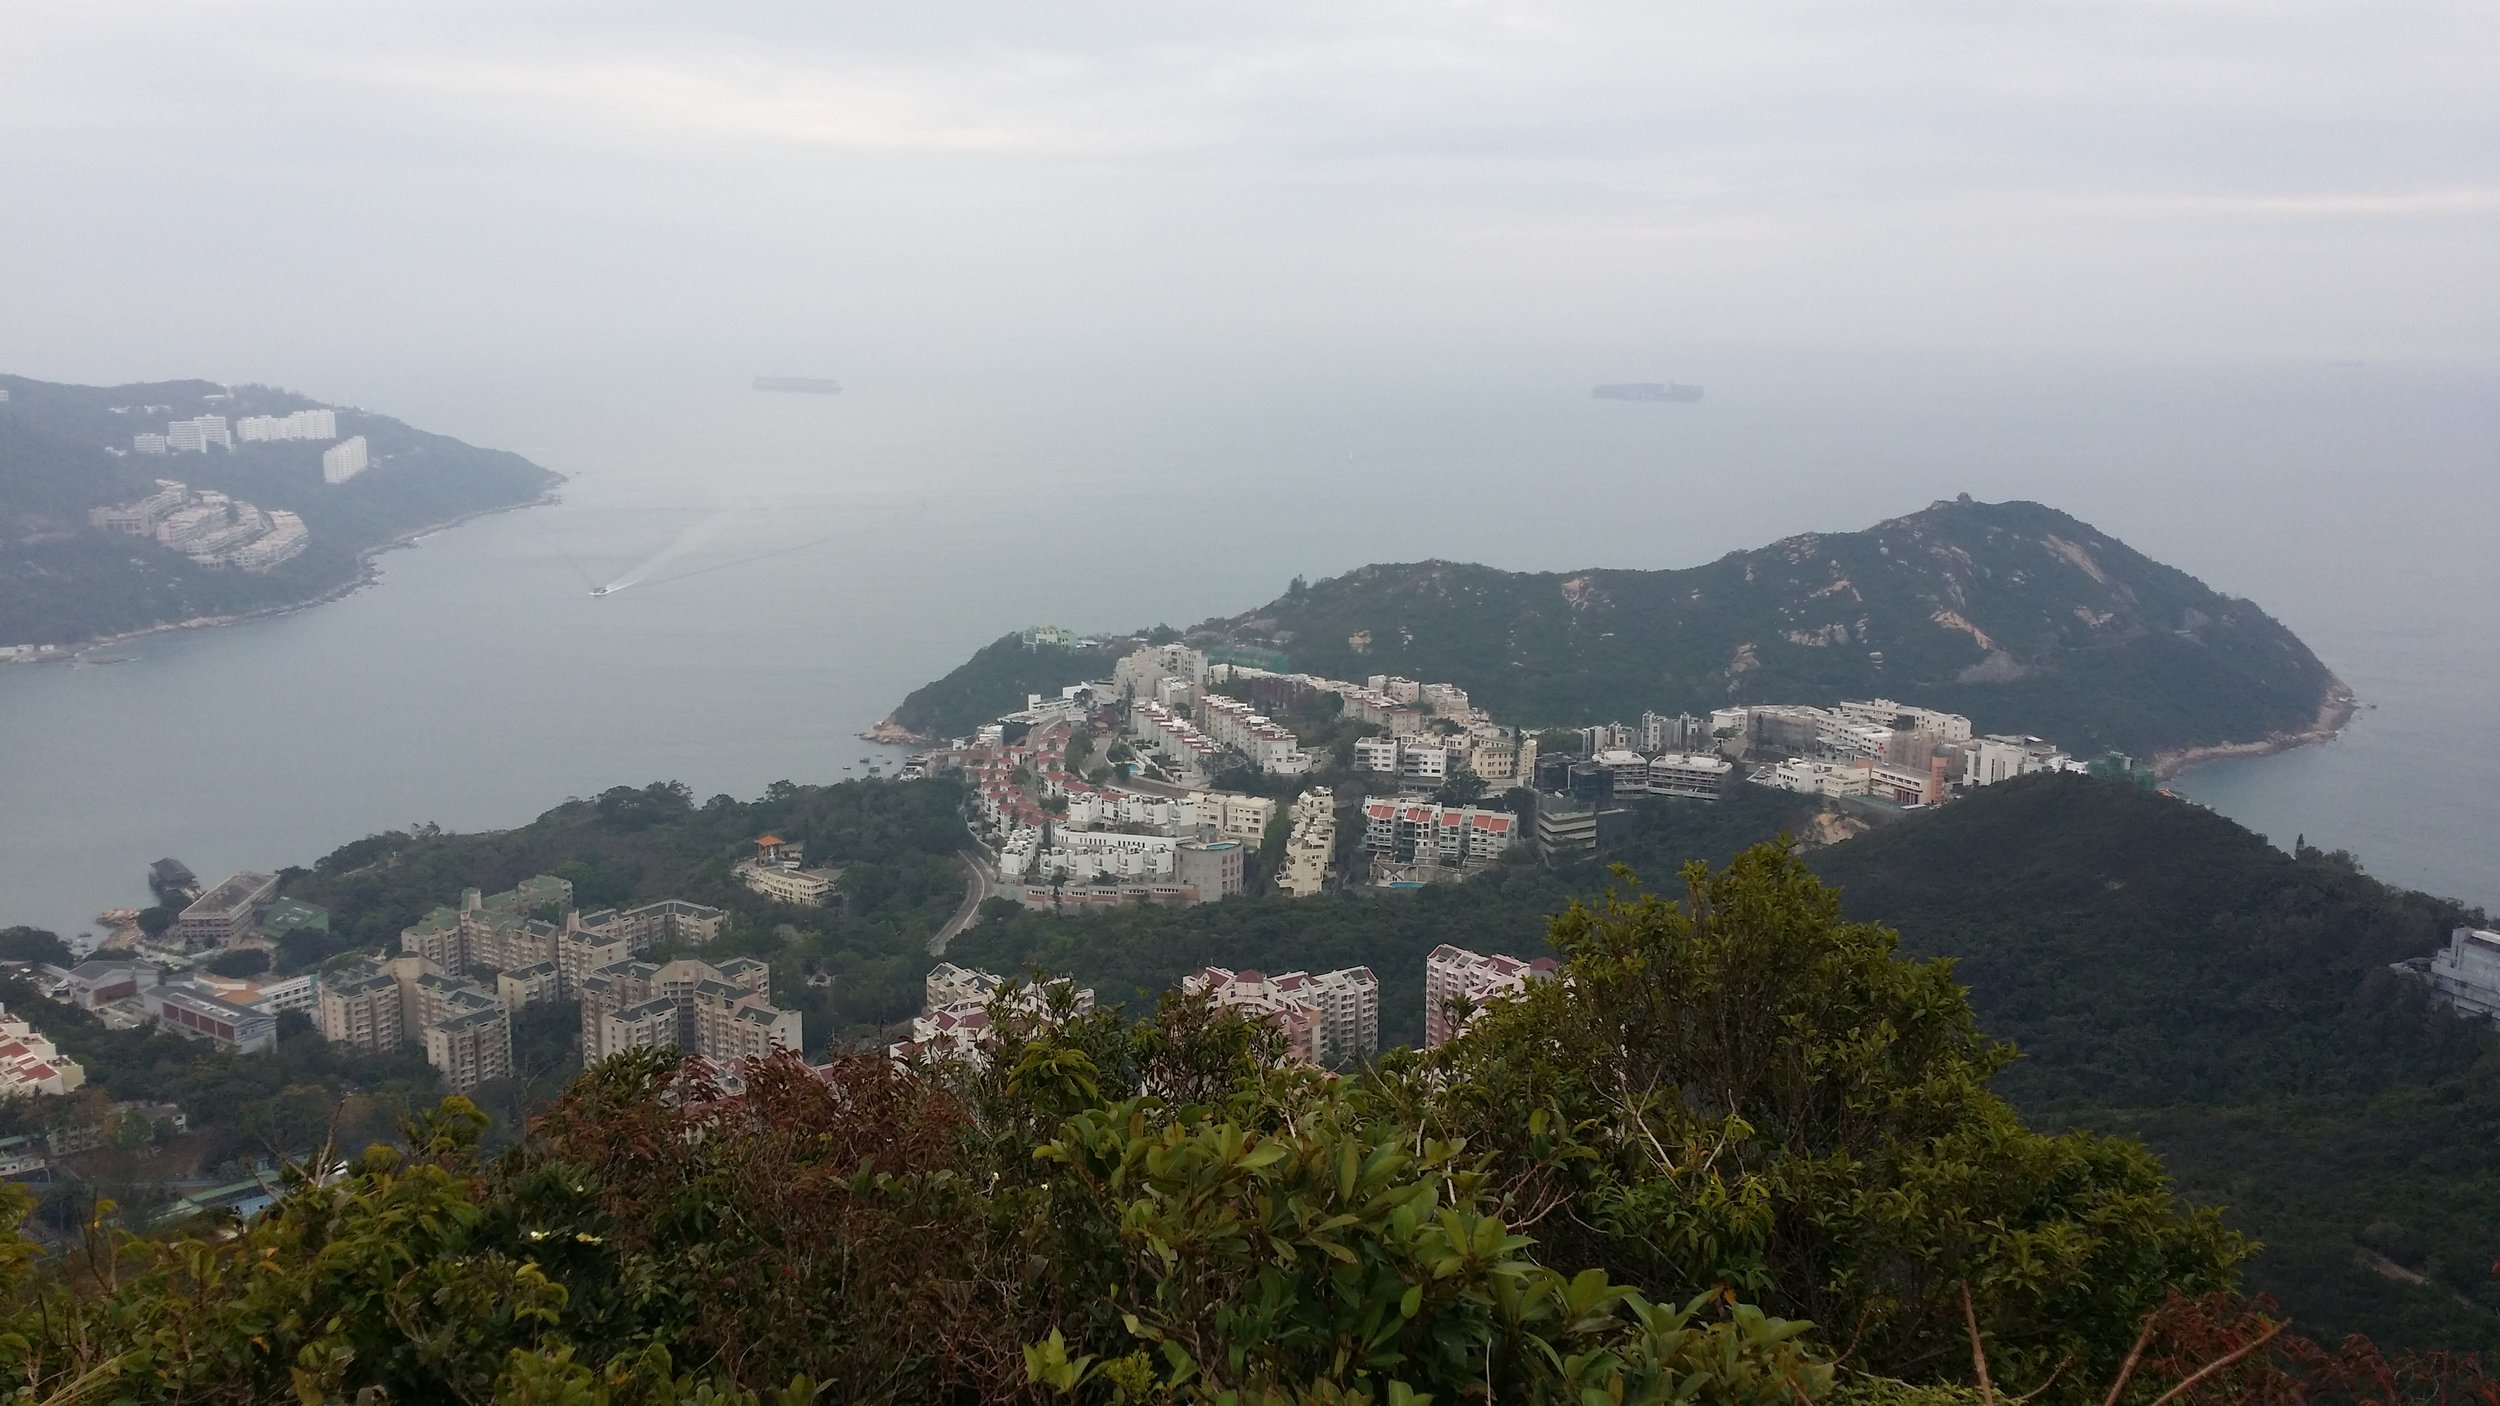
The most rewarding part is when you've finally reached the Ma Kong Shan Compass Station. This is where you get to rest properly as there are benches around the station, an overview map of the area and of course let's not forget about the most spectacular view in this entire hike, which is seeing the peninsula of Stanley with your own eyes.

STEEP DESCEND AND MORE STAIRS DOWN

Going down can be challenging to the least experience hikers as it can be quite steep, however, it is quite safe as long as you are careful with what you step on. Whilst you're at it, be sure to check out the views right in front of you. 

ENDING THE HIKE AT STANLEY GAP ROAD

Once you've met some proper concrete stairs down, this is when you know that the hike is almost over. Be careful not to trip yourself as stepping down through the stairs can be steep. It takes around 15-20 minutes to walk down and finally ending the hike in Stanley Gap Road. From there, there are buses going back to Central, Wanchai, Causeway Bay, Aberdeen or to Stanley. 

STANLEY

After the hike, we decided to go to Stanley and visit the markets, beach and have a proper and well-deserving meal after finishing a hike. There are plenty of good restaurants at the beach side, so for those who want to dine in will never run out of options. 


THINGS TO WEAR & BRING WHEN HIKING

  • Small towel
  • Hiking pants/ jogging pants (no jeans/denim!)
  • Short/ Long-Sleeve Shirt
  • Hiking shoes
  • Trekking pole - can be useful when descending 
  • Extra shirt - for changing
  • Cap - to protect your face from sun exposure
  • Umbrella/ waterproof jacket with hoodie - in case of rain 
  • Windbreaker jacket (optional) - It will be very windy in the middle of the hike from Violet Hill path to Tse Long Bridge
  • Toiletries - tissue/ wet tissue, sunscreen, OFF spray (to avoid insects)
  • Portable charger
  • Water - 1.5L
  • Snacks - fruits (apples or bananas), boiled eggs, protein/ energy bars, digestives biscuits or bread


OVERALL EXPERIENCE

The hike was very good overall. Frankly speaking, this is quite an easy hike, however, I have to say that it is quite tiring too due to the never-ending stairs when climbing The Twins. The hike is easily accessible and there were signposts everywhere, so it is easy to trek. The only downside in this hike is that there isn't any resting spot to take a quick rest, especially not in The Twins. 

Other than that, the hike was peaceful, although a bit crowded it is understandable during this festivities. I honestly wouldn't mind hiking The Twins again. This hike is actually good for exercise and making your legs stronger. 


I hope the information I had written on this blog will be of use and helpful in planning your hiking trip. Feel free to reach out if you have any concerns or questions. I will be more than happy to help. 


Yours Truly,

Michelle Chan


Tiger's Head (Lo Fu Tao) Trail in Hong Kong

cover.jpg

As the new year arrives and now it is the winter season in Hong Kong. This is the best time to hike as the weather is cool and it is quite refreshing to hike in this kind of weather. HIkers won't have to deal with the super ridiculous hot and humid weather during this winter season. 

There are many good hiking spots in Hong Kong and almost every hike has different elements and experience for each hiker. In the meantime, this blog is about my experience hiking the Tiger's Head located in the Northeast Lantau Island. 


TIGER'S HEAD

intro.jpg

The Tiger's Head hike is also known as Lo Fu Tao (in Cantonese, which also means Tiger's Head) is one of the most pleasant and scenic hikes in Hong Kong. The hiking route connects from Northeast of Lantau Island to Discovery Bay and it can easily trek for a good 4 hours. There are 3 major stone attractions for hikers to see - "Sword Testing Stone", "Peach Stone" and "Strange Duck Stone". The most remarkable stone will be the Tiger's Head itself, however, you will only get a better view of it once you reach Discovery Bay and you may look up the hill as if like the tiger's head is staring at the entire Discovery Bay. 


BASIC INFORMATION

DURATION - 3-4 hours (depending on speed and resting time)

DISTANCE - 8-12 km (depending on routes)

DIFFICULTY LEVEL - In between Easy-Medium (Moderate), so 2/4 would be an ideal rate

CELLPHONE/ INTERNET COVERAGE - Everywhere

STARTING POINT - Pak Mong Village in Tung Chung (Lantau Island)

FINISHING POINT - Discovery Bay

(From Discovery Bay, there are plenty of transportation options to get back home. There are buses going back to Tung Chung or Sunny Bay MTR stations and Ferry service to Central)


HOW TO GET THERE AND WHAT TO TAKE

CONVENIENT AND EASIEST WAY TO START THE HIKE (FROM TUNG CHUNG)

Take MTR to Tung Chung, from there take a taxi to Pak Mong Village. Pak Mong Village is where you start the hike to the Tiger's Head. The taxi fare should be around less than 10 minutes and it cost around HK$40-45 per taxi. There are some signs of where to start the hike. 

Whilst there are also other routes to start the hike, however, this is so far the best and most recommended way to start the hike to the Tiger's Head especially if you are in a big group. 


REACHING DISCOVERY BAY AFTER THE HIKE

There are 2 different options to take to leave Discovery Bay unless of course, that's where you live. There is ferry service in the ferry area back to Central and some buses to Tung Chung and Sunny Bay, from there you may take the MTR. The bus stops right outside the MTR station, so it is super convenient. 


HIKE DIARY

TUNG CHUNG TO PAK MONG VILLAGE

As mentioned above, we started our hike from Tung Chung. We took a taxi to Pak Mong Village. The taxi ride took us around less than 10 minutes for a reasonable price. Pak Mong Village is a private area, so taxis are not allowed to enter the area and so you need to walk through the village to the actual starting point of the hike. 

pak mong village.jpg

I was told that this trail was built during the Olympics for athletes or runners to practice their running routines. We have encountered a few runners doing their running business while we are hiking up. The concretes were smooth, although there were plenty of stairs. 


START OF THE TREK AND QUICK REST AT THE PAVILION

We started our trek by ascending some stairs and whilst enjoying the nature around us. There is a small pavilion for hikers to take a quick rest before continuing the hike. From there, we can already see some beautiful scenery.

pavilion.jpg


BEAUTIFUL TREES AND MORE SLOPES

I have hiked many hiking spots in Hong Kong but this is the first time I actually encounter a lot of fresh looking and beautiful trees. 


SWORD TESTING STONE

We finally reached the first stone, at first I thought that this is the tiger's head from afar but it is actually a "Sword Testing Stone". We spent some time to take some pictures here and while we are taking pictures and resting, we have captured some hawks flying around the hills. They are beautiful but they are also very quick, so I couldn't take a picture of it that would look clear enough. 


STROLLING AROUND STRANGE DUCK STONE

We didn't hesitate to climb up the "Strange Duck Stone" and strolling around there like a playground for a bit. The stones are so huge and it is quite slippery, so be careful when you climb up and avoid cutting yourself. 


DESCEND DOWN TO DISCOVERY BAY

After all that thrilling experience and our snack break, it is time to descend down to Discovery Bay. The hike down is quite steep and there are plenty of small, bits of pieces of stones or rocks around the trail, which is why it is a bit challenging to hike down. However, there are breaks in between, from the steep trail to stable slopes then back to the steep trail. 

You would only know that you are close to finishing the hike once you see some stable concrete stairs. There are plenty of stairs though, so I would really say you must be very patient.

Almost there!

Almost there!


REACHING DISCOVERY BAY

The end of the hike was probably the most rewarding feeling. As soon as we finish, we started seeing golf carts strolling around the road. From there, we took a bus ride to Sunny Bay MTR station to go back home. 


THINGS TO WEAR & BRING WHEN HIKING

  • Small towel
  • Hiking pants/ Jogging pants
  • Short/ Long-Sleeve Shirt
  • Hiking shoes
  • Trekking pole - can be useful when descending
  • Extra shirt - for changing
  • Cap - to protect your face from sun exposure
  • Umbrella/ waterproof jacket with hoodie - in case of rain
  • Toiletries - tissue/ wet tissue, sunscreen
  • Portable charger
  • Water - 1.5L
  • Snacks - fruits (apples or bananas), eggs, protein bars, digestives biscuits or bread
  • Small camera (optional)
  • Off spray - to avoid insects biting you


OVERALL EXPERIENCE

Screenshot_2018-01-17-23-26-24.png

The hike was relaxing and not very difficult. The only mild struggle that I had was on my way down from those steep hill. However, I brought along my best friend and savior - my trekking pole with me, so It helped me balance myself as no matter how many times I have done hiking/ trekking, descending down some steep hills is probably my weakness. 

Other than that, the hike was well rewarding and It was peaceful and not very crowded.I wouldn't mind doing this hike again in the future and I would definitely recommend people to hike in Tiger's Head. 


I hope the information I had written on this blog will be of use and would help plan your hiking trip to this spectacular hiking spot in Hong Kong. Feel free to message me if have any concerns or questions. I will be more than happy to help. 


Yours Truly,

Michelle Chan

A Short & Relaxing Hike to Hong Kong Sharp Island

Are you looking for a hiking trail to hike that is not too difficult and only requires a short amount of hiking time during this hot summer season in Hong Kong? Well then, Sharp Island is probably the right place to hike as it only takes about 75 minutes to 2 hours of your time to hike. You will also be rewarded with some fantastic scenery and historical volcanic rocks formation around the island.

View from the top of Sharp Island

View from the top of Sharp Island


SHORT INFO ABOUT SHARP ISLAND

Left - The end point of Sharp IslandRight - Overlooking Kiu Tsui Beach

Left - The end point of Sharp Island

Right - Overlooking Kiu Tsui Beach

Sharp Island is in Sai Kung. This island has been around for 140 million years. It is a perfect place to discover some unique stones and rocks formation from the volcanic eruption that occurred many years ago when Hong Kong used to have active volcanoes until its last outbreak. The island will somehow make you realise that there are indeed a lot of treasures that you haven't discover in Hong Kong yet. Hiking to Sharp Island is not hard, honestly. The view is spectacular and it is an excellent way to spend your free day in a pleasant and not so intense hike. 


HOW TO GET TO SHARP ISLAND

FROM CITY TO SAI KUNG

The easiest way is to take a train to Choi Hung Station, and from there you can take a minibus to Sai Kung Pier. Another way to get to Sai Kung is by taking a red minibus from Mongkok, or you may take a bus (No. 92) from Diamond Hill to Sai Kung.

SAI KUNG PIER

As soon as you reach Sai Kung Pier, you should probably grab something to eat first if you haven't had your breakfast or lunch and also drop by a convenience store to buy some water and snacks. After that, you can start to find a small ferry, also known as "Kaito" that will bring you to the island. Be sure to ask at least 2-3 different boat agency to double check the prices and also to make sure that you are not being overcharged. The price range starts typically from HK$20-40 for a roundtrip ferry ride (about 15 minutes ride each way) per person. The ferry service generally ends by 5:00 pm, so be sure to catch the last ferry before the last service. Be sure to keep your tickets safe as you will need to present your tickets to the ferry driver; otherwise, you will be forced to buy a new ticket. 

STARTING POINT - HAP MUN BAY OR KIU TSUI BEACH

There are two ways to start your hike to Sharp Island - via Hap Mun Bay or Kiu Tsui Beach.

HAP MUN BAY - The beach is unique and clean. If you have extra time to spare, you can swim around the area first before starting your hike, or you can also do it after the hike on the other side. Just follow the routes and directions to get to Sharp Island and end your walk at Kiu Tsui Beach. Refreshment kiosks, first aid, public toilets, shower and a changing room are available around the beach. 

KIU TSUI BEACH (DURING LOW TIDE SEASON) - Starting at Kiu Tsui Beach is probably easier and shorter as it will only take 40 minutes to 1 hour to get to the end point of Sharp Island, but you may continue your journey if you chose to go further to Hap Mun Bay. Refreshment kiosks, first aid, public toilets, shower and a changing room are available around the beach.

Left - Entering the Sharp Island and the start of the trail to the other sideRight - A warning sign for high tide season, be sure to check the tidal waves via Hong Kong Observatory before visiting the island.

Left - Entering the Sharp Island and the start of the trail to the other side

Right - A warning sign for high tide season, be sure to check the tidal waves via Hong Kong Observatory before visiting the island.


HOW LONG WILL THE HIKE TAKE

The short hike will approximately take around 75 minutes to 2 hours, depending on your speed and tracks and photo taking.

Since the hike is super short, there is no need to stress yourself whether or not you can do it. The short walk is not difficult to do, so even when you don't have any hiking experience or if you are a frequent hiker, this short hike should be a perfect fit to reward yourself with some beautiful view and to also witness some unique rock formations. Just make sure to keep yourself hydrated, especially during the uber smoking hot weather.

WHAT ARE THERE TO SEE IN SHARP ISLAND

THE TOMBOLO

Some spectacular and unique rocks and stones formation

Some spectacular and unique rocks and stones formation

If you are lucky to catch the low tide period that connects Kiu Tsui Beach to Sharp Island, then make sure to ready your camera out as you are about to cross through the rocks. As you are strolling, take a look around the different types and unique formation of rocks and stones on your surroundings. There you will also witness the famous "Pineapple Bun" rocks. Another thing, be sure to come back before the tide comes in high and to also check the tidal waves news via Hong Kong Observatory for tidal information.

THE "PINEAPPLE BUN" ROCKS

Anyone up for some "Pineapple Bun" ?

Anyone up for some "Pineapple Bun" ?

Yes, that's right! Some of the rocks around the island are form into a "Pineapple Bun" shape. In case some of you may not know this, but "Pineapple Bun" is a famous bread in Hong Kong. It is many locals, and even tourists favourite pastry and some of them may even eat it every day. When I saw these unique rocks, I start thinking that maybe the bakers were inspired by these rock formations and that is why "Pineapple Bun" is created, or it could be just mere coincidence that mother nature and human brains work and think alike. 


WHAT ARE THERE TO DO IN SHARP ISLAND

FISHING

This place is probably a perfect spot to hunt for some fishes. I have seen quite a lot of people doing some fishy business around the island, so this place must be one of the 'IT" place for fishing.

KAYAKING

There is a kiosk around the beach where you can rent a kayak boat and with paddles, of course. I have seen some people kayaking far from the beach, but of course, those are only for experienced kayakers. 

SWIMMING & SNORKELING 

Sharp Island is still a beach, so swimming and snorkelling are allowed there. Be sure to wear a life jacket if you are not stable at swimming.

SCUBA DIVING

Sharp Island is a right spot for some scuba diving. I have seen a few divers during my visit to the island. So if you are up for some under the sea scavenging mission, then you should check out Sharp Island. 


WHAT TO BRING TO SHARP ISLAND

Since Sharp Island is a short hike, it is not necessary to bring a lot of things. Here is a list of things that are essential and realistic to bring.

  • Towels (Small towel - for sweats, bath towel - for shower)

  • Toiletries (Tissue, wet tissue, soap, etc)

  • OFF spray or any mosquito repellent (Trust me there are a lot of flying insects there)

  • Sunglasses and a cap for sun protection

  • Sunscreen lotion

  • Extra clothing (for changing after the hike or if you sweat a lot)

  • Water (1 Litre should be more than enough)

  • Umbrella (In case of sudden rain and unpredictable weather)

  • Flip-flops (To rest your feet from the hike)

  • Little snacks or you can always visit the tuck shop for some small bites at the beach


I hope that the above information can help you in planning your short trip to Sharp Island. This island may be small but it is interesting, something new to discover and something to put in your travel tick list. If you have any questions or concerns, feel free to ask me. I will be more than happy to help :)


Yours Truly,

Michelle Chan

Hiking - Osmeña Peak (Cebu, Philippines)

OSMEÑA PEAK

Osmeña Peak is in Dalaguete, Cebu, and it is the highest point in Cebu that consists of 1,013 MASL (Meters Above Sea Level). It is also known to be the "Little Baguio" in the Visayas region. The weather there is cool and windy. Climbing Osmeña Peak will reward you with an exhilarating view of the nearby Islands of Negros and Bohol. This mountain can get pretty cold, especially during the rainy season. It is recommended to wear something warm and a raincoat in case of rain. The climb to Osmeña Peak can be considered as a straightforward hike, but the path going up to the peak can be quite challenging as it can be slippery, muddy and windy as well especially on a rainy season. 

This blog is a compilation of our two attempts to Osmeña Peak, morning time hike (in September 2015) and night/ sunset hike (in October 2016). 


HOW TO GET THERE

BY BUS

Take a Ceres Bus Liner from South Bus Terminal in Cebu City bound to Dalaguete / Oslob / Bato and drop off at Barangay Mantalongon.

The travel time is roughly 2.5 - 3 hours and the bus fare will be around P120-P150 per person.

After that you may take a habal-habal (motorbike) ride to the wet market for about 20-30 minutes spin, and you may take another motorbike ride to get to the base camp for 20 minutes, and the drivers typically charge P200-P300 per person (roundtrip), but you may try to bargain or make a reasonable deal with the local drivers.

Motorcycle ride to the base camp of Osmeña Peak

Motorcycle ride to the base camp of Osmeña Peak

BY CAR/ VAN

Travelling by car will save you more money as a group of people will share all travel expenses. The gas that we paid for was around P1,000 (full tank) from Cebu City.

To get to Dalaguete, you must follow the route to Mantalongon road and drive up to the wet market. You may ask the local for the direction to the base camp or follow the WAZE app for the route.

Car ride to the base camp of Osmeña Peak and flying Ryan's drone before heading up

Car ride to the base camp of Osmeña Peak and flying Ryan's drone before heading up

Cliff to the Osmena Peak base camp

Cliff to the Osmena Peak base camp

OSMEÑA PEAK BASE CAMP

To get to the base camp of Osmeña Peak, you must take a habal-habal (motorbike) ride for about 20 minutes. If you're travelling by car, you may drive up to the base camp, which can be quite a challenge as the roads are quite tight and only smaller cars are bound to fit. Big vehicles are a big no-no. Once you reach the base camp, you need to pay a fee of P20 per person. There is a toilet for you to use and a mini store for you to buy some snacks and water before heading up to the peak. The hike will approximately take around 45 minutes to 1 hour (depending on speed).

Guide for hikers, a must read!

Guide for hikers, a must read!

Top - A selfie with the love of my lifeBottom - Ryan and his cousin Mark

Top - A selfie with the love of my life

Bottom - Ryan and his cousin Mark

Heading up to Osmeña Peak where you will be greeted with plenty of vegetables

Heading up to Osmeña Peak where you will be greeted with plenty of vegetables

Mother nature is great!

Mother nature is great!

Beautiful just beautiful

Beautiful just beautiful

FRESH CABBAGES & COWS

While hiking up to the peak, take some time to check out the freshly planted vegetables in the field by the local farmers. For those who live in a city, well this is something you don't see in your daily life. You may also encounter some cows on your way up. Beware not to touch them as they can get pretty aggressive.

FRESH CABBAGES !!!

FRESH CABBAGES !!!

Vegetables everywhere in the field

Vegetables everywhere in the field

COW !! MOO!! MOO!! MOO!!

COW !! MOO!! MOO!! MOO!!

MUDDY & SLIPPERY TERRAIN

The downside of Osmeña Peak is that it can get very slippery, especially during the rainy season. The chances of falling are quite high, especially when you step on a pile of wet mud. Both of our two attempts hike are both windy and a bit of shower. However, our second hike was not super slippery as most of the mud has been dried up. A little heads up to the beginner hikers, remember to wear proper shoes or trekking sandals to protect yourself from any possible injuries. Although we have seen some people wearing converse and flip flops over there, only because they are used to it or they are good at balancing but it's always good to stay safe to avoid any possible obstacles.

It is muddy and slippery especially when it rains

It is muddy and slippery especially when it rains

OSMEÑA PEAK

Finally, we reached the peak! Our first attempt was in the morning time in September 2015. It was very foggy and windy. However, the fogs did not stay for a long time; it comes and goes. So we still got the chance to take a glimpse of the view. On our second attempt, it was night time (sunset) in October 2016. We reached the peak at 6:05 pm, just in time for sunset. However, we barely see any view as it is already dark. The best time to hike up to Osmeña Peak is during the afternoon time, where you can have a breathtaking and proper view. Despite the fogs and windy weather, we still manage to see the view, but we're not able to capture them on our camera as we were overjoyed with the view and was too late to capture the moment, well we did capture some of it on time though. On the other side of the mountain, you will see some camping tents. That area is where the campers stay overnight.

We're here! Osmeña Peak!

We're here! Osmeña Peak!

Foggy but yet it's still a fun hike

Foggy but yet it's still a fun hike

This is where hikers camps and stay overnight at Osmeña Peak

This is where hikers camps and stay overnight at Osmeña Peak

Top - Osmeña Peak during morning timeBottom - Osmeña Peak during sunset around 6:05pm

Top - Osmeña Peak during morning time

Bottom - Osmeña Peak during sunset around 6:05pm

WIndy!!! WOOOHOOOO!

WIndy!!! WOOOHOOOO!

The windy look of me!

The windy look of me!

Overall, the experience was great. Although we didn't get to see the evident beauty of Osmeña Peak after our two attempts, we're glad that we get to experience the sunset in the peak. Hopefully our 3rd attempt would be less windy, but instead, it will be a bit sunny, and we probably will stay overnight at their camping site. I can't wait for my next visit to Cebu!


WHAT TO BRING

  • Water for hydration

  • Snacks (energy bars, bread, biscuits, chocolates, chips)

  • Towel for cleaning after the hike (It will be muddy)

  • Extra shoes/ slippers

  • Extra clothing (optional)

  • Sunblock cream

  • Raincoat (in case of rain)

  • Camera for photo taking

  • Sunglasses

  • Toiletries such as tissue, wet tissue and hand gel

  • Flashlights or headlamp (when hiking at night time or till sunset)


WHAT TO WEAR

  • Warm clothes such as sweater or long sleeves and sports leggings or jogging pants

  • Trekking shoes or trekking sandals (rubber shoes are not highly recommended as it can be really muddy and slippery)

  • Jacket


BUDGET (by private car)

Car gas (roundtrip, full tank) - P1,000 (divided by 4 people - P250 each)

Snacks (Siopao and bread) - P10

Osmeña Peak entrance - P20

Total spending: P280


Yours Truly,

Michelle Chan

Hiking - Pico De Loro (Ternate, Cavite, Philippines)

Pico De Loro is in Ternate, Cavite, Philippines. Pico De Loro means the "Parrot's Beak".

Why Pico De Loro? The answer is straightforward, Pico De Loro offers an astonishing view, and it is suitable for beginners and even for experienced hikers. Although it is said to be a minor climb with the difficulty level of 4/10, never underestimate Pico De Loro as it can also be challenging for you. The steep and muddy path can be a struggle while finishing the hike. Make sure to wear the right trekking shoes or trekking sandals to protect yourself. 

According to the DENR, Pico De Loro will be temporarily closed starting from October 1, 2016, until further notice for some improvement and a rest for the mountain. It is the perfect time to do it as no one know when Pico De Loro is open again for hikers. The weather forecast said that it would rain on the weekend (Saturday, September 24), which did not happen. Thank God for the good weather!

Breakfast at Jolibee before departure to Cavite

Breakfast at Jolibee before departure to Cavite

WAY TO GET THERE

The only way to get to Ternate, Cavite from Metro Manila is by bus or van. If you prefer DIY, you may take a bus via Cavite at the Coastal Mall and ride a tricycle to go to the DENR site, or you may book with an agency that offers Pico De Loro hike. Roundtrip transportation is typically included in the tour package. It is less hassle and more convenient when booking with an agency. Since my friend Jedai and I booked with "Beyond Outdoor Adventures", the meeting point is at Caltex Gas Station Gil Puyat Ave, Makati City at around 4:30 am. It is advisable to leave early to avoid traffic.

JUMP OFF AT DENR

Manila - Cavite takes typically around 2 hours (without traffic). As soon as we reached Cavite, we headed to the DENR Campsite for registration and to use the toilet. Please note there are toilet charges of P5 per entering, P10 for a shower, P10 for doing your "thing". 

CREEK, ROCKS AND MUDS

We started our hike at 7:30 am. We were with a team of 10 people with two guides (Allan and Marlon). Upon starting our trek, we were already questioning whether Pico De Loro is minor or should it be considered as a major hike. We were surprisingly greeted with creek, rocks, both small and big ones and muds. The first 30 minutes trek is already enough proof that this will be a challenging hike. We were given in between break for 5 minutes from time to time. Before hiking further up to Pico De Loro peak, I have read a few blogs about this hike and already know what to expect. The bloggers were right. We need to rely almost 90% on the trees or woods to support us while we climb up and down. There was no wind until we reach the base camp, which means water is our new best friend. There is no need to worry about running out of the water as they sell water up on the base camp for P50 per bottle.

View from the tower. 1 more hour to go till we reach the Base Camp

View from the tower. 1 more hour to go till we reach the Base Camp

Photo credit: Beyond Outdoor Adventures

Photo credit: Beyond Outdoor Adventures

THE BASE CAMP

After 2 and a half hours, we reached the base camp at 10:00 am, and we were given a break for 30 minutes to rest, to eat and to take pictures. At the base camp, they sell Water, Juice, Gatorade, Halo Halo and snacks such as Pancit Canton (Noodles) and Nissin Cup Noodles. You should expect to pay a higher price as it takes a lot of effort for them to bring all those up to the mountain. After we finished our snacks, we went to take some pictures. It is fascinating to see the view with my own eyes and even whispered to myself "I hiked this for 2 hours and a half".

Fascinating view at the Base Camp

Fascinating view at the Base Camp

This one has caught my eyes, This is the view to the Summit, which takes 30-40 minutes to hike the summit

This one has caught my eyes, This is the view to the Summit, which takes 30-40 minutes to hike the summit

ASCEND TO THE SUMMIT

There are a lot of people by the time we were heading up to the summit, and we have to line up. It is expected as Pico De Loro is closing soon. Hiking up the summit is super challenging as we need to climb up and hold on to the rocks, trees and the green plants. Beware of some falling stones, both small or big! The assault gets harder as we get closer to the top. We were lucky that the guides were there to guide us to the top. After reaching the top, I forgot all the trouble and all the tiredness I have dealt with when I saw the stunning view and the fact that I am on top of Mt. Pico De Loro. All the hardship was all worth it!

It was a busy day at Pico De Loro

It was a busy day at Pico De Loro

A glimpse of the Monolith

A glimpse of the Monolith

I'm on top of a mountain!! Trust me it was all worth it!!

I'm on top of a mountain!! Trust me it was all worth it!!

Jedai as usual doing her Darna pose

Jedai as usual doing her Darna pose

Group picturePhoto credit: Beyond Outdoor Adventures

Group picture

Photo credit: Beyond Outdoor Adventures

THE MONOLITH 

The Monolith is located at the side of Pico De Loro Summit. It is incredible to this see this with my own eyes, from pictures to reality. I was fortunate enough to see this before they close. We did not get to climb the Monolith as it is closed since March 2016 because of some soil erosion and loss of vegetation. It would have been perfect if we were able to climb it, but seeing it on the other side is already a token.

The Monolith

The Monolith

A Selfie with the Monolith

A Selfie with the Monolith

DESCENT BACK TO TRAIL HEAD

At 12:30 pm, we start to descend back to the DENR site. It is shorter heading back down. However, It is a battle between slippery and trying not to fall. Heading down from the Summit is very slippery and sitting down while going down is recommended but beware not to strip your pants, sitting down sideways while going down will be more comfortable. As we get closer to the DENR site, the more it gets muddier and slippier. I accidentally fell once as I stepped into a muddy path with pieces of stems by accident and slipped. I got a few scratches on my right arm but other than that I'm all fine, and since I am not wearing proper trekking shoes, so I'm having difficulties hiking down. It is advisable to wear trekking shoes or sandals to protect yourself from any accidents (minor or major). We finally reached the DENR site at 2:00 pm, and we quickly freshen up ourselves and change.

It is a lot challenging than how it looks

It is a lot challenging than how it looks

MEAL AT LOLO CLARO's

We went to Lolo Claro's to have our late lunch there. The set meal (choice of fried chicken, pancit or lumpia with rice) cost around P125, including one drink. They also offer other local dishes on their menu. The food was quite delicious and rewarding after a tiring hike. 

Overall, the whole experience was amusing and unforgettable. Although I have done hiking many times back in Hong Kong, Pico De Loro is probably the most challenging hike I ever have done in my life. It is the second mountain I have hiked in the Philippines, and I would say hiking in the Philippines is very different and challenging. The whole adventure was worth it. 

My next hike in the Philippines will be at Mt. Pulag. Watch out for my next blog!


BUDGET

Mt. Pico De Loro Tour - P1,300

Breakfast (Jolibee) - P100

Water (At Base Camp) - P50

Pancit Canton (At Base Camp) - P30

Lunch (Lolo Claro) - P125

Uber ride to the meeting point (sharing with two people) - P100

Uber ride to home (sharing with two people) - P100

Total spending: P1,805


THINGS TO BRING

  • 1 bottle of water

  • 1 small towel

  • Snacks (such as, bread, energy bar, apple, mints)

  • Extra clothes

  • Extra shoes/ slippers

  • Toiletries (such as, tissue, wet tissue, powder, cologne, mosquito spray, alcohol)

  • Rain coat (in case of rain)

  • Sunblock lotion

  • Sunglasses and Cap

  • Plastic bags for trash or wet clothes/ shoes

  • Camera or other gadgets


SAMPLE ITINERARY

03:00 - Head to Caltex Gas Station Gil Puyat Ave, Makati City

03:45 - Eat breakfast at Jolibee

04:30 - Meet up with the BOA 

05:00 - Head to Cavite

07:00 - Arrive at the DENR site for registration, toilet or some light snacks

07:30 - Start trekking 

10:00 - Arrive at Base Camp, rest, eat and get ready for the summit assault

10:30 - Summit Assault

11:00 - Summit, Cimb to the Monolith is optional

12:30 - Start descent 

14:30 - Back to DENR site. Fresh up and change clothes 

15:00 - Head for lunch

15:30 - Lunch at Lolo Claro

17:00 - Head back to Makati

19:00 - Back to Makati


CONTACT

BEYOND OUTDOOR ADVENTURES

Contact no. +63917-838-1624

Email: www.beyondoutdooradventures.com


Yours Truly,

Michelle Chan